Quick BI allows the permission administrator to grant permissions to one or more users in a centralized manner. This way, the permission administrator can view the permissions that a user has on all resource objects of an enterprise and view the expiration time of the permissions. The permission administrator can also synchronize permissions that are granted to a user to other users with a few clicks. This topic describes how the permission administrator grants a user the permissions on resources.
Background information
When a permission administrator grants resource permissions to a user, the permission attributes are different in the collaborative and private states.
Take note of the following points on collaborative authorization:
Edit: A user to whom the permission administrator grants this permission can edit, export, or view a resource.
Export (including viewing): A user to whom the permission administrator grants this permission can export or view a resource.
View: A user to whom the permission administrator grants this permission can view a resource.
Use: A user to whom the permission administrator grants this permission can create a resource based on a dataset or data source.
Data management: If you have the Manage All Data and Manage Own Data permission, you can manage and submit data.
Submit Data: A user to whom the permission administrator grants this permission can submit data in a form.
The Manage Data and Submit Data permissions apply only to Data Form Objects.
User types and resource permissions
The following table describes the resource permissions that can be granted to different users in a workspace.
Resource type | Developer | Analyst | Visitors |
BI portals, dashboards, workbooks, ad hoc queries, or downloads | Edit | Edit | Export (including viewing) |
Forms | Edit | Submit and Manage Data | Submit Data |
Dataset management | Edit and Use | Use | Unauthorized |
Data Source | Edit and Use | Unauthorized | Unauthorized |
Use scenarios
Scenario | Expected effect |
| |
Data works include dashboards, workbooks, ad hoc analysis, and self-service data retrieval. The following uses dashboards as an example.
| |
| |
| |
|


Grant BI portal permissions to a user
Log on to the Quick BI console, and follow the instructions that are shown in the following figure to go to the Grant Permissions by User tab.

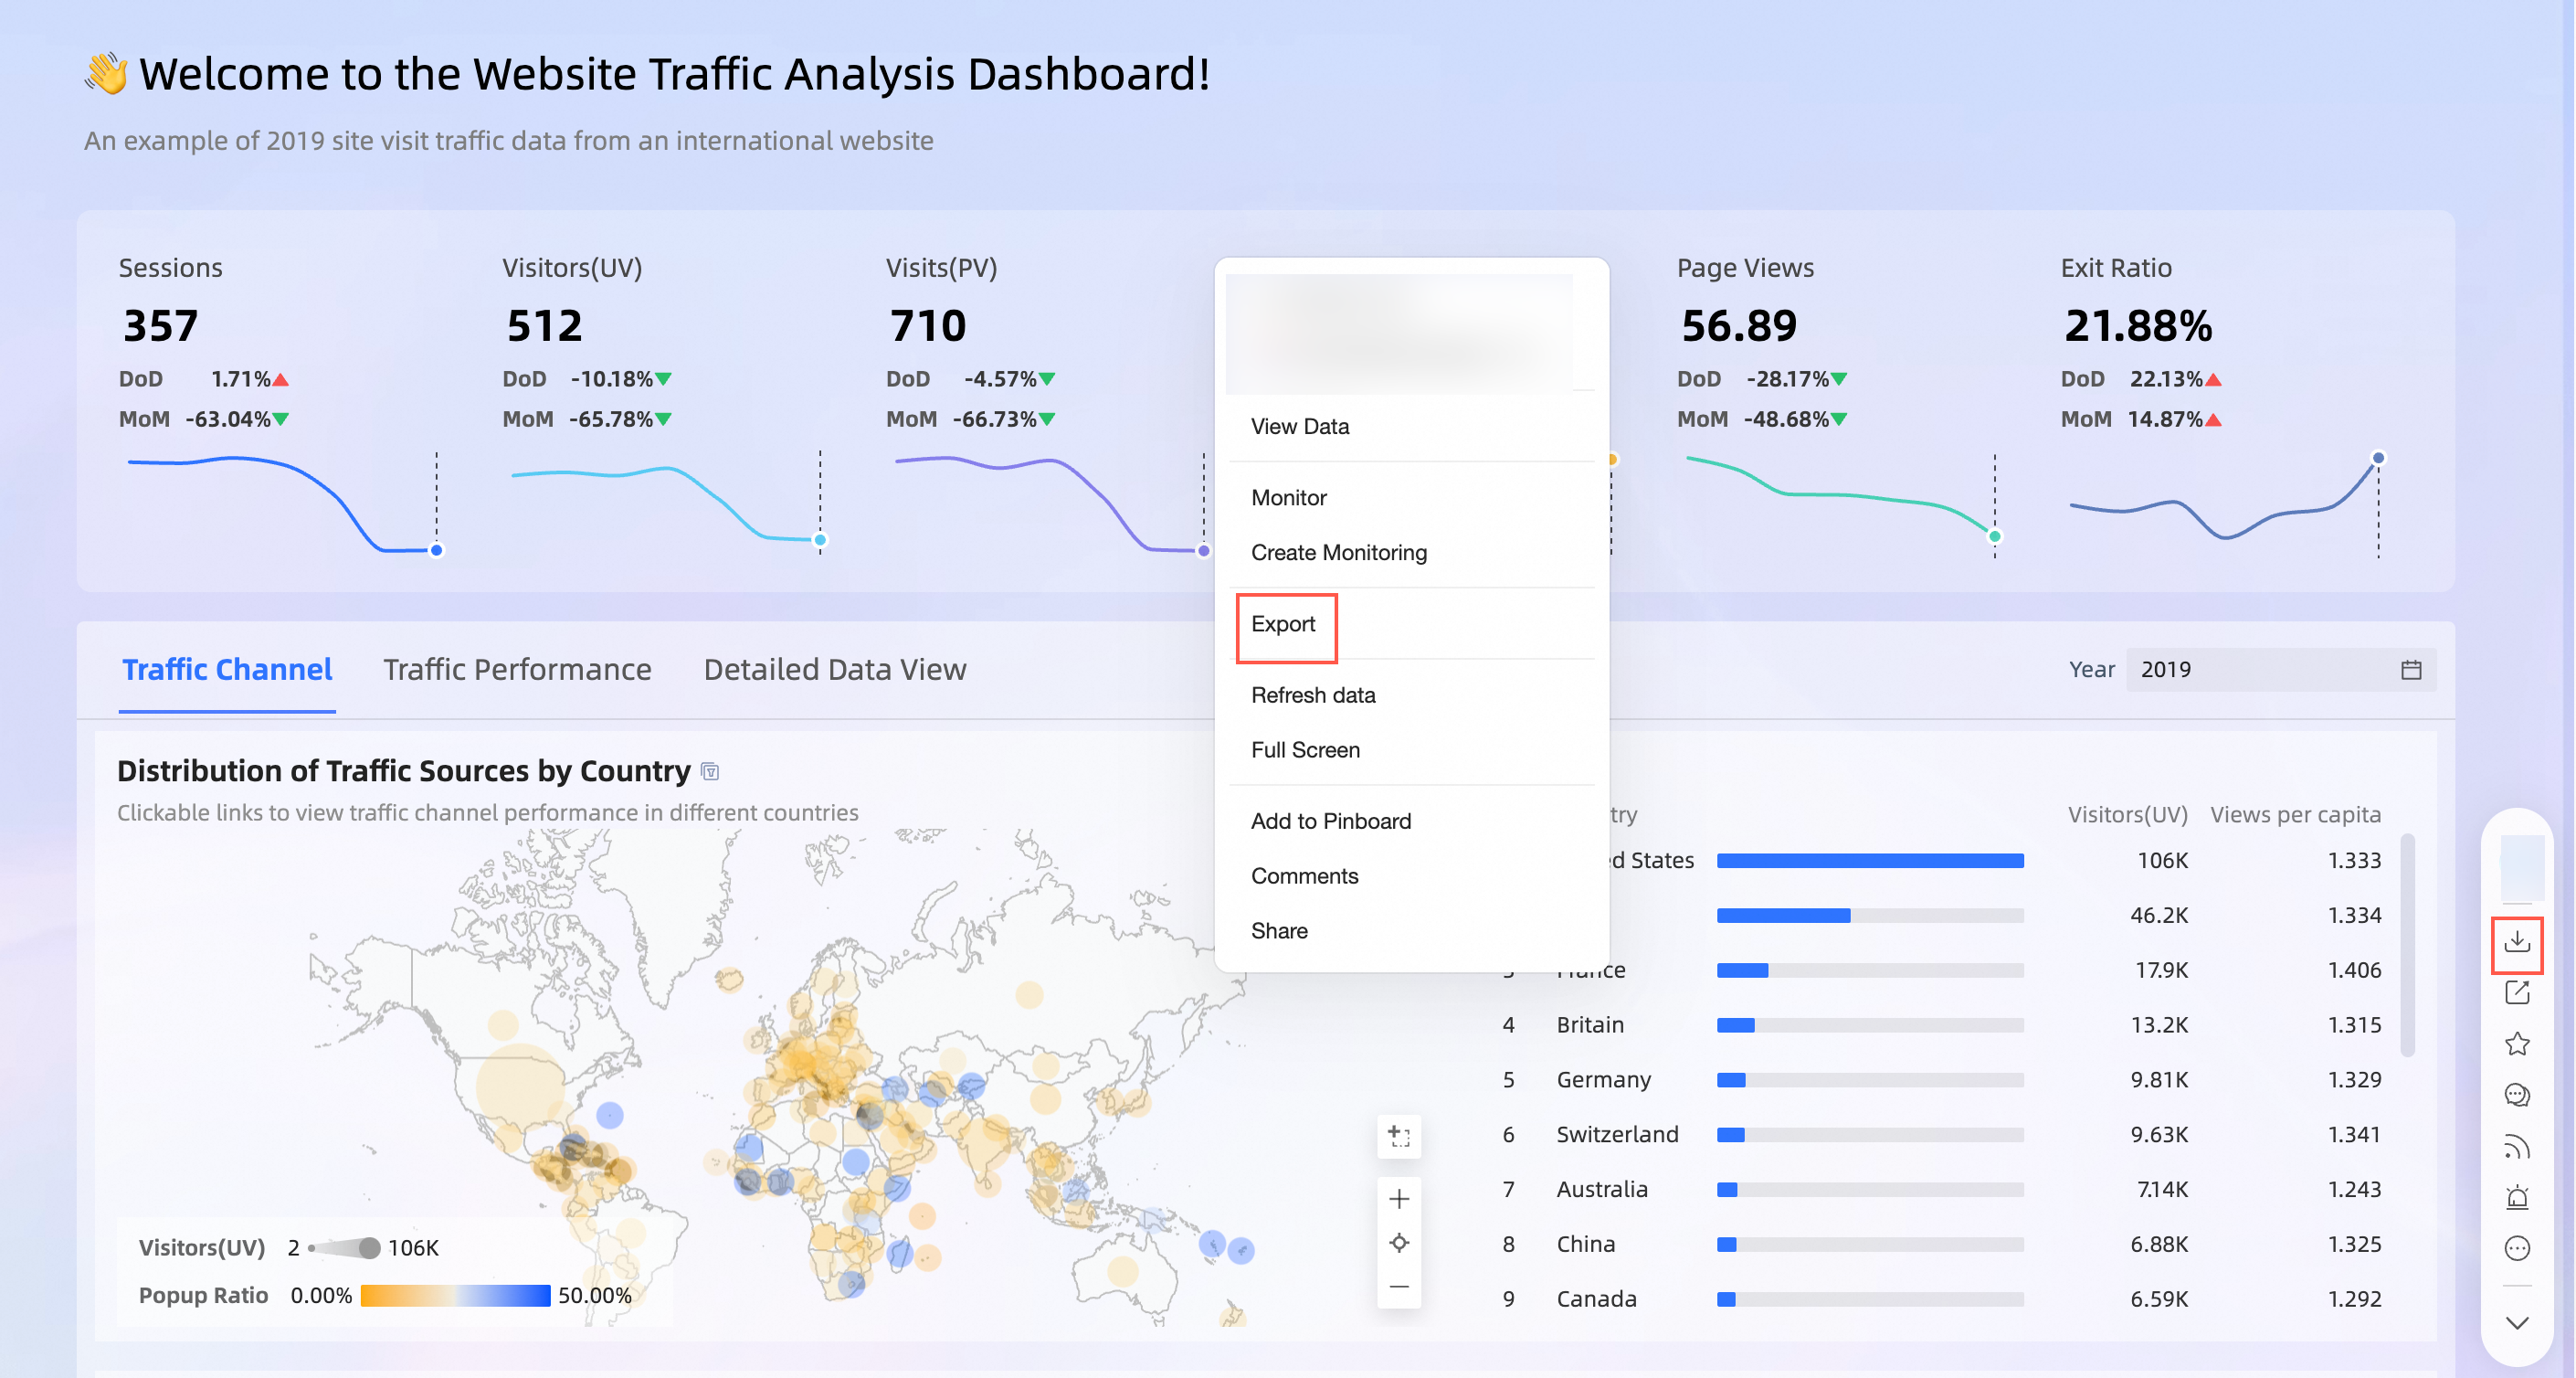
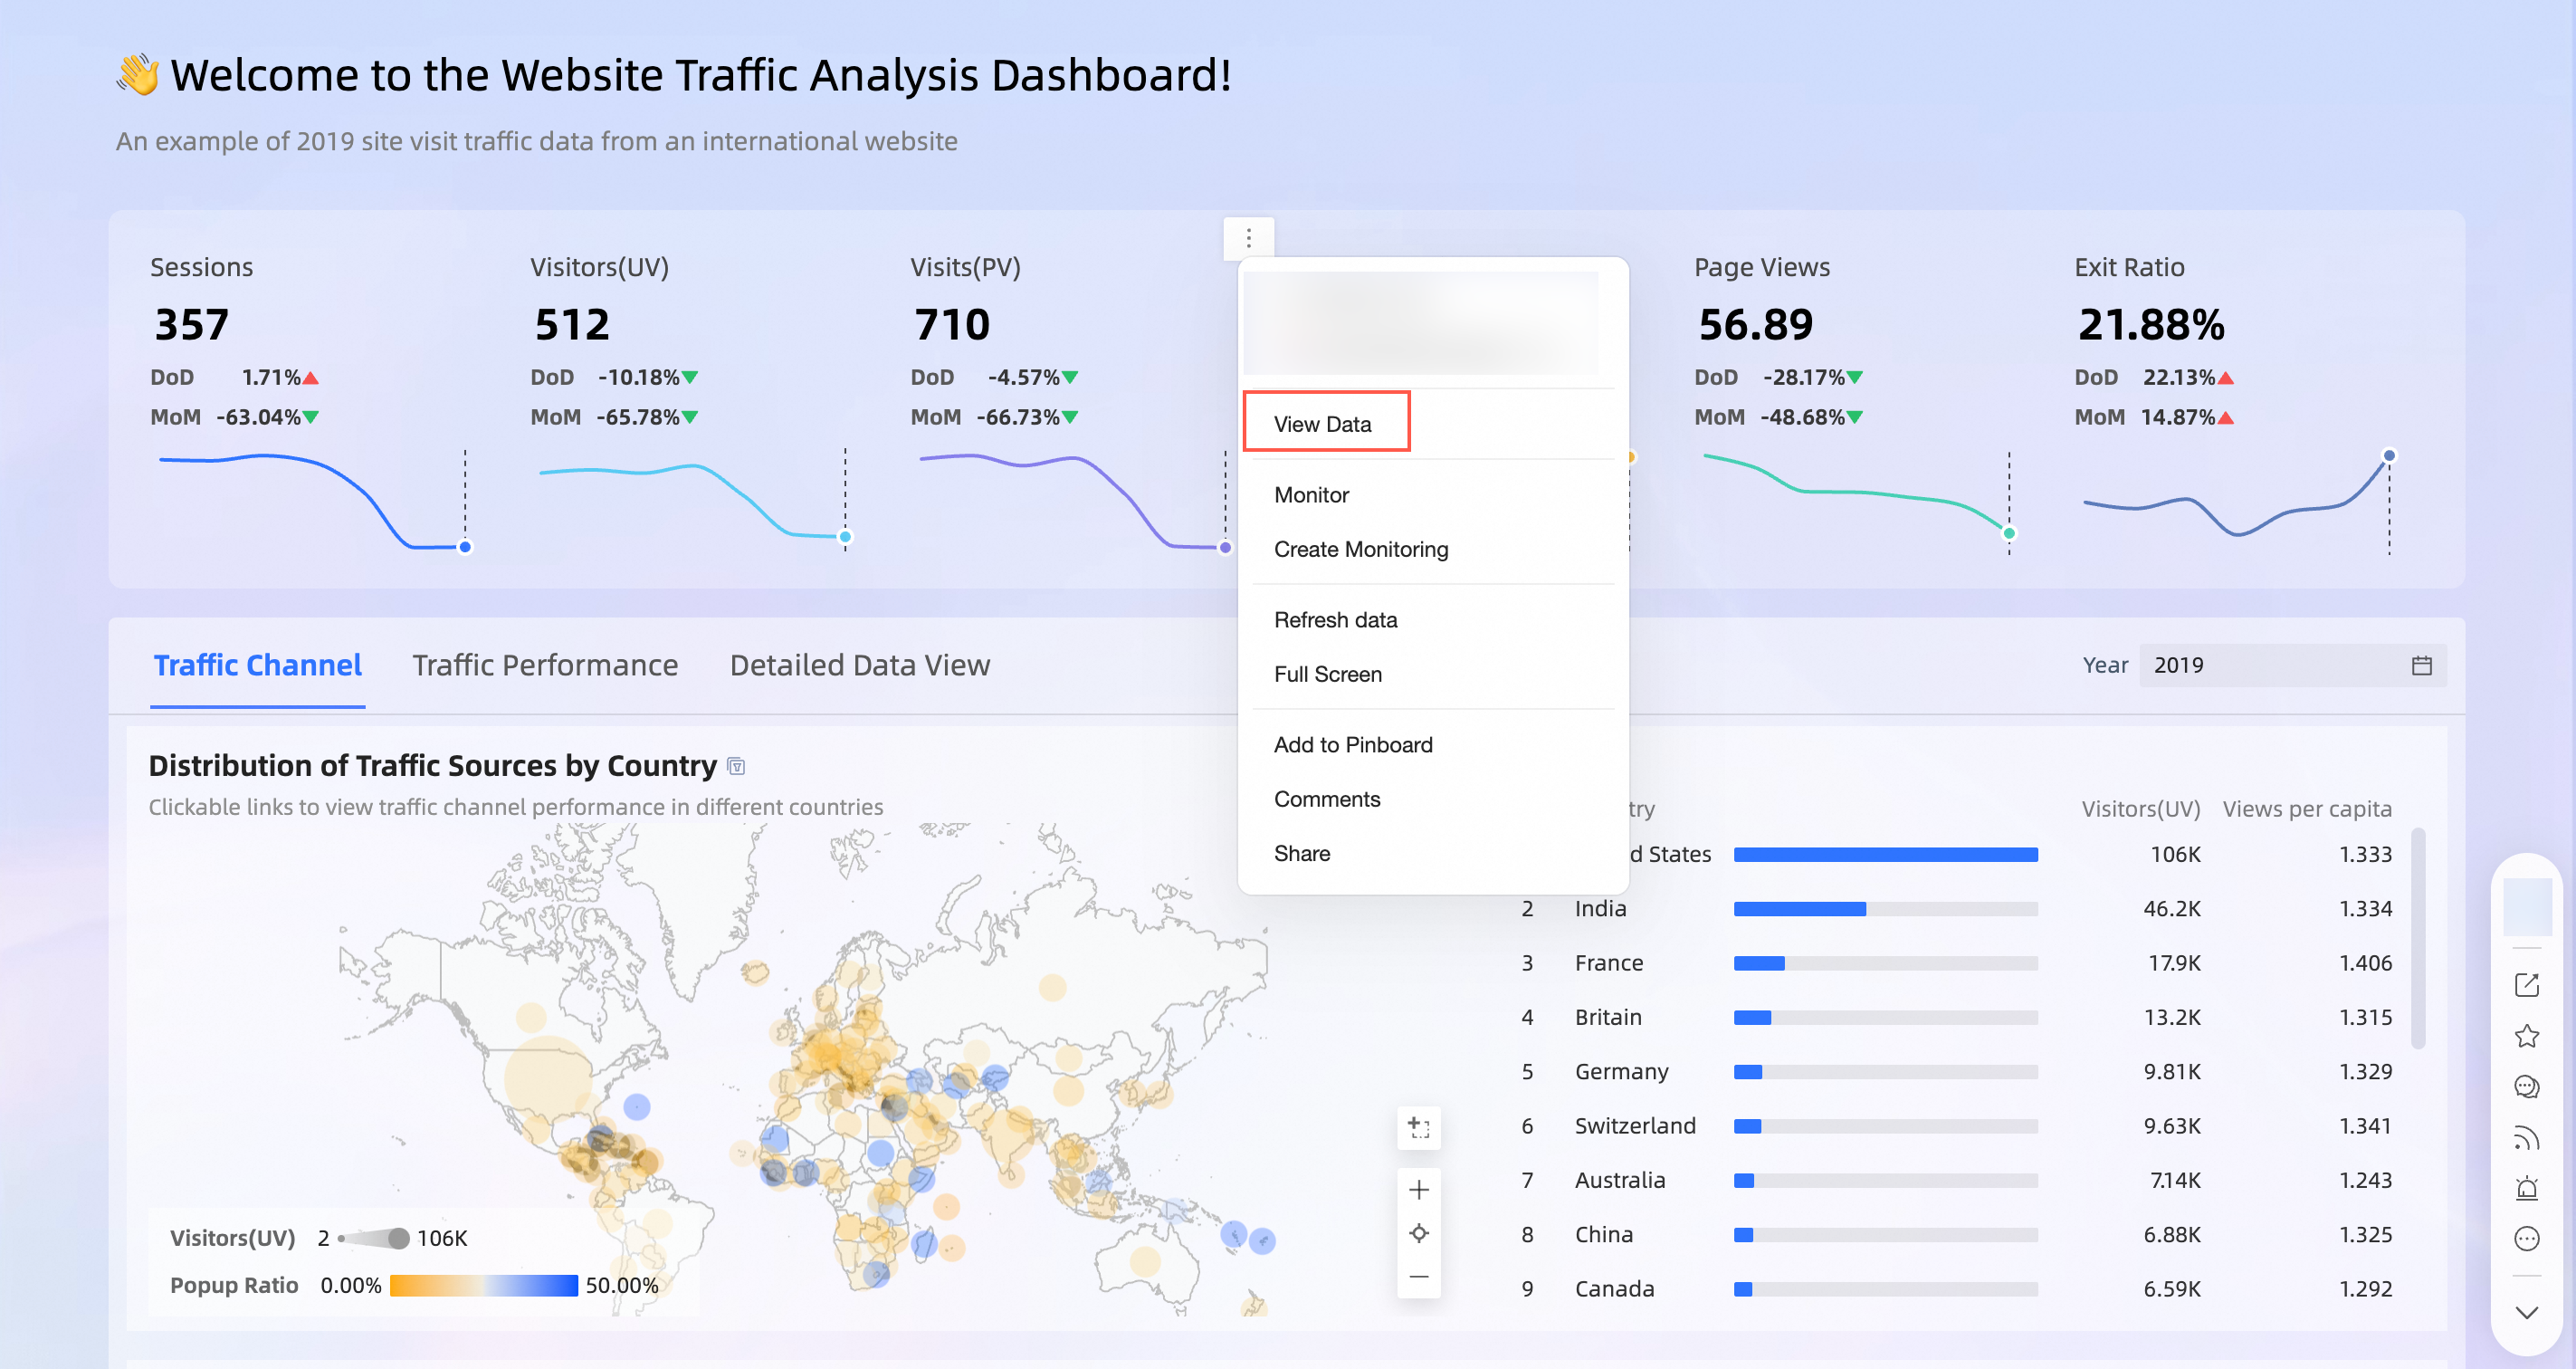
Follow the instructions in the following figure to authorize the BI portal.

You can view the Final Effective Permissions of the specified menu, but you cannot grant the required permissions. For more information about how to modify the final permissions of a menu, see Collaborative authorization. where:
If the Final Effective Permission of a menu is set to Menu, the user who has the required permissions can view or export the menu.

If the final effective permission of the specified menu is Content: data works (such as dashboards and workbooks) embedded in the BI portal. Here you can find the permissions for the specified user and view their content, but you cannot grant them. For more information about how to grant permissions to data works, see Grant permissions to data works.

If the Final Effective Permission of the specified menu is Compatible: If a user has the content export permission and is granted the portal menu export permission, the user can export the portal or content in the portal.

Optional. Synchronize permissions.
If other users also need to edit BI portal in the workspace, click Synchronize User Permission Settings, select the users, and then click Synchronize. For more information, see Authorize synchronization.
Granting Data Works Permissions to a User
Log on to the Quick BI console, and follow the instructions that are shown in the following figure to go to the Grant Permissions by User tab.
Follow the instructions in the following figure to authorize data works.
Data works include dashboards, dashboards, workbooks, ad hoc analysis, and self-service data retrieval. The following uses dashboards as an example.
 If you do not find the target data work in the Authorized Resources list, you can click Search for Authorization to authorize the data work.
 Optional. Synchronize permissions.
If other users also need to collaboratively edit data works in the workspace, click Synchronize User Permission Settings, select the users, and then click Synchronize. For more information, see Authorize synchronization.
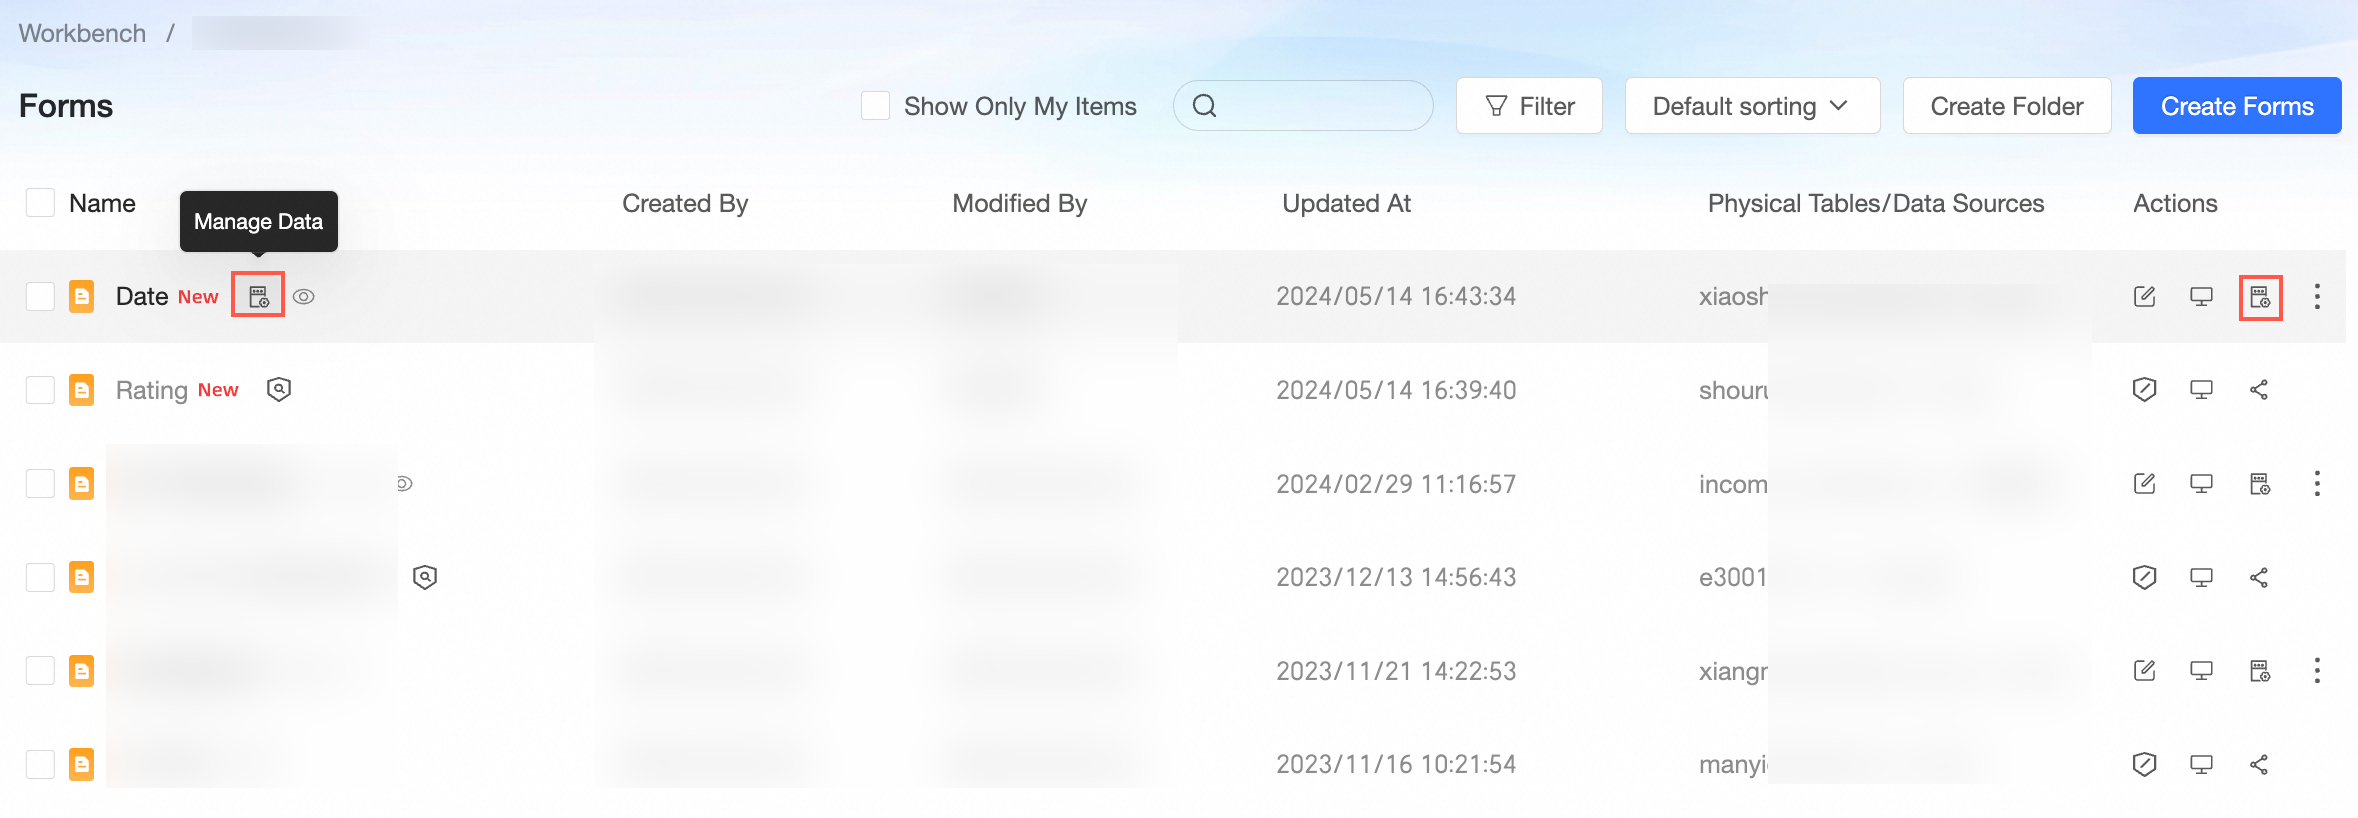
Grant a user the permissions on a form
Log on to the Quick BI console, and follow the instructions that are shown in the following figure to go to the Grant Permissions by User tab.
Follow the instructions that are shown in the following figure to grant a user the permissions on a form.

If no resources are found in the Authorized Resources list, you can click Search for Authorization to grant permissions to the resources.
Optional. Synchronize permissions.
If another user needs to collaboratively edit the form in the current workspace, the permission administrator can click Synchronize User Permission Settings, select the user, and then click Sync. For more information, see Authorize synchronization.
Grant a user the permissions on a dataset
Log on to the Quick BI console, and follow the instructions that are shown in the following figure to go to the Grant Permissions by User tab.
Follow the instructions in the following figure to authorize a dataset.

If no resources are found in the Authorized Resources list, you can click Search for Authorization to grant permissions to the resources.

Optional. Synchronize permissions.
If another user needs to collaboratively edit the dataset in the current workspace, the permission administrator can click Synchronize User Permission Settings, select the user, and then click Sync. For more information, see Authorize synchronization.
Grant a user the permissions on a data source
You can grant the Edit and Use permissions only when the permissions of the target data source are set as shown in the following figure. 
Log on to the Quick BI console, and follow the instructions that are shown in the following figure to go to the Grant Permissions by User tab.
Follow the instructions in the following figure to authorize the data source.

If no resources are found in the Authorized Resources list, you can click Search for Authorization to grant permissions to the resources.
Optional. Synchronize permissions.
If another user needs to collaboratively edit the data source in the current workspace, the permission administrator can click Synchronize User Permission Settings, select the user, and then click Sync. For more information, see Authorize synchronization.