Quick BI forms let you create database tables and insert data. This feature is available in Quick BI Enterprise Standard and Quick BI Pro.
Prerequisites
-
A MySQL database is created, and the Alibaba Cloud account used to access the Quick BI data source has create, insert, update, or delete permissions on the MySQL database tables.
-
The data source is connected. For more information, see Add a User-created MySQL Data Source.
Limits
For supported data sources, see Data Source Function Item List. The account used to connect to the data source must have create, insert, update, and delete permissions on the database tables.
By default, the Hologres data source does not support the delete column operation. To enable this, upgrade to V2.0 and configure the database system parameters:
-
In the database instance, run
alter database database_name set hg_experimental_enable_drop_column = onto set the GUC parameter. The change takes effect at the database level once the command is executed. -
Disconnect and reconnect to the database to apply the change. For new databases, configure the GUC parameter manually.
For details, see GUC parameters.
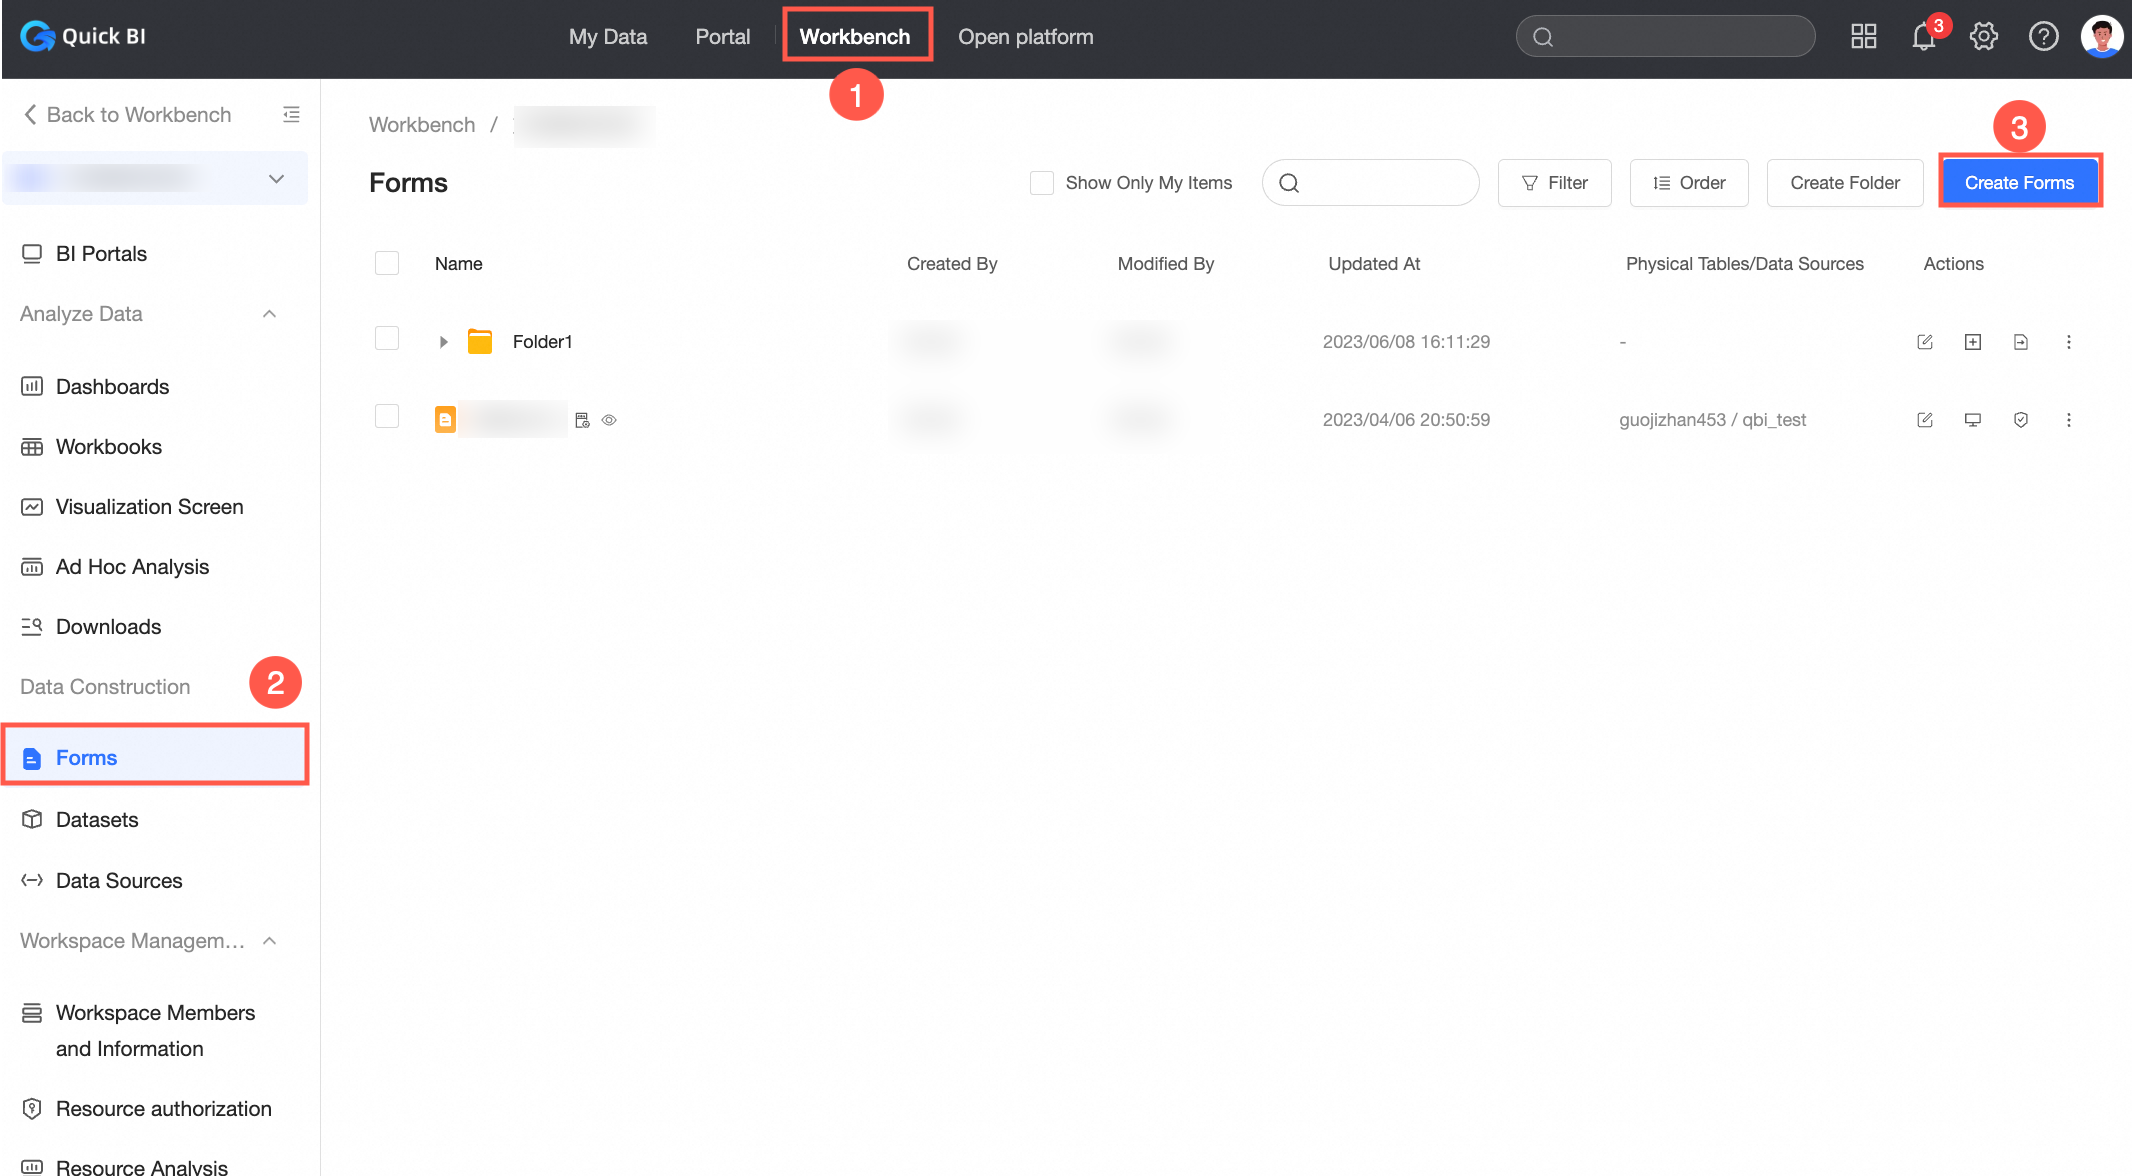
Go to the forms page
Log on to the and open the form creation page by using one of the following methods.
-
Method 1: Quick creation from the resource list in a space.
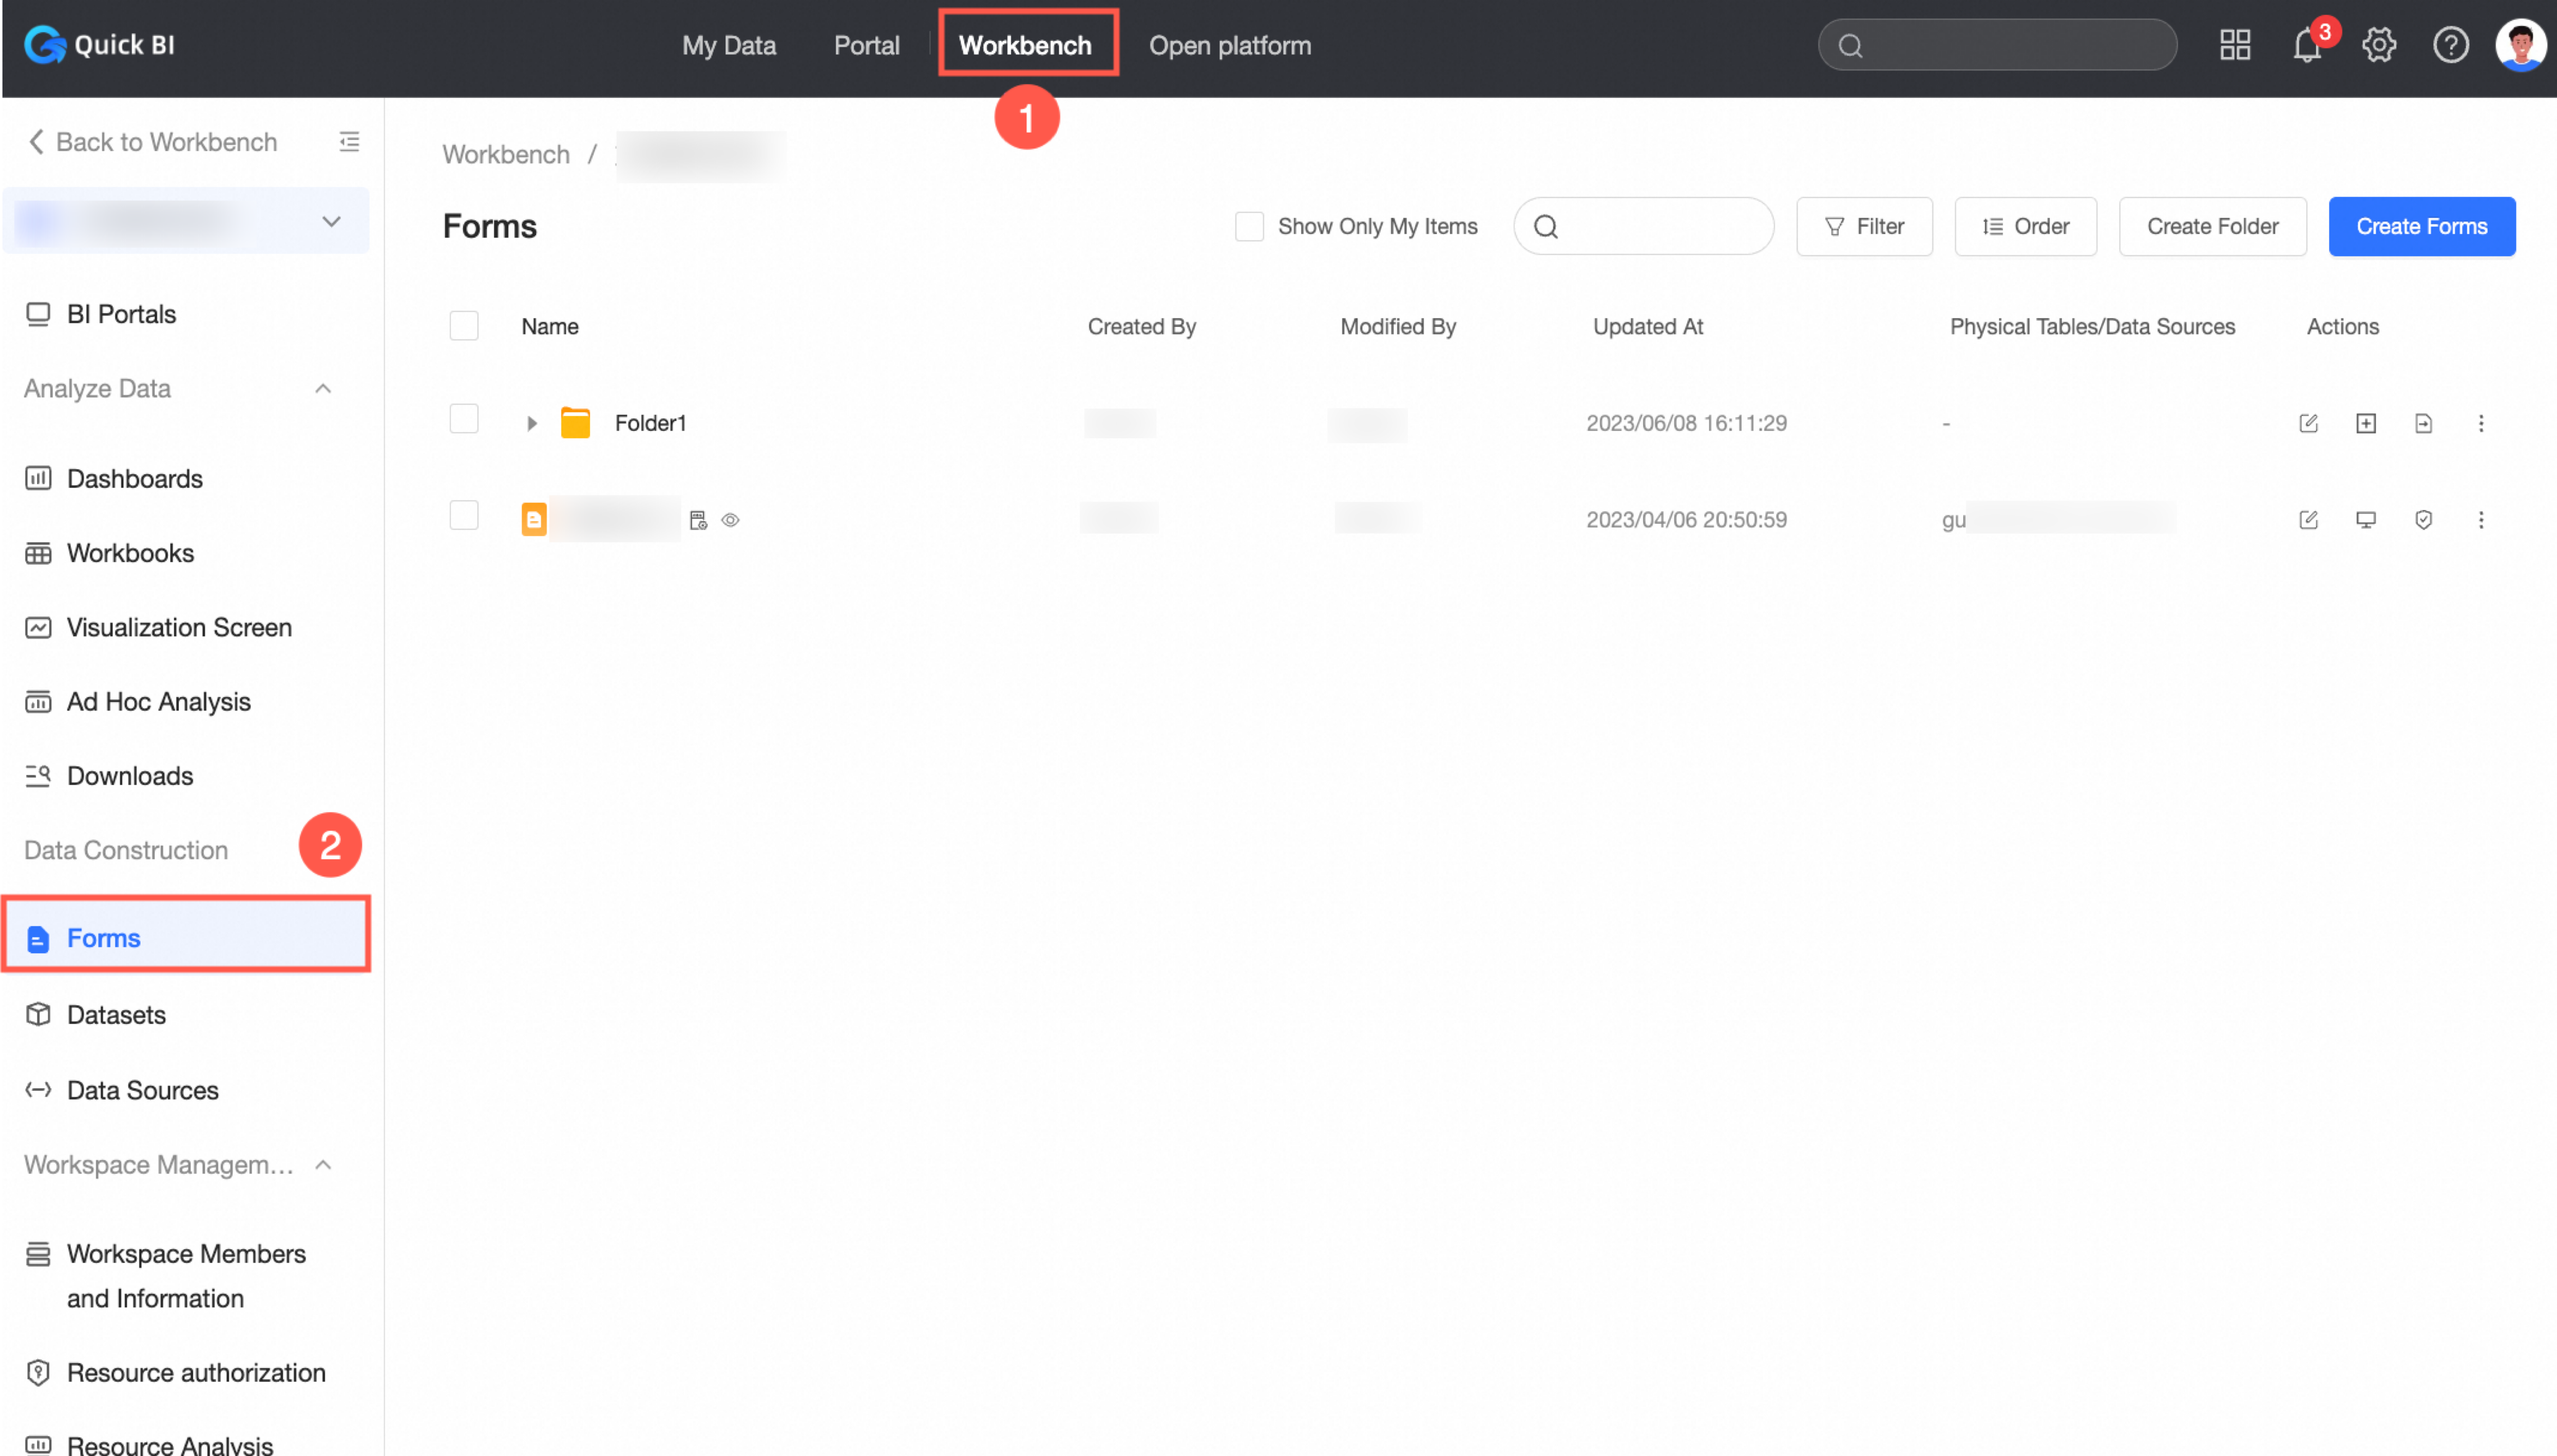
-
Method 2: Directly from the Forms page within a workspace.
Create a form
-
On the Forms editing page, add controls from the control library and configure them as needed.
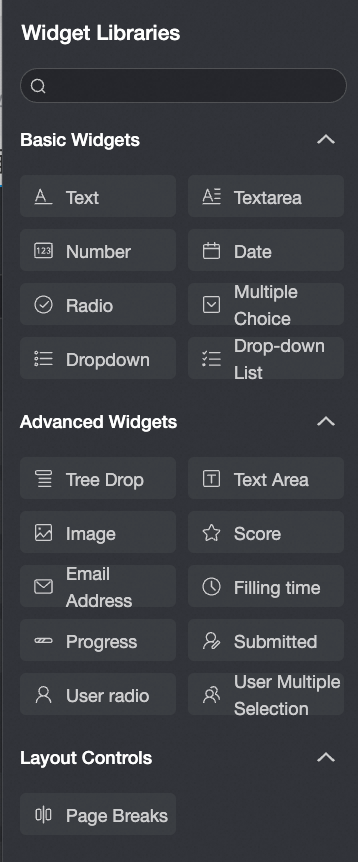
Add controls as illustrated below.
-
Click Save in the upper-right corner.
-
In the Save Settings dialog box, configure the parameters and click OK.
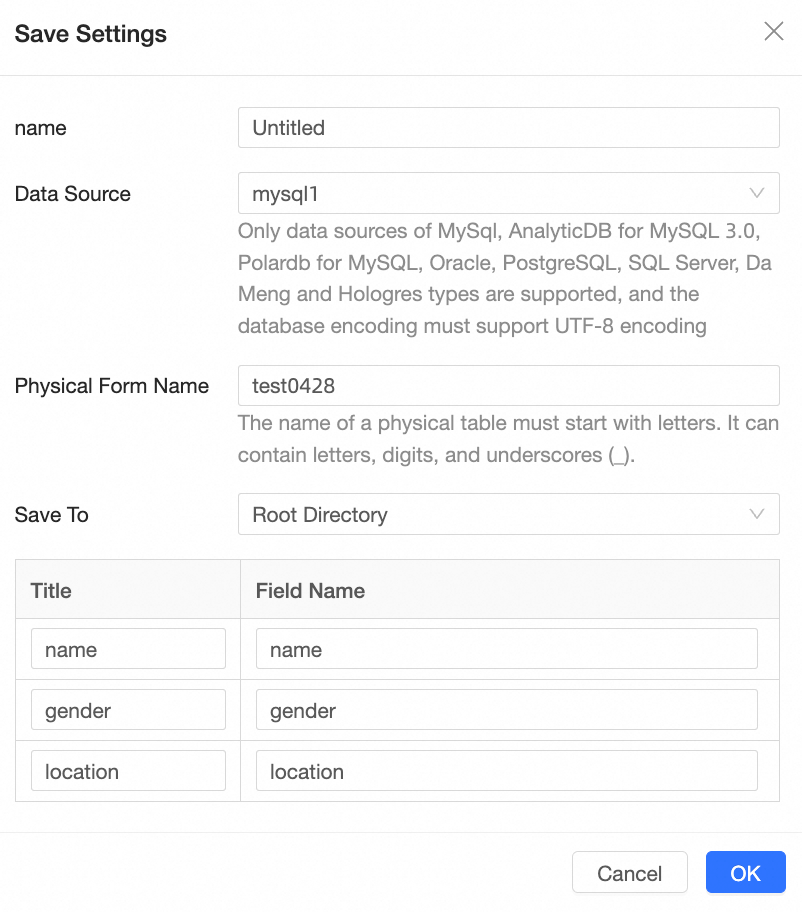 Note
Note-
The Save Settings dialog requires a Physical Table Name that does not duplicate any existing table name in the source database.
-
The Physical Table Name and Table Field Name must contain only lowercase letters, numbers, and underscores, and must start and end with a letter or number.
The form appears in the forms list.
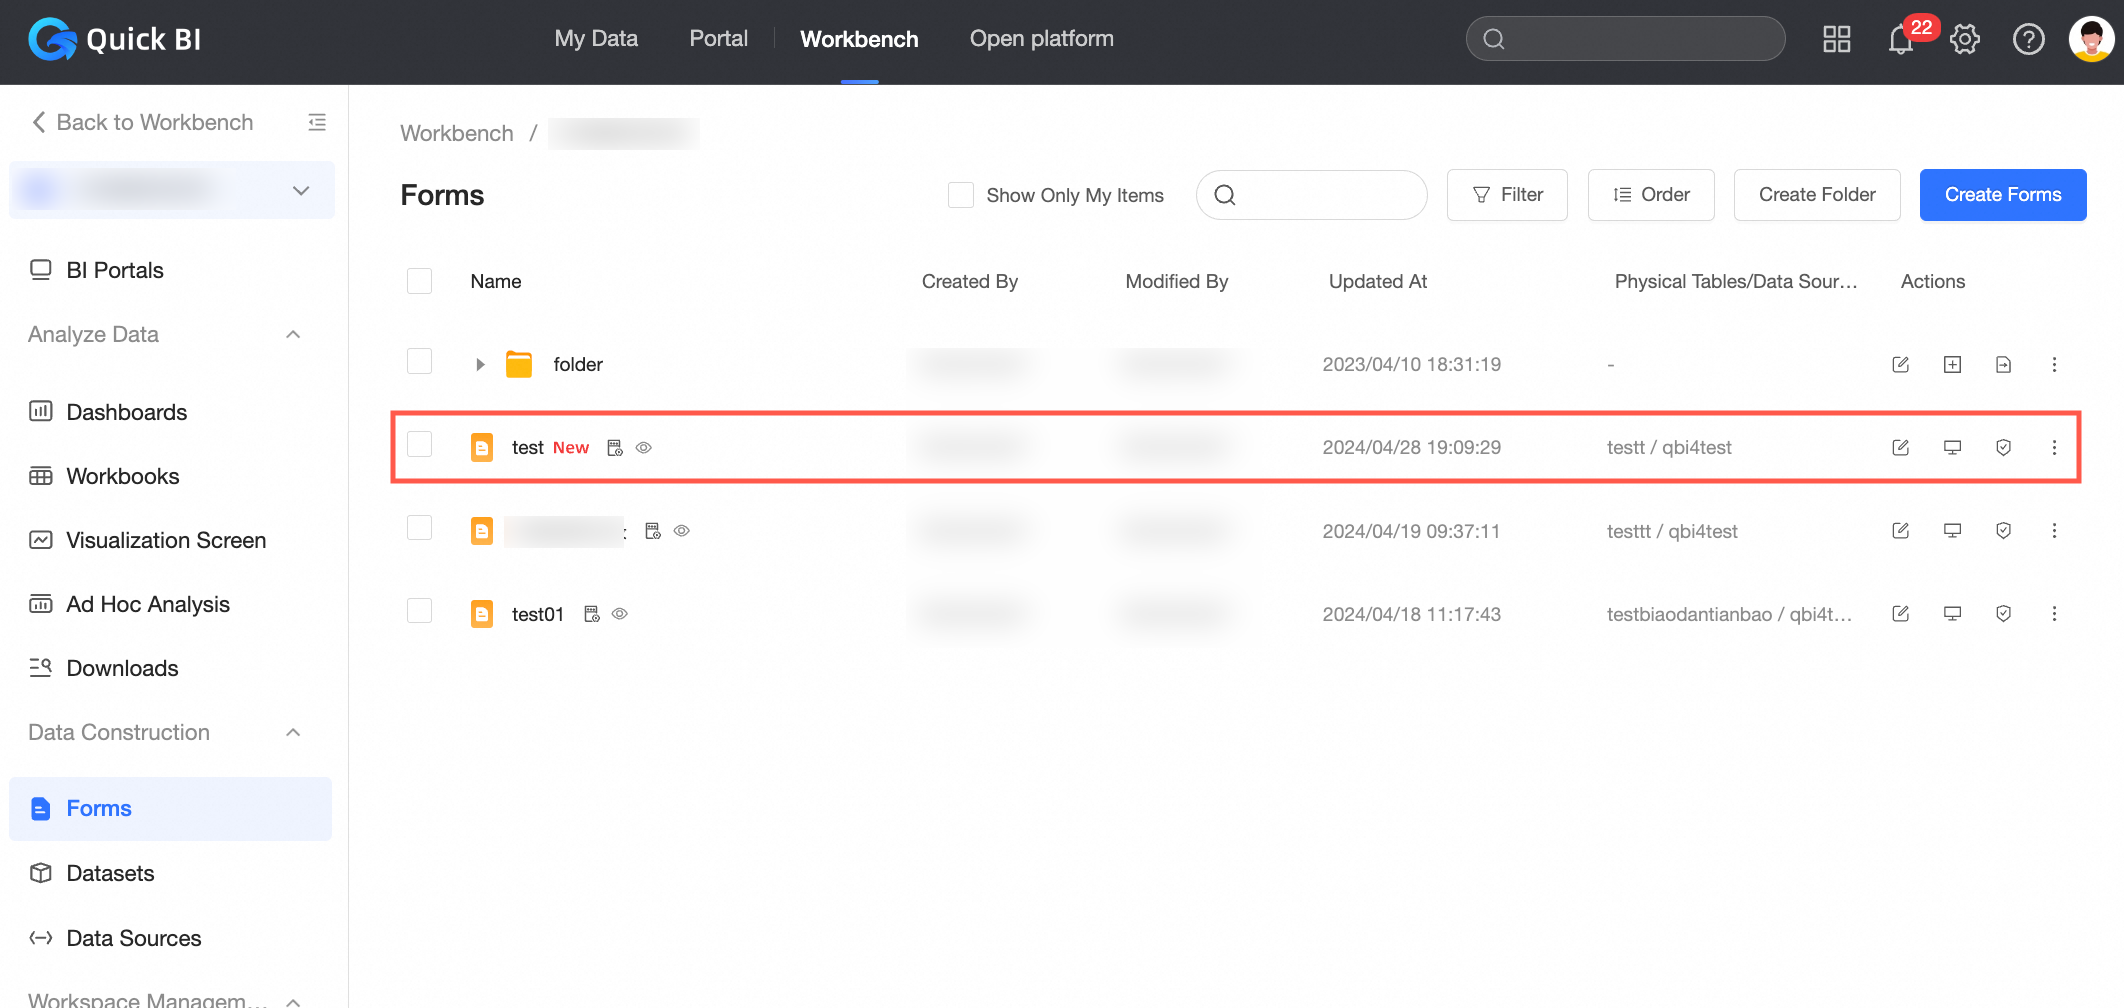
You can also view the new data in the corresponding database.
-
Fill data on mobile
-
Prerequisite: A form page must be created. Create a Form.
-
Use the identity switch at the top of the page to switch between PC and Mobile edit modes.
On the mobile editing page, a QR Code is displayed on the left. Scan it to preview the latest saved version of the form and verify its appearance.
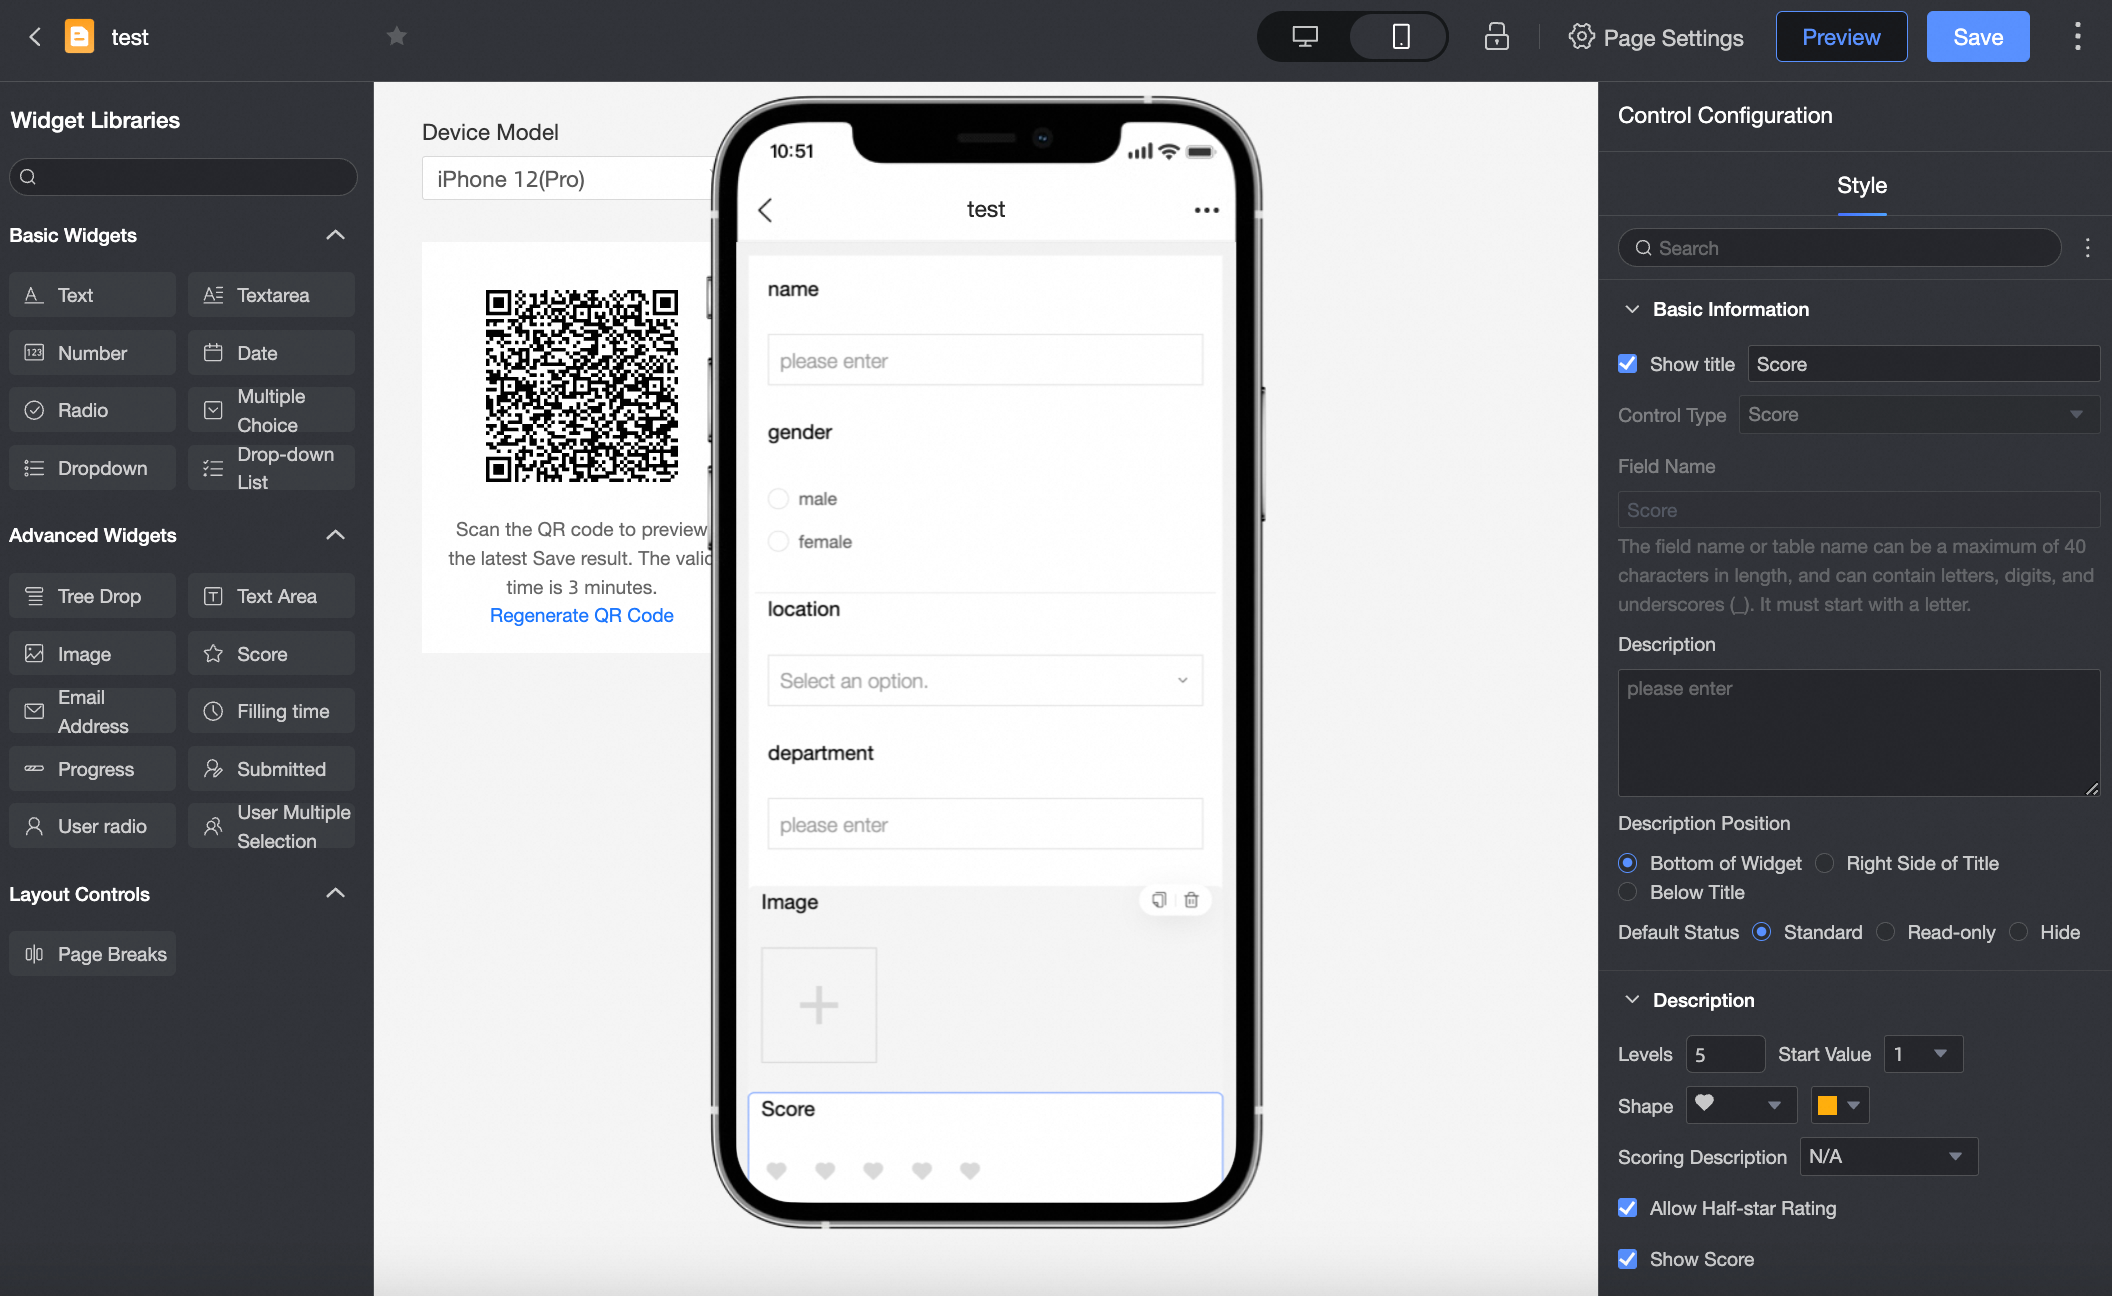
-
On the Form Page, complete the form and click Submit. After submission, you are redirected to the personal form homepage, where you can Continue To Submit or View Records.
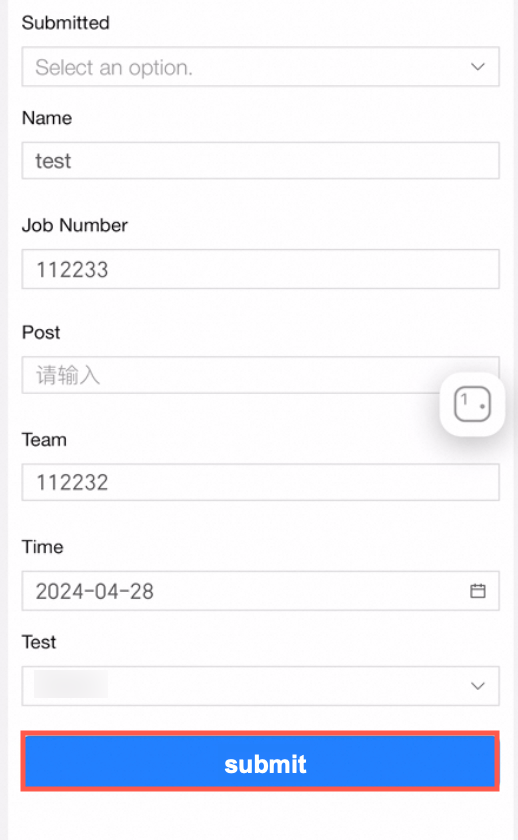
-
To View History, click Submission Records in the upper-right corner of the submission page to see a list of form submissions.

-
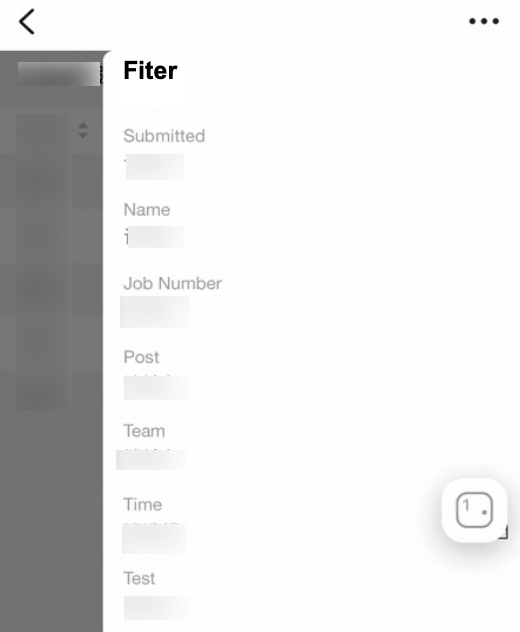
Use the filter icon in the upper-right corner to open the Filter List and sort through submissions.
-
To edit a submission, click Edit in the operation column on the right side of the records page. You are redirected to the form page to modify the entry.