Workspace administrators can manage menu permissions of BI portals.
Procedure
The permissions can be granted to user groups or individual users
After you log on to the Quick BI console.
On the Quick BI homepage, click console in the top navigation bar and select a group workspace.
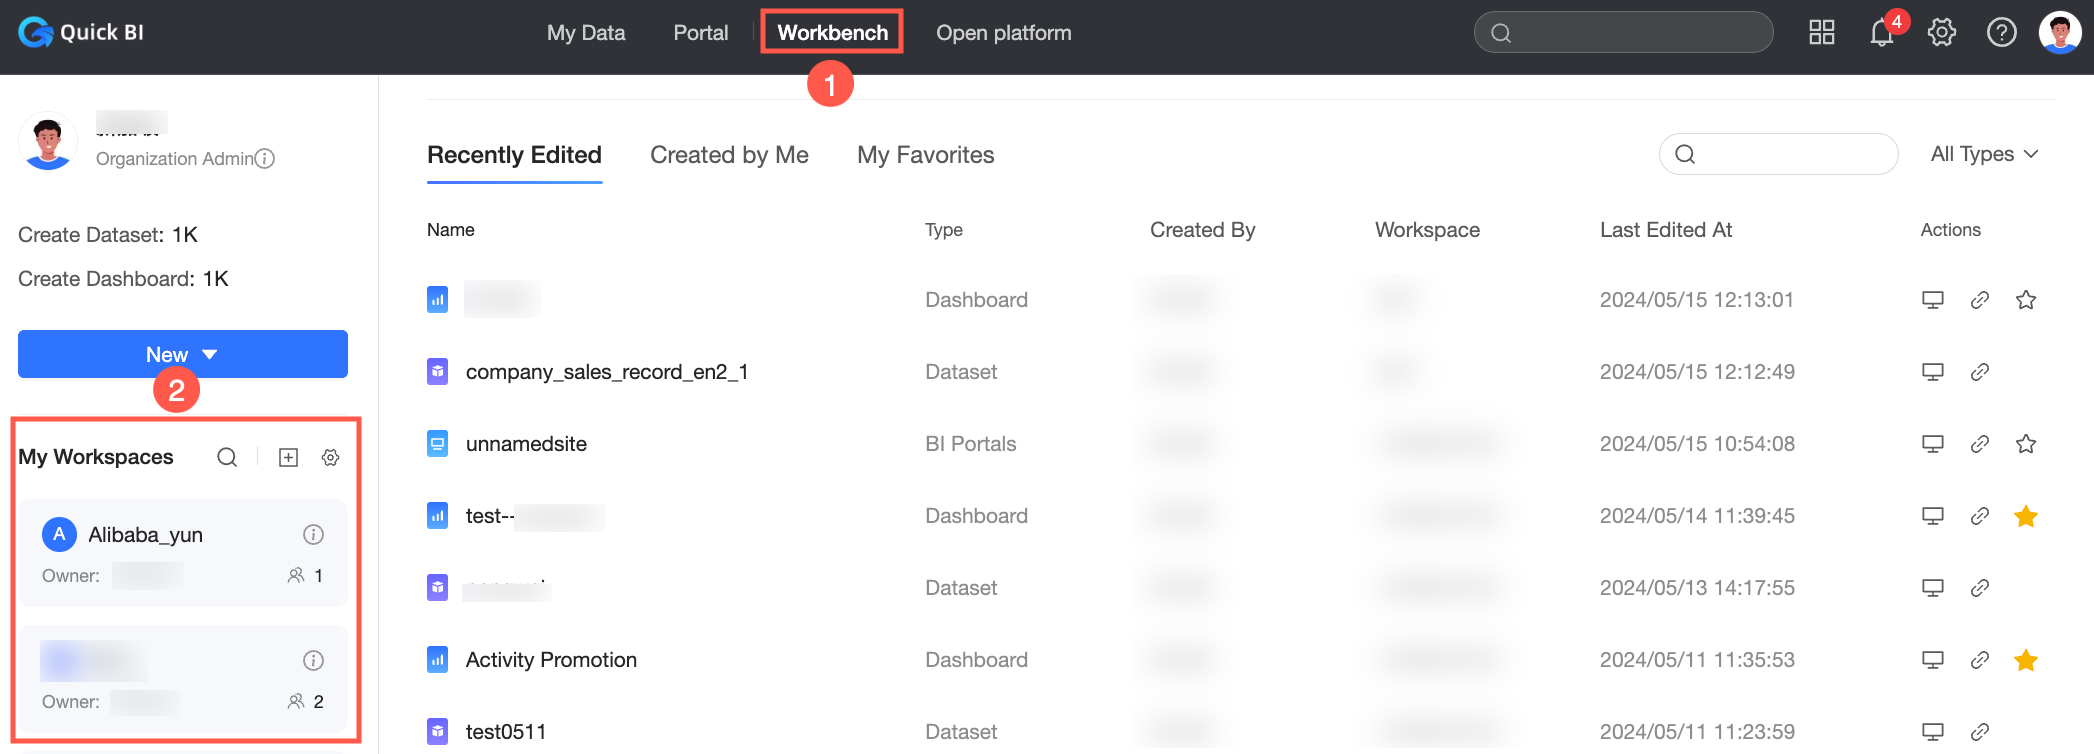
In the left-side navigation pane, click BI portal.
On the BI portal Management page, find the target BI portal and click the
 icon in the Actions column.
 On the Collaboration Authorization page, click the menu to be authorized in the Menu Content Authorization section. In the Permission Settings section, click Search and Add Authorization. In the dialog box that appears, select the user or user group that you want to authorize. The authorization immediately takes effect.
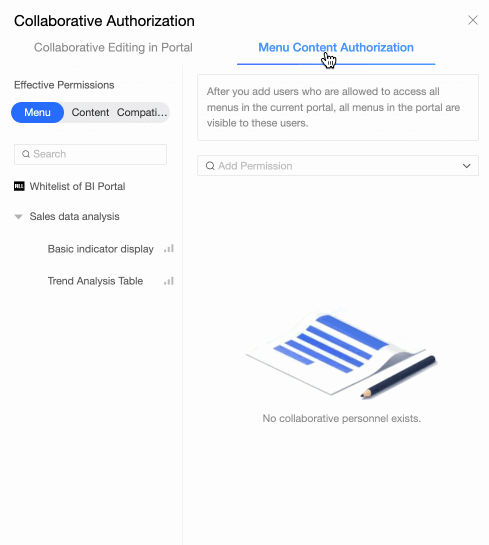 Note
NoteThis configuration takes effect only for users who have the BI portal view permissions.
If the users and user groups are selected in the Manage Menu Permissions dialog box:
If you select Yes for Available Only to Authorized Users, only the authorized users and user groups have permissions to view the menu.
If you select No for Available Only to Authorized Users, all user groups and users have permissions to view the menu.
After you select users and user groups, they are authorized to view the menu content, such as the dashboard, regardless of whether the BI portal is shared.
For more information about user groups, see Create a user group.
Click Close to complete configuring the menu permissions.