A member group is used to group members and can be used to grant permissions to members at a time.
Create a member group
In the upper-right corner
 of the page, choose Workspace > Workspace> Workspace Member Group.
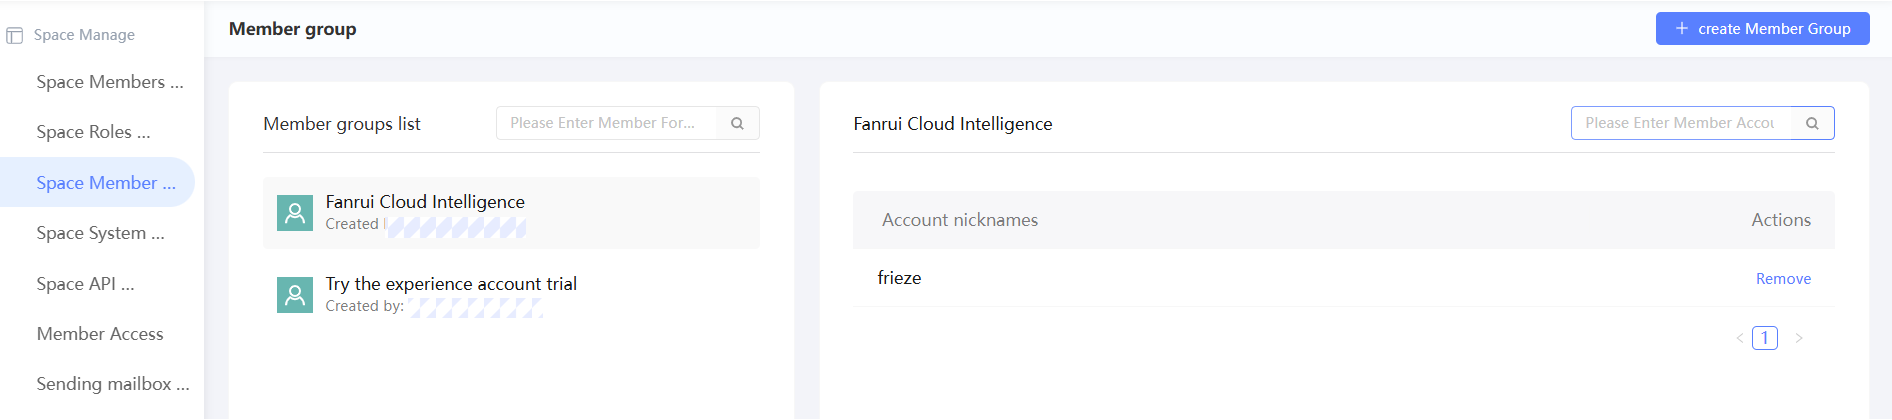
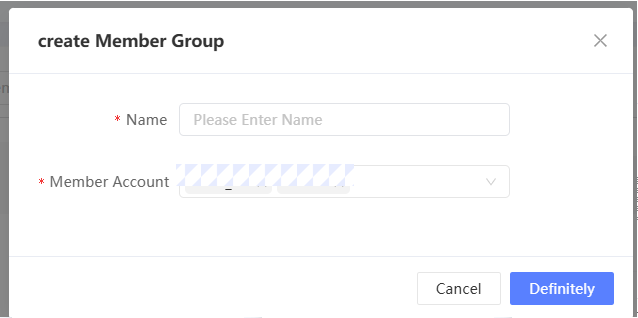
Click Create Member Group in the upper-right corner.
In the dialog box that appears, enter a member group name, select one or more members, and then click OK.
NoteA member can join multiple member groups.
Manage member groups
After a member group is created, you can manage it in the list. As shown in the following figure, click the member group name on the left, and the member list in the member group is displayed on the right. 
You can perform the following operations on member groups and members in groups:
Add members: Click the
 icon. In the dialog box that appears, select one or more members and click OK.
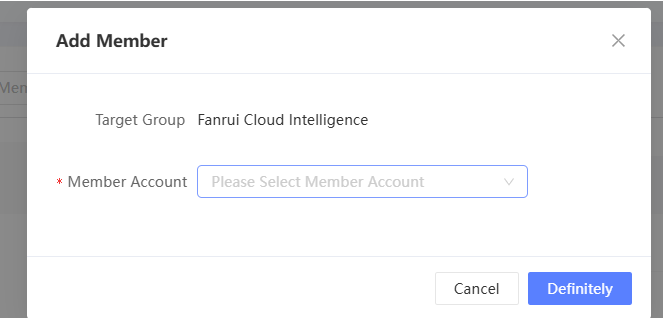
To edit a member group, click the
 icon. In the dialog box that appears, modify the name of the member group and click OK.
 Delete a member group: If the member group does not contain members and is no longer needed, click the
 icon and confirm to delete the member group.
 Remove a member: Click the
icon next to the member and remove the member from the member group.