Configure custom menus in the Quick Audience analysis dashboard, embed Quick BI reports into the menus, and grant report viewing and menu management permissions to specified accounts.
A Quick BI report can be embedded in a menu only after you complete Quick BI Embedding Configuration and grant Report Authorization to the space.
Custom menus, embedding
A menu is a hierarchical structure displayed to the right of the left-side navigation pane when you view reports on the Business Insight page. A menu allows you to mount a Quick BI report, as shown in the following figure. Two-level menus are supported, under which reports can be embedded. 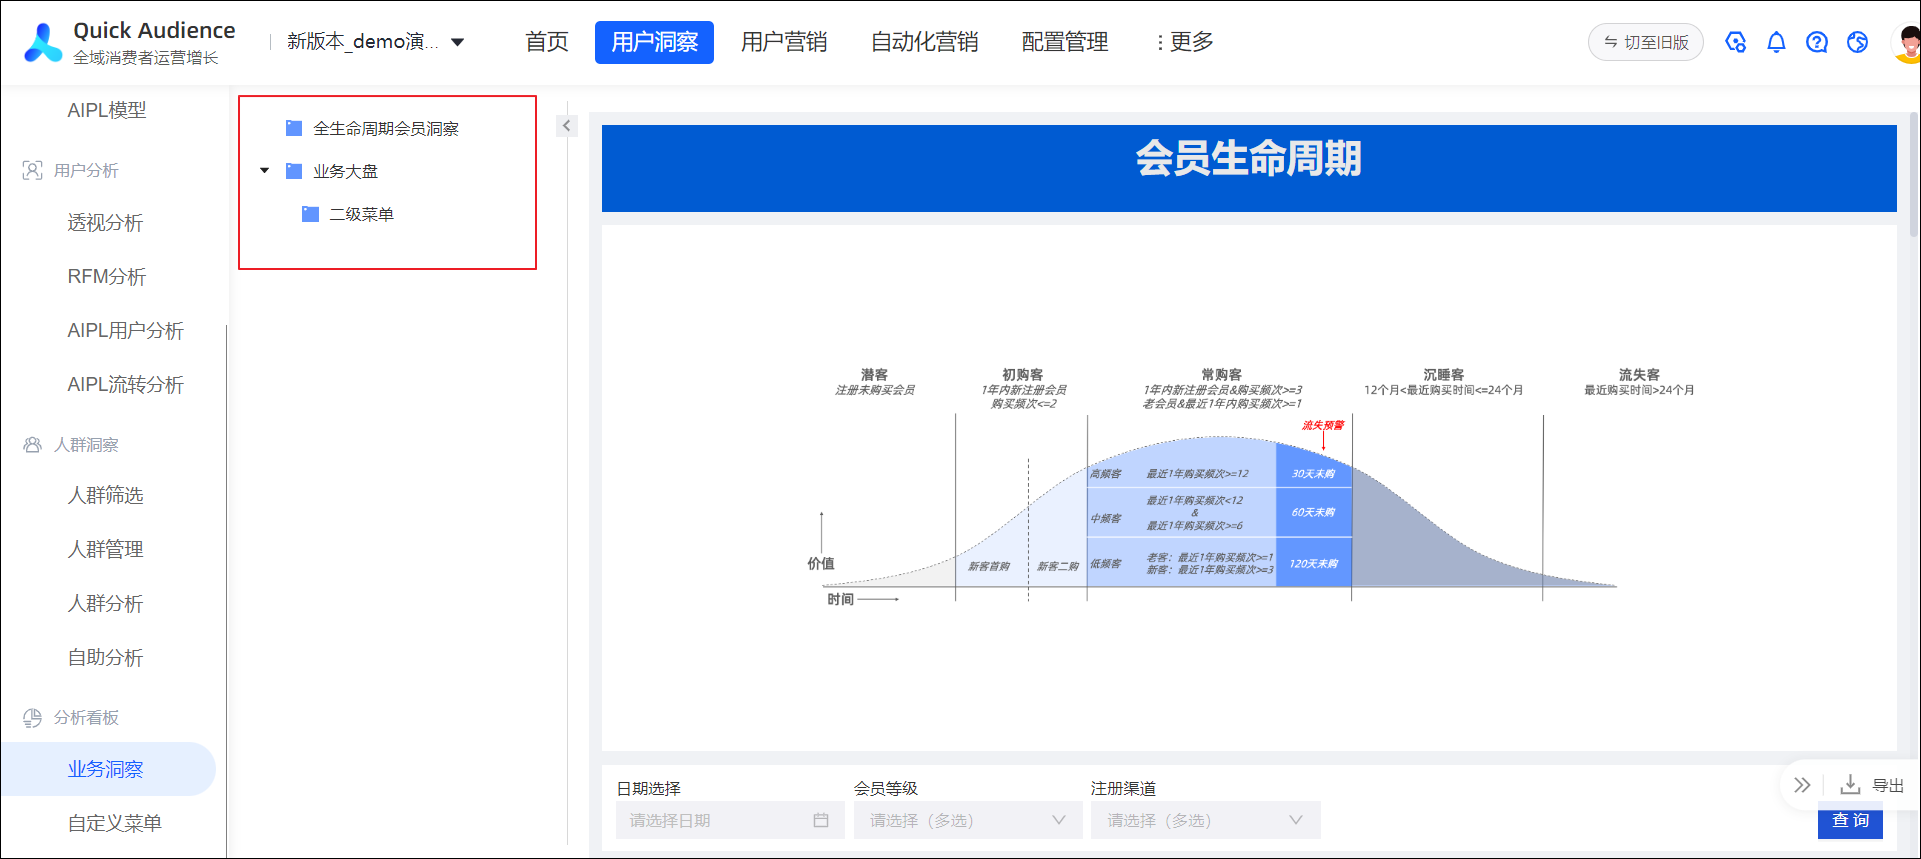
To customize the menu and embed a report, perform the following steps:
-
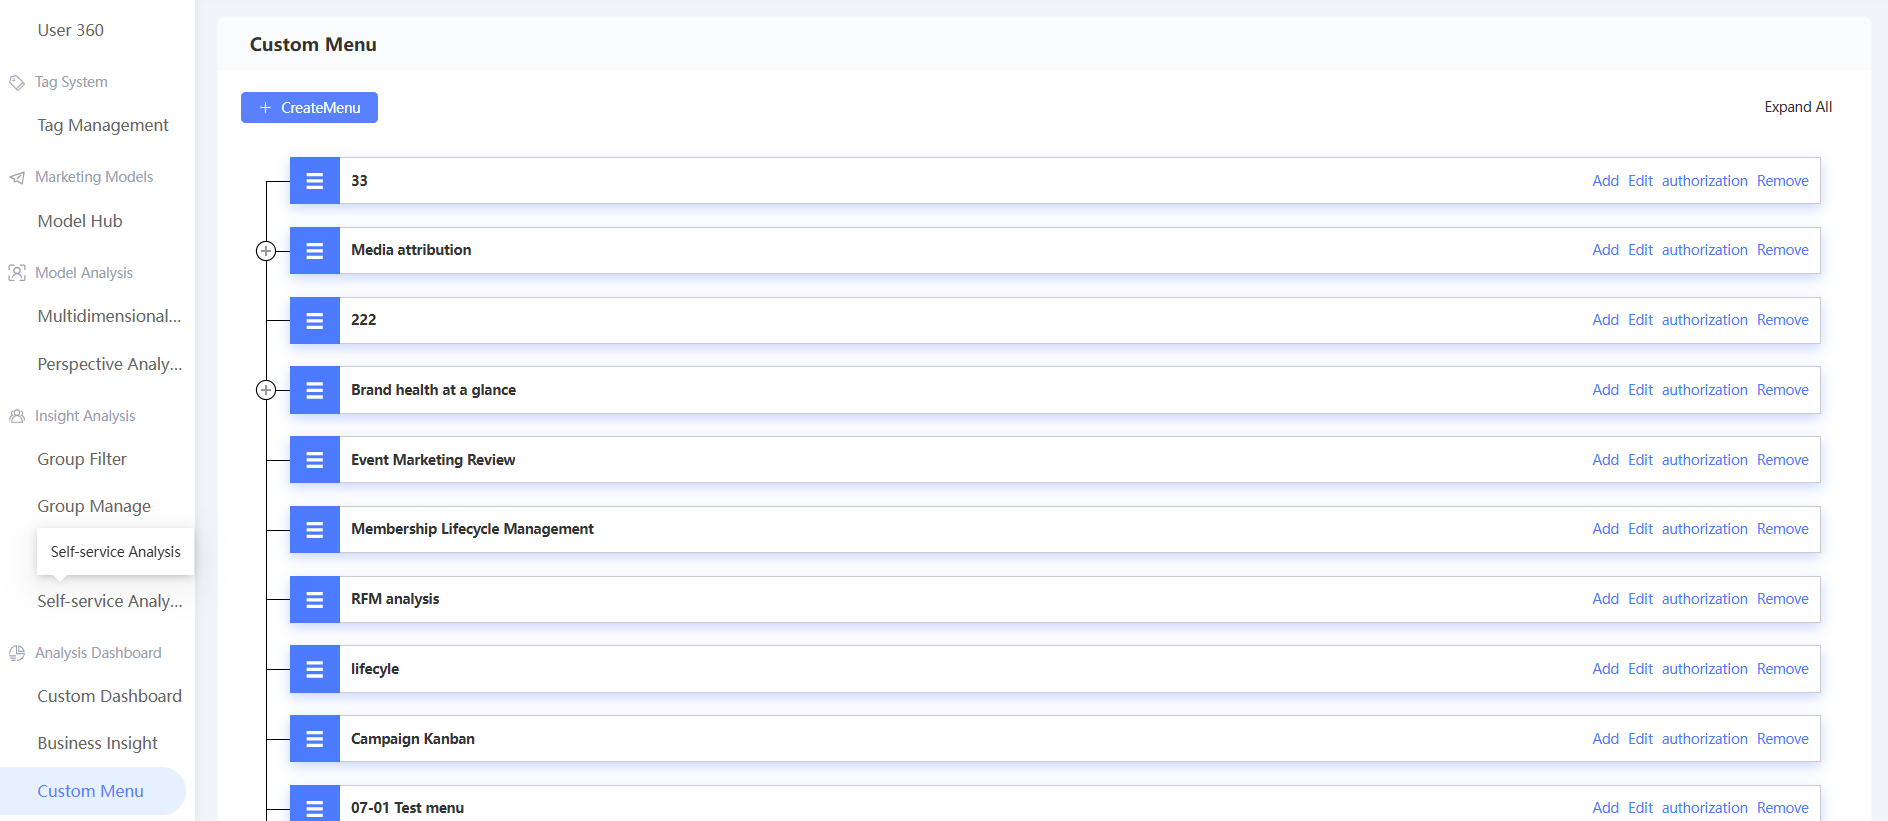
In the left-side navigation pane, choose Workspace> User Insight > Analysis Dashboard > Custom Menu.
-
For the menu level you want to add, perform the following operations:
-
To add a level -1 menu, click Create Menu.
-
To add a level -2 menu, click Add in the Actions column.
-
-
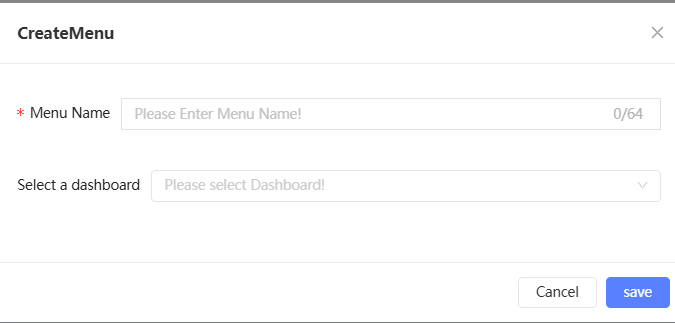
In the dialog box that appears, enter a menu name and select Report.
 Note
Note-
The report to be embedded must be published and embedded. For more information, see Quick BI Embedding Configuration. Then, the organization administrator must assign the report to the workspace. For more information, see Report Authorization.
-
If you do not select a report now, the menu is created without an embedded report. You can embed a report later by editing the menu.
-
-
Click Save.
Manage menus
After you create a menu, click Expand All in the upper-right corner to view the full menu hierarchy. You can also click the  icon in front of a level-1 menu to expand its level-2 submenus, as shown in the following figure.
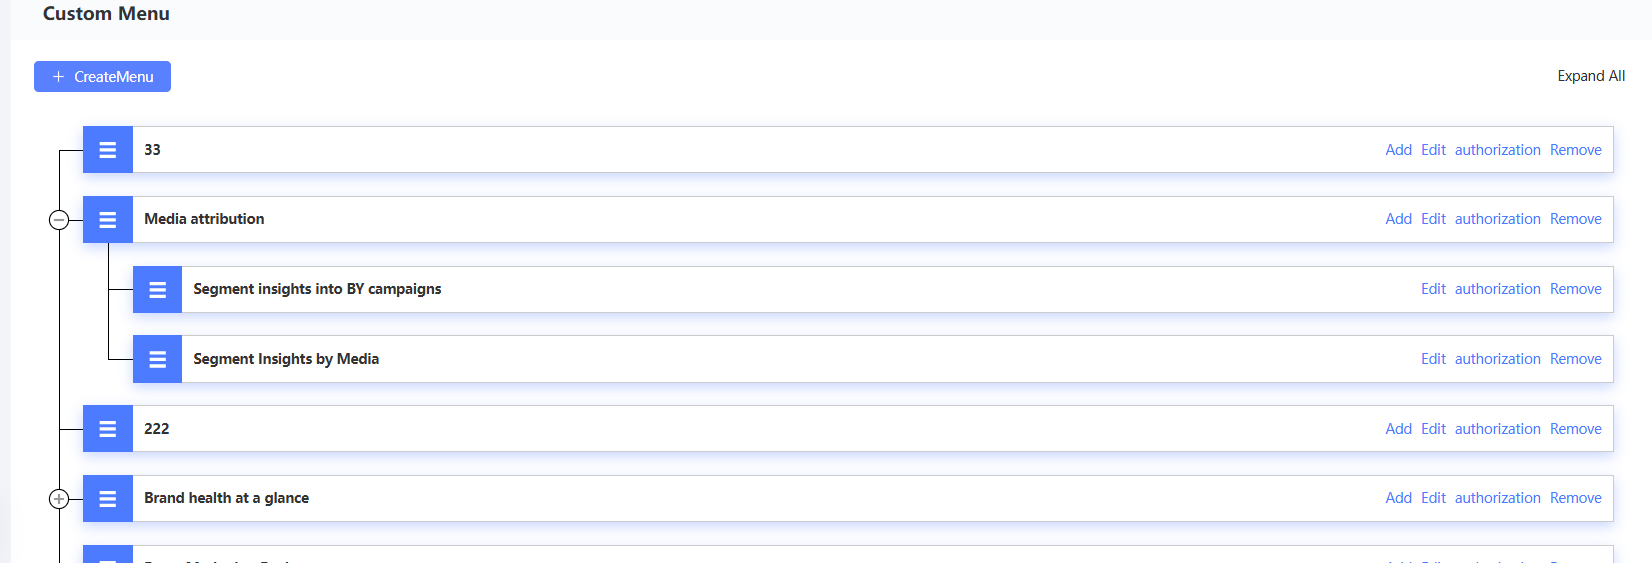
You can perform the following actions on the menu:
-
Move: Drag the menu to a
 new location by pressing and holding its icon.
 -
Edit: Click Edit to modify the name of the report to be embedded.
NoteIf multiple reports are embedded in the same menu one after another, only the most recently embedded report is displayed.
-
Authorize: Click Authorize to grant report viewing permissions to a specified account. For more information, see Authorize.
-
Remove: Click Remove to delete the menu.
NoteLevel-1 menus that contain submenus cannot be removed.
Authorize
After you configure a custom menu and embed a report, you can authorize specified Quick Audience accounts to view the report and manage the menu.
Procedure
-
Choose Workspace> User Insight > Analysis Dashboard > Custom Menu to go to the configuration page.
-
Click Authorize in the Actions column corresponding to the menu.
-
In the pop-up window, the current menu is selected by default. You can also select other menus. All menus are supported.
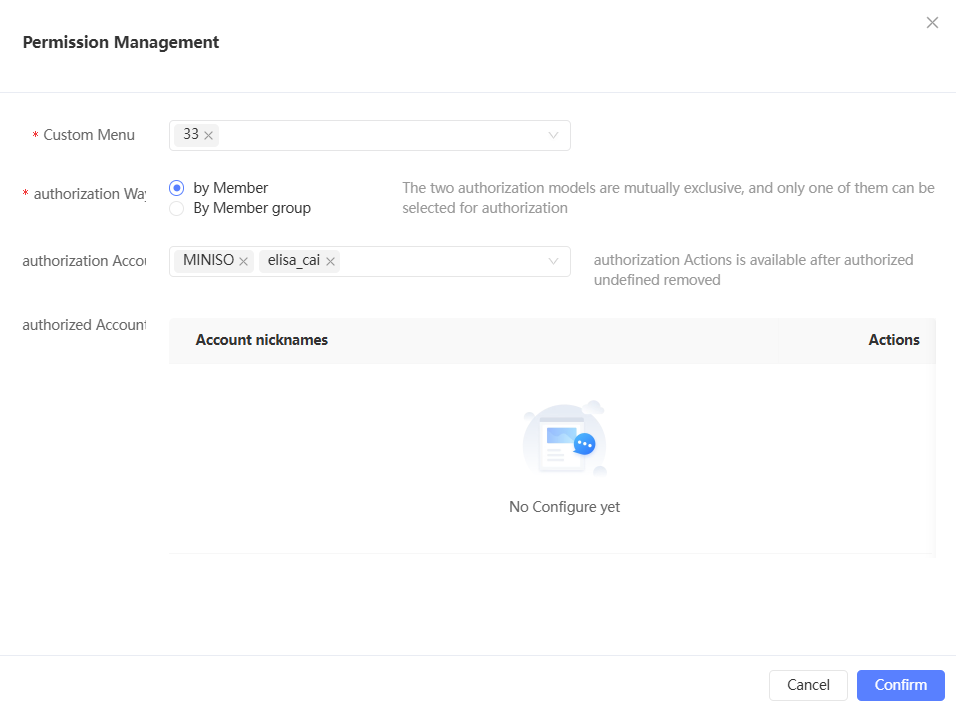
-
Set the Authorization Method parameter to By Member or By Member Group.
NoteThe two authorization methods are mutually exclusive. If you switch from one method to the other, the previous authorization is revoked and only the new authorization takes effect.
The authorized accounts or member groups for the selected menu are displayed below.
NoteIf you select multiple menus, the accounts or member groups authorized for multiple menus are displayed below.
-
To remove the authorization from an account or member group, click Remove in the Actions column. The change takes effect immediately.
-
Authorization: Select the accounts or member groups to which you want to grant permissions, and click OK. You can select multiple accounts or member groups.
NoteAuthorized members can only view reports and manage menus within the authorized menu. These permissions do not extend to parent or child menus.