Deploy a pretrained ViT model for image classification, or fine-tune it with your own dataset to classify images into custom categories.
Prerequisites
Create an OSS bucket. For more information, see Create buckets.
Step 1: Open the model details page
-
Go to the Model Gallery page.
-
Log on to the PAI console.
-
In the upper-left corner of the top navigation bar, select a region.
-
In the left-side navigation pane, click Workspaces and then click the name of the workspace you want to open.
-
In the left-side navigation pane, choose Quick Start > Model Gallery.
-
-
On the Model Gallery page, in the Computer Vision section, click Image Classification. Then, click the ViT Image Classification-General model card to open the model details page.
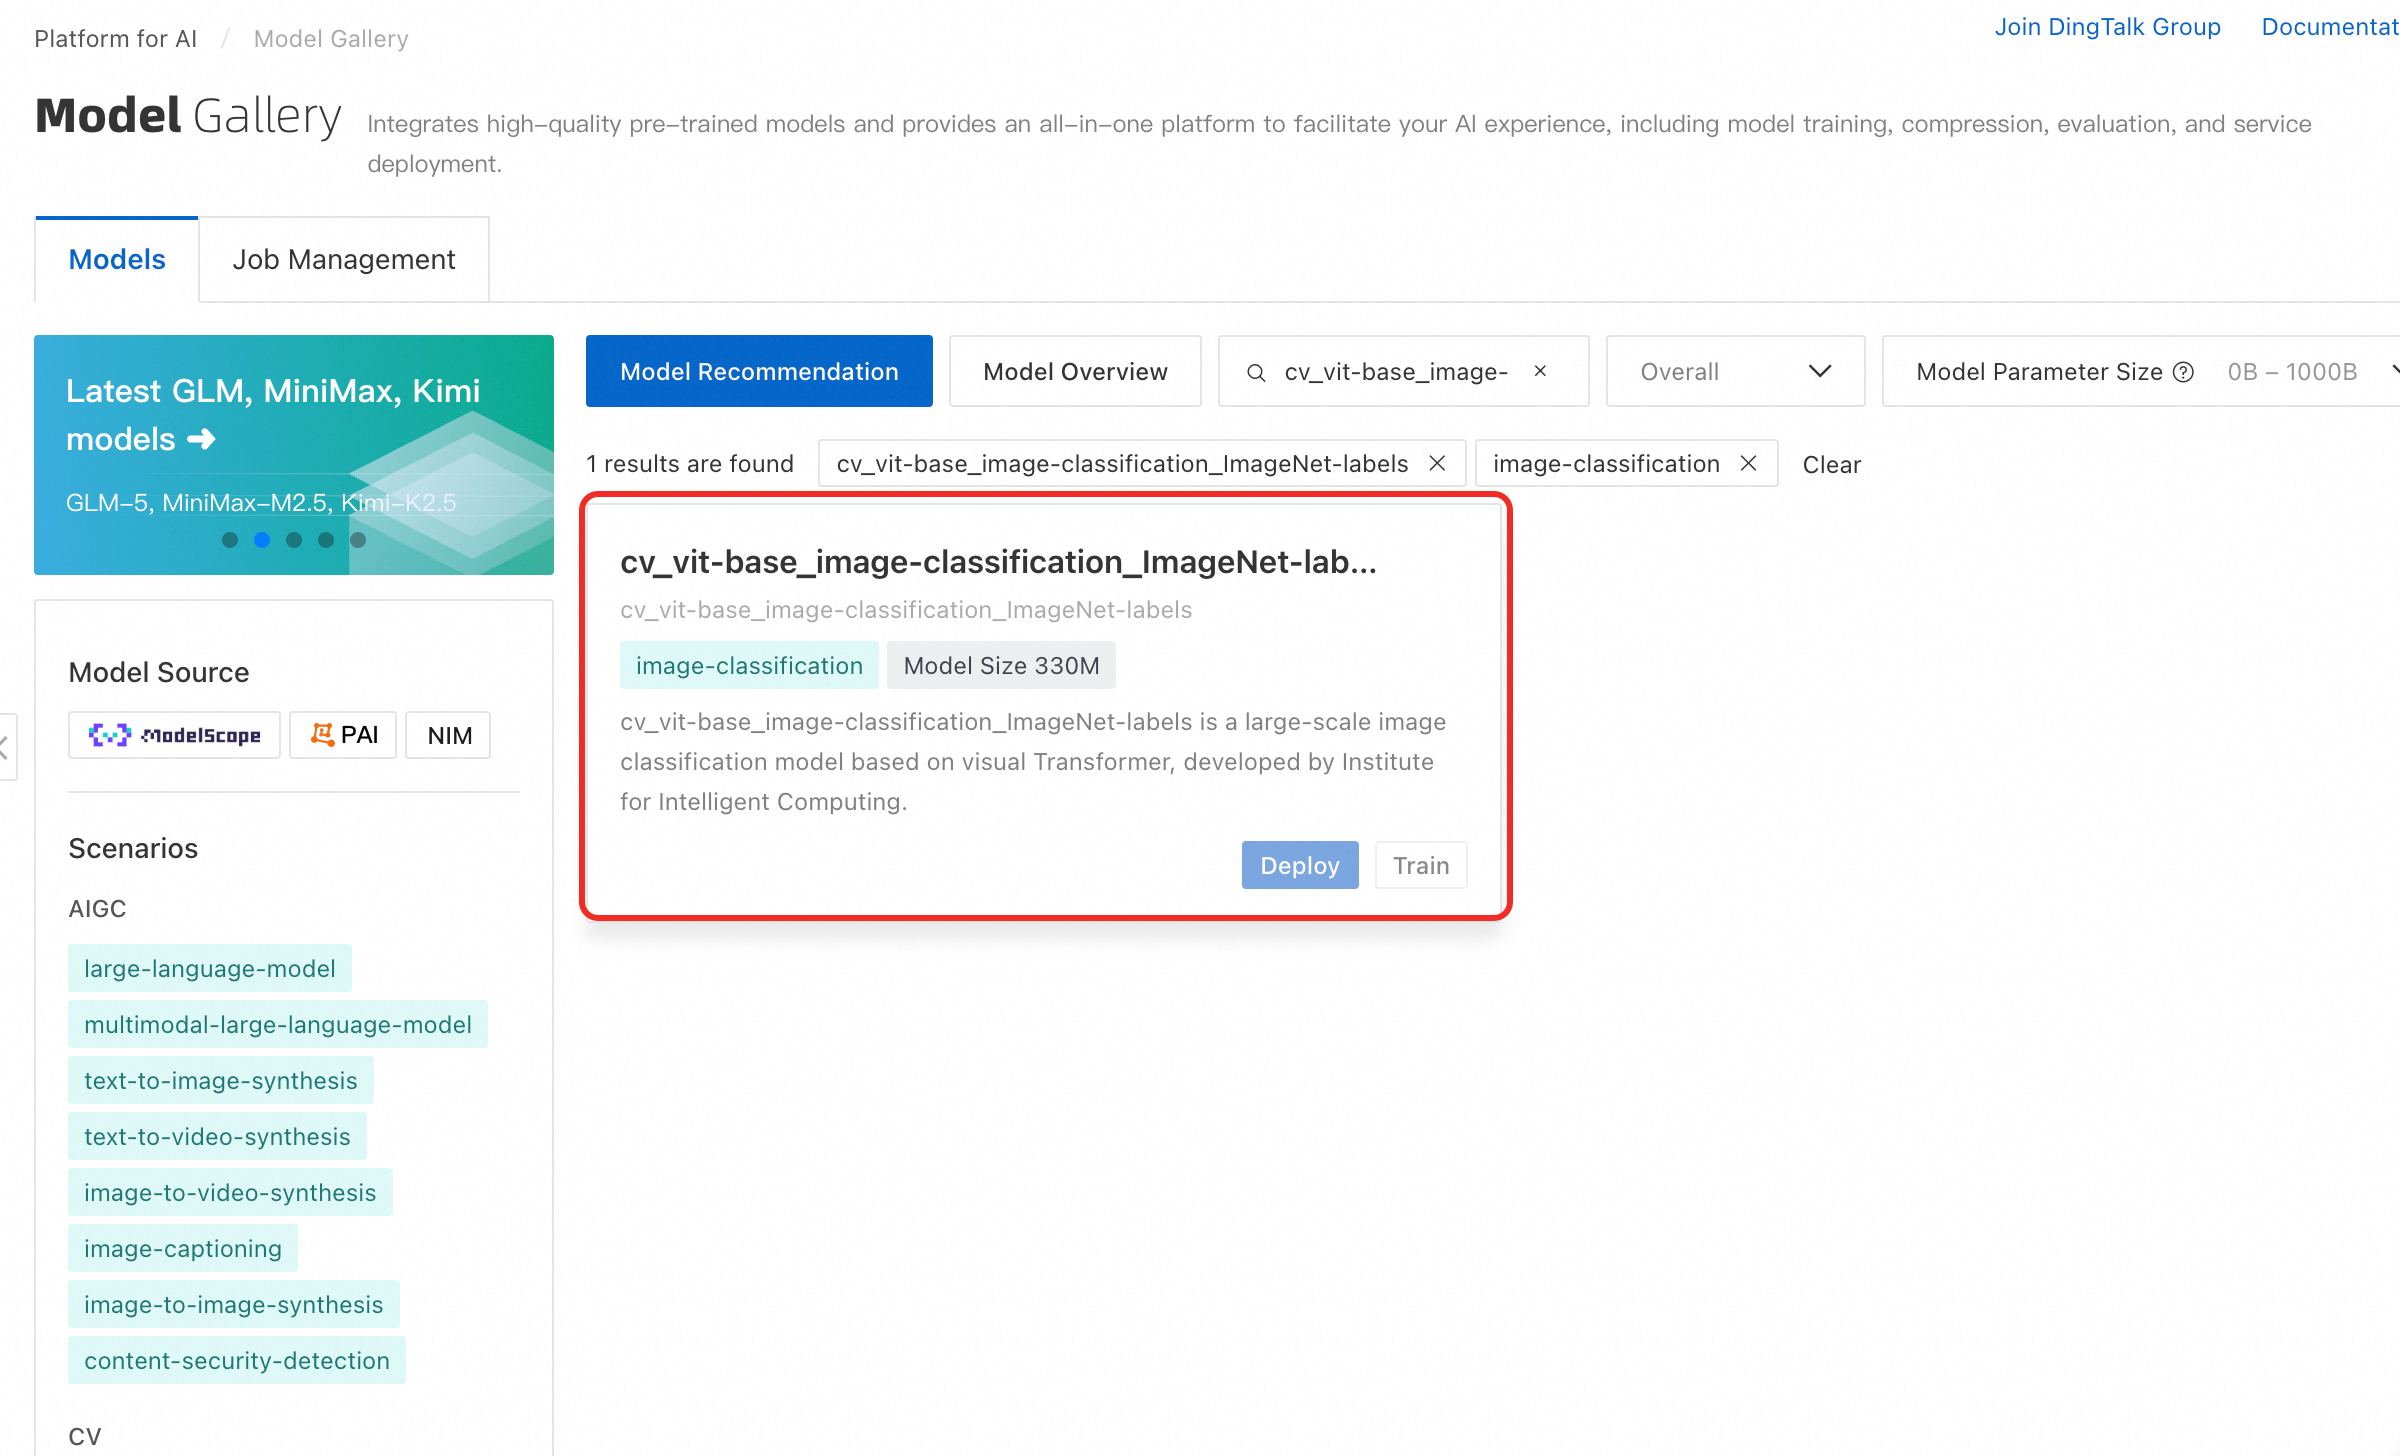
On the model list page, multiple models from different open-source communities are available. Choose a model that meets your requirements.
-
Models with more parameters perform better but require more data for fine-tuning and incur higher serving costs.
-
The closer the pretrained dataset is to your use case, the better the model performs. Check the model details page for pretrained dataset information.
-
Step 2: Deploy the model directly
The cv_vit-base_image-classification_ImageNet-labels model is from the ModelScope community's ViT Image Classification-General model. It is based on the Transformer ViT Base architecture and trained on the ImageNet-1K dataset. It supports classification tasks covered by the ImageNet-1K labels. Model Gallery deploys this model to Elastic Algorithm Service (EAS) to create inference services. Follow these steps:
-
Deploy the service.
-
On the model details page, click Deploy.
-
Confirm the Model service info and Deployment info.
Model Gallery pre-configures computing resources and a service name based on model characteristics. Use the default settings for this example, or customize them. For more information, see Deploy and debug models.
-
Click Deploy. In the Billing Notification dialog box, click OK.
The page redirects to the Service details page. In the Basic Information section, wait until the Status changes to Running.
-
-
Call the model service.
After deployment, send prediction requests to the model service HTTP API. The service accepts Base64-encoded images and returns results in JSON format.
-
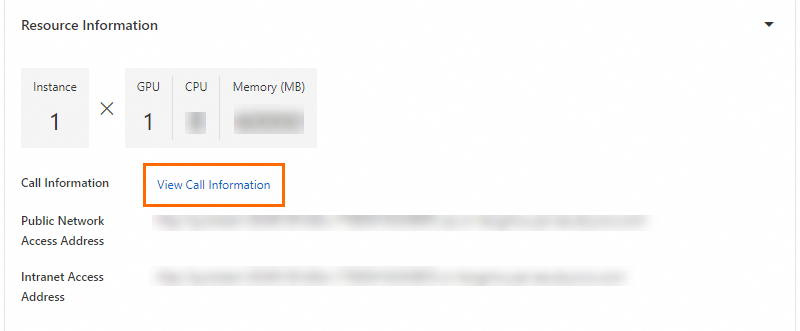
On the Service details page, in the Resource Information section, click View Call Information.
-
In the Call Information dialog box, on the Public network address call tab, save the Endpoint and Token.
-
Use the Python Requests library to call the model service. Example:
import requests
import base64

image_path = "<PathToLocalImage>"
url = "<PredictionServiceURL>"
token = "<PredictionServiceAccessToken>"


def encode_file_to_base64(f):
    with open(f, "rb") as file:
        encoded_string = base64.b64encode(file.read())
        base64_str = str(encoded_string, "utf-8")
        return base64_str

base64_string = encode_file_to_base64(image_path)
request_body = {
    "image": base64_string
}

headers = {"Authorization": token}
resp = requests.post(url=url, headers=headers, json=request_body)

print(resp.content.decode())
print("status code:", resp.status_code)
Replace
urlwith the Endpoint,tokenwith the Token from the previous step, and image_path with the path to a local image file (.png or .jpg).A successful call returns the top five most likely labels and their scores. Sample output:
{
  "scores": [
    0.4078965485095978,
    0.24673610925674438,
    0.1930493414402008,
    0.0026617543771862984,
    0.0009246605914086103
  ],
  "labels": [
    "tiger cat",
    "tabby, tabby cat",
    "Egyptian cat",
    "lynx, catamount",
    "tiger, Panthera tigris"
  ]
}
-
Step 3: Fine-tune the model
The cv_vit-base_image-classification_ImageNet-labels model supports classification tasks covered by ImageNet-1K labels. If your target domain is not covered, fine-tune the model with a small set of labeled images for your specific domain.
-
Prepare data.
-
Prepare your dataset according to the following directory structure:
The model trains on image data from an OSS bucket. Organize the dataset in a root directory with one subdirectory per category. Each subdirectory name serves as the category label. For example, if the training dataset is at
oss://{YourOssBucket}.{OssEndpoint}/{PathToTrainData}/, the structure must be:├── category-1 │ ├── image1.jpeg │ └── image2.jpeg ├── category-2 │ ├── image3.jpeg │ └── image4.jpeg |... |... └── category-n ├── imagexxx.jpeg └── imageyyy.jpegFor better performance, prepare a validation dataset with the same directory structure to evaluate the model and tune hyperparameters.
-
Upload the dataset to your OSS bucket using the directory structure described above. For more information, see Upload files.
-
-
Submit a training job.
-
On the Model Details page, click Fine-tune. On the configuration page, specify the Training dataset, Validate dataset, and Output Path.
Model Gallery pre-configures Computing Resources and Hyperparameters. Use the defaults or customize them. For more information, see Model deployment and training.
NoteBy default, the model uses the MiniImageNet-100 dataset for fine-tuning, so you can test the training process without preparing your own data.
-
Click Fine-tune.

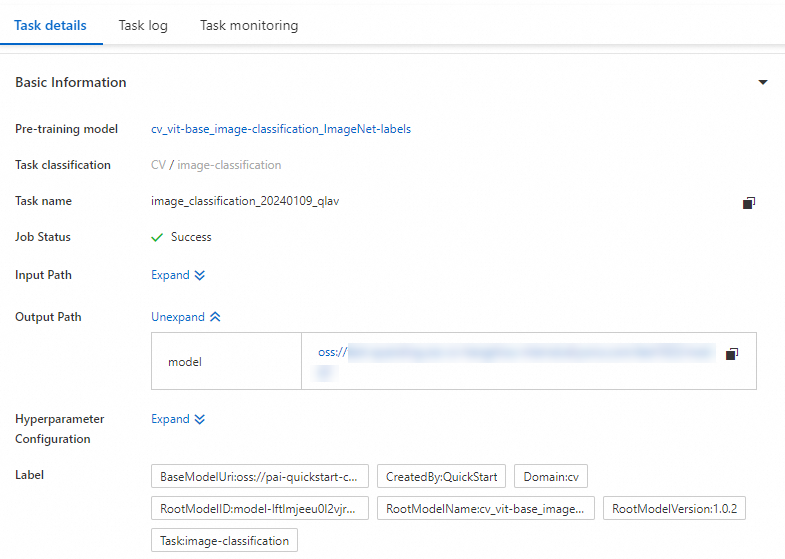
The page redirects to the Task details page, where you can monitor progress, logs, and evaluation results. After training completes, the model is saved to the Output Path you specified.
-
-
Deploy the fine-tuned model.
PAI automatically registers the trained model in AI Assets - Model Management for viewing and deployment. For more information, see Register and manage models.