Train LoRA models with Kohya_ss on EAS and apply to Stable Diffusion for image generation.
Prerequisites
-
Activate EAS and create a default workspace. For more information, see Activate PAI and create a default workspace.
-
For RAM users deploying the model, grant permissions to manage EAS. For more information, see Cloud product dependencies and permissions: EAS.
-
Create an OSS bucket and folders in the same region to store training materials, model files, and logs. For information about uploading files, see Upload files.
Prepare OSS storage structure
-
Log on to the OSS console and navigate to a bucket path in the same region. For example,
oss://kohya-demo/kohya/. -
In the current bucket path, create a project folder, for example,
KaraDetroit_loar. In this folder, create three subfolders namedImage,Log, andModel. Optionally upload a JSON configuration file to this folder.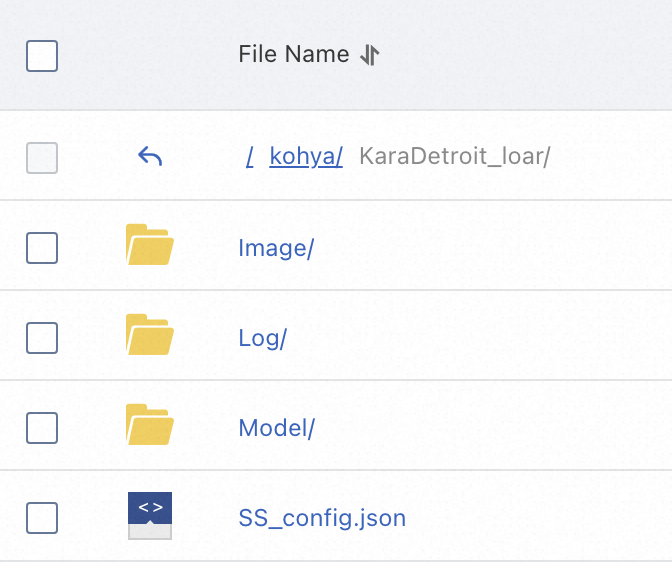
-
Image: Source files for training materials.
-
Model: Model files after training completes.
-
Log: Training logs.
-
SS_config.json: JSON file for batch parameter configuration (optional). Modify parameters such as folder paths and output model names. For more information, see GitHub. For a sample file, see SS_config.json.
-
-
Upload prepared images to the
Imagefolder. This topic uses a sample package containing images and description files: 100_pic.zip. Download and decompress the file, then upload the resulting folder to OSS. The result is shown in the following figure.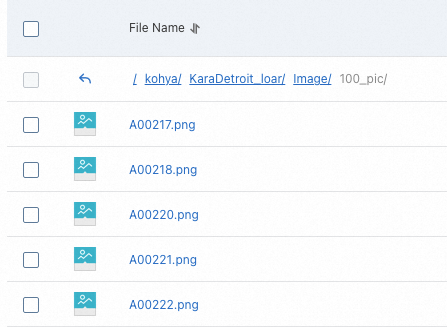 Important
-
Supported image formats are
.png,.jpg,.jpeg,.webp, and.bmp. -
Each image must have a description file with the same name and a
.txtfile extension. The description must be on the first line. If an image has multiple descriptions, separate them with commas. -
Image folder names must follow the format: number_name. For example, 100_pic. The name can be any string following OSS file naming rules. The number indicates repetitions for each image during training. This value is typically 100 or greater. Total training iterations generally exceed 1,500.
-
If the folder contains 10 images, each is trained
1500/10=150times. Set the folder name number to "150". -
If the folder contains 20 images, each is trained
1500/20=75 (<100)times. Set the folder name number to "100".
-
-
Deploy Kohya_ss service
-
Log on to the PAI console. Select a region on the top of the page. Then, select the desired workspace and click Elastic Algorithm Service (EAS).
-
Click Deploy Service. In the Custom Model Deployment section, click Custom Deployment.
-
On the Custom Deployment page, configure the parameters using the form or by specifying JSON configurations.
Form configuration
Parameter
Description
Basic Information
Service Name
Custom service name. This topic uses kohya_ss_demo as an example.
Environment Information
Deployment Method
Select Image-based Deployment and select Enable Web App.
Image Configuration
In the Alibaba Cloud Image list, select kohya_ss > kohya_ss:2.2.
NoteVersions iterate quickly. Select the latest image version during deployment.
Storage Mount
Select OSS as mount type and configure these parameters:
-
Uri: Select an OSS path in the same region. This topic uses
oss://kohya-demo/kohya/. -
Mount Path: Customize the path. This topic uses
/workspace.ImportantTurn off the Read-Only switch. Otherwise, model files cannot be written to OSS.
Command to Run
System automatically configures the run command after selecting the runtime image. This topic uses
python -u kohya_gui.py --listen=0.0.0.0 --server_port=8000 --headless.-
--listen: Binds program to the specified local IP address to accept external requests. -
--server_port: Listening port number.
Resource Information
Resource Type
Select Public Resources.
Deployment
Resource specifications: ml.gu7i.c16m60.1-gu30 GPU is recommended for cost-effectiveness. This topic uses the current minimum specification, ml.gu7i.c8m30.1-gu30.
JSON configuration
In the Service Configurations section, click Edit and enter the configuration in JSON format.
Sample JSON configuration:
ImportantIn the following example, modify the configurations on line 4 ("name") and line 18 ("oss") based on your requirements.
{ "metadata": { "name": "kohya_ss_demo", "instance": 1, "enable_webservice": true }, "cloud": { "computing": { "instance_type": "ecs.gn6e-c12g1.12xlarge", "instances": null } }, "storage": [ { "oss": { "path": "oss://kohya-demo/kohya/", "readOnly": false }, "properties": { "resource_type": "model" }, "mount_path": "/workspace" }], "containers": [ { "image": "eas-registry-vpc.cn-hangzhou.cr.aliyuncs.com/pai-eas/kohya_ss:1.2", "script": "python -u kohya_gui.py --listen=0.0.0.0 --server_port=8000 --headless", "port": 8000 }] } -
-
Review the configuration and click Deploy. Model deployment takes a few minutes. The service is deployed when Service Status changes to Running.
Train LoRA model
-
On the Overview page of the service, click Web applications to open the Kohya_ss service page.
-
Select LoRA (LoRA).

-
Set Configuration file. This step is optional. Skip if no
SS_config.jsonfile is available.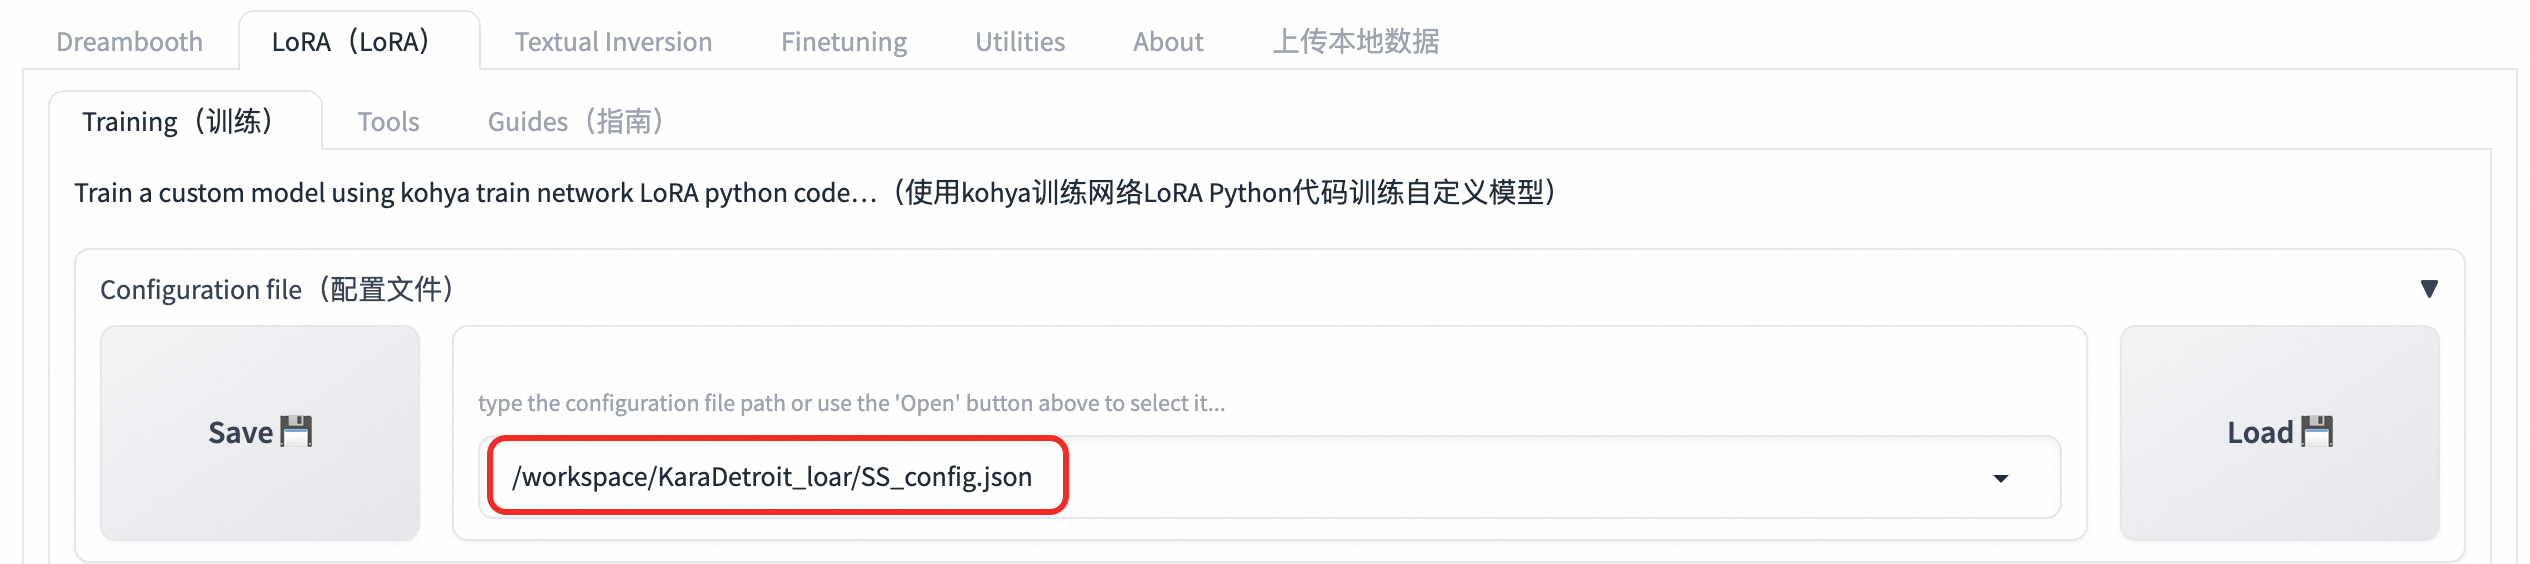 Note
NoteConfiguration file path consists of Mount Path from the Form configuration section, the OSS folder path, and SS_config.json. In this topic, the path is
/workspace/KaraDetroit_loar/SS_config.json. -
Set SourceModel. This topic uses safetensors, which offers better security than checkpoint.

-
Set Folders parameters. Enter paths for
Image,Log, andModelfolders created in OSS and specify the output file name.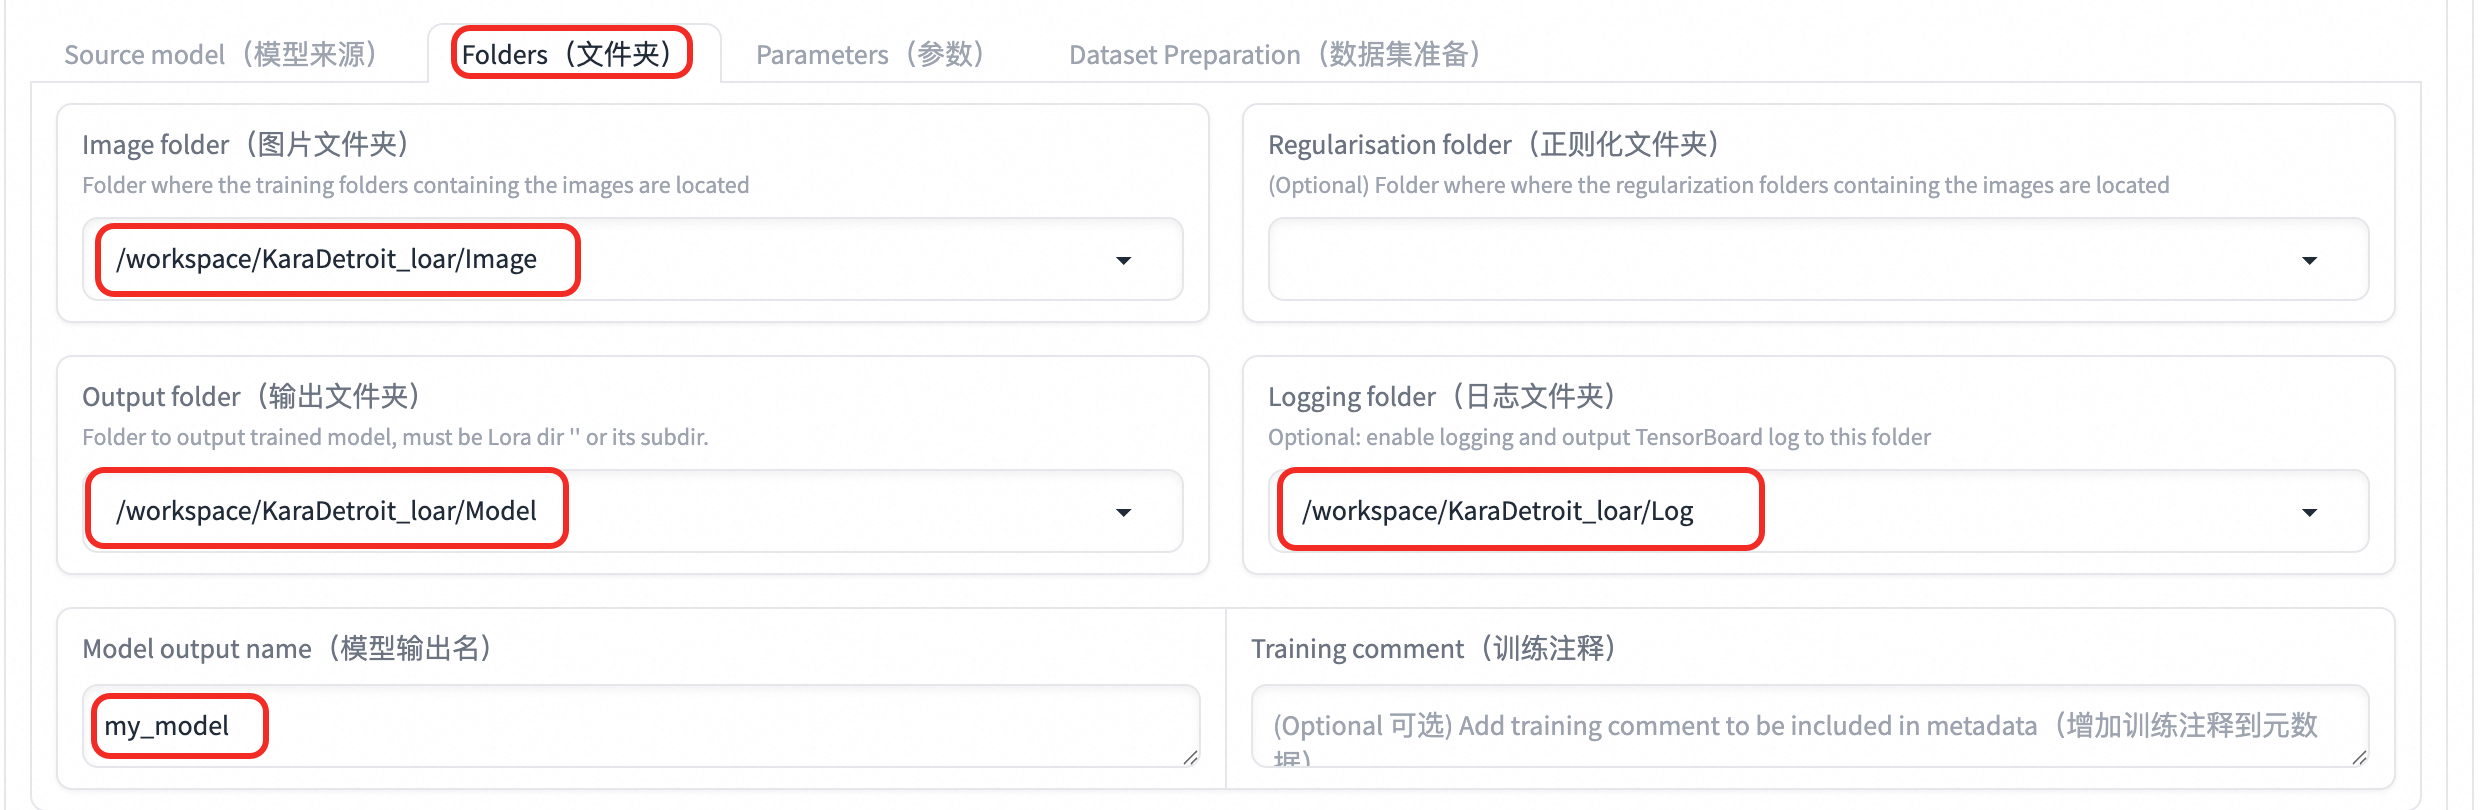
Parameter
Description
Image folder
Folder path containing training images. Set to Mount Path from the Form configuration section, concatenated with the
Imagepath created in OSS. In this topic, the path is/workspace/KaraDetroit_loar/Image.Logging folder
Folder path for log output. Set to Mount Path from the Form configuration section, concatenated with the
Logpath created in OSS. In this topic, the path is/workspace/KaraDetroit_loar/Log.Output folder
Folder path for model output. Set to Mount Path from the Form configuration section, concatenated with the
Modelpath created in OSS. In this topic, the path is/workspace/KaraDetroit_loar/Model.Model output name
Model output name. For example, my_model.
-
Set Parameters. For example values, see the
SS_config.jsonfile content in the Prepare OSS storage structure step.Parameter
Description
LoRA Type
LoRA type. Options:
-
LoCON: Adjusts every layer of SD, such asRes,Block, andTransformer. -
LoHA: Processes more information with the same size.
LoRA network weights
LoRA network weights. For continuing training, select the last trained LoRA (optional).
Train batch size
Training batch size. Larger values require more VRAM.
Epoch
Number of training epochs. One epoch is one complete pass through all training data. Calculate this value manually. Generally:
-
Total training iterations in Kohya = Number of training images × Repetitions × Number of epochs / Training batch size. -
Total training iterations in WebUI = Number of training images × Repetitions.
When using class images, total training iterations double in both Kohya and WebUI. Number of model saves in Kohya is halved.
Save every N epochs
Saves model every N epochs. For example, setting to 2 saves training result every 2 epochs.
Caption Extension
File extension for caption files, for example, .txt (optional).
Mixed precision
Mixed precision. Depends on graphics card performance. Options: no, fp16, and bf16. For graphics cards with more than 30 GB VRAM, set to bf16.
Save precision
Save precision. Same as above.
Number of CPU threads per core
Number of CPU threads per core. Mainly affects VRAM. Adjust based on purchased instance and needs.
Learning rate
Learning rate. Default: 0.0001.
LR Scheduler
Learning rate scheduler. Select a function such as
cosineorcosine with restartas needed.LR Warmup (% of steps)
Number of prefetch steps. Adjust as needed. Default: 10. Select 0 if prefetch is not required.
Optimizer
Optimizer. Select as needed. Default:
AdamW8bit.DAdaptationrepresents automatic operation.Max Resolution
Maximum resolution. Set based on image properties.
Network Rank (Dimension)
Model complexity. A value of 128 is sufficient for most scenarios.
Network Alpha
Set to a value smaller than or equal to Network Rank (Dimension). Common setting: Network Rank 128 with Network Alpha 64.
Convolution Rank (Dimension)
& Convolution Alpha
Convolution degree. Defines the scope of LoRA's fine-tuning on the model. Adjust based on LoRA Type.
Kohya official recommendations:
-
LoCon:dim <= 64,alpha = 1(or lower). -
LoHA:dim <= 32,alpha = 1.
clip skip
Number of times the CLIP model is used. Range: 1 to 12. Smaller values produce images closer to the original input.
-
For realistic models, select 1.
-
For anime-style models, select 2.
Sample every n epoch
Sample every N epochs. Saves a sample at specified epoch intervals.
Sample Prompts
Sample prompts. Use a command with parameters:
-
--n: Prompt, negative prompt. -
--w: Image width. -
--h: Image height. -
--d: Image seed. -
--l: Prompt relevance (cfg). -
--s: Iteration steps (steps).
-
-
At the bottom of the page, click Start training.

-
In the service list on the EAS page, click the service name to go to the service details page. Click Log to view training progress.
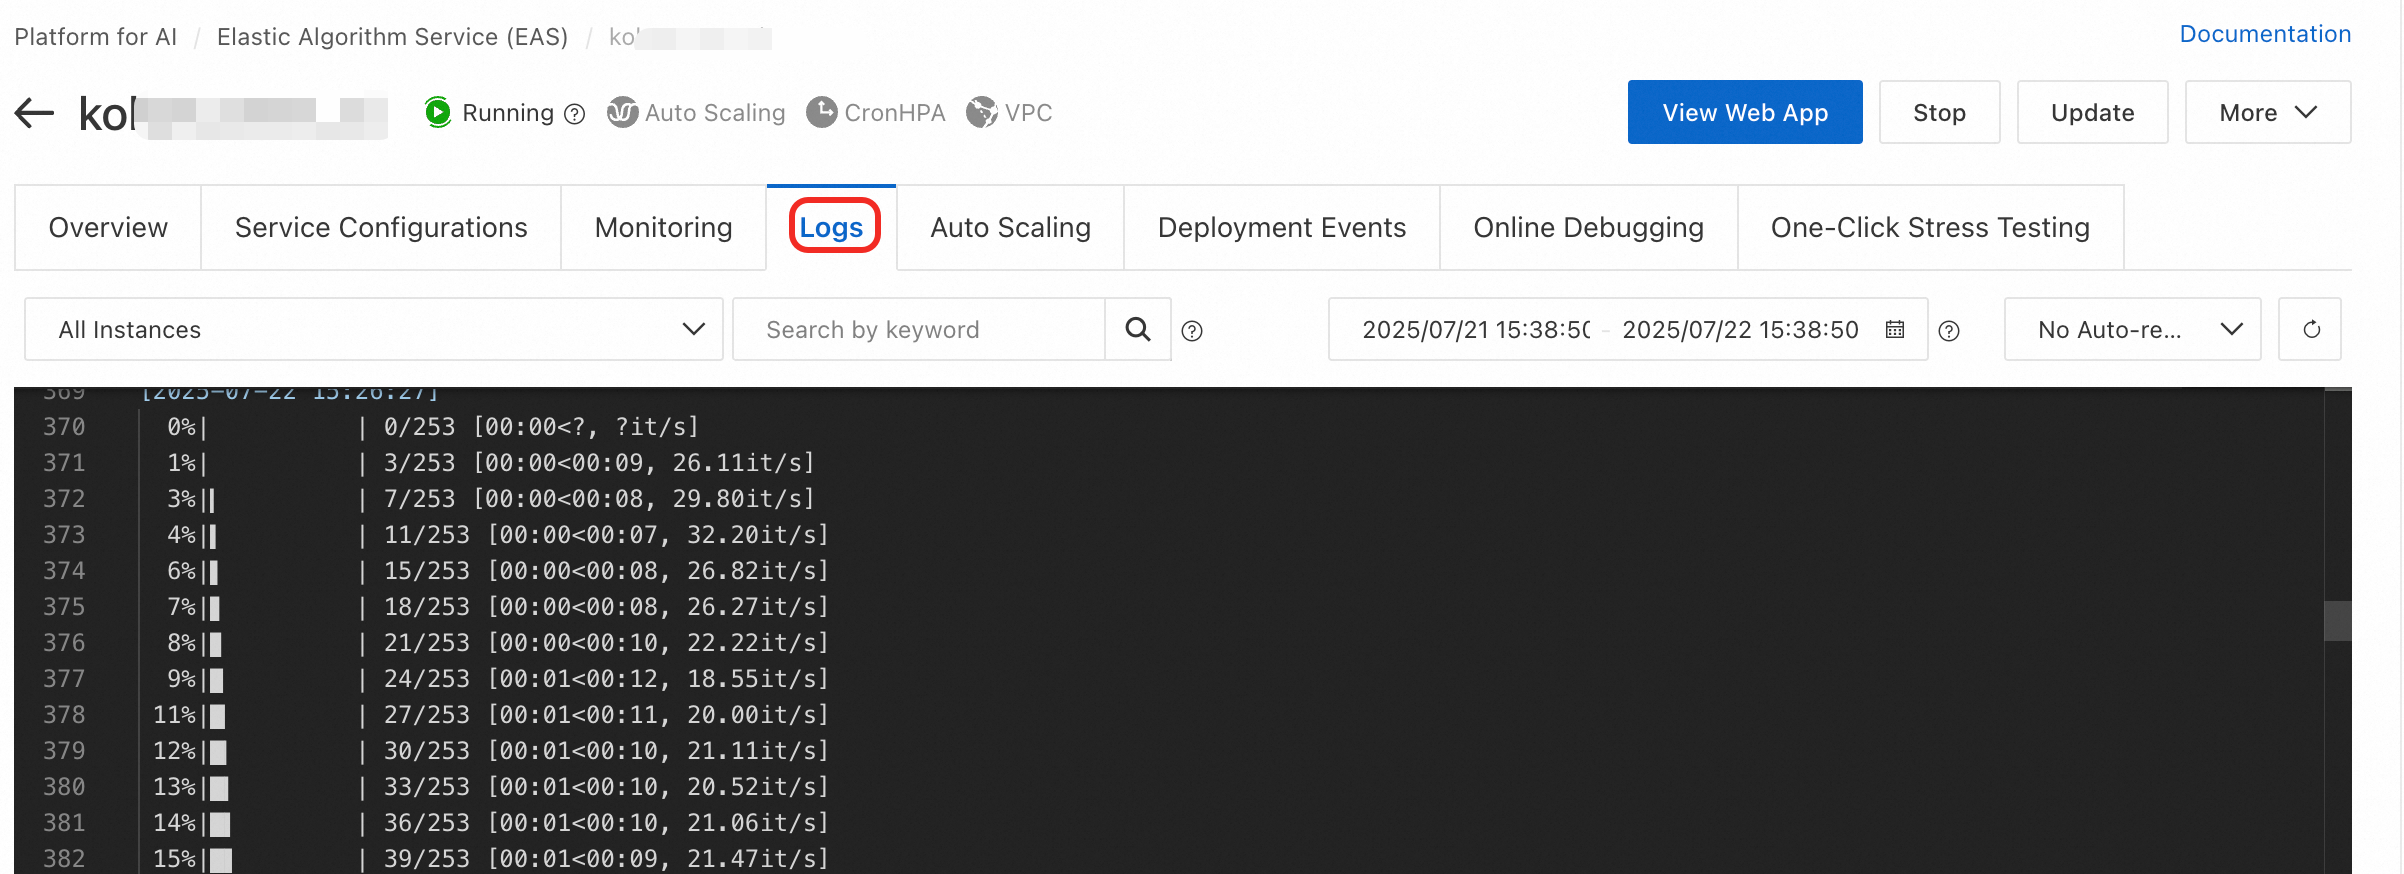
When
model savedappears in the log, training is complete.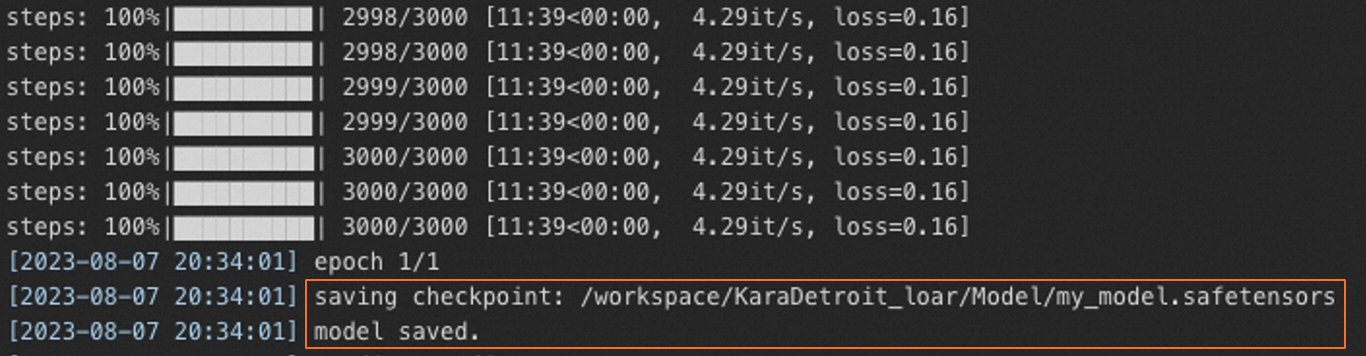
-
After training completes, retrieve the trained LoRA model file from the configured model folder (
Model), for example,my_model.safetensors.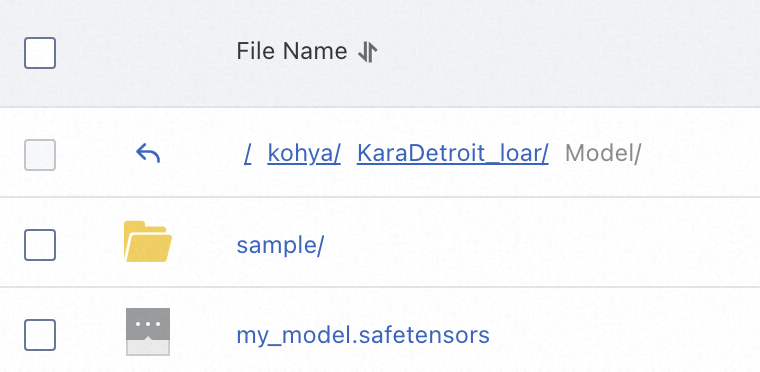
Use trained LoRA model for AI art generation
After training a LoRA model, upload it to the corresponding SD WebUI directory and mount it to generate images. For more information about deploying Stable Diffusion service, see Deploy a Stable Diffusion service with EAS in 5 minutes to enable text-to-image generation.
The following sections describe uploading a LoRA model file to Stable Diffusion WebUI.
Stable Diffusion WebUI Cluster Edition
-
Configure the Stable Diffusion WebUI runtime image. Select a cluster version, such as stable-diffusion-webui:4.2-cluster-webui. After the service starts,
/data-{current_user_ID}/models/Lorapath is automatically created in the mounted OSS path. -
In the Command to Run section, add the following parameters:
-
--lora-dir: Optional parameter.-
If the
--lora-dirparameter is not specified, model files for all users are isolated. Only model files in{OSS_path}/data-{current_user_ID}/models/Loraare loaded. -
If the
--lora-dirparameter is specified, all users load model files from the specified directory and{OSS_path}/data-{current_user_ID}/models/Lora. For example,--lora-dir /code/stable-diffusion-webui/data-oss/models/Lora.
-
-
--data-dir {OSS_mount_path}, for example,--data-dir /code/stable-diffusion-webui/data-oss.
-
-
Upload the LoRA model file to
{OSS_path}/data-{current_user_ID}/models/Lora. For example,oss://bucket-test/data-oss/data-1596******100/models/Lora.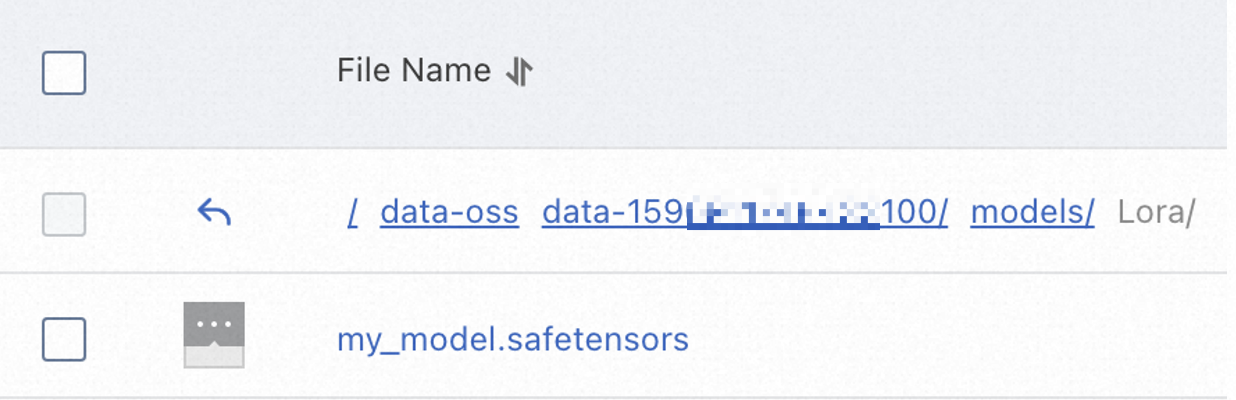 Note
NoteThe
/data-{current_user_ID}/models/Lorapath in OSS is automatically created after the service starts. Upload the LoRA model file after service starts.Find
{current_user_ID}by clicking your profile picture in the upper-right corner of the page.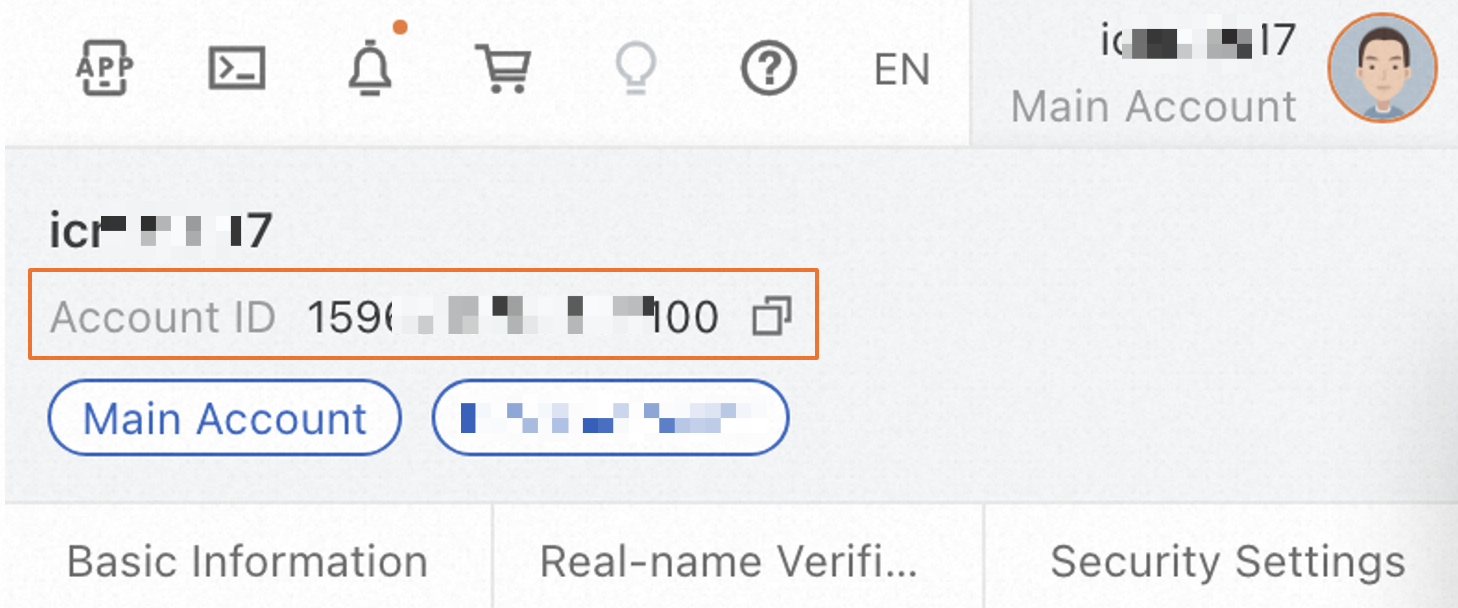
Stable Diffusion WebUI Basic Edition
-
Configure the Stable Diffusion WebUI runtime image. Select a non-
-clusterversion, such as stable-diffusion-webui:4.2-standard. After the service starts,/models/Lorapath is automatically created in the mounted OSS path. -
In the Command to Run section, add the
--data-dir {OSS_mount_path}parameter. For example,--data-dir /code/stable-diffusion-webui/data-oss. -
Upload the LoRA model file to
{OSS_path}/models/Lora. For example,oss://bucket-test/data-oss/models/Lora.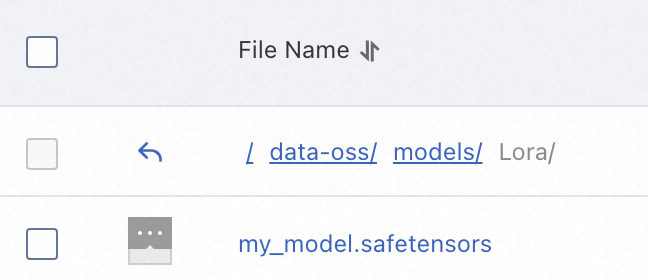 Note
NoteThe
/models/Lorapath in the mounted OSS bucket is automatically created after the service starts. Upload the LoRA model file after service starts.