Overview
CloudOps Orchestration Service (OOS) provides a visual, step-by-step workflow to migrate Elastic Compute Service (ECS) instances.
Usage notes
-
Before migration, make sure that the virtio driver is installed on the source instance. Otherwise, the destination instance cannot start. For more information, see Install virtio driver. Check the source instance for system exceptions such as damaged registries, corrupted file systems, or startup failures. We recommend that you restart the source instance before migration to verify that the system and your workloads are running properly.
-
To ensure data integrity, turn on IncrementSnapshot before you proceed. If you do not need to retain data generated during migration, turn off IncrementSnapshot. We recommend that you turn off IncrementSnapshot first to verify that your workloads run properly on the destination instance, and then turn it on for a final migration with full data integrity.
-
Snapshot creation typically takes minutes and depends on disk size. The first snapshot is a full snapshot, which may take several hours. Subsequent snapshots are incremental and complete faster. The time required for an incremental snapshot increases with the amount of data changed since the previous snapshot.
-
Make sure that disks can be automatically attached to the instance. Otherwise, disk attachment fails when the instance restarts after migration.
-
If you turn on IncrementSnapshot during high-risk operations, make sure that the impact of the instance shutdown on your workloads is acceptable.
-
You must manually reassociate the public IP address and elastic IP address (EIP) with the destination instance.
-
Before migration, create a snapshot for the ECS instance to shorten the overall migration time.
Procedure
-
Log on to the CloudOps Orchestration Service console. In the left-side navigation pane, choose Automated Task > Public Template. On the Public Template page, search for the ACS-ECS-BulkyCloneInstances template, and click Create Execution.

-
Select the ECS instance that you want to migrate and configure the parameters for the destination instance as prompted.

-
Turn on IncrementSnapshot, select a Resource Access Management (RAM) role to execute the template, and then click Next Step: OK.

Description of IncrementSnapshot:
-
If you turn on the switch, the system creates a full snapshot first, then stops the source instance to ensure data consistency. You are charged for the instance while it is stopped. After the source instance stops, the system creates an incremental snapshot, creates a destination instance from the incremental snapshot, and starts the destination instance. After a successful migration, if the destination instance and your business can run as expected, manually release the source instance as soon as possible to avoid duplicate charges. If the migration fails, restart the source instance.
-
If you turn off the switch, the system creates a destination instance from the full snapshot and starts it. The source instance remains available throughout, but incremental data generated after migration starts is not synchronized to the destination instance, which may cause data inconsistency.
-
Confirm the parameters and click Create.
-
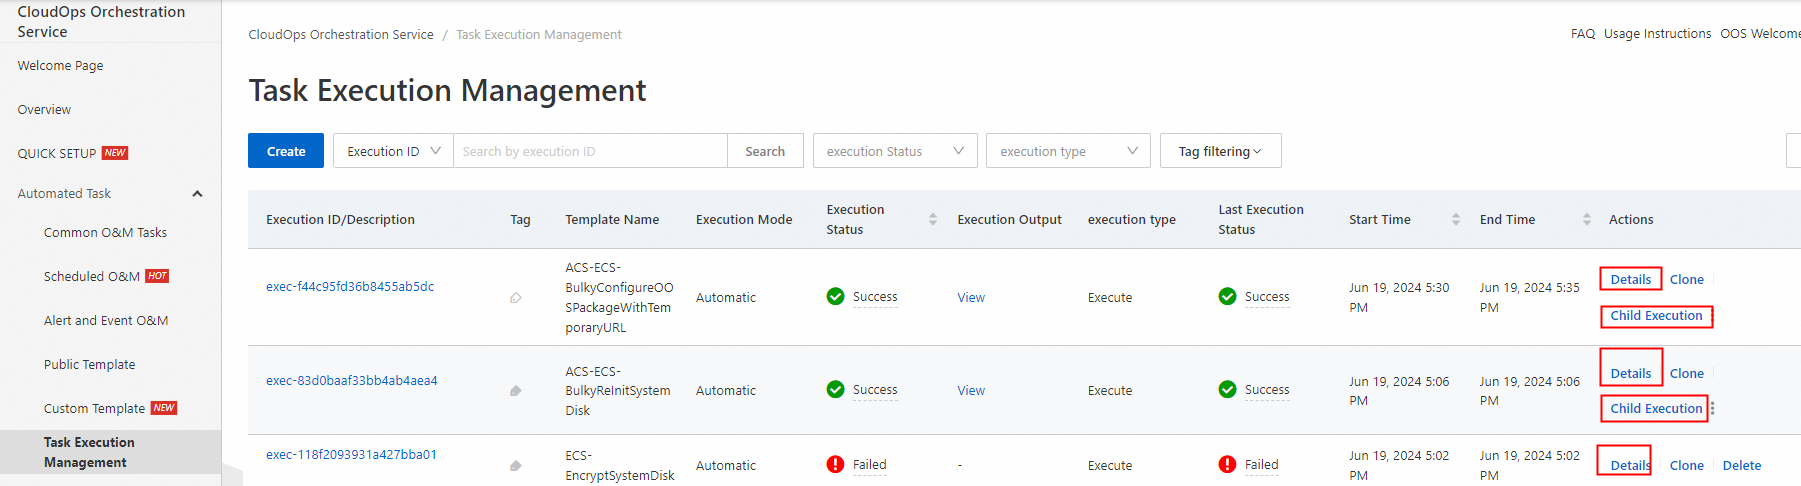
After the execution is created, click Child Execution in the Actions column to view the migration details of each instance. After a child execution is complete, the ID of a destination instance is displayed.