Background information
When you create an execution for a CloudOps Orchestration Service (OOS) template to perform operations on multiple Elastic Compute Service (ECS) instances at a time, you need to select the ECS instances to be operated on. OOS provides multiple methods for you to select instances. Among these methods, Upload CSV File is an efficient way to select ECS instances. This topic describes how to download a CSV file that contains multiple IDs of ECS instances and upload the CSV file to select these ECS instances at a time.

Download a CSV file
This section describes how to download a CSV file that contains the IDs of multiple ECS instances in the ECS console.
Log on to the ECS console.
In the left-side navigation pane, choose Instances & Images > Instances.
On the Instances page, select the instances that you want to manage.
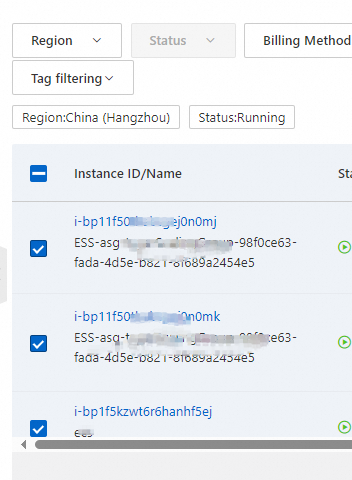
Click the Export icon in the upper-right corner.

In the Export Instance Data dialog box, set the Export Scope parameter to Selected Instances and turn off Translated Headers. Select only Instance ID in the Select Columns to Export section.

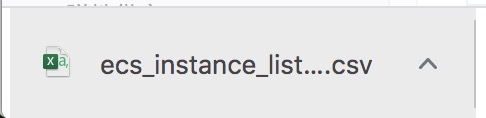
Click Confirm. The CSV file is downloaded.
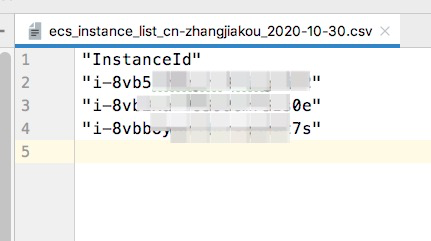
View the content of the CSV file. The following figure shows an example of the content of a CSV file.
Upload a CSV file
This section describes how to upload a CSV file that contains the IDs of multiple ECS instances in the OOS console.
1. Log on to the OOS console.
2. In the left-side navigation pane, choose Automated Task > Public Template. Find the template that you want to use to perform operations on multiple ECS instances. In this example, ACS-ECS-BulkyStopInstances is used.
3. Click Create Execution. Then, click Next Step: Parameter Settings.
4. In the Select Ecs Instances section, select Upload CSV File.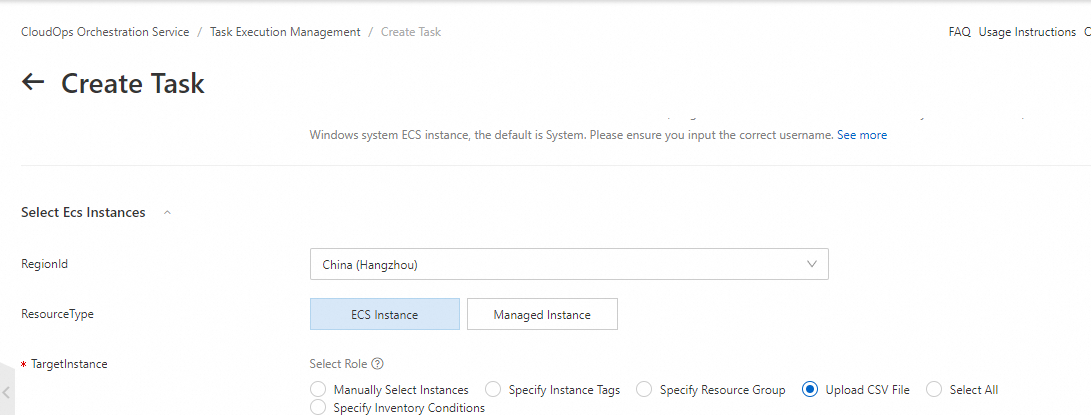
5. Click Open Local File and upload the CSV file that you downloaded from the ECS console.
6. After you upload the CSV file, a message appears, indicating that the instances in the CSV file are selected.  7. Perform the subsequent operations.