Create a custom extension
Procedure
-
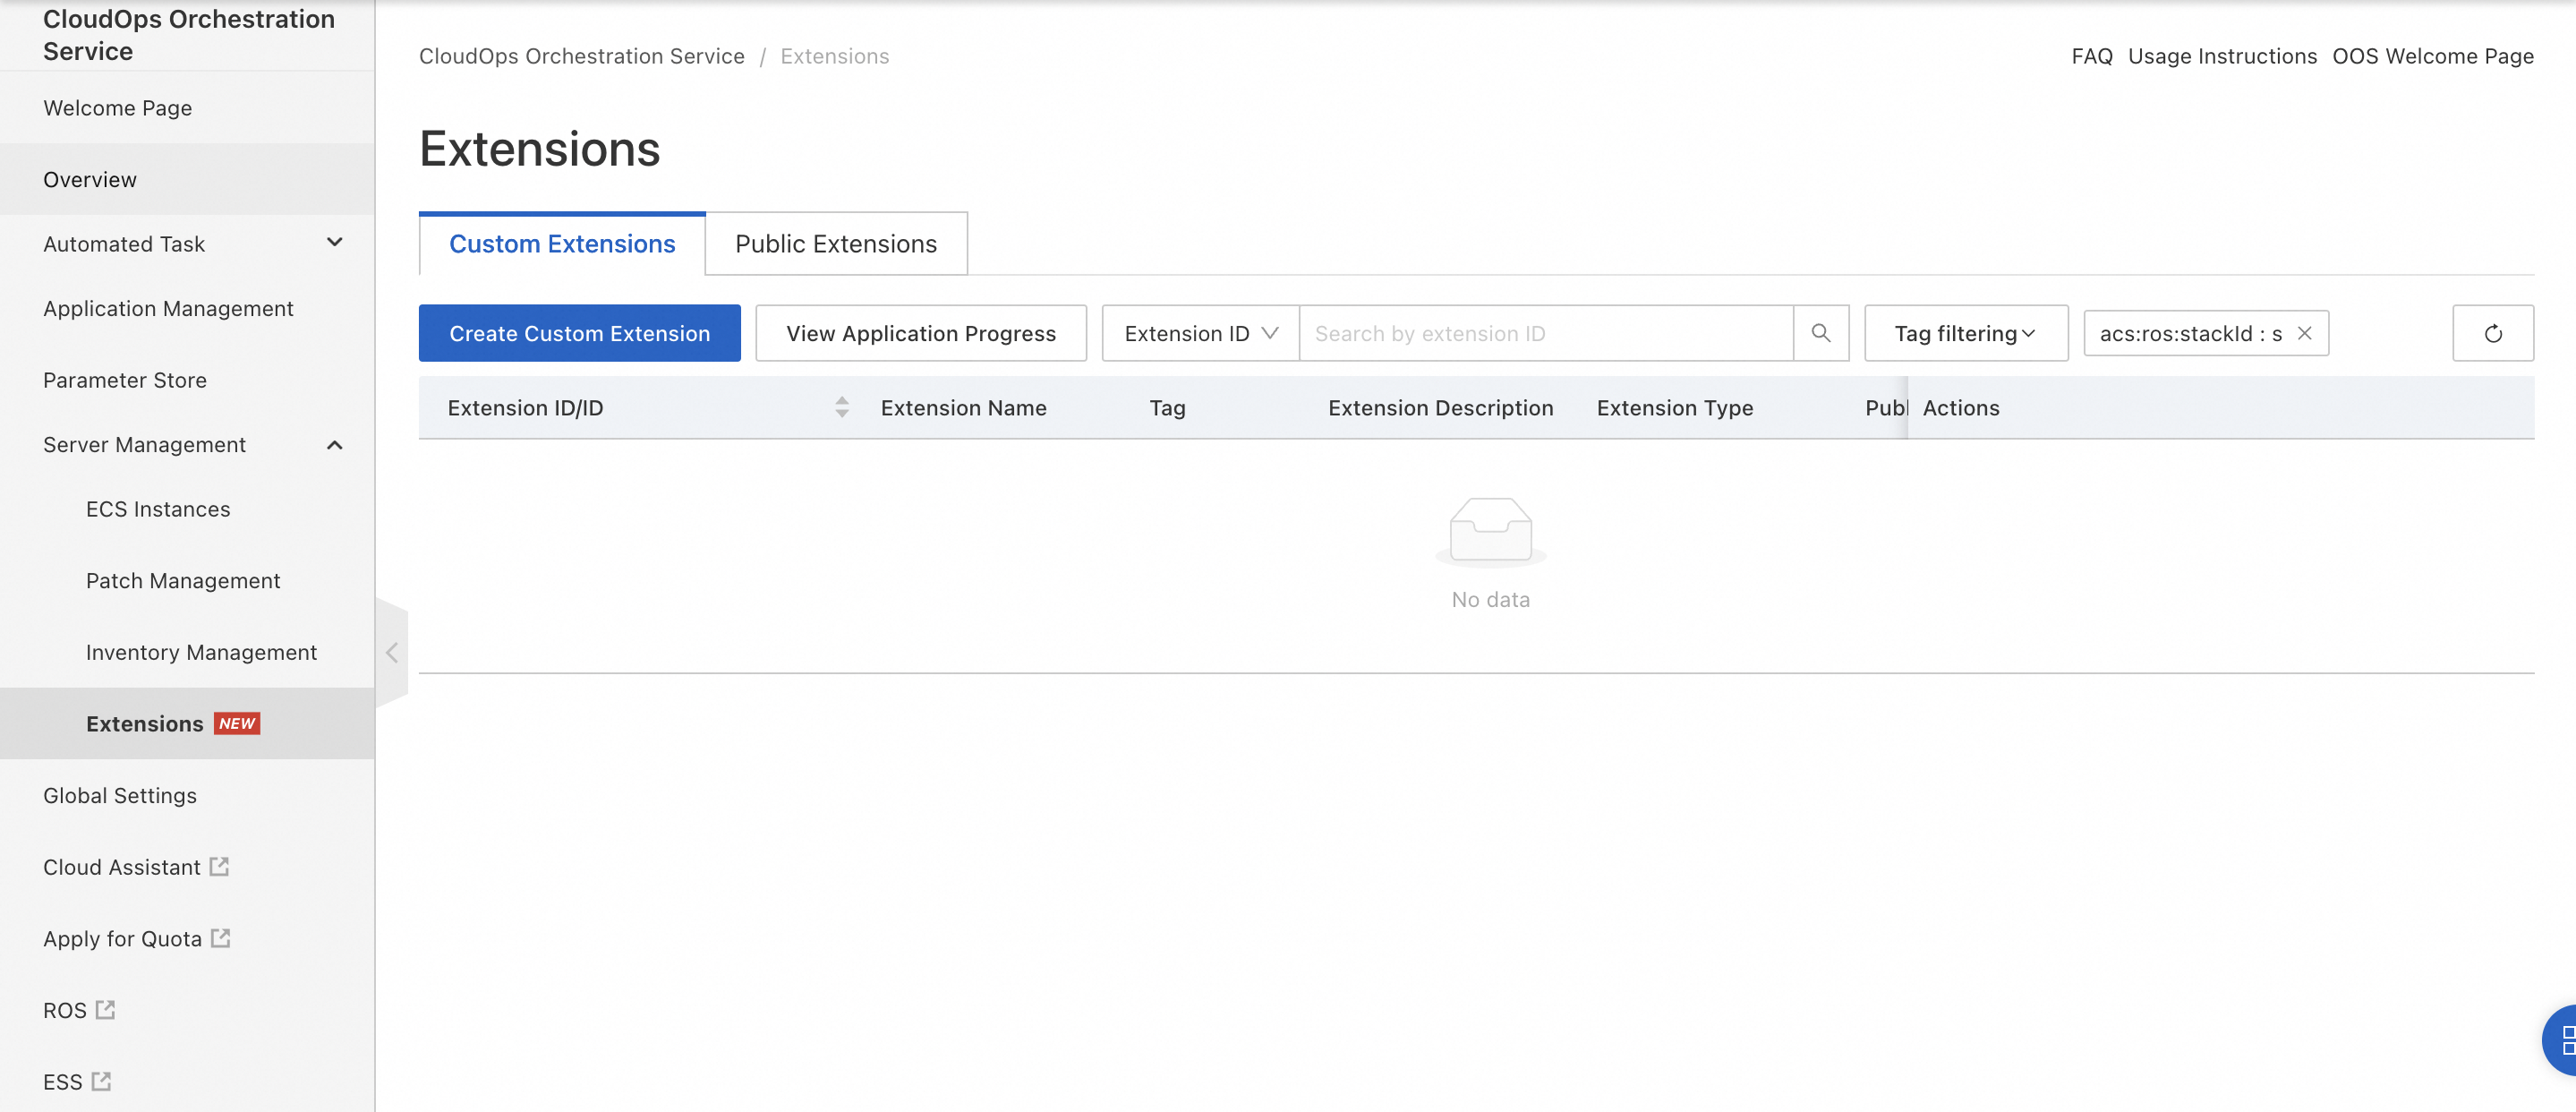
Log on to the CloudOps Orchestration Service (OOS) console. In the left-side navigation pane, choose Server Management > Extensions. On the Custom Extensions tab of the Extensions page, click Create Custom Extension.
-
In the Basic Information step of the Create Custom Extension wizard, configure the following parameters:
Extension Name: The name can be up to 50 characters in length and can contain only letters, digits, and hyphens (-).
Extension Description: Describe the usage scenarios of the extension to facilitate maintenance.
Version Description: The system labels the initial version as v1. You can enter a description for this version. After the extension is created, you can view the version number and details on the extension details page. You can use the extension update feature to modify the extension. When you update the extension, the system automatically generates subsequent versions (v2, v3, and so on).
Extension Applicable Scope: Specify the applicable conditions, including the supported instance families, image types, and operating systems and versions. The extension is available on the Elastic Compute Service (ECS) buy page or the details page of an ECS instance only when the applicable conditions are met.
Installation Command Parameters: Define the input parameters for the extension installation command. You can add multiple parameters of the String, Numeric, or Boolean type, and specify the parameter name, default value, and description. You must assign values to these parameters when you install the extension on the ECS buy page or the details page of an ECS instance.
 You can reference an installation command parameter in the installation script by using braces {}, as shown in the following sample script. When you install the extension, you can pass a specific value by using the parameter.
 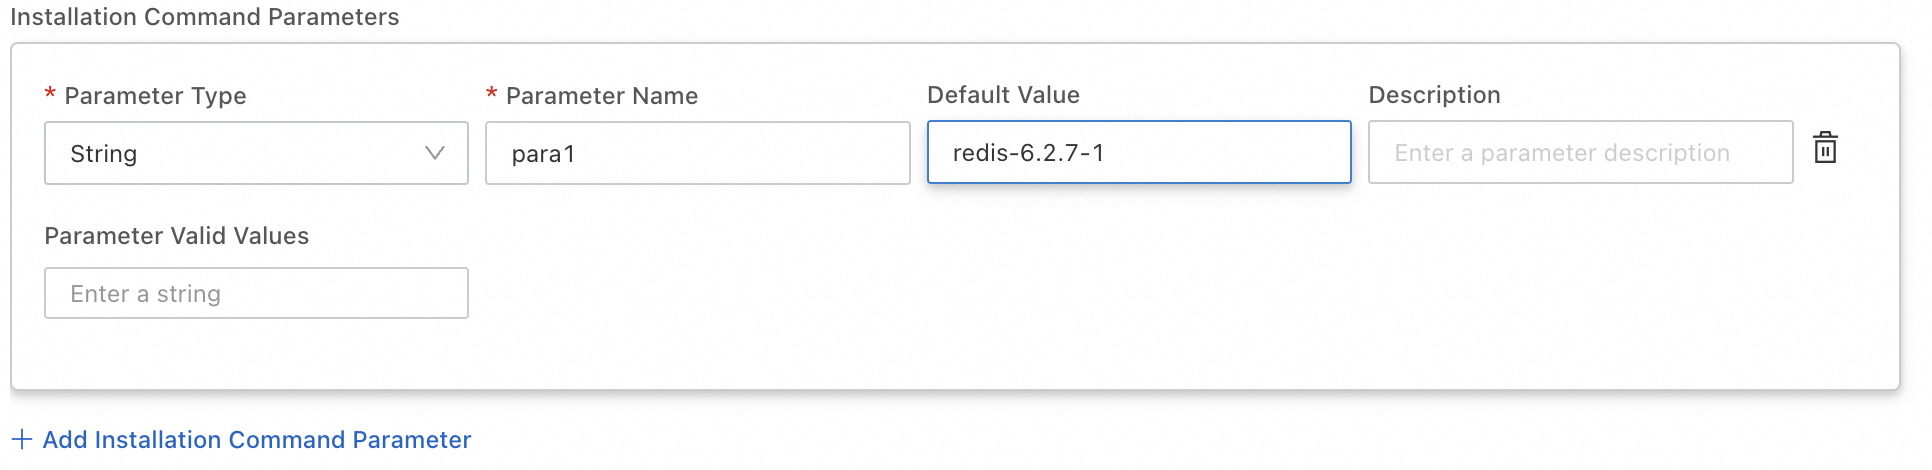 Sample installation script:
yum install -y {{para1}}
-
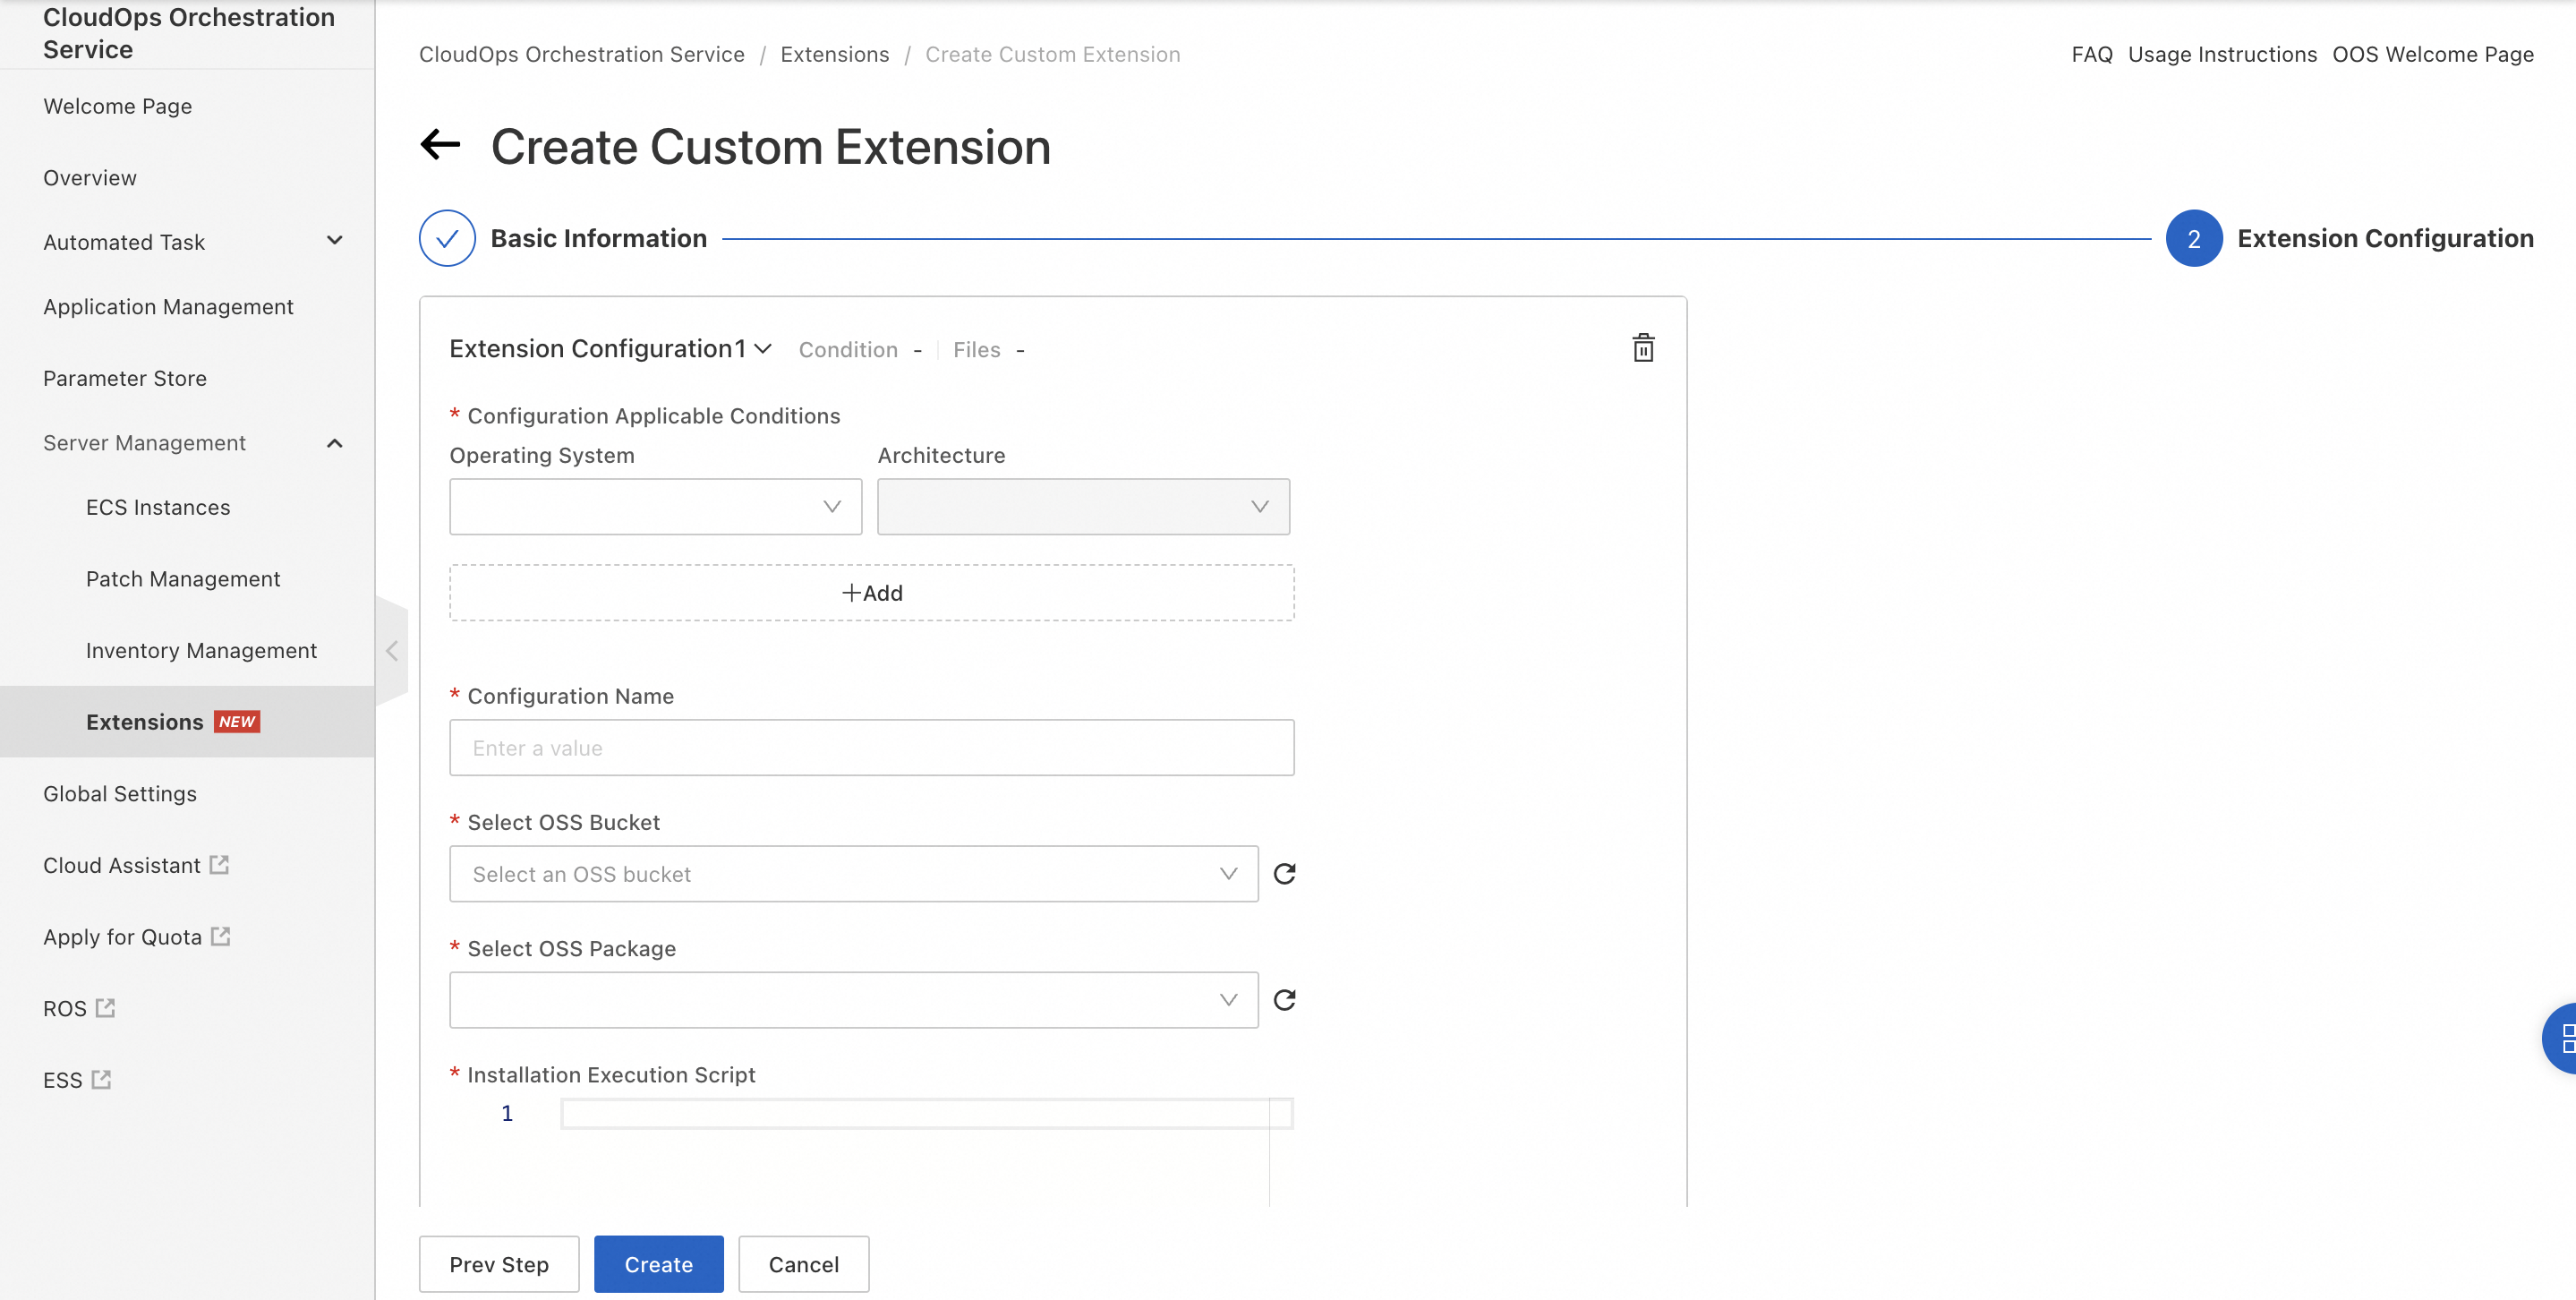
Click Next Step to go to the Extension Configuration step.
In this step, you can add multiple extension configurations. Each configuration specifies the operating system, architecture, Object Storage Service (OSS) bucket, and software package. You can enter the installation and uninstallation scripts for the software package. When you install the extension on an ECS instance, the system matches the configuration to the operating system and architecture of the instance, downloads the software package, and runs the corresponding script.
-
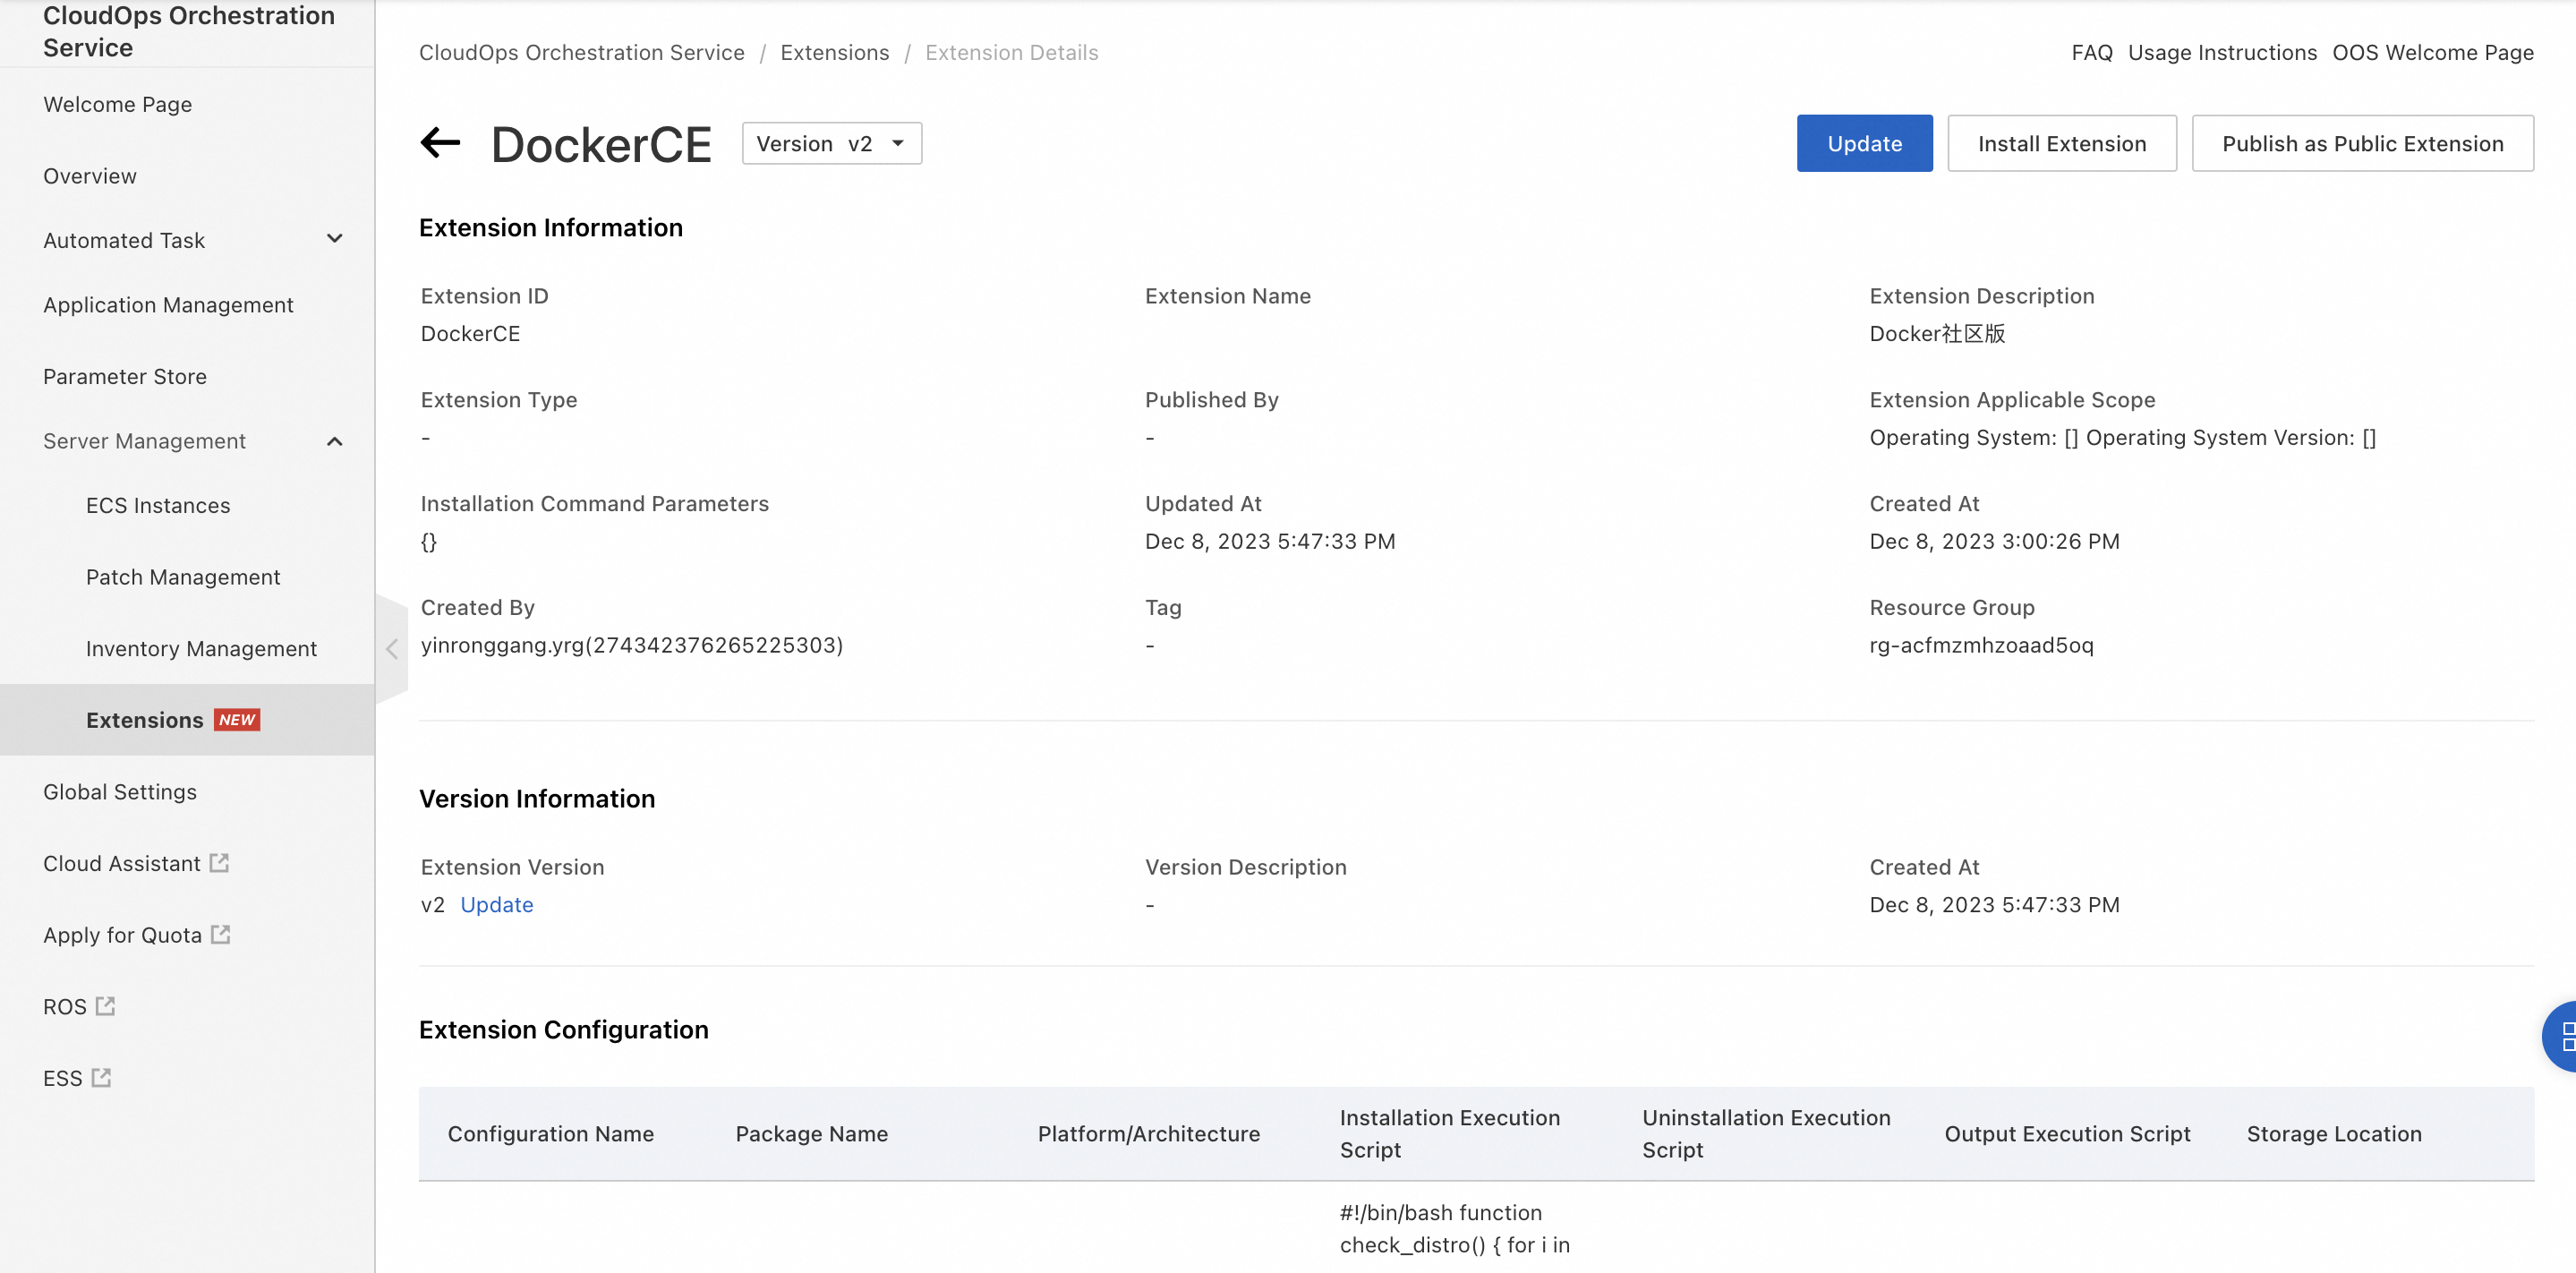
Click Create to create the custom extension.
View the details of an extension: After the extension is created, click Details in the Actions column on the Custom Extensions tab to view the global information and current version details. You can select a different version from the version drop-down list to view its information and configurations.