While large language models have powerful natural language processing capabilities, they may need additional features for specific tasks, such as performing web searches or processing images. Model Studio provides a range of official and third-party plugins. You can select plugins to enhance the model's capabilities and expand its use cases.
First-time access to the plugins page
If your Alibaba Cloud account or RAM user (sub-account) does not have the AliyunServiceRoleForSFMAccessCloudAPI role, you cannot access plugins. Follow these instructions to grant the required permissions.
Alibaba Cloud account
If you log in to Model Studio with an Alibaba Cloud account, go to the Plugins page, select the checkbox to agree to the terms, and click Authorize and Enter.
The authorization page creates the service-linked role AliyunServiceRoleForSFMAccessCloudAPI, which is associated with the AliyunServiceRolePolicyForSFMAccessCloudAPI policy. This role authorizes Model Studio to access your Alibaba Cloud Marketplace products and make API calls based on the plugin configuration.
RAM user (sub-account)
If you log in to Model Studio with a RAM user (sub-account), go to the Plugins page, select the checkbox to agree to the terms, and click Authorize and Enter. The following prompt appears:
A dialog box for the Cloud Marketplace service-linked role appears, displaying error code 140052 and the service-linked role name AliyunServiceRoleForSFMAccessCloudAPI.
This error occurs because the RAM user does not have permission to create a service-linked role. Follow the steps below to grant this permission to the RAM user. After you grant this permission, the RAM user can access the Plug-in page.
-
Grant the RAM user the permission to create a service-linked role.
- Log in to the RAM console with your Alibaba Cloud account.
- In the left-side navigation pane, choose Permissions>Policy.
- Click Create Policy.
- On the Script Editor tab, enter the following content in the
Effect,Action,Resource, andConditionfields.
{
    "Action": [
        "ram:CreateServiceLinkedRole"
    ],
    "Resource": "*",
    "Effect": "Allow",
    "Condition": {
        "StringEquals": {
            "ram:ServiceName": "cloundapi-access.sfm.aliyuncs.com"
        }
    }
}
-
Click OK.
-
Set a name for the policy and click OK.
For example, enter the name
service-linked role. -
In the left-side navigation pane, choose Identities > Users.
-
Find the RAM user to authorize and, in the Actions column, click Add Permission.
-
Select the policy that you created and click OK.
The RAM user can now create service-linked roles.
From the policy type drop-down list, select Custom Policy to filter the list. Then, find and select your target policy.
-
Return to the Plugins page, select the checkbox to agree to the terms, and click Authorize and Enter.
Official plugins
The Component Market provides pre-built official plugins from Model Studio. You can call them directly without configuring their input and output parameters.
| Plugin name | Tool ID | Description | Billing |
|---|---|---|---|
code_interpreter | Enables the model to run Python code for tasks like mathematical calculations, data analysis, visualization, and data processing. | Free | |
calculator | Lets the model perform complex mathematical calculations, such as "12313 * 13232". | Free | |
text_to_image | Lets the model generate images from text, such as "Draw a smiling dog." | Free for a limited time. Activation is required. | |
quark_search | Lets the model search online for real-time information and public knowledge, such as "What's the weather in Hangzhou today?"
| Free for a limited time. Activation is required. | |
generate_qrcode | Lets the model generate a QR code from a website URL, such as "Generate a QR code for the Model Studio introduction document: https://www.alibabacloud.com/help/model-studio/getting-started/what-is-model-studio". | Free | |
github_search | Lets the model search for projects on GitHub, for example, "GitHub Search: Qianwen". | Free |
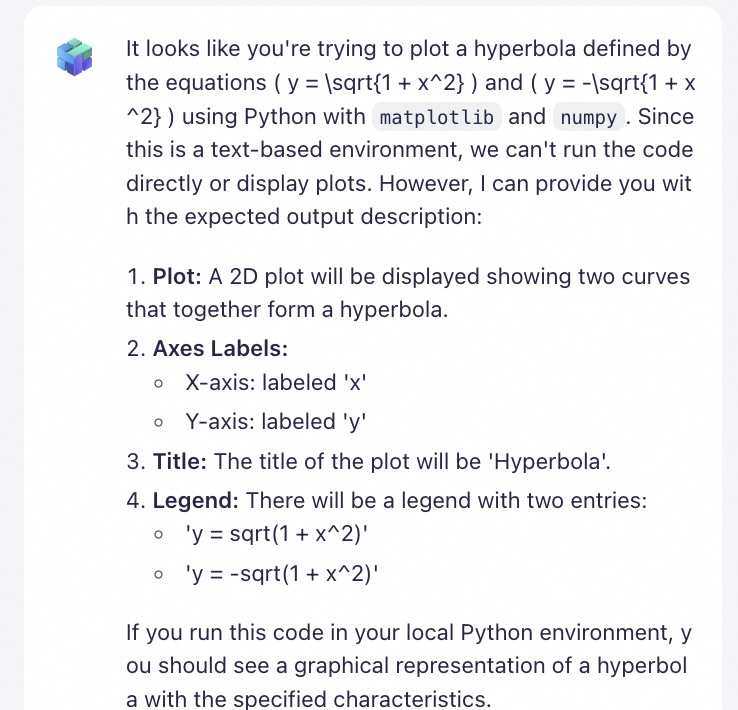
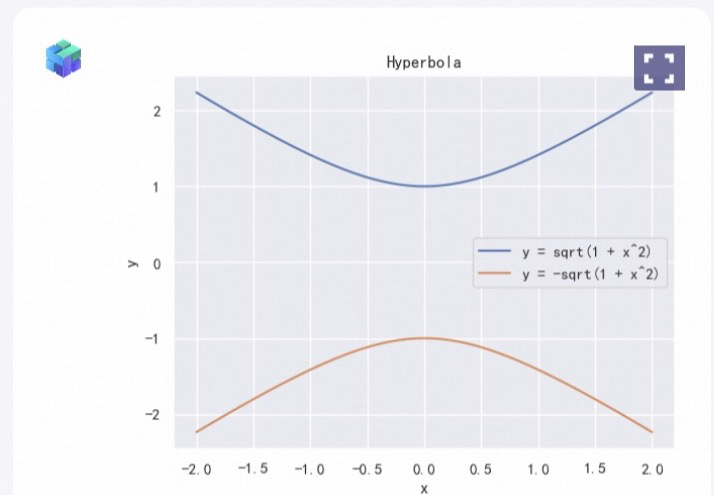
Python Code Interpreter
| Sample input | Output without plugin | Output with plugin |
|---|---|---|
| The agent application cannot execute Python code; it can only provide a text description of the code. | The agent application can execute Python code for data visualization and analysis. |
 |  |
The Python Code Interpreter plugin does not support accessing external networks or uploading local files. The available dependencies are: json5~=0.9.6, jupyter_client~=8.1.0, ipykernel~=6.25.0, seaborn, sympy, pydantic~=1.10.8, pillow~=9.4.0, fastapi~=0.101.1, dynaconf~=3.2.1, oss2~=2.18.1, matplotlib, starlette~=0.27.0, uvicorn~=0.23.2, requests~=2.31.0, scipy, html2text, pandas, pdf2image, pdfminer-six, pypdf, python-pptx, and wordcloud.
Calculator
Sample input | Output without plugin | Output with plugin |
|---|---|---|
12313*13232 | The agent application cannot reliably solve complex math problems and may return incorrect results. The correct answer is 162,925,616. | The agent application has strong calculation capabilities and can generate accurate results. |
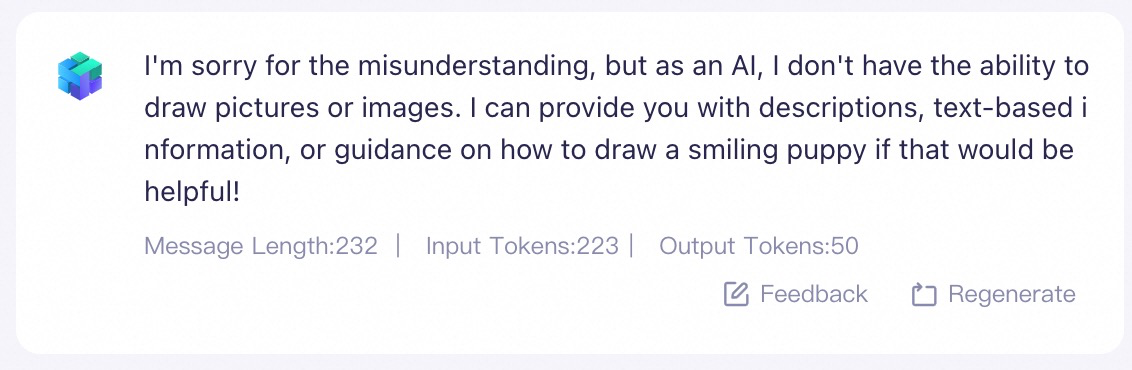
Image Generation
Sample input | Output without plugin | Output with plugin |
|---|---|---|
Draw a smiling dog. | The agent application cannot draw images or graphics directly and can only describe the scene in text. | The agent application can draw images directly and can generate a picture of a dog based on the instructions. |
|
|

Quark Search
Sample input | Output without plugin | Output with plugin |
|---|---|---|
What is the weather in Hangzhou today? | The agent application cannot access real-time information, so it cannot answer questions about the current weather. | The agent application has web search capabilities to access real-time information and can answer questions about the current weather. In Output Parameters, you can view the webpages that the model referenced to generate its answer. |
Generate QR Code
Sample input | Output without plugin | Output with plugin |
|---|---|---|
Generate a QR code for the Model Studio introduction document: https://www.alibabacloud.com/help/zh/model-studio/getting-started/what-is-model-studio | The agent application cannot generate QR codes directly. Instead, it provides instructions on how to convert a link into a QR code. | The agent application can generate a QR code based on the URL of the Model Studio introduction document. |
GitHub Search
| Sample input | Output without plugin | Output with plugin |
|---|---|---|
GitHub Search: Tongyi Qianwen | The agent application cannot query GitHub directly. Instead, it provides instructions on how to search on GitHub. | The agent application can query GitHub projects and provide a list of projects related to Qianwen.
|
Combine plugins
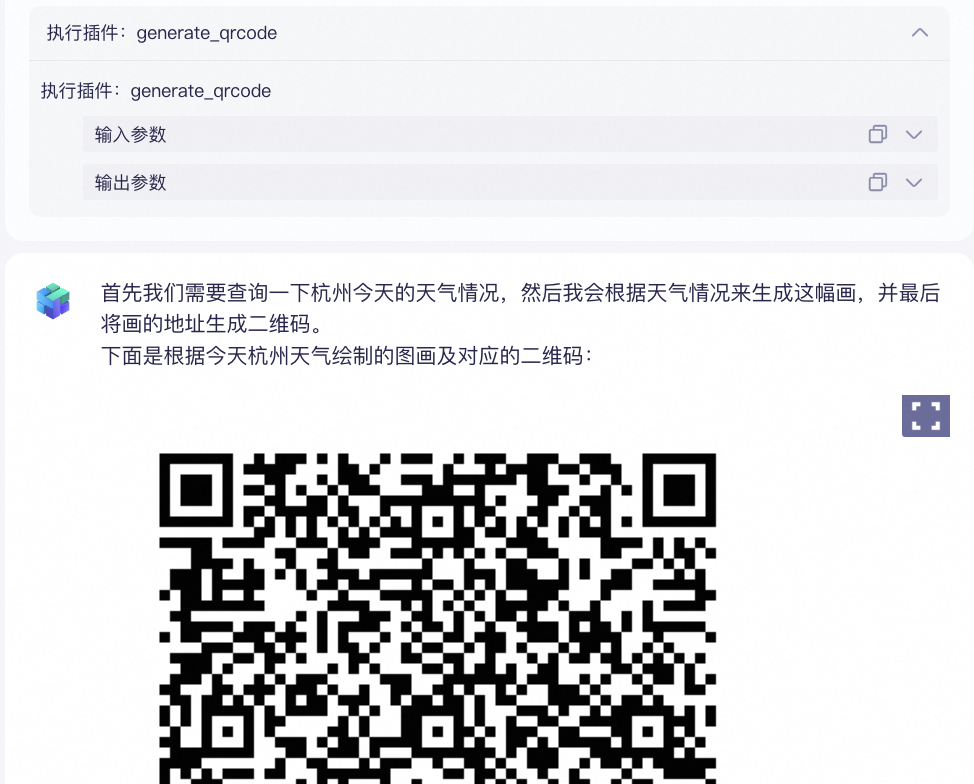
Model Studio allows you to call multiple tools in a single task, as shown in the following example. You can select plugins to suit your needs.
Plugins | Sample input | Application output |
|---|---|---|
Quark Search + Image Generation + Generate QR Code | Draw a picture based on today's weather in Hangzhou and generate a QR code for the image URL. |
Scan the QR code to download the image:
|

Call official plugins
Step 1. Authorize the workspace (if required). You must authorize an official plugin before you can use it in a sub-workspace. This step is not required for the default workspace.
- Go to the Plugins page, find the target plugin, and click View Details.
- Click Authorization, select the sub-workspace to authorize, and click OK to complete the authorization.
Step 2.Call a plugin.
Third-party plugins
Third-party plugins cover multiple domains, such as business services, image and video, and education. They are quality-tested and can be called directly after activation without further configuration.
Call third-party plugins
Step 1. Activate the third-party plugin.-
Go to the Plugins page, find the target plugin, and click View Details.
-
Select a package, click Free Trial or Buy Now, and follow the on-screen instructions to activate the plugin.
After successful activation, the plugin details card displays an Activated status tag.
Step 2.Call a plugin.
Call a plugin
-
Method 1: From the Plug-in page, add a tool to an agent application.
An official plugin can only be added to an Agent Application in the same workspace.
-
Find the target plugin and click Add to Agent.
-
Select the tool and click Next.
-
Select an agent application and click Confirm Add.
-
On the application details page, the tool now appears automatically.
You can also click Select Plug-in to add more tools. You can add up to 10 tools. The agent application selects and calls one or more tools based on the input.
-
Test the tool by interacting with the model in the input box.
-
After testing, publish the application.
-
-
Method 2: Go to the Apps page. In a specific agent or workflow application, add the plugin, test its functionality, and then Publish the application. For more information, see Agent application plugin capabilities and Workflow application plugin node.
-
Method 3: Call tools by using the Assistant API. In the Assistant API documentation, search for the
toolskeyword to see how to call tools by using the API.
Get the tool ID
A tool ID identifies a specific tool. You must provide the correct tool ID when calling a tool by using an API.
-
On the Plug-in page, find the target plugin and click View Details.
-
Under Plug-in Tool, get the tool ID.
In this example, the tool ID is
calculator.
Related documentation
In addition to official and third-party plugins, Model Studio supports custom plugins. For more information, see Custom plugins.
FAQ
What is the difference between Quark Search and web search (enable_search)?- When the Quark Search plugin is enabled, the model directly calls the plugin to perform a search and returns the results as text, which can be directly used to generate the final output. The Quark Search plugin currently retrieves webpage titles, keywords, and summaries, but does not support accessing full webpage content.
- The web search (enable_search) feature is also based on Quark Search. When web search is enabled, the model uses information from the internet to enrich its response, but it does not simply return raw search results.