This topic describes how to preview cards on a real device in an iOS client.
Prerequisites
mPaaS has been activated and integrated.
The AntCubeTool of Ant Cube Card has been installed. For more details, please refer to: About AntCubeTool.
The integration process has been completed by referring to the Quick start.
Procedure
Add the real-device preview dependency. The following example uses a pod.
Add the pod modules.
mPaaS_pod "mPaaS_Cube" mPaaS_pod "mPaaS_Cube_Dev"ImportantYou must use mPaaS_Cube and mPaaS_Cube_Dev together.
Before you publish the app, make sure to delete mPaaS_Cube_Dev.
Update the pod.
pod mpaas update 10.2.3Run
pod install.pod install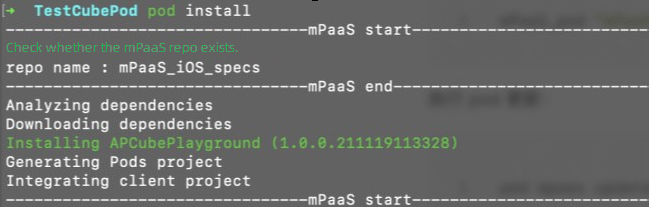
Add the dependency libraries required for the QR code scan preview.
#import <APCubePlayground/APCubePlayground.h>
#import <AudioToolbox/AudioToolbox.h>
#import <MPCubeAdapter/MPCubeAdapter.h>
Set the preview page.
ImportantBefore you use the preview feature, ensure that the engine is initialized.
A custom extension module is invalid unless it is registered.
If you use the default preview page, call the following code:
[[MPCubePreViewManager sharedInstance] setDefaultDebugPreview:true topOffset:0];If you define a custom preview page, register the
listenerand implement theCubeCardPreviewListener Protocol:[APCubePlayground registPreViewListener:id<CubeCardPreviewListener>]; // CubeCardPreviewListener - (void)onPreViewFinish:(BOOL)rst cubeCard:(CubeCard*)cubeCard { }
Call the QR code scan preview method.
- (void)scan { [APCubePlayground launch]; [APCubePlayground scan]; }ImportantThe current app must have a
NavigationController. Otherwise, the app will not respond after you callscan.
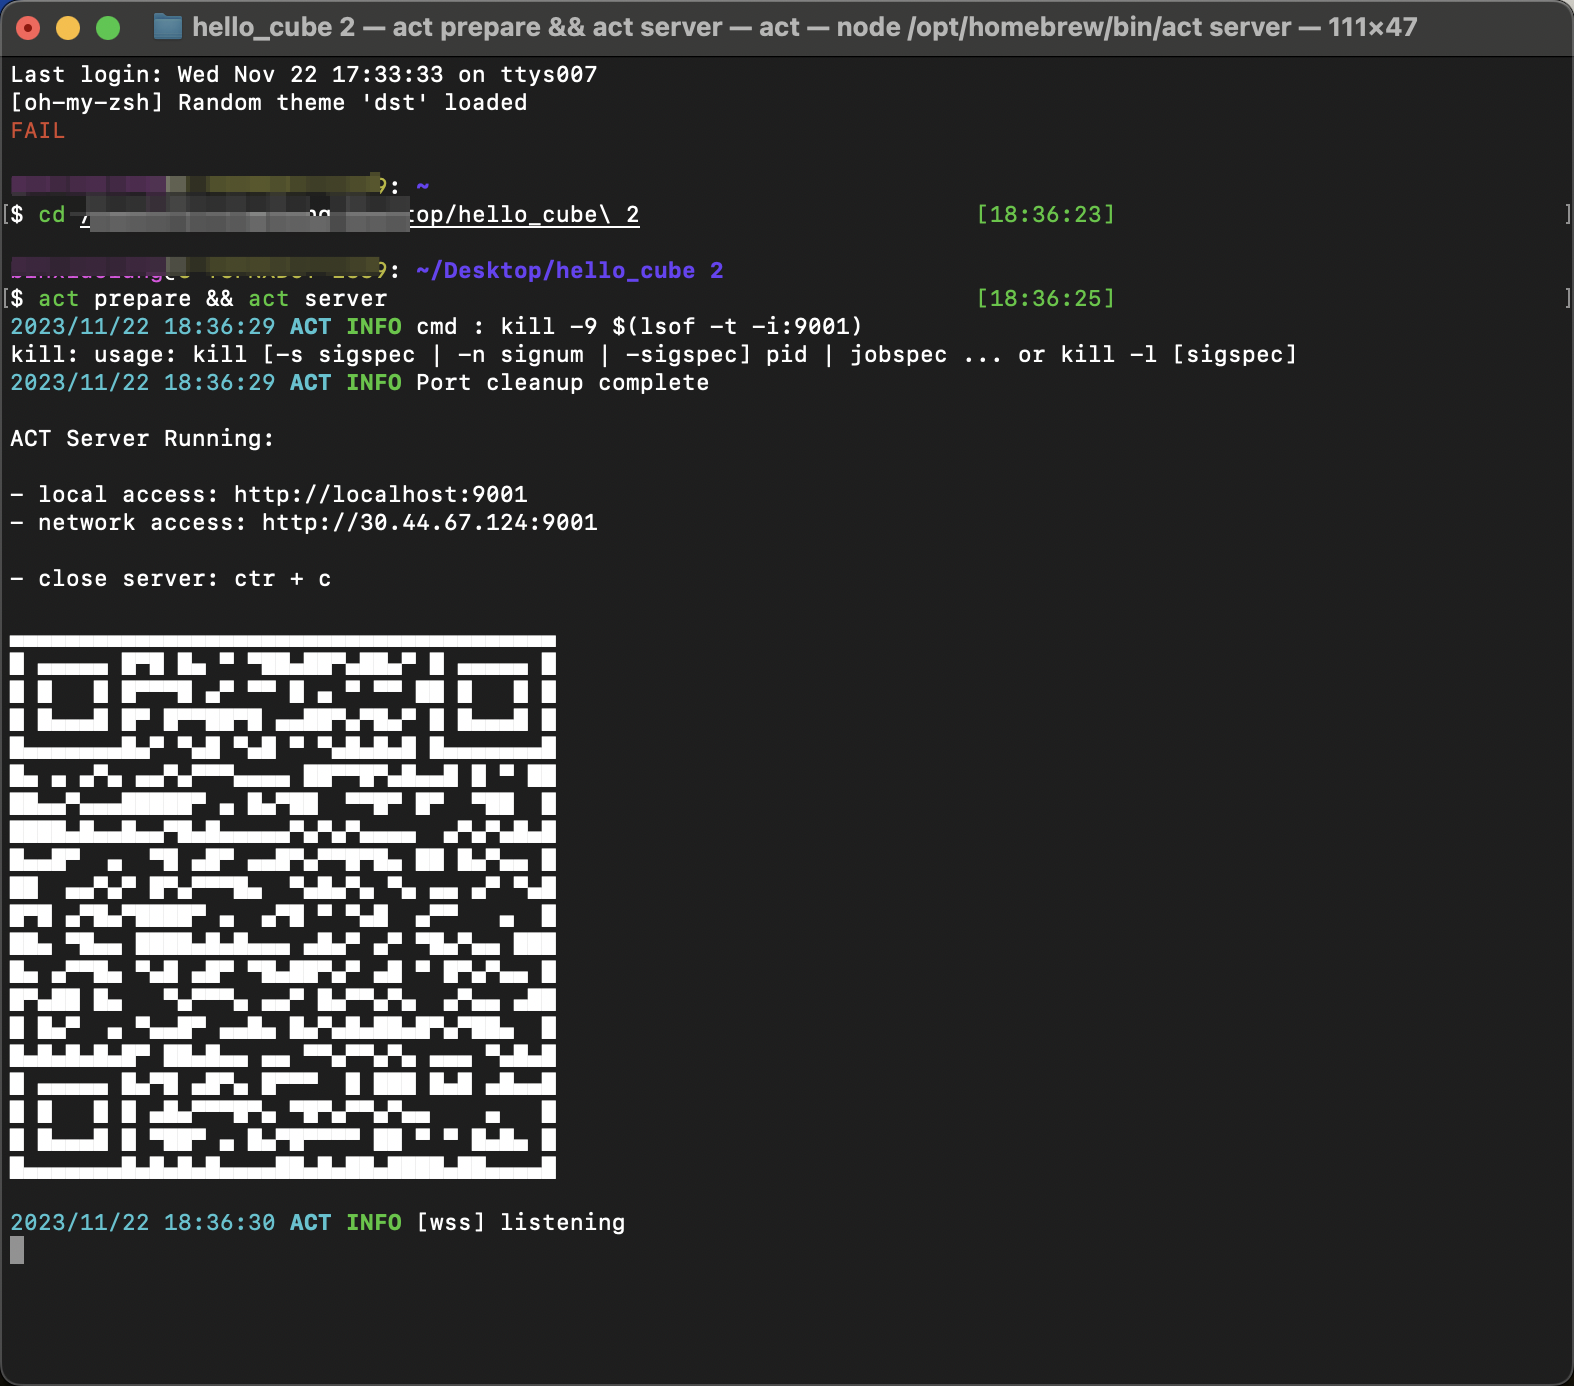
Use the command line to start the local debugging service. In the project path, run the command to start the service. The commands for macOS and Windows are as follows:
macOS:
act prepare && act serverWindows:
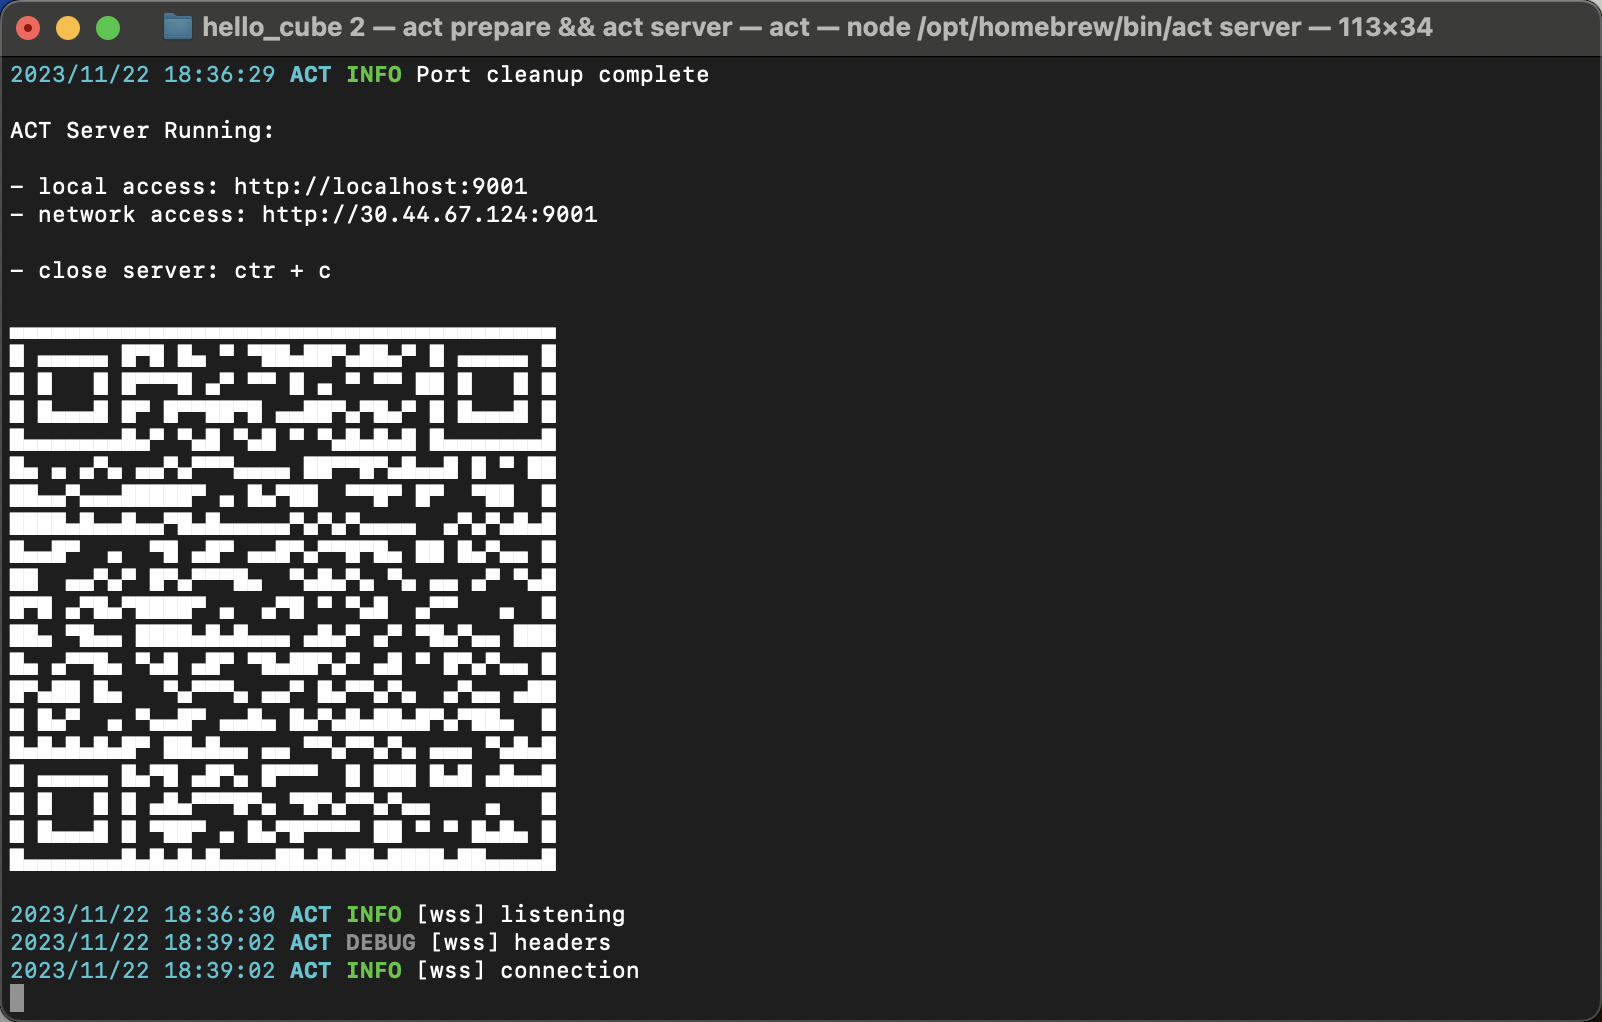
act prepare | act serverAfter you run the command, a QR code is generated in the terminal.
Start the client and scan the QR code to establish a connection. The terminal prompts that the device is connected.
Preview the card.
Open a new terminal window. Use the
cdcommand to switch to the project folder and runact buildto compile the project. Then, callact previewto push the compiled content to the client.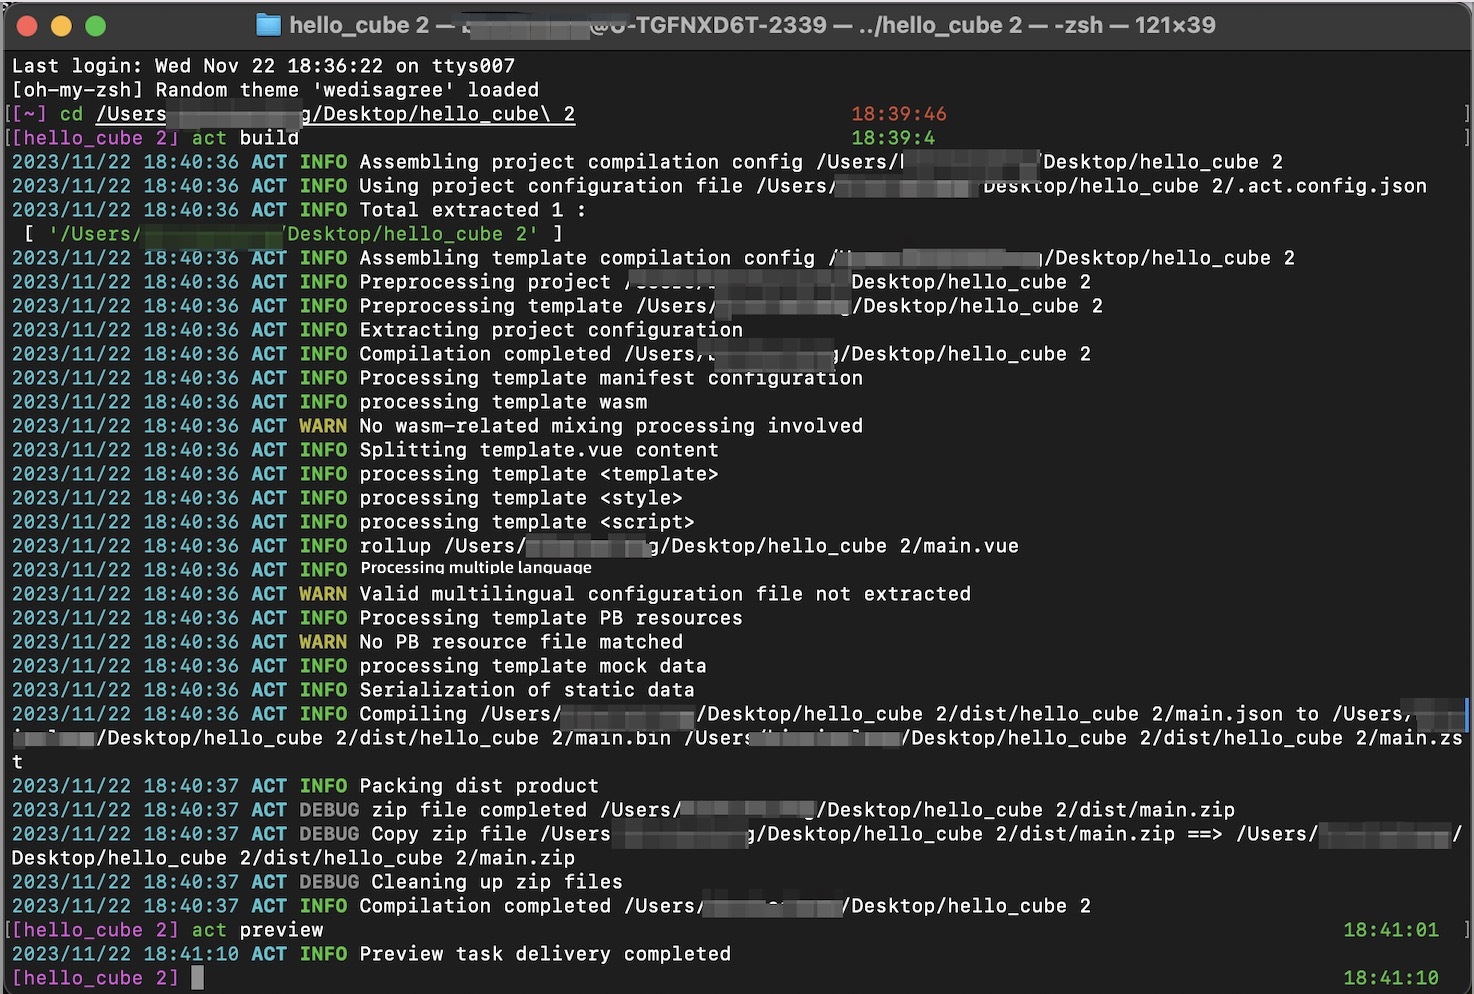
If you use the default preview page, the client automatically redirects to display the preview card.
If you define a custom preview interface, the
CubeCardPreviewListener Protocolcallback is triggered. Your app can then retrieve theCubeCardinstance and render it.