The mini program supports navigation bar customization, you can customize the style of the navigation bar, such as the position of the title, the style of the return button, etc. This article guides you to implement navigation bar customization in mini programs based on the 10.1.68 baseline.
This procedure falls into the following three steps:
Procedure
Set the navigation bar of the mini program
Open Android Studio, find the
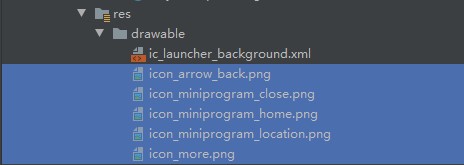
custom_config.jsonfile under assets > config folder, and add the following code to disable the native navigation bar of the mini program.{ "value": "NO", "key": "mp_ta_use_orginal_mini_nagivationbar" }In res > drawable folder, add the image resource as shown in the following figure. Click here to download the image resource.
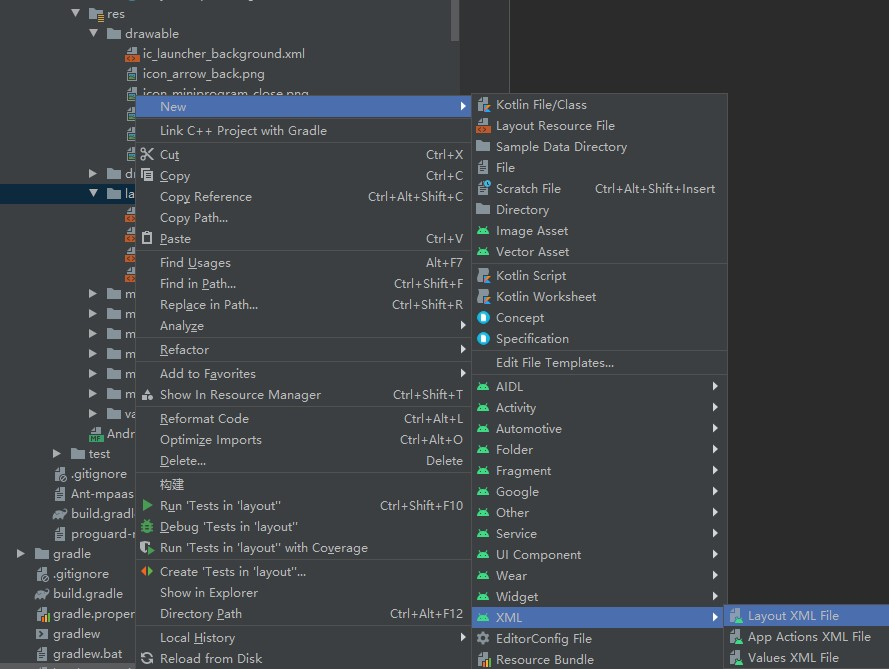
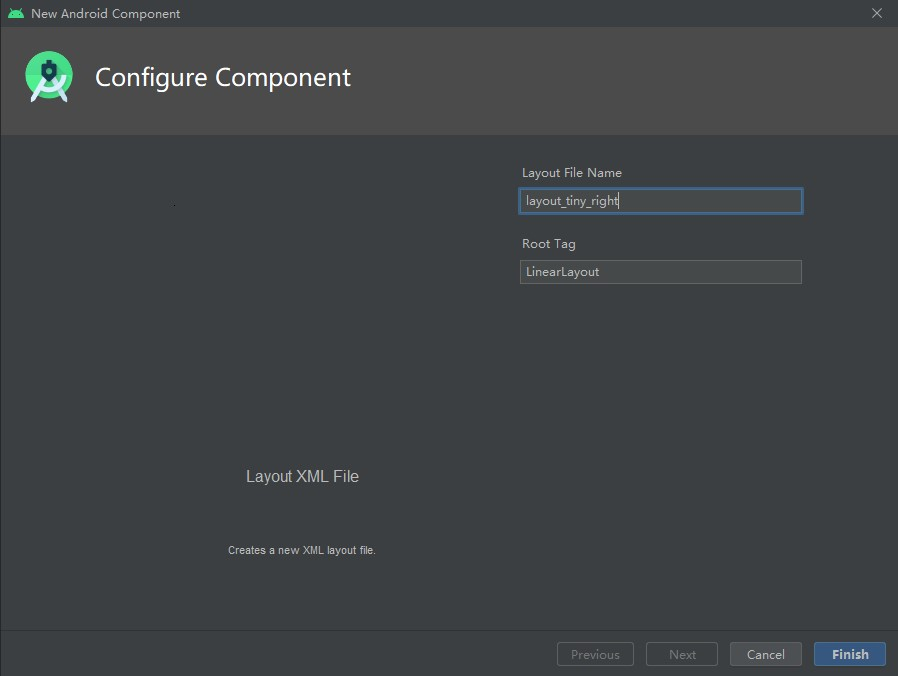
Right click the res > layout folder, select New > XML > Layout XML File, and press Enter key.
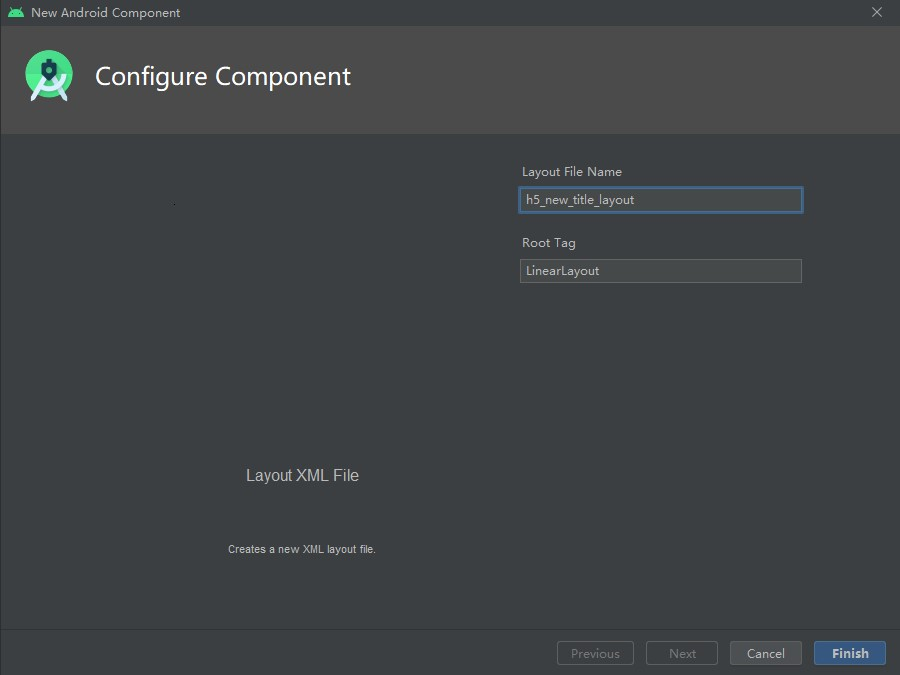
Enter the layout file name in Layout File Name, click Finish.
Add the following code in
h5_new_title_layout.xmlfolder to set the layout of the navigation bar.<?xml version="1.0" encoding="utf-8"?> <com.alipay.mobile.nebula.view.H5TitleBarFrameLayout xmlns:android="http://schemas.android.com/apk/res/android" android:id="@+id/titlebar" android:layout_width="match_parent" android:layout_height="match_parent"> <LinearLayout android:id="@+id/il_layout" android:layout_width="match_parent" android:layout_height="52dp" android:layout_gravity="center_vertical"> <ImageView android:id="@+id/back" android:layout_width="26dp" android:layout_height="26dp" android:layout_gravity="center_vertical" android:layout_marginLeft="12dp" android:scaleType="centerInside" android:src="@drawable/icon_arrow_back" /> <ImageView android:id="@+id/home" android:layout_width="26dp" android:layout_height="26dp" android:layout_gravity="center_vertical" android:layout_marginLeft="12dp" android:scaleType="centerInside" android:src="@drawable/icon_miniprogram_home" android:visibility="gone" /> <LinearLayout android:layout_width="0dp" android:layout_height="match_parent" android:layout_weight="1" android:gravity="center_horizontal" android:orientation="vertical"> <TextView android:id="@+id/mainTitle" android:layout_width="wrap_content" android:layout_height="match_parent" android:gravity="center" android:textColor="@android:color/white" android:textSize="20sp" /> <TextView android:id="@+id/subTitle" android:layout_width="wrap_content" android:layout_height="match_parent" android:visibility="visible" /> </LinearLayout> <FrameLayout android:id="@+id/options1" android:layout_width="wrap_content" android:layout_height="match_parent" android:visibility="gone"> <ImageView android:id="@+id/o1image" android:layout_width="26dp" android:layout_height="26dp" android:layout_gravity="center_vertical" /> </FrameLayout> <LinearLayout android:id="@+id/options" android:layout_width="wrap_content" android:layout_height="match_parent" android:layout_gravity="center_vertical" android:layout_marginRight="12dp" android:orientation="horizontal" android:visibility="gone" /> </LinearLayout> </com.alipay.mobile.nebula.view.H5TitleBarFrameLayout>Create
TinyNavigationBarclass.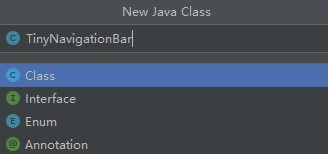
Add the following code in
TinyNavigationBarclass to customize Title Bar.public class TinyNavigationBar extends AbsTitleView { private H5TitleBarFrameLayout content; private TextView mainTitleView; private TextView subTitleView; private View btnBack; private View optionContainer; private View options1; private View btHome; private Context context; public TinyNavigationBar(Context context) { ViewGroup parent = null; this.context = context; if (context instanceof Activity) { parent = (ViewGroup) ((Activity) context).findViewById(android.R.id.content); } content = (H5TitleBarFrameLayout) LayoutInflater.from(context).inflate(R.layout.h5_new_title_layout, parent, false); content.getContentBgView().setColor(context.getResources().getColor(R.color.colorPrimary)); mainTitleView = (TextView) content.findViewById(R.id.mainTitle); subTitleView = (TextView) content.findViewById(R.id.subTitle); btnBack = content.findViewById(R.id.back); btnBack.setOnClickListener(new View.OnClickListener() { @Override public void onClick(View v) { invokePageBackEvent(); } }); optionContainer = content.findViewById(R.id.options); btHome = content.findViewById(R.id.home); int statusBarHeight = H5StatusBarUtils.getStatusBarHeight(context); content.setPadding(0, statusBarHeight, 0, 0); btHome.setOnClickListener(new View.OnClickListener() { @Override public void onClick(View v) { invokeHomeClickEvent(); } }); options1 = content.findViewById(R.id.options1); options1.setOnClickListener(new View.OnClickListener() { @Override public void onClick(View v) { invokeOptionClickEvent(1, false); } }); } @Override public int getBackgroundColor() { return content.getContentBgView().getColor(); } @Override public void setBackgroundAlphaValue(int i) { content.getContentBgView().setAlpha(i); } @Override public void setBackgroundColor(int i) { if ((i & 0xffffff) == 0xffffff) { mainTitleView.setTextColor(Color.BLACK); } else { mainTitleView.setTextColor(Color.WHITE); } content.getContentBgView().setColor(i); notifyTitleBarChanged(); } @Override public String getTitle() { return mainTitleView.getText().toString(); } @Override public void setTitle(String s) { mainTitleView.setText(s); } @Override public void setSubTitle(String s) { subTitleView.setText(s); } @Override public void setTitleImage(Bitmap bitmap) { } @Override public TextView getMainTitleView() { return mainTitleView; } @Override public TextView getSubTitleView() { return subTitleView; } @Override public void resetTitle() { content.getContentBgView().setColor(context.getResources().getColor(R.color.colorPrimary)); } @Override public void showCloseButton(boolean b) { } @Override public View getContentView() { return content; } @Override public void showBackButton(boolean b) { btnBack.setVisibility(b ? View.VISIBLE : View.GONE); } @Override public void showBackHome(boolean b) { btHome.setVisibility(b ? View.VISIBLE : View.GONE); } @Override public void showOptionMenu(boolean b) { optionContainer.setVisibility(b ? View.VISIBLE : View.GONE); options1.setVisibility(b ? View.VISIBLE : View.GONE); } @Override public View getOptionMenuContainer(int i) { if (i == 1) { return options1; } return optionContainer; } @Override public void setOptionMenu(boolean reset, boolean override, boolean isTinyApp, List<MenuData> menus) { for (int i = 0; i < 2 && i < menus.size(); i++) { MenuData menuData = menus.get(i); if (isTinyApp) { String iconUrl = menuData.getIcon(); if (!TextUtils.isEmpty(iconUrl)) { H5ImageUtil.loadImage(iconUrl, new H5ImageListener() { @Override public void onImage(Bitmap bitmap) { ((ImageView)options1.findViewById(R.id.o1image)).setImageBitmap(bitmap); } }); } } } } @Override public void showTitleLoading(boolean b) { } @Override public View getPopAnchor() { return optionContainer; } }
Set the OptionMenu of the mini program
Right click res > layout folder, select New > XML > Layout XML File, and press Enter key.

Enter Layout File Name, and click Finish.
Add the following code in
layout_tiny_right.xmlfolder to set the layout of OptionMenu area.<?xml version="1.0" encoding="utf-8"?> <FrameLayout xmlns:android="http://schemas.android.com/apk/res/android" android:layout_width="wrap_content" android:layout_height="match_parent" android:layout_gravity="center_vertical"> <LinearLayout android:id="@+id/option_bg" android:background="#9fffffff" android:layout_width="wrap_content" android:layout_height="42dp" android:layout_gravity="center_vertical" android:gravity="center_vertical"> <ImageView android:id="@+id/more" android:layout_width="26dp" android:layout_height="26dp" android:src="@drawable/icon_more"/> <ImageView android:id="@+id/close" android:layout_width="26dp" android:layout_height="26dp" android:layout_marginLeft="12dp" android:src="@drawable/icon_miniprogram_close"/> </LinearLayout> </FrameLayout>Create
TinyOptionMenuViewclass.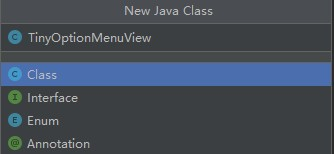
Add the following code in
TinyOptionMenuViewclass to customize OptionMenu area.public class TinyOptionMenuView extends AbsTinyOptionMenuView { private View container; private ImageView ivMore; private View ivClose; private Context context; private View bgView; public TinyOptionMenuView(Context context) { this.context = context; ViewGroup parent = null; if (context instanceof Activity) { parent = (ViewGroup) ((Activity) context).findViewById(android.R.id.content); } container = LayoutInflater.from(context).inflate(R.layout.layout_tiny_right, parent, false); ivClose = container.findViewById(R.id.close); ivMore = (ImageView) container.findViewById(R.id.more); bgView = container.findViewById(R.id.option_bg); } @Override public View getView() { return container; } @Override public void setOptionMenuOnClickListener(View.OnClickListener onClickListener) { ivMore.setOnClickListener(onClickListener); } @Override public void setCloseButtonOnClickListener(View.OnClickListener onClickListener) { ivClose.setOnClickListener(onClickListener); } @Override public void setCloseButtonOnLongClickListener(View.OnLongClickListener onLongClickListener) { ivClose.setOnLongClickListener(onLongClickListener); } @Override public void onStateChanged(TinyAppActionState state) { if (state == null) { ivMore.setImageDrawable(context.getResources().getDrawable(R.drawable.icon_more)); } else if (state.getAction().equals(TinyAppActionState.ACTION_LOCATION)) { ivMore.setImageDrawable(context.getResources().getDrawable(R.drawable.icon_miniprogram_location)); } } @Override protected void onTitleChange(final H5TitleView title) { super.onTitleChange(title); int color = title.getBackgroundColor(); if ((color & 0xffffff) == 0xffffff) { bgView.setBackgroundColor(Color.RED); } else { bgView.setBackgroundColor(Color.GREEN); } } @Override public void setH5Page(H5Page h5Page) { super.setH5Page(h5Page); // title becomes available from here. if (getTitleBar().getBackgroundColor() == -1) { bgView.setBackgroundColor(Color.RED); } } @Override public void hideOptionMenu() { } }Add the following code in
IInitCallbackinitialization callback ofMyApplicationclass to customize title bar and upper-right configuration bar.// Customize title bar MPNebula.setCustomViewProvider(new H5ViewProvider() { @Override public H5TitleView createTitleView(Context context) { // Return custom title return new TinyNavigationBar(context); } @Override public H5NavMenuView createNavMenu() { return null; } @Override public H5PullHeaderView createPullHeaderView(Context context, ViewGroup viewGroup) { return null; } @Override public H5WebContentView createWebContentView(Context context) { return null; } }); // Custom upper-right configuration bar H5Utils.setProvider(TinyOptionMenuViewProvider.class.getName(), new TinyOptionMenuViewProvider() { @Override public AbsTinyOptionMenuView createView(Context context) { return new TinyOptionMenuView(context); } });
Run the mini program to view the navigation bar and OptionMenu after setting
Tap
 to run the application on real device.
Tap Hello World! to start up the mini program. The loading page is shown as follows, you can see the customized configuration bar in the upper-right.
Tap the Icon under Basic component, then you can see the the layout of the custom navigation bar in Icon page.