This topic describes how to manage queues in the Simple Message Queue (SMQ, formerly MNS) console.
Prerequisites
Activate SMQ and grant permissions. For more information, see Activate SMQ and authorize RAM users to access SMQ.
Create a queue
Log on to the SMQ console.
In the left-side navigation pane, choose Queue Model > Queues.
In the top navigation bar, select a region.
On the Queues page, click Create Queue.
In the Create Queue panel, set the following parameters and click OK.
Name: The queue name.
Queue Type: The queue type.
Standard Queue: For standard messages. Consumption order is not guaranteed.
FIFO Queue: Guarantees that messages within the same group are consumed in the order they are sent.
Maximum Message Length: The maximum size of a message body.
Long Polling Period: The maximum time that a
ReceiveMessagerequest waits for a message. If you set this parameter to 0, long polling is disabled.Visibility Timeout Period: The duration a retrieved message remains
Inactive. For more information, see Message visibility.Message Retention Period: The maximum time to store a message in the queue. After this period, the message is deleted regardless of whether it has been retrieved.
Message Delay Period: The delivery delay for all messages sent to this queue.
Enable Logging Feature: When enabled, operation logs for this queue are automatically sent to a specified Logstore. You can view message traces, latency, and other information in the logs. For more information, see Log Management.
The newly created queue appears on the Queues page.
Edit a queue
On the Queues page, find the queue to modify, click in the Actions column, and then select Edit.
In the panel that appears, modify the queue settings and click OK.
The updated configuration appears in the Basic Information section of the Queue Details page.
Find a queue
On the Queues page, enter a prefix of the queue name, such as
test, in the search box and click the search icon.All queues with names that start with the specified prefix appear in the list.
View queue details
On the Queues page, find the desired queue and click Details in the Actions column.
On the Queue Details page, view the detailed information about the queue.
Get endpoints
On the Queues page, find the queue to access and click Details in the Actions column.
On the Queue Details page, go to the Endpoint section to view the endpoints for Internet Access and Internal Access.
NoteYou can access endpoints over HTTP or HTTPS.
Send a message
On the Queues page, find the target queue, click in the Actions column, and then select Send Messages.
On the Quick Experience page, go to the Send Message section, configure the Message Content and Message Delay Period parameters, and then click Send Message.
A success message appears.
Receive messages
On the Queues page, find the target queue, click in the Actions column, and then select Send Messages.
Optional: On the Quick Experience page, go to the Receive Message section and click Edit Parameters of Receiving Messages. In the Edit Parameters of Receiving Messages panel, configure Receive Times and Polling Period, and then click OK.
On the Quick Experience page, go to the Receive Message section and click Receive Message.
The Receive Message section then displays the list of messages from the queue.
Optional: In the message list, find a message and click Details in the Actions column to view its content and other information.
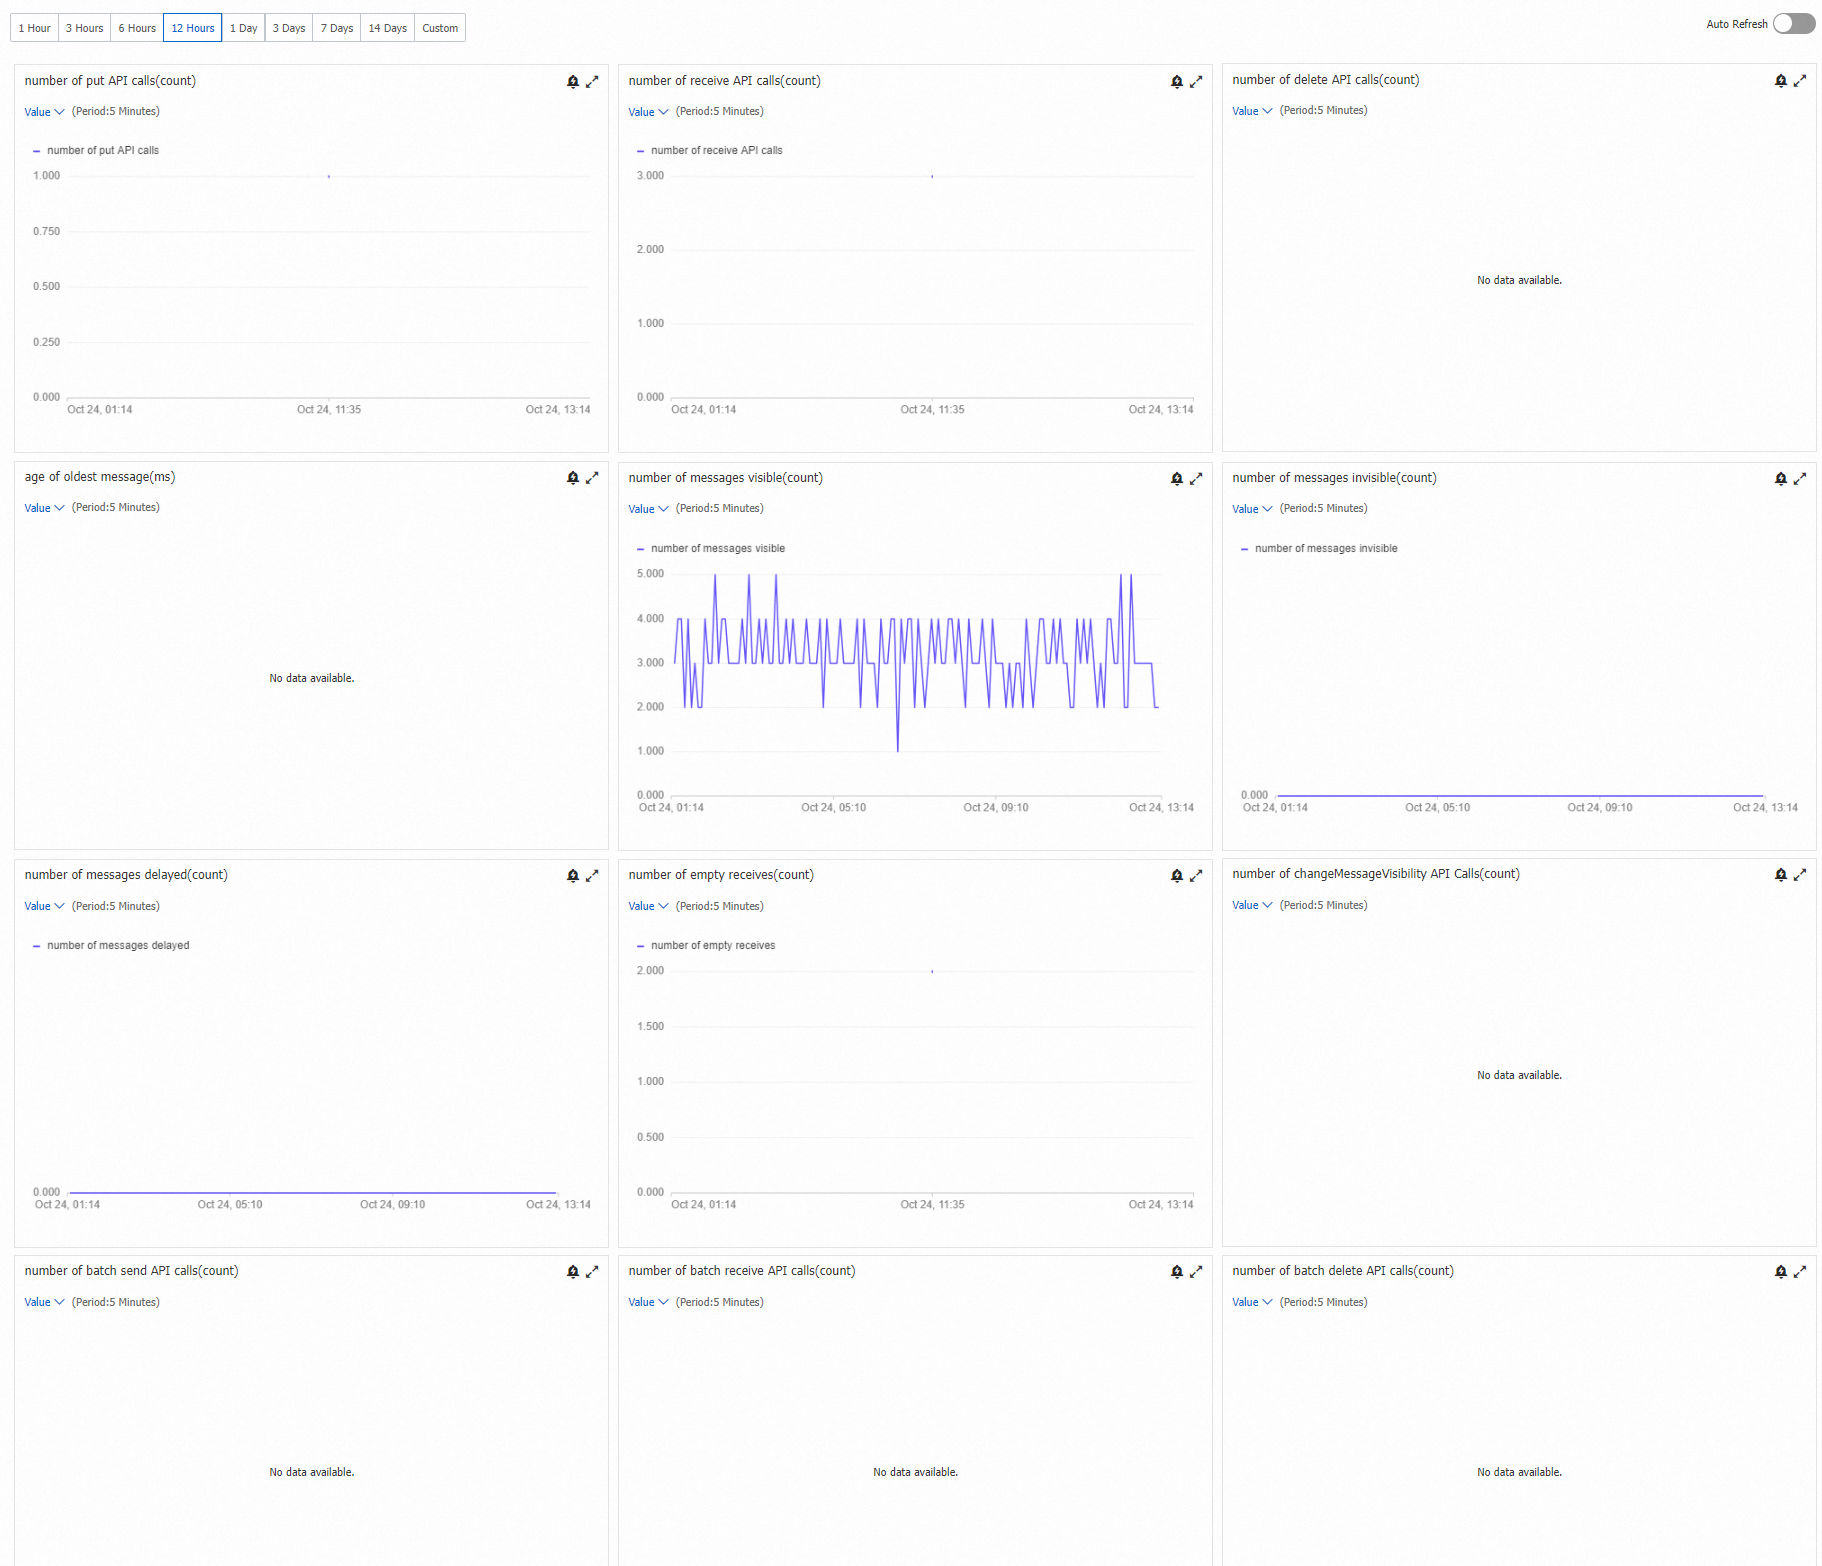
View queue metrics
On the Queues page, find the queue to monitor, click in the Actions column, and then select Cloud Monitor.
In the Cloud Monitor section, view the metrics for the queue.
 Note
NoteFor more information about alert rules, see Create an alert rule.
Delete a queue
On the Queues page, find the queue to delete, click in the Actions column, and then select Delete.
In the Note dialog box, read the information and click OK.
The deleted queue no longer appears on the Queues page.
WarningAfter a queue is deleted, its data cannot be recovered.
Before you delete a queue, stop all API requests to the queue. Otherwise, you will continue to be charged for these requests.