MaxCompute Studio is an IntelliJ IDEA plug-in for developing and running MaxCompute jobs directly from your IDE. This topic describes how to install it using the plug-in library or a local file.
Prerequisites
Before you begin, make sure your environment meets the following requirements:
A client running Windows, macOS, or Linux
IntelliJ IDEA 2018.2.4 or later (Ultimate Edition or Community Edition, which is free), or PyCharm
Java Runtime Environment (JRE) 1.8 — bundled with the latest version of IntelliJ IDEA, so no separate installation is needed if you are on the latest version
(Optional) Java Development Kit (JDK) 1.8 — required only if you want to develop and debug user-defined functions (UDFs) in Java
Version compatibility
| MaxCompute Studio version | Maximum compatible IntelliJ IDEA version | JDK support |
|---|---|---|
| 4.3.0 (latest) | 2024.2.5 | JDK 1.8 and later |
| Earlier than 0.28.0 | — | JDK 1.8 only |
Select your MaxCompute Studio version based on your IntelliJ IDEA version.
Choose an installation method
| Method | When to use |
|---|---|
| Method 1 (recommended): Install online via the plug-in library | MaxCompute Studio appears in IntelliJ IDEA Marketplace search results |
| Method 2: Install using a local file | MaxCompute Studio does not appear in the Marketplace (common with newer IntelliJ IDEA versions) |
Start with Method 1. If the plug-in does not appear in search results, use Method 2.
The IntelliJ IDEA graphical user interface (GUI) varies by version. Follow the on-screen instructions for your version. The steps below are based on a Windows client.
Method 1: Install online via the plug-in library
MaxCompute Studio is available in the official JetBrains plug-in library for all users.
In the top navigation bar, choose File > Settings.
On the Settings page, click Plugins in the left-side navigation pane.
In the Plugins dialog box, search for
MaxCompute Studio.Find MaxCompute Studio in the results and click Install.
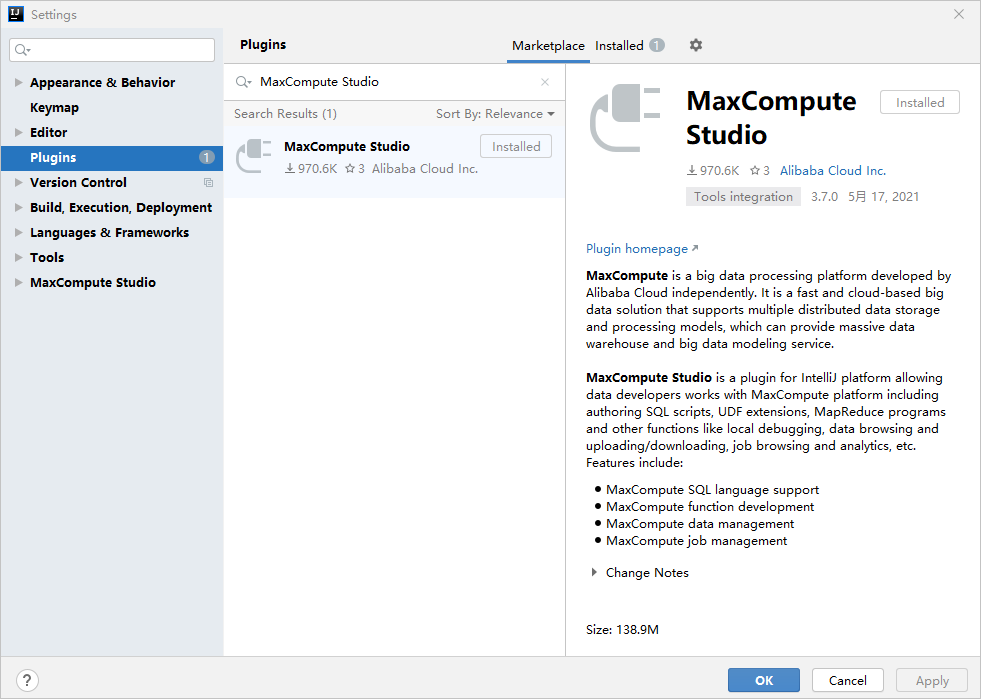
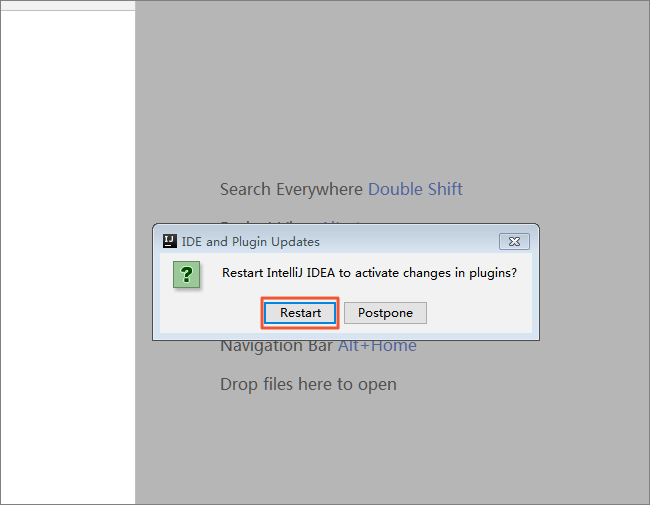
Restart IntelliJ IDEA to complete the installation.
Method 2: Install using a local file
Use this method if MaxCompute Studio does not appear in the plug-in library search results.
Download the MaxCompute Studio plug-in package to your machine.
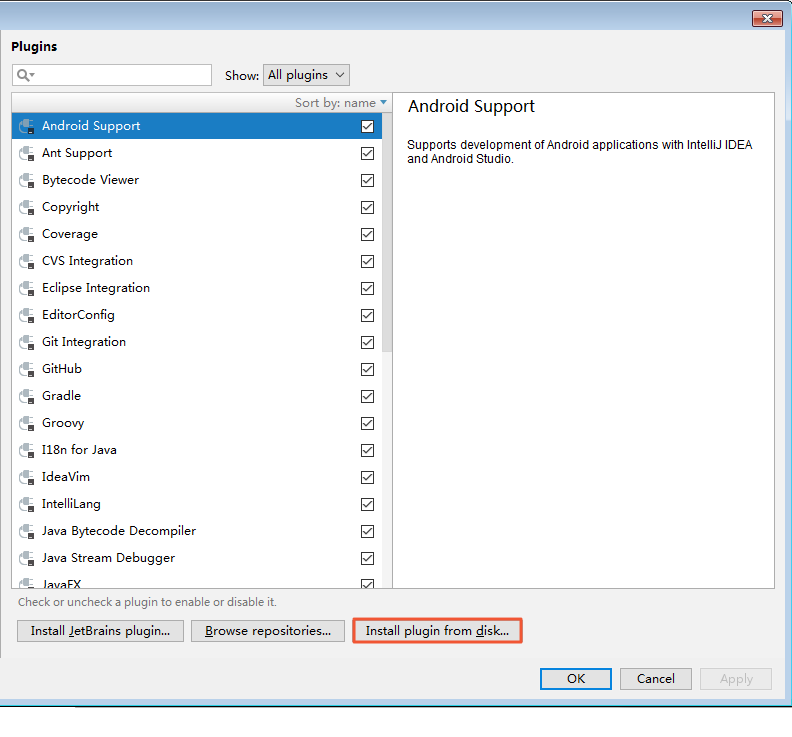
In the top navigation bar of IntelliJ IDEA, choose File > Settings > Plugins.

In the Plugins dialog box, click Install plugin from disk.
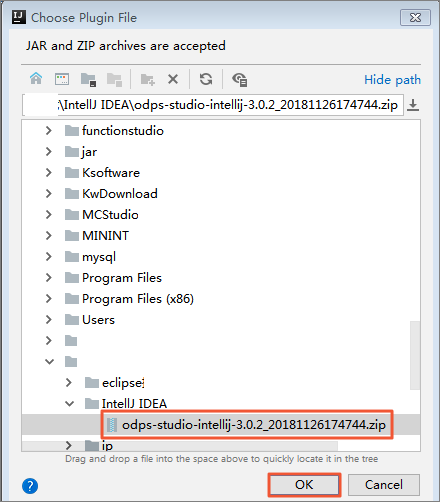
In the Choose Plugin File dialog box, select the downloaded plug-in file and click OK.
Back in the Plugins dialog box, click OK.
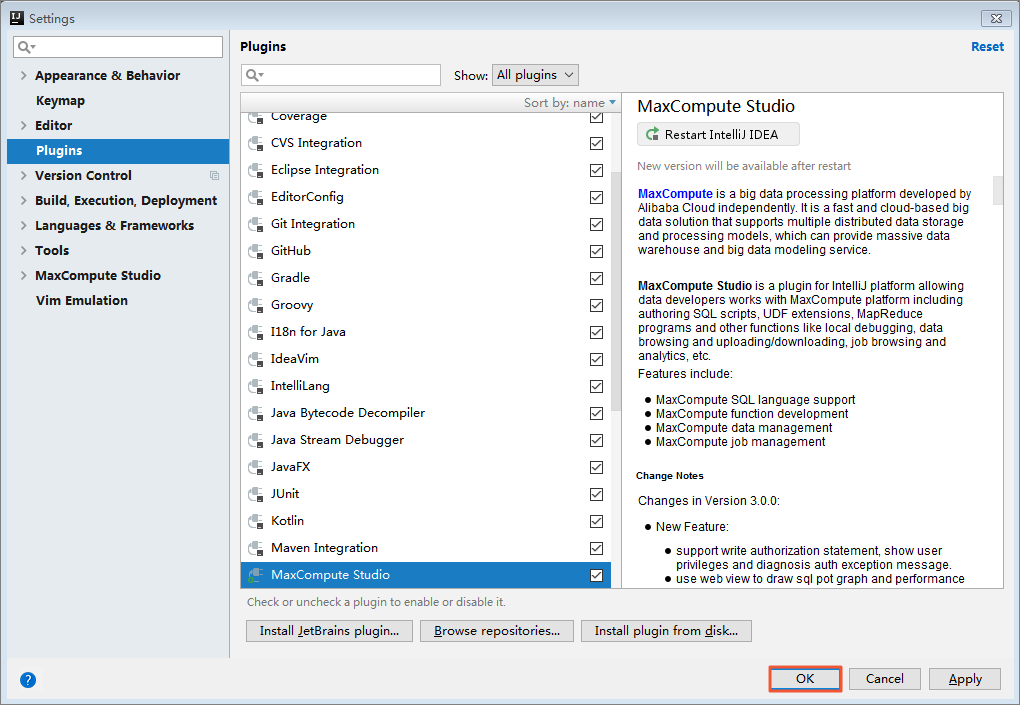
Click Restart when prompted to complete the installation.
What's next
After installation, connect MaxCompute Studio to your MaxCompute projects to access data and resources. See Manage project connections.