This topic describes how to set up an App Server.
Role of App Server

When you build an AI agent service using the AUI Kits framework, the client SDK needs to interface with Alibaba Cloud product capabilities. The App Server encapsulates these capabilities and provides a standardized set of HTTP APIs for the SDK, reducing your development costs.
You must deploy and maintain the App Server yourself.
Project framework
The project uses Java 8 and Spring Boot 2.
Deploy a project
Prerequisites
Complete the required console setup. For details, see Quick start for audio and video communications and Quick start for interactive messaging.
Java 8 is installed in your environment.
Deploy from source code
This example shows how to build and deploy the App Server using source code.
Configure project parameters
Download the App Server source code.
Open the
Server\Java\src\main\resourcesdirectory and locate theapplication.ymlfile. Configure the relevant parameters and keep the parameters that require no configuration unchanged.Parameter configuration
Description
biz:
  openapi:
    access:
      key: "*******"
      secret: "*******"
Alibaba Cloud APIs require an AccessKey pair for authentication. An AccessKey pair consists of an AccessKey ID and an AccessKey Secret.
AccessKey ID: Identifies the user.
AccessKey secret: A secret key used to authenticate your requests. You must keep your AccessKey Secret confidential.
For more information, see Create an AccessKey pair.
NoteIf you use the AccessKey of a RAM user, you must grant the RAM user the AliyunICEFullAccess permission.
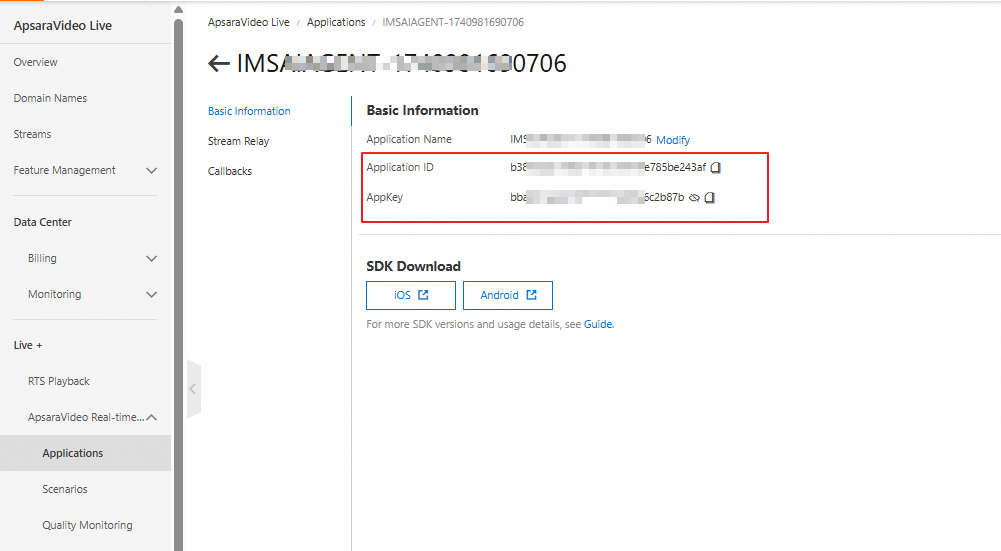
# The information about the ARTC application.
  live_mic:
    app_id: "*******"
    app_key: "*******"
The AppID and AppKey of your ARTC application. You can find them in the console.
NoteFor audio and video communications, you must configure the ARTC AppID and AppKey. For interative messaging, this is optional.
To obtain the AppId and AppKey for the ARTC application:
Go to the Intelligent Media Console, click the agent you have created to enter the agent details page.
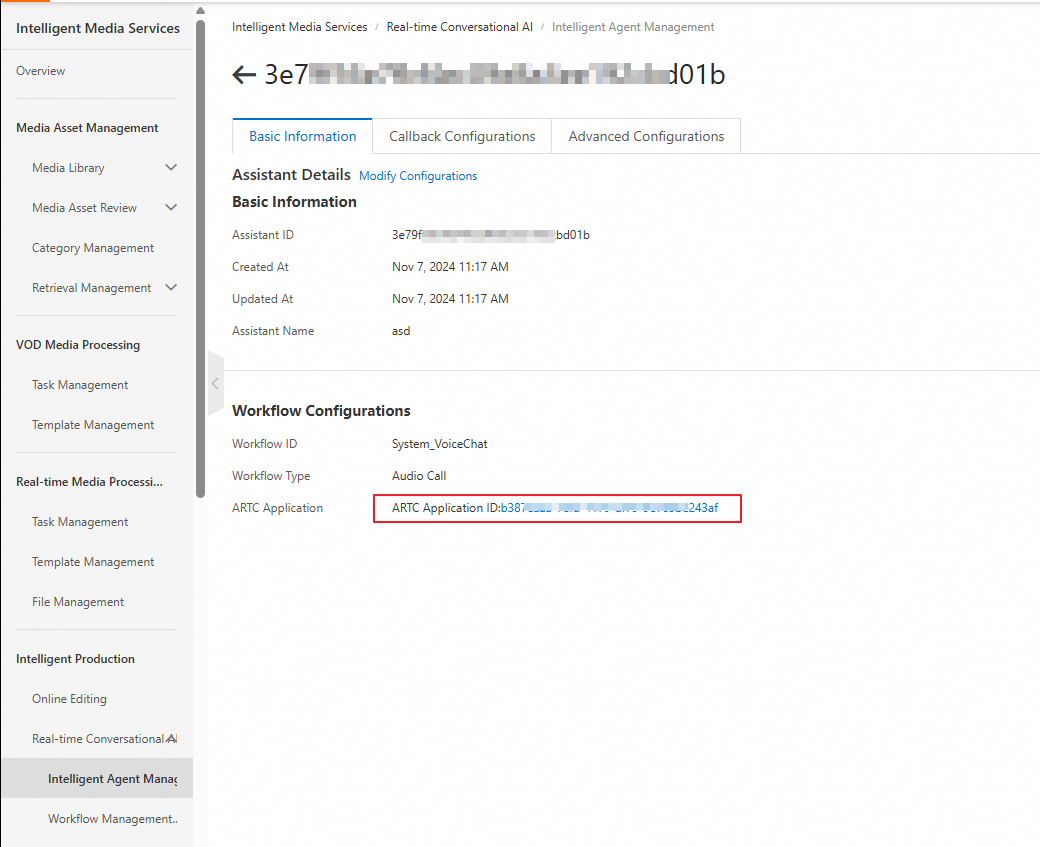
Click RTC AppID to go to the ApsaraVideo Live console to obtain the AppId and AppKey.
Package and run the project
Package the project
Package the project using the built-in Maven tool in IntelliJ IDEA. This action generates a JAR file in the
targetdirectory.Run the following command in the
Server\Javadirectory to package the project:mvn package -DskipTests(Optional) Send the JAR package from the
targetdirectory to the server.scp xxx.jar root@ip:/root
Run the project
Open a terminal in the directory where the JAR file is located.
Run in the foreground. This prints logs to the terminal.
java -jar ***.jarRun in the background. This writes logs to the
nohup.outfile.nohup java -jar ***.jar &