This topic describes how to configure single sign-on (SSO) for WordPress using IDaaS.
Application introduction
WordPress is open-source software that you can use to create websites, blogs, or applications. Its powerful features and flexible design help you bring your ideas to life.
WordPress requires a plugin for SSO, such as SAML Single Sign On-SAML SSO Login. This plugin supports WordPress 3.7 and later. The procedures in this topic are based on WordPress 5.9.2. For more information about the WordPress configuration, see the official documentation at: https://plugins.miniorange.com/saml-single-sign-on-sso-wordpress-using-custom-idp
Procedure
1. Configure the IDaaS application
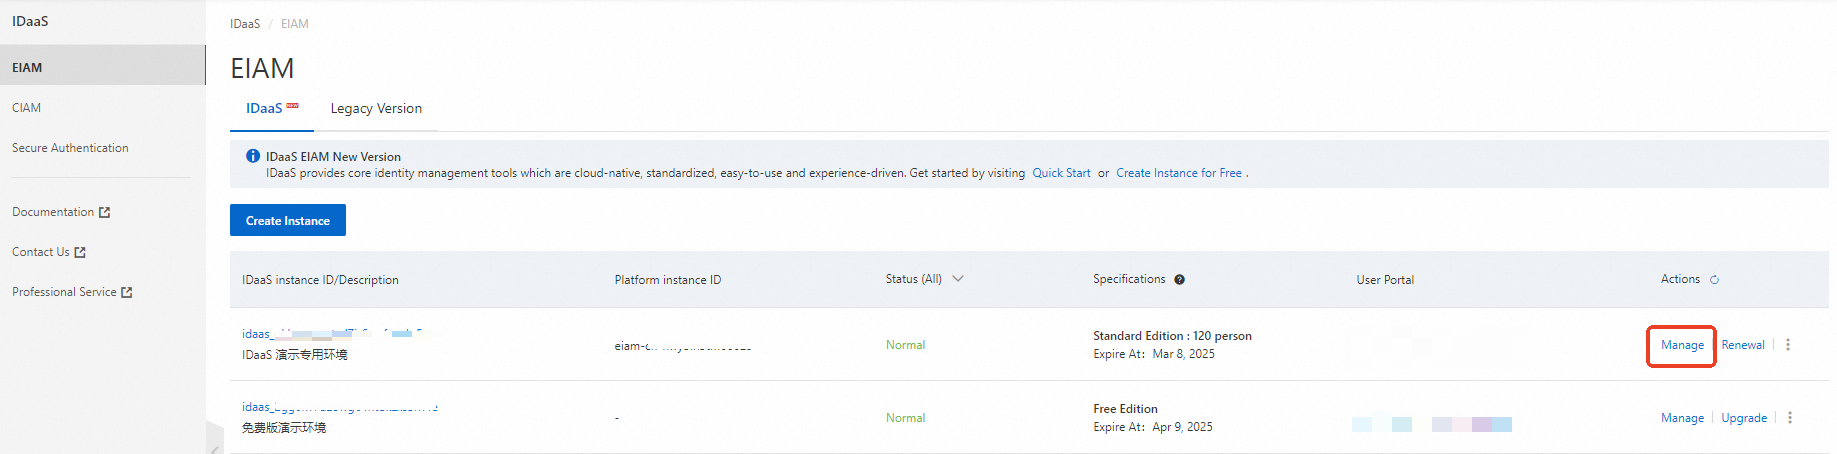
Log on to the IDaaS console.
Select an IDaaS instance and click Access Console in the Actions column for that instance.
Go to , search for WordPress, and click Add Application.
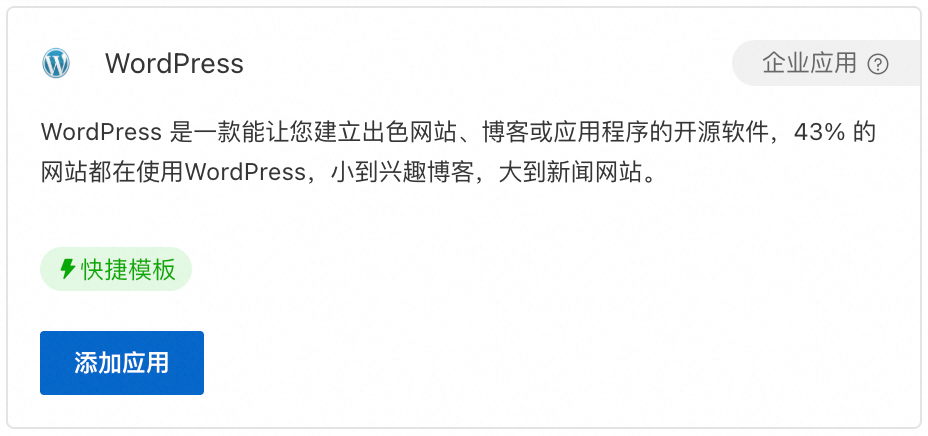
Confirm the application name to add it.
2. Configure SSO in IDaaS
Enter the URL of your WordPress service. Make sure the URL does not end with a forward slash (/).
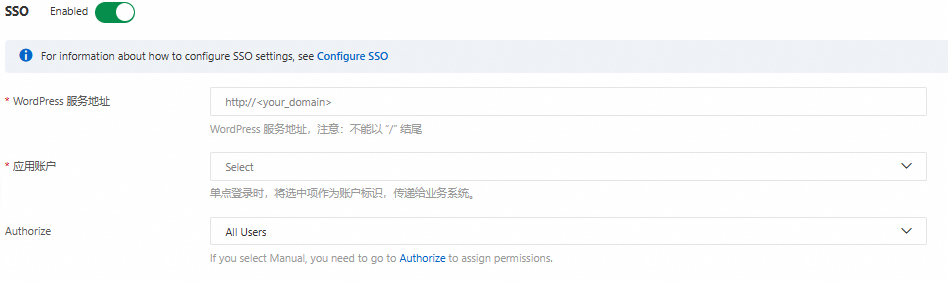
Keep the default settings for the other options and click Save.
Application account: By default, the IDaaS account name is used as the application logon identity. WordPress supports automatic account creation. During SSO, if a user account does not exist in WordPress, it is automatically created. For more configuration options, see the application account settings in the general SSO guide. Authorization scope: By default, all users can access the application. To specify which IDaaS accounts can access the application, see the application account settings in the general SSO guide.
The Application Configuration Information section at the bottom of the configuration page contains the required WordPress configuration parameters.
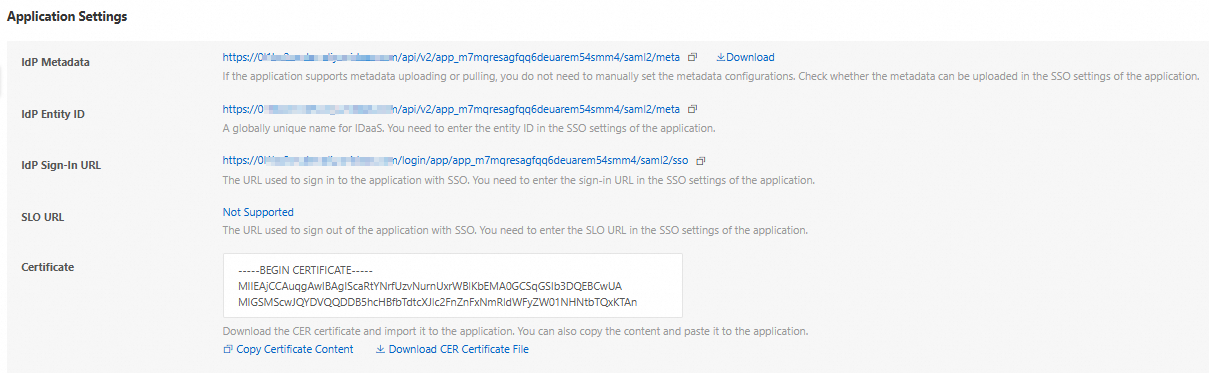
You need to obtain the following parameters: IdP Metadata, IdP Entity ID and IdP Sign-in URL, and Certificate.
3. Configure SSO in WordPress
1. Install the plugin
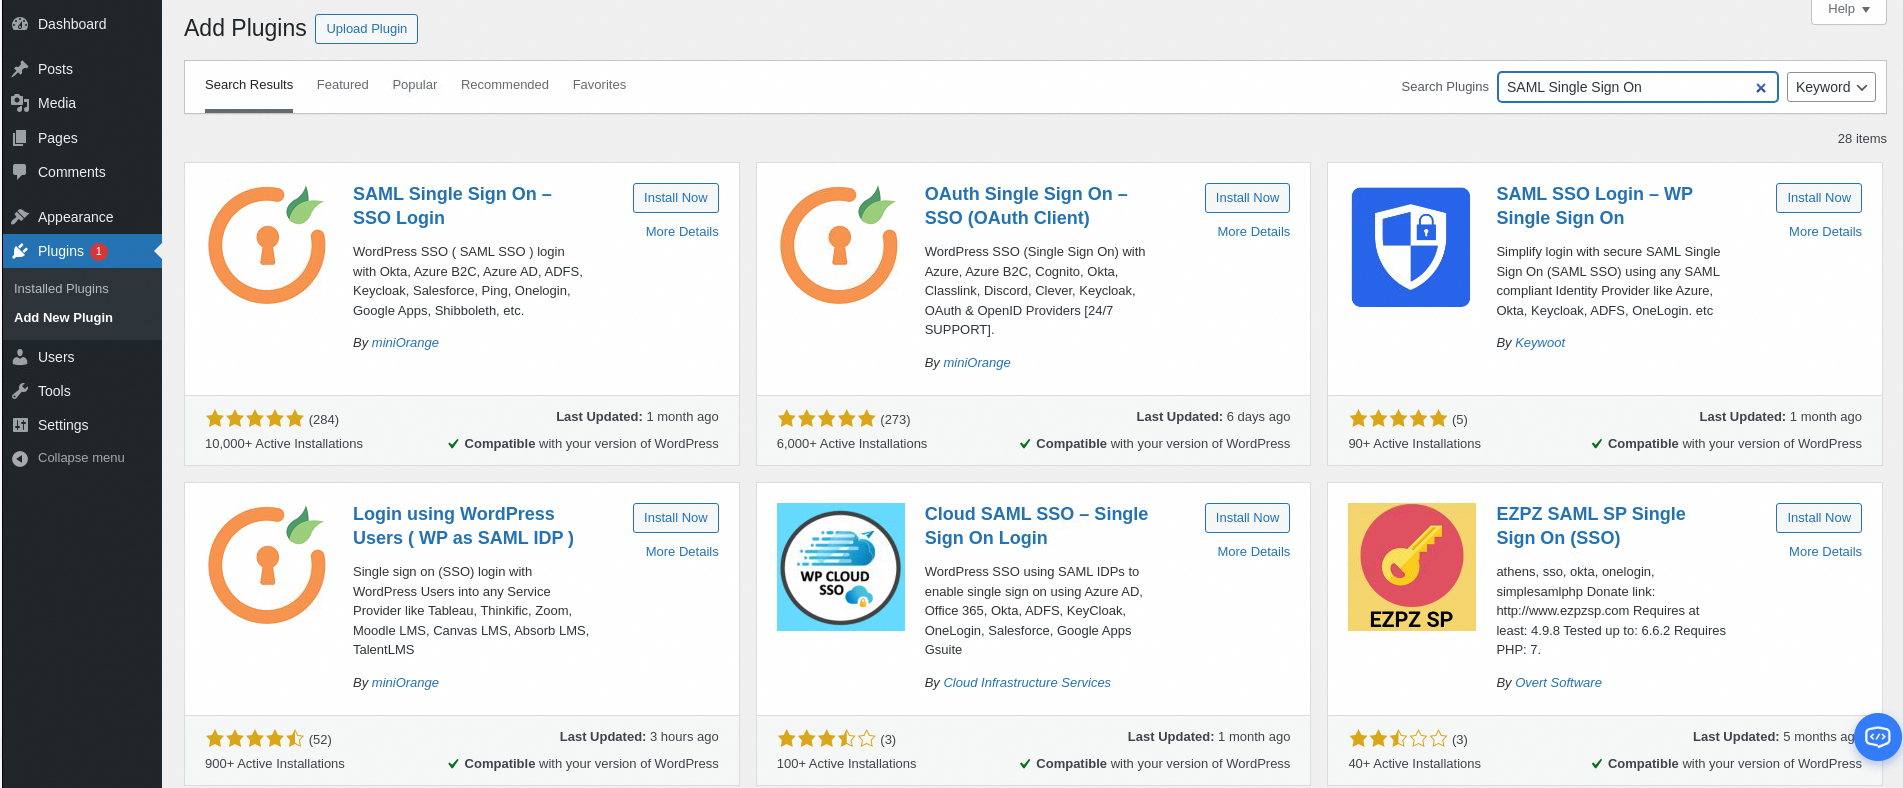
The WordPress plugin marketplace offers many plugins for implementing single sign-on. Search for 'SAML Single Sign On'. In the search results, find the SAML Single Sign On-SAML SSO Login plugin by miniOrange and click Install Now.
After the plugin is installed, go to , find the miniOrange SSO using SAML 2.0 plugin, and click Enable.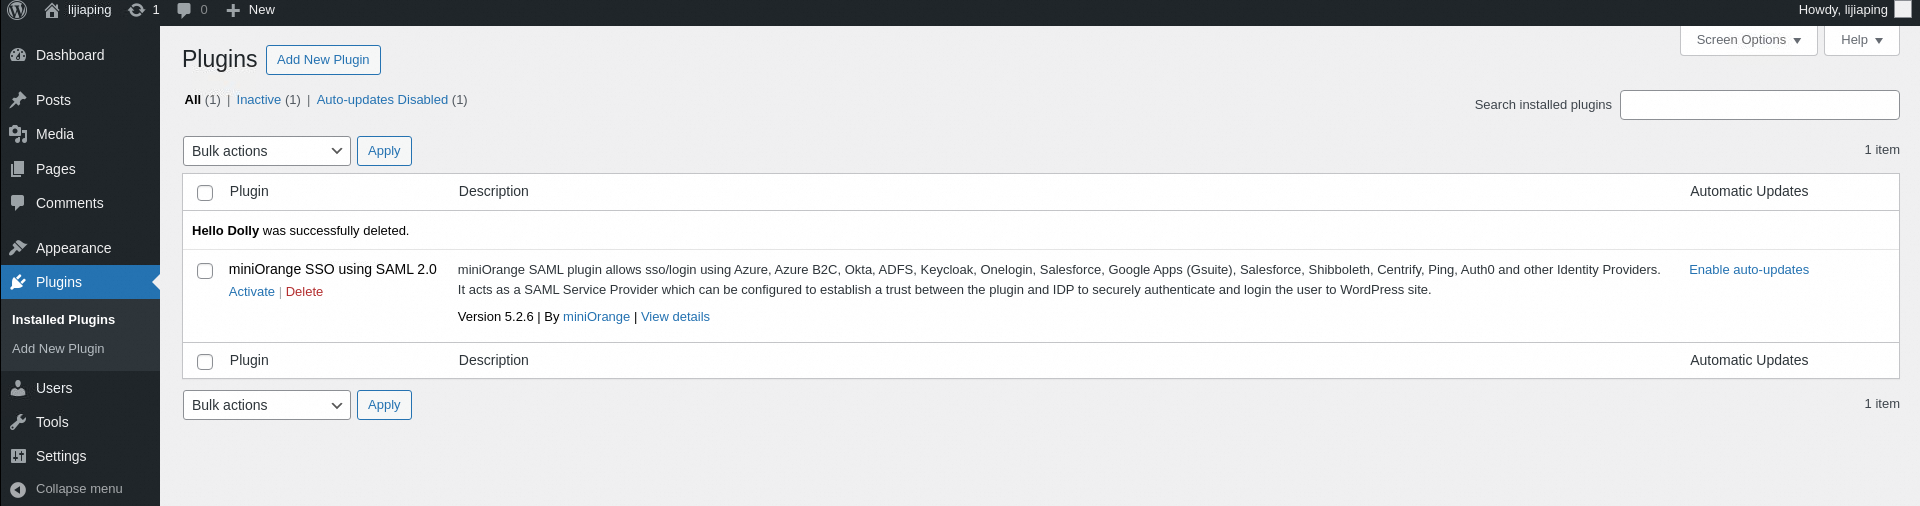
2. Configure SSO
After you enable the plugin, WordPress adds the miniOrange SAML 2.0 SSO menu to the left-hand navigation pane. Click the menu to open the editing page, as shown in the following figure: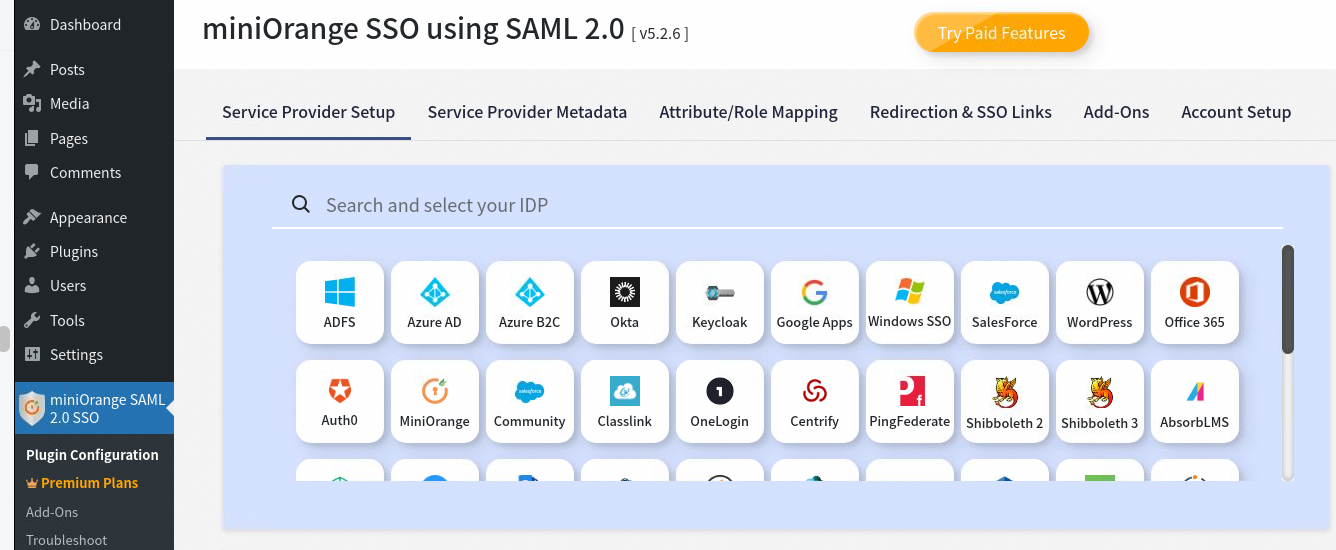
On the Service Provider Setup tab, search for Custom Identity Provider (IDP), as shown in the following figure.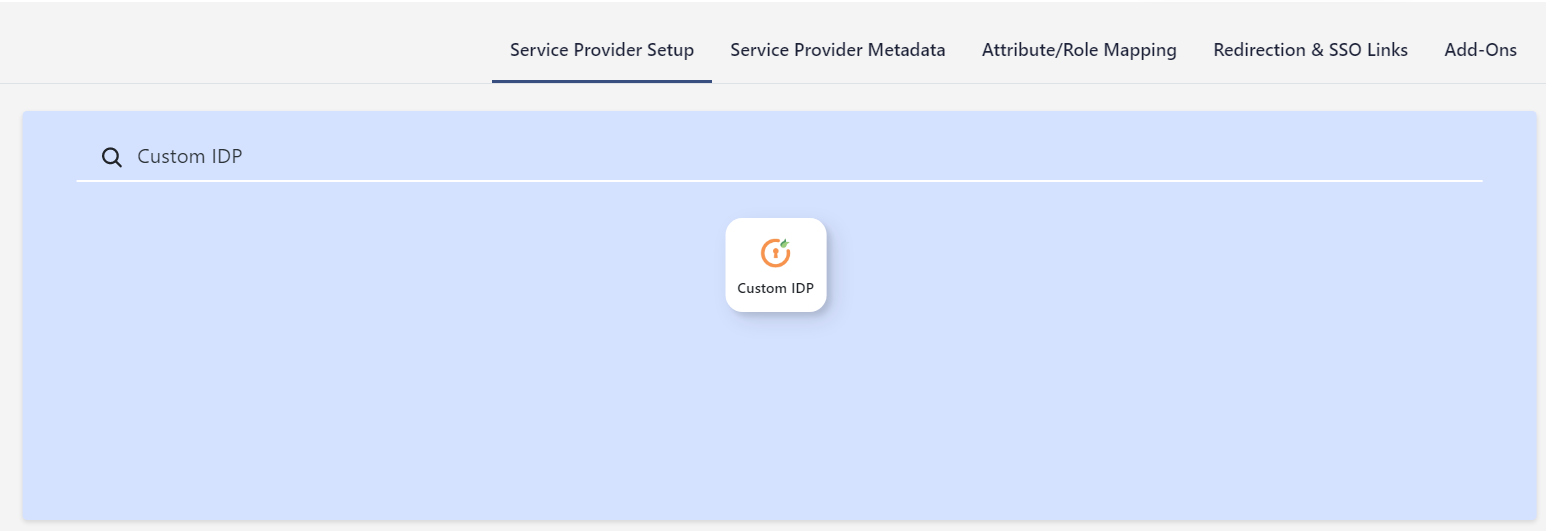
In the search results, click Custom IdP. You can then configure the identity provider (IdP) information by either Uploading IdP Metadata or Manually Entering IdP Metadata.
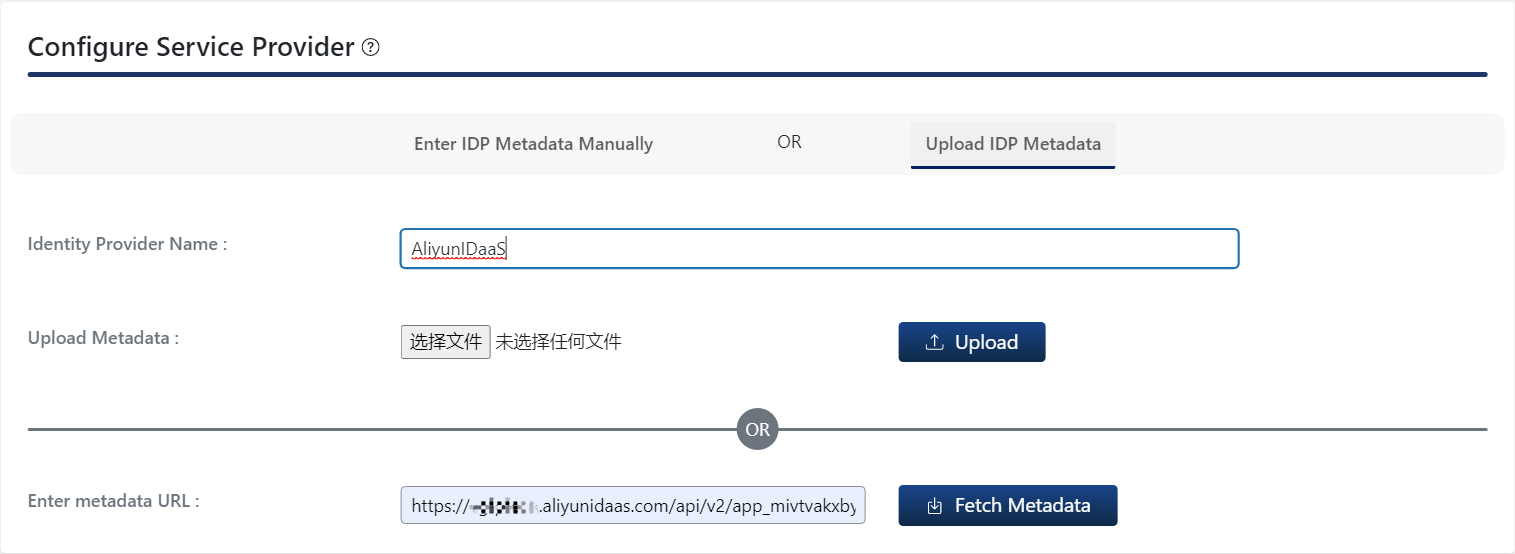
Upload IdP metadata
Select the Upload IDP Metadata tab.
Field | Corresponding field in IDaaS | Description |
Identity Provider Name | Enter a name, for example, | |
Upload Metadata | IdP Metadata | Get the IdP Metadata from the Application Configuration Information section of the IDaaS SSO configuration page. Download the metadata file and upload it here. |
Enter metadata URL | Get the URL from the IdP Metadata item in the Application Configuration Information section of the IDaaS SSO configuration page. |
Manually enter IdP metadata
Enter the information that you obtained from IDaaS. The parameters are mapped as follows:
Field | Corresponding field in IDaaS | Description |
Identity Provider Name | Enter a name, for example, | |
IdP entity ID or Issuer | IdP Entity ID IdP Entity ID | Get the IdP Entity ID from the Application Configuration Information section of the IDaaS SSO configuration page. |
SAML Login URL | IdP Sign-In URL IdP Sign-in URL | Get the IdP SSO Address from the Application Configuration Information section of the IDaaS SSO configuration page. |
X.509 Certificate | Public Key Certificate | Get the IdP Public Key Certificate from the Application Configuration Information section of the IDaaS SSO configuration page. |
3. Configure attribute mapping (Optional)
Attribute mapping is only supported in the paid version of the miniOrange SAML SSO plugin. Click the Attribute/Role Mapping tab, as shown in the following figure:
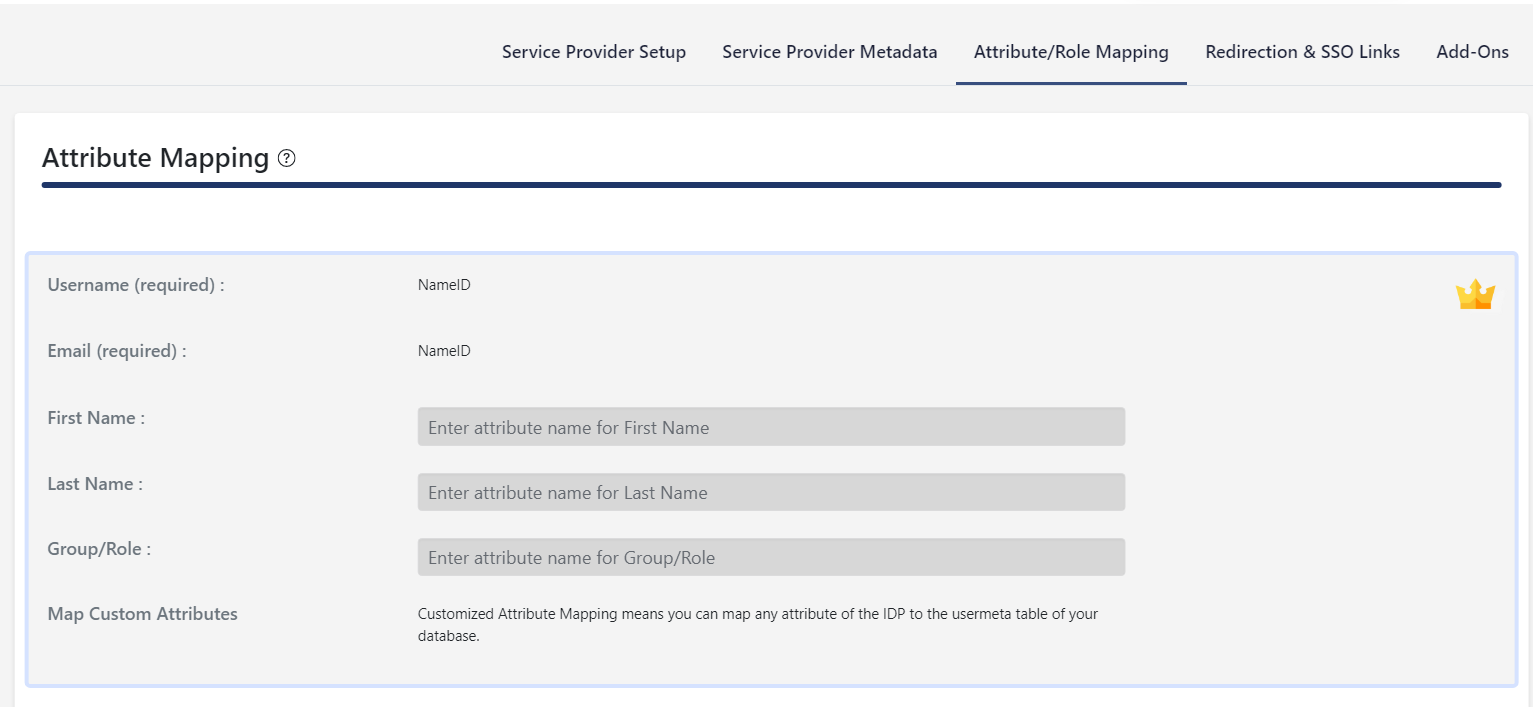
The following attribute mappings are supported:
WordPress attribute name | Attribute name in IDaaS SAML assertion | Description |
If the user's mailbox exists in IDaaS, it is passed to WordPress in the SAML assertion through the email attribute. | ||
First Name | - | Not supported |
Last Name | - | Not supported |
Group/Role | - | Not supported |
- | displayName | If the user's display name exists in IDaaS, it is passed to WordPress in the SAML assertion through the displayName attribute. |
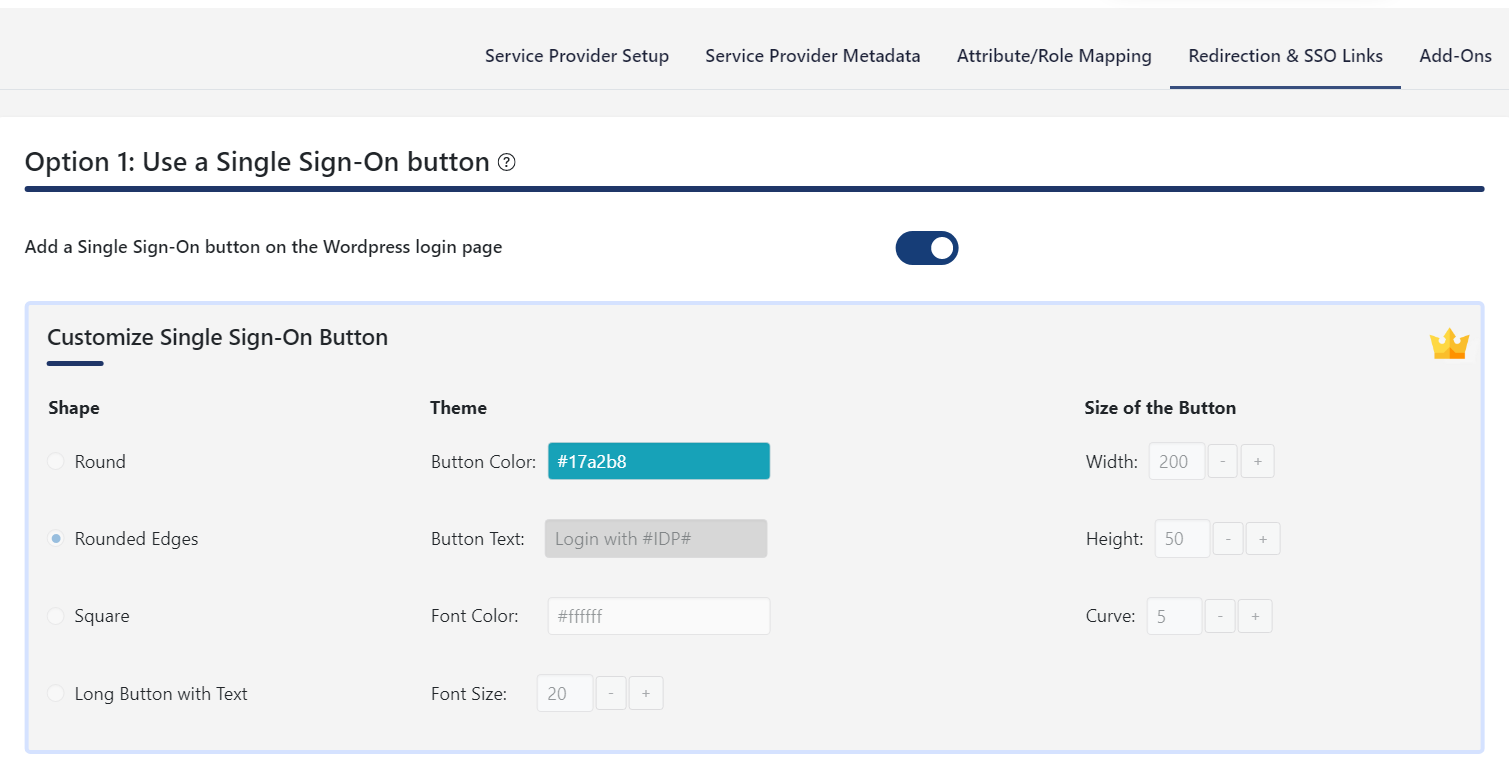
4. Configure logon page SSO link (Optional)
You can use the miniOrange SAML SSO plugin to configure whether to display an SSO link on the logon page from the Redirection & SSO Links tab. For more information, see the official document at https://plugins.miniorange.com/saml-single-sign-on-sso-wordpress-using-custom-idp.
4. Test the SSO configuration
You can now test the WordPress SSO configuration.
WordPress supports both IdP-initiated SSO from the IDaaS portal and service provider (SP)-initiated SSO from the WordPress logon page.
WordPress supports automatic account creation, also known as Just-in-Time (JIT) provisioning. During single sign-on, if a user account does not exist in WordPress, it is automatically created. You can manage access permissions for WordPress in IDaaS.
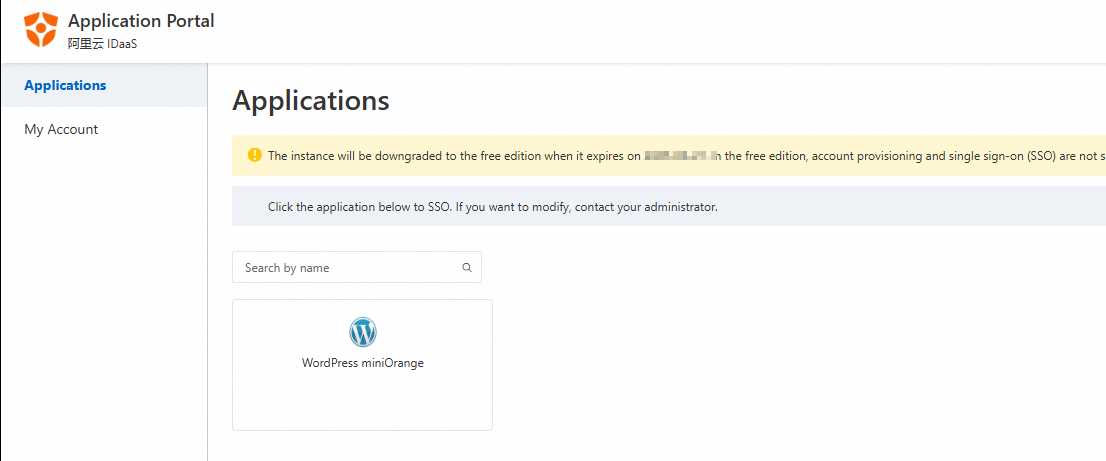
IdP-initiated
Log in to the IDaaS portal with an IDaaS account that is authorized for WordPress. On the portal, click WordPress to initiate SSO.
SP-initiated
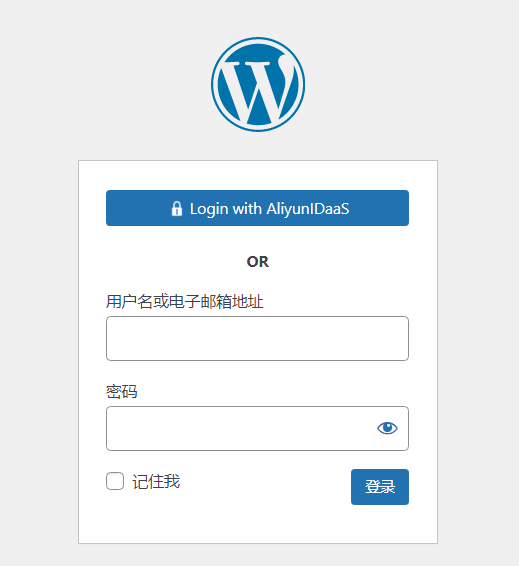
In an incognito browser window, open the WordPress logon page and click Login with AliyunIDaaS. You are redirected to IDaaS. If you are not already logged on, you are prompted to log on.
After you are successfully authenticated, you are automatically logged on to WordPress.