This topic describes how to configure Security Assertion Markup Language (SAML)-based single sign-on (SSO) for Bitbucket miniOrange in the Identity as a Service (IDaaS) console.
Application overview
Bitbucket is a Git-based source code repository hosting service owned by Atlassian. Bitbucket supports Mercurial and Git version control systems.
Bitbucket SSO can be implemented only after you install a plug-in such as SAML Single Sign On - SAML SSO Login.
In this topic, Bitbucket 6.0.3 is used. For more information about how to configure SSO in Bitbucket, see Documentation.
Procedure
Step 1: Add an application in the IDaaS console
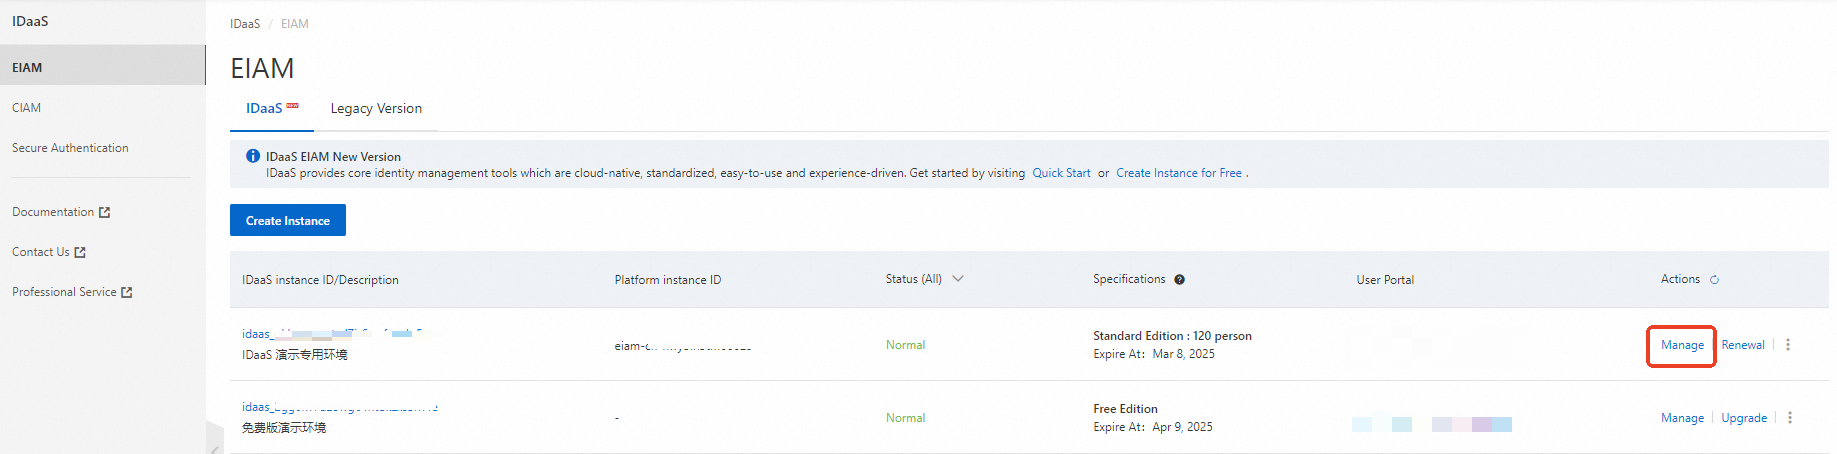
Log on to the IDaaS console.
On the EIAM page, find the required IDaaS instance and click Manage in the Actions column.
In the left-side navigation pane, click and search for Bitbucket miniOrange SAML. Click Add Application.
Confirm the application name and click Add. The application is added.
Step 2: Configure SSO in IDaaS
Enter the URL of Bitbucket in the Bitbucket Service Address field. The URL cannot end with a forward slash (/).
Configure SSO parameters.
Use the default values for other parameters and click Save. The SSO configuration is complete in IDaaS.
Application Username: The default value is IDaaS Username. Bitbucket supports just-in-time provisioning. If you implement Bitbucket SSO by using a specific application account that does not exist in Bitbucket, Bitbucket automatically creates an application account.
For more information about how to configure application accounts, see Configure SSO.
Authorize: The default value is All Users. You can also specify an IDaaS account that is allowed to access the application. For more information, see Configure SSO.
Obtain the information that is required to configure SSO in Bitbucket.
In the Application Settings section of the Sign-In tab, obtain the values of the parameters that are required to configure SSO in Bitbucket.
You must copy the values of the following parameters: IdP Metadata, IdP Entity ID, IdP Sign-in URL, and Certificate.
Step 3: Configure SSO in Bitbucket
1. Install a plug-in.
A large number of plug-ins for SSO are available in the Bitbucket plug-in marketplace. On the Bitbucket page, choose Settings > Manage apps. On the page that appears, search for SAML Single Sign On. In the search result, select the SAML Single Sign On - SSO Login plug-in and click Install Now. The plug-in is provided by miniOrange.
After you install the plug-in, SAML Single Sign On for Bitbucket is displayed in the User-installed apps section.
2. Configure SSO.
After you enable the plug-in, you can view SAML Single Sign On in the left-side navigation pane of Bitbucket. Click SAML Single Sign On to go to the edit page of the plug-in, as shown in the following figure.
On the Identity Providers tab, click Add new IdP+, as shown in the following figure.
On the page that appears, select Other IdP from the Select your Identity Provider drop-down list.
Configure the Name parameter and click Next.
In the SAML IdP Metadata Settings section, configure the identity provider (IdP) information by uploading IdP metadata or by manually entering IdP metadata.
Upload IdP metadata
Select I have a metadata URL from the Choose an option to import metadata drop-down list, copy the value of the IdP Metadata parameter in the IDaaS console, paste the value to the Metadata URL field, and then click Import Metadata.
Parameter in Bitbucket | Parameter in IDaaS | Description |
Name | - | Enter a name. Example: AliyunIDaaS. |
Metadata URL | IdP Metadata
| Upload IdP metadata. You can download the IdP metadata file from the Application Settings section of the Sign-In tab in the IDaaS console and upload the file in Bitbucket. |
After you upload the file in Bitbucket, the following page appears. On the page, change the value of the Login Binding parameter to REDIRECT.
Manually enter IdP metadata
Copy parameter values from IDaaS and paste the values in Bitbucket. The following table describes the parameters.
Parameter in Bitbucket | Parameter in IDaaS | Description |
Identity Provider Name | - | Enter an IdP name. Example: AliyunIDaaS. The name is subsequently displayed on the logon page of Bitbucket. |
IdP Entity ID / Issuer | IdP Entity ID IdP Entity ID | Copy the value of the IdP Entity ID parameter in the Application Settings section of the Sign-In tab in the IDaaS console and paste the value in this field. |
Login Binding | SP-initiated SSO | The value is fixed as REDIRECT. |
Idp REDIRECT Binding URL | IdP Sign-In URL IdP Sign-in URL | Copy the value of the IdP Sign-In URL parameter in the Application Settings section of the Sign-In tab in the IDaaS console and paste the value in this field. |
Certificate | Certificate Certificate | Copy the value of the Certificate parameter in the Application Settings section of the Sign-In tab in the IDaaS console and paste the value in this field. |
Clear Sign Authentication Requests.
Click Service Provider and change the value of the Entity Id parameter to the domain name of Bitbucket.
Change the value of the Protocol Binding parameter to POST.
3. Configure attribute mappings.
If you configure attribute mappings only for SSO, select a mapping rule from the Find user by this Bitbucket attribute drop-down list.
4. (Optional) Synchronize the IDaaS account used for SSO to Bitbucket.
Select Update from SAML-Attributes (Just-in-Time Provisioning) from the User Update Method drop-down list, as shown in the following figure.
Select Create New Users.
We recommend that you clear Update users not created by this app. This way, only users who are synchronized by using SSO are updated in Bitbucket during synchronization.
Select a group from the Always add users to these groups drop-down list. After you synchronize an IDaaS account, the account is synchronized to the selected group. If you do not select a group, the account that is synchronized from IDaaS does not have permissions to implement Bitbucket SSO.
Configure attribute mappings. During account synchronization, you must configure the mappings of the Full Name and E-Mail Address attributes, as shown in the following figure.
The following table describes the supported attribute mappings.
Attribute in Bitbucket | Attribute in the IDaaS SAML assertion | Description |
Username | username | In IDaaS, the attribute name is the username of the user. If you implement SSO and the Use Name ID attribute does not map to the Username attribute, configure the attribute mapping. |
Full Name | displayName | If the display name of the user exists in IDaaS, the display name is included in the displayName attribute of the SAML assertion and is passed to Bitbucket. |
E-Mail Address | If the email address that you want to specify exists in IDaaS, the email address is included in the email attribute of the SAML assertion and is passed to Bitbucket. |
Step 4: Test SSO
After you perform the preceding steps, you can initiate SSO for Bitbucket.
Bitbucket supports IdP-initiated SSO and service provider-initiated (SP-initiated) SSO. For IdP-initiated SSO, logon is performed on the IDaaS portal. For SP-initiated SSO, logon is performed on the logon page of the Bitbucket application.
Bitbucket supports just-in-time provisioning. If you implement Bitbucket SSO by using a specific application account that does not exist in Bitbucket, Bitbucket automatically creates an application account and allows the access. You can manage Bitbucket access permissions in IDaaS.
IdP-initiated SSO
Log on to the IDaaS application portal by using an IDaaS account that has permissions to use Bitbucket. Click the Bitbucket icon to initiate SSO.
SP-initiated SSO
In an anonymous browser, open the Bitbucket logon page and click Login again with Single Sign On. You are redirected to the IDaaS portal for logon. If you are not logged on to IDaaS, log on to IDaaS as prompted.
After you pass the authentication, you are redirected to Bitbucket.