ApsaraDB for HBase Performance-enhanced Edition (Lindorm) provides a grouping feature that lets you isolate resources across tenants. By assigning region servers and tables to different groups, you ensure that each group's workload runs independently. This topic describes how to create, view, and delete groups, and how to move region servers and tables between groups.
Background information
When multiple users or services share the same Lindorm instance, resource contention is inevitable. For example, heavy read and write operations from offline batch jobs can degrade the performance of latency-sensitive online services running on the same cluster.
Lindorm addresses this problem through group management. You create separate groups, assign region servers to each group, and then assign tables to the appropriate group. All regions of a table are distributed only to the region servers within that table's group, so requests to those tables are processed exclusively by the region servers in the same group. This provides effective resource isolation between workloads.
The following figure illustrates how group-based isolation works. In this example, RegionServer1 and RegionServer2 are added to Group1, and RegionServer3 and RegionServer4 are added to Group2. Table1 and Table2 are added to Group1, so all their regions are distributed to RegionServer1 and RegionServer2. Table3 and Table4 are added to Group2, so all their regions are distributed to RegionServer3 and RegionServer4. As a result, requests to Table1 and Table2 are processed only by RegionServer1 and RegionServer2, and requests to Table3 and Table4 are processed only by RegionServer3 and RegionServer4.

Prerequisites
You are logged on to Lindorm Insight of your cluster. For more information, see Log on to Lindorm Insight.
View group information
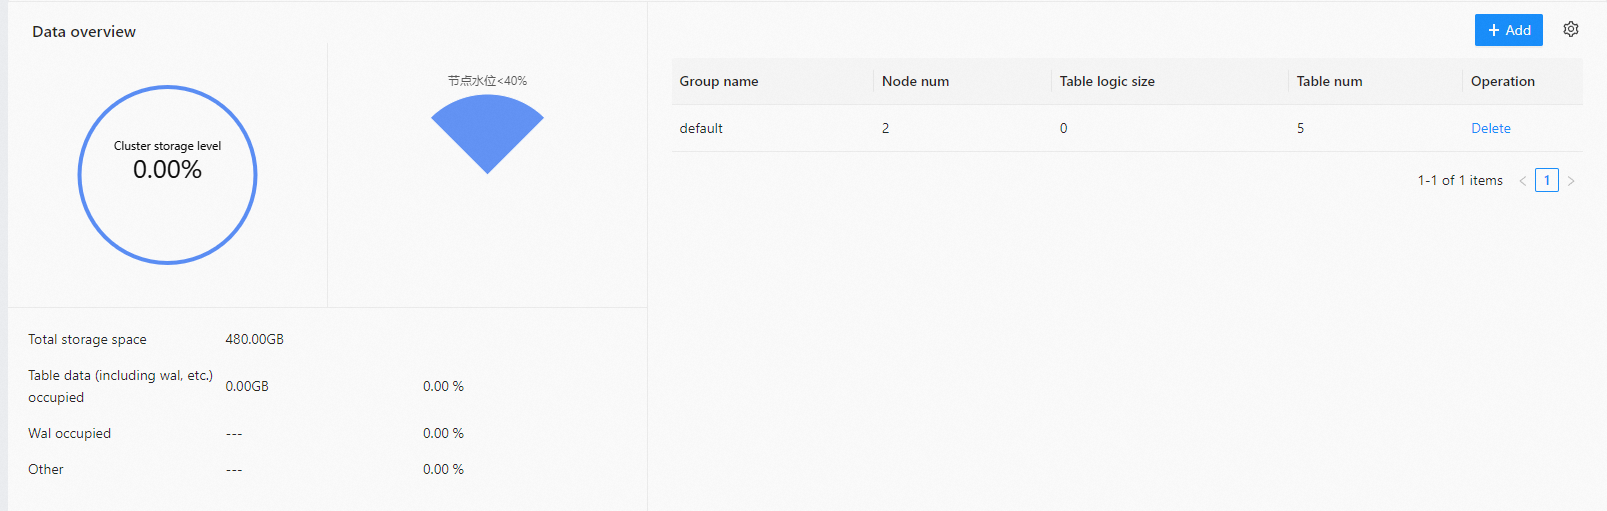
If no group is created for the cluster, a group named default is automatically created. In this case, all region servers and tables belong to the group named default.
In the left-side navigation pane of the cluster management system, choose Cluster Manager > Server Manager.
In the Data overview section of the page, you can view all group information about the current cluster.
Create a group
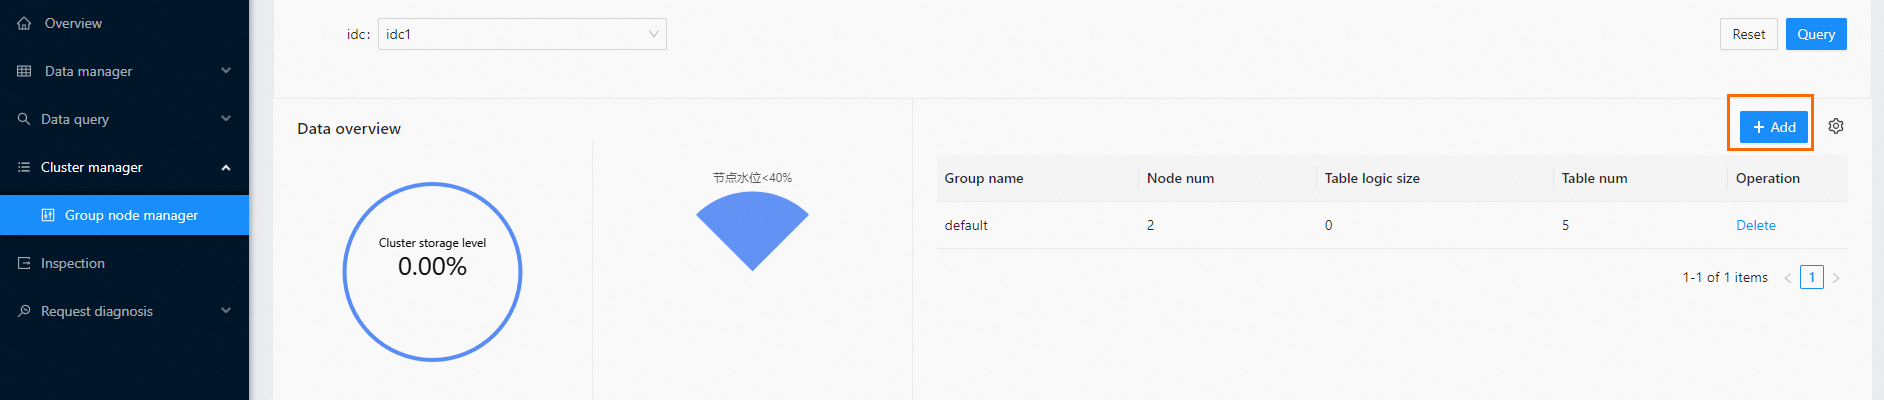
When you create a group, no region servers or tables are added to it by default. You must manually add region servers and tables to the group after creation.
In the left-side navigation pane of the cluster management system, choose Cluster Manager > Server Manager.
Click + Add in the upper-right corner of the page.
In the New group dialog box, specify Group name.
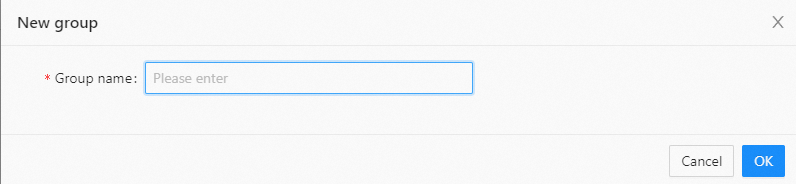
Click OK.
Delete a group
Before you delete a group, you must remove all region servers and tables from the group.
In the left-side navigation pane of the cluster management system, choose Cluster Manager > Server Manager.
Choose More > Delete in the Operation column corresponding to the group that you want to delete.

In the message that appears, click OK.
Move a region server to a group
By default, all region servers in a Lindorm instance belong to the group named default. Before you use region servers, you must manually add them to the corresponding group.
If you add a table to a group that does not contain region servers, the regions of the table become inaccessible because no region server is available to serve them.
We recommend that you add at least two region servers to each group. If a region server goes down, the regions of the tables in the group can be distributed to another region server. If your group contains only one region server and that region server goes down, all tables in the group become inaccessible.
When you move a region server to a group, the regions that are being accessed on that region server are redistributed to other region servers in the group.
In the left-side navigation pane of the cluster management system, choose Cluster Manager > Server Manager.
Choose More > Move group in the Operation column corresponding to the region server.
In the Move group dialog box, select the group to which you want to move the region server from the Target group drop-down list.
Click OK.
Move a table to a group
Do not move tables to a group that does not contain region servers. Otherwise, the tables become inaccessible.
On the Overview page, click Move group in the Operation column.
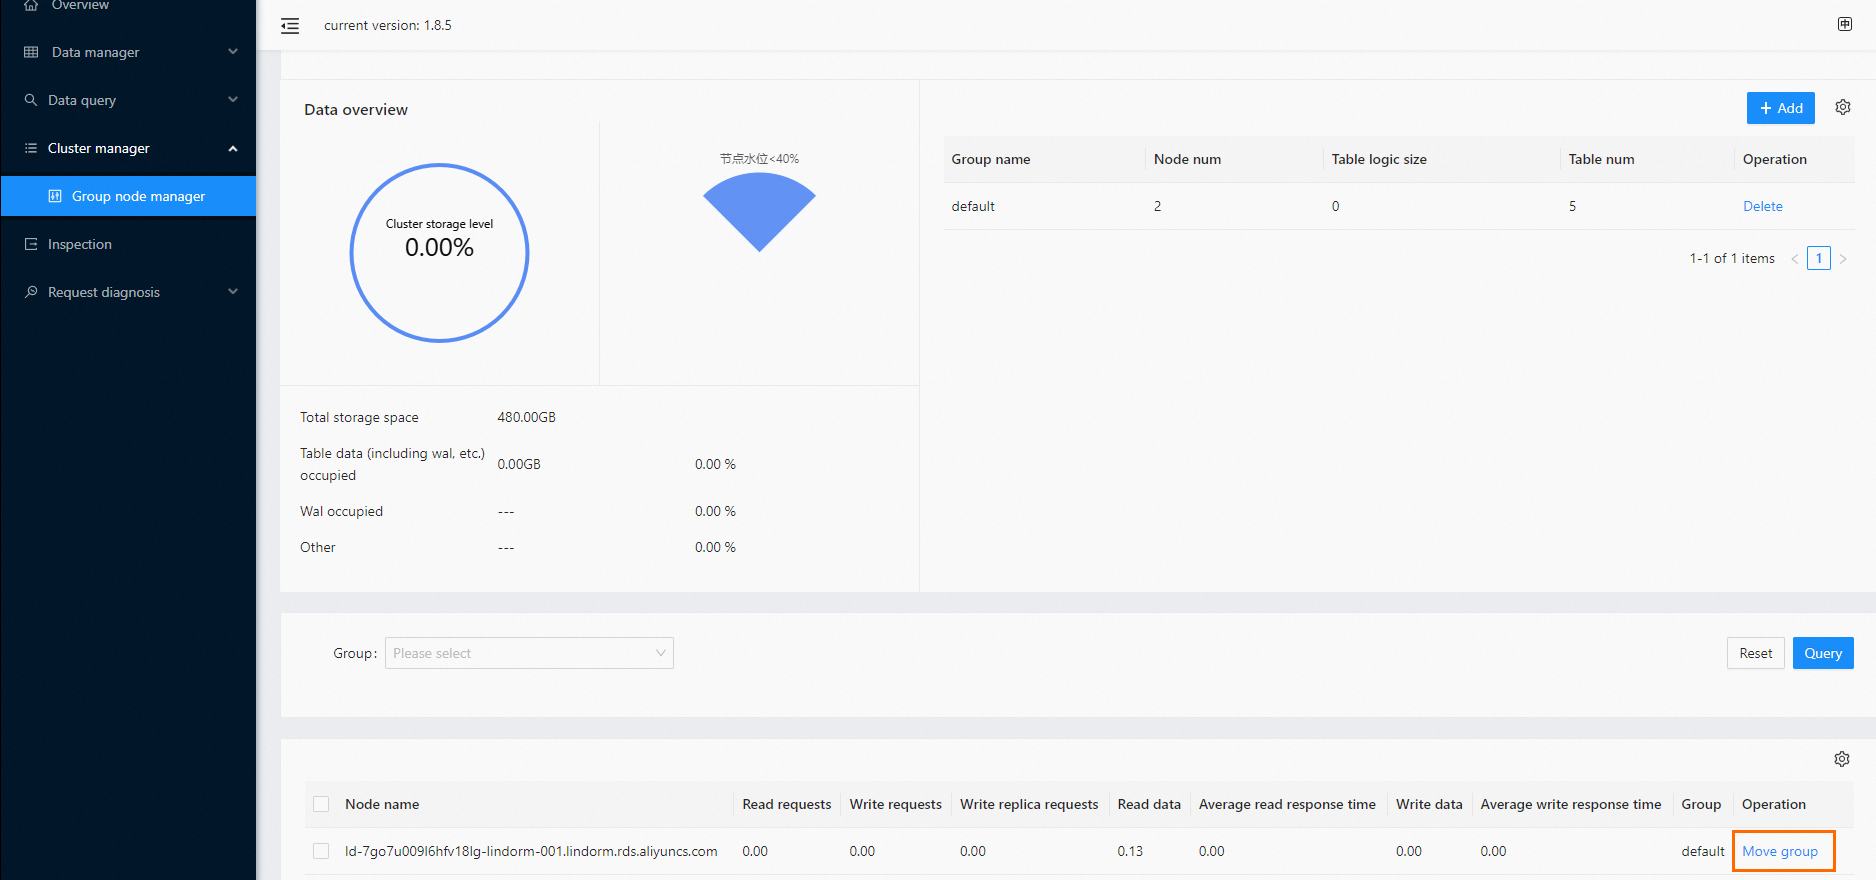
In the Move group dialog box, select the group to which you want to move the table from the Target group drop-down list.
Click OK.
View the information in the Instance/Cluster info section
In the left-side navigation pane of the cluster management system, choose Cluster Manager > Server Manager.
In the Instance/Cluster info section, view information such as the database type and the on-premises data center where the database is deployed.
Choose More > ReadWriteControl in the Operation column to adjust the read and write permissions of the current instance or cluster.