EventBridge can route events from a custom event bus to a WeCom group through a webhook-based HTTP target. This guide walks you through creating a custom event bus, setting up a WeCom chatbot, configuring an event rule with a message template, and verifying end-to-end delivery.
How it works
A WeCom custom chatbot posts messages to its chat group by calling a webhook URL, without requiring approval from a tenant administrator. EventBridge delivers events to this webhook as an HTTP target, enabling change-based alerting directly in WeCom.
HTTP targets support both HTTP and HTTPS URLs accessible over the internet and within Alibaba Cloud virtual private clouds (VPCs). For details, see Route events to HTTP endpoints.
Use cases
Centralized event notifications: Integrate enterprise systems into WeCom through a custom chatbot so your team can monitor event information from a single chat group.
Lightweight alerting: Build a notification pipeline with minimal development effort. Only server-side code is needed, and all group members receive alerts automatically after integration.
Prerequisites
Before you begin, make sure that you have:
A WeCom account with an existing WeCom group
EventBridge activated, with the required permissions granted to a Resource Access Management (RAM) user. For more information, see Activate EventBridge and grant permissions to a RAM user
Step 1: Create a custom event bus
Log on to the EventBridge console.
In the left-side navigation pane, click Event Buses. Select a region in the top navigation bar, then click Quickly Create in the Custom Event Buses section.

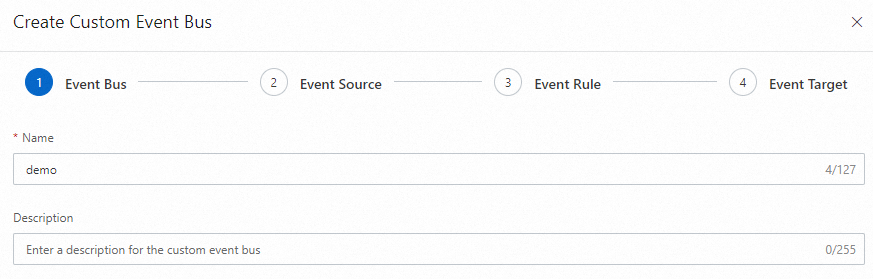
In the Create Custom Event Bus wizard, complete these steps:
In the Event Bus step, enter a Name and Description, then click Next Step.
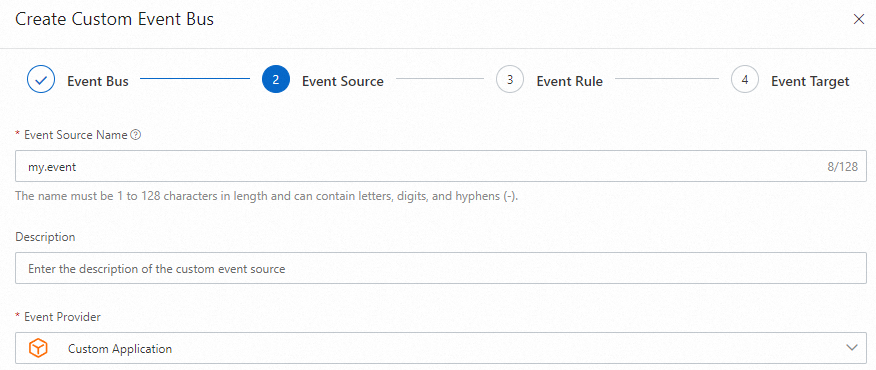
In the Event Source step, enter an Event Source Name, set Event Provider to Custom Application, then click Next Step.
In the Event Rule step, click Skip. In the Skip Subsequent Steps confirmation, click OK.
NoteYou will create the event rule separately in Step 3.
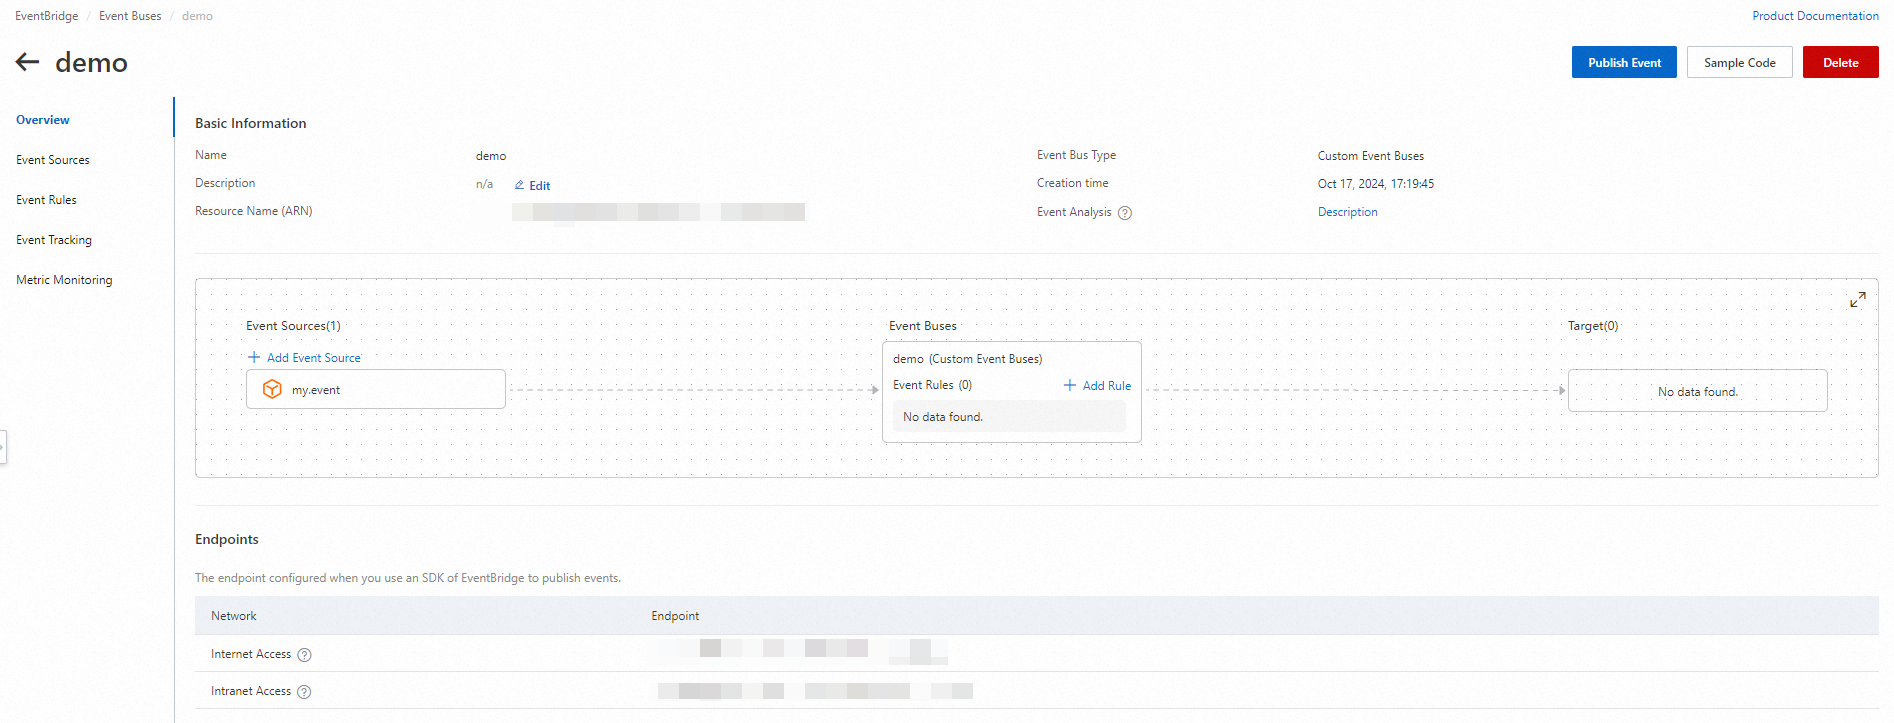
Confirm the custom event bus appears on the Event Buses page.
Step 2: Create a WeCom chatbot
Log on to WeCom for PC and open the target WeCom group.
On the Add Group Bot page, click Create a Bot.
In the Create a Bot dialog box, enter a name for the chatbot, then copy the webhook URL. You will need this URL in Step 3.
Step 3: Configure an event rule
Open the Overview page of the custom event bus you created and click Add Rule.

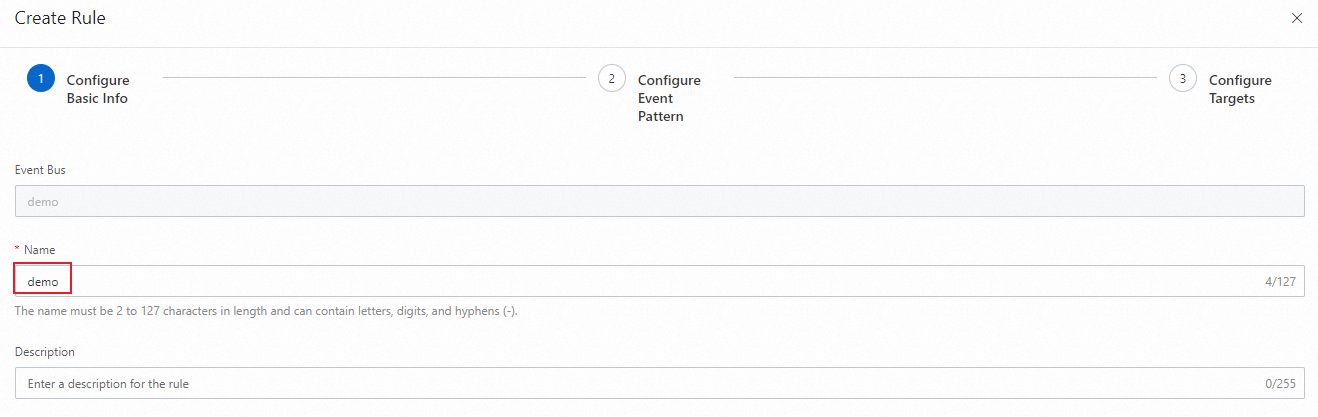
In the Create Rule wizard, complete these steps:
In the Configure Basic Info step, enter a rule name and click Next Step.
In the Configure Event Pattern step, click Next Step.
ImportantThis example skips the event pattern to match all events. In production, configure the Event Source and Event Type parameters to filter events based on your requirements.
In the Configure Targets step, configure the following settings:
Parameter
Value
Service Type
HTTPS
URL
The webhook URL you copied in Step 2
Body
Template
Then configure the Variables and Template code editors:
Variables:
{
  "msg_source": "$.source",
  "msg_type": "$.type"
}
Template:
{
  "msgtype": "text",
  "text": {
    "content": "Event source: ${msg_source}. Event Type: ${msg_type}"
  }
}
The variables use JSONPath expressions (
$.source,$.type) to extract fields from the incoming event. The template maps these variables into a WeCom text message payload.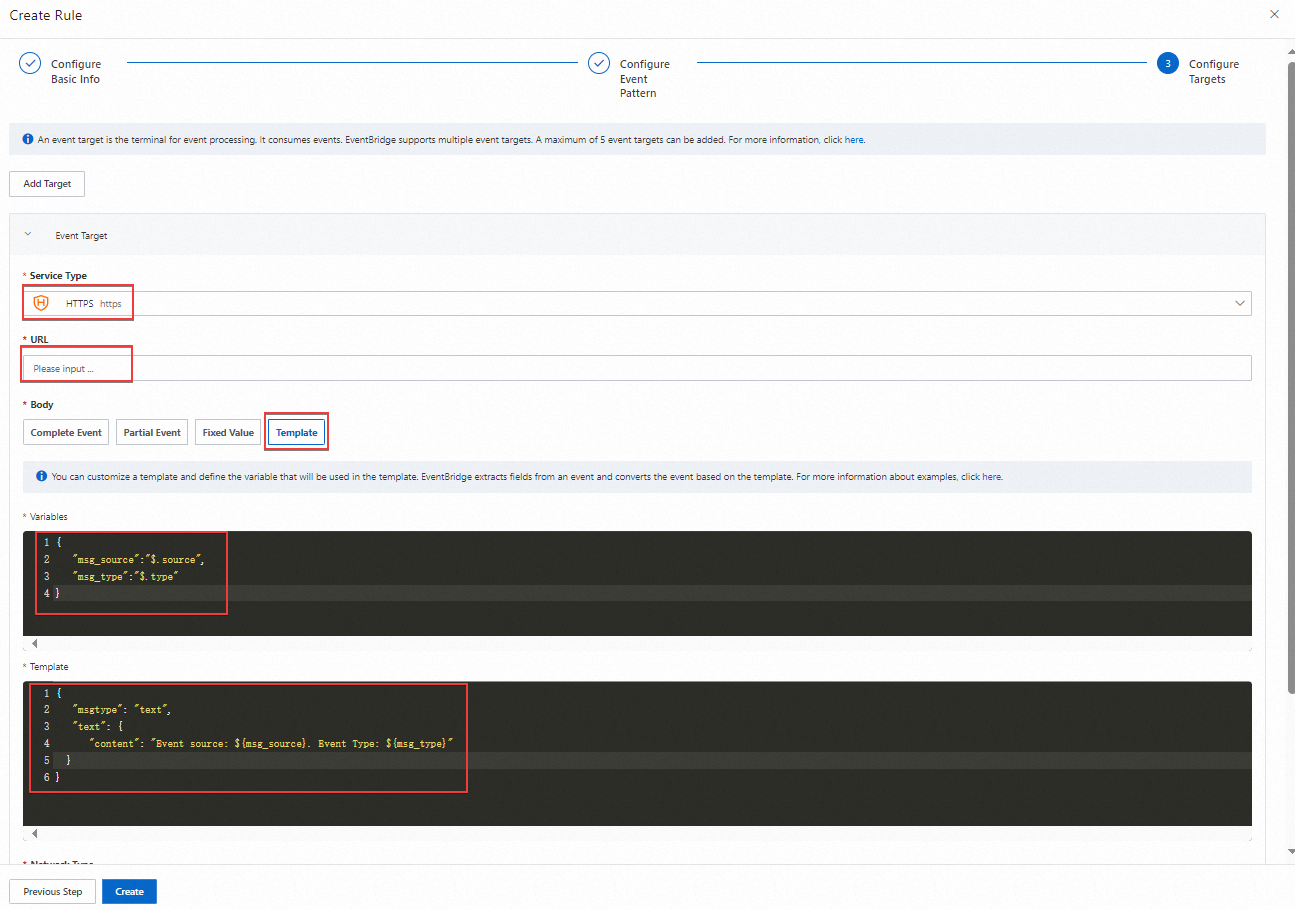
Click Create.
NoteThis example uses a minimal template. In production, customize the template to include the event fields most relevant to your team. For more template options, see Event transformation.
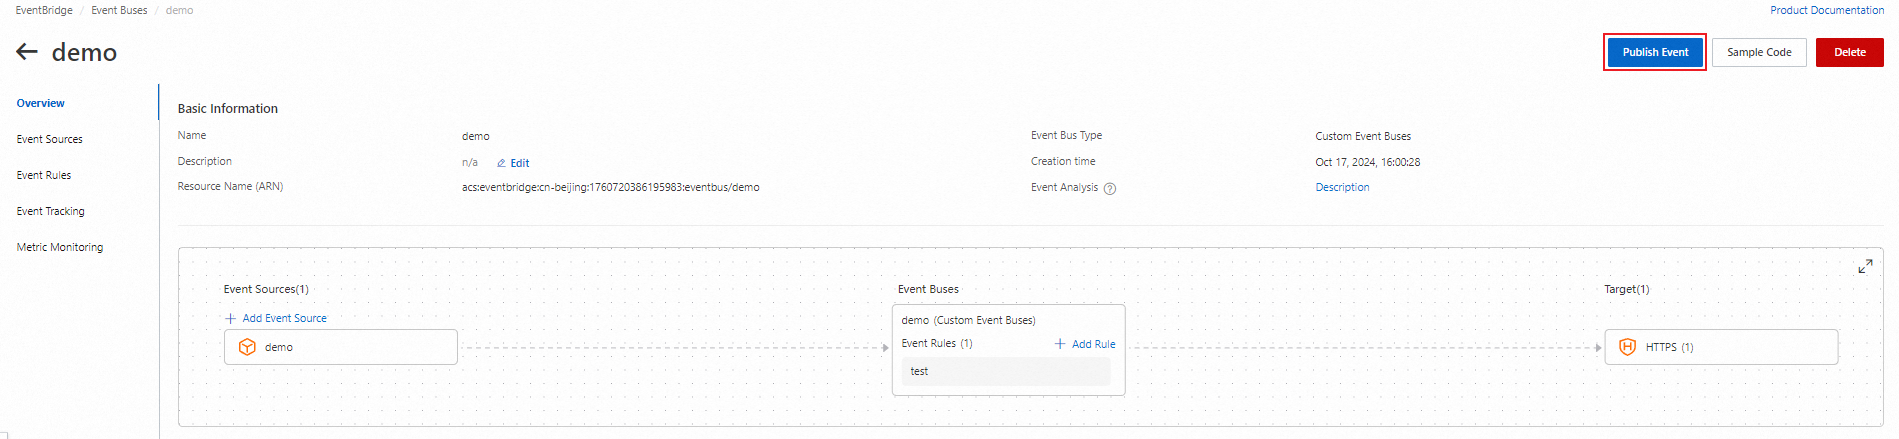
Step 4: Verify the result
On the Overview page of the custom event bus, click Publish Event.
In the Publish Event to Custom Event Bus panel, select your custom event source from the Custom Event Source drop-down list. Enter a test event in the Event Body code editor, then click OK.
Use the following sample event body:
{
  "source": "my.custom.app",
  "type": "UserCreated",
  "subject": "test-event",
  "datacontenttype": "application/json",
  "data": {
    "userId": "12345",
    "action": "created"
  }
}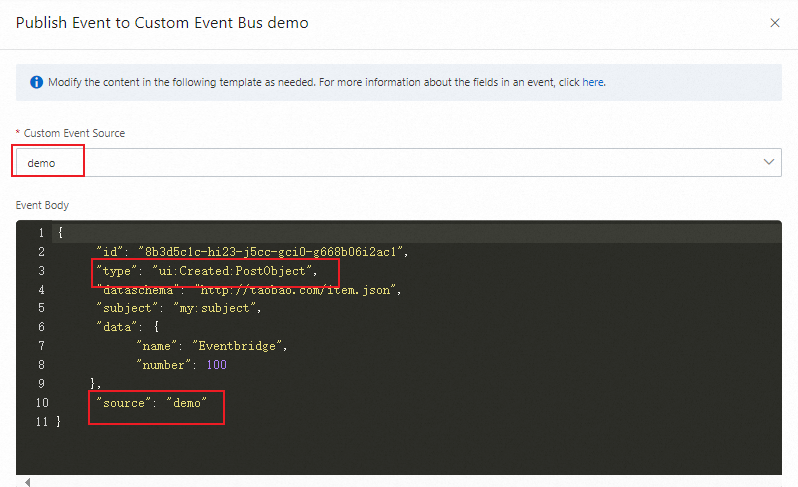
Check the WeCom group for the chatbot message. It should display the event source and event type from your test event. Based on the template above, the expected message is:
Event source: my.custom.app. Event Type: UserCreated
What's next
Refine the event pattern: Add filters for specific event sources and event types to route only relevant events.
Customize the message template: Include additional event fields such as timestamps, resource IDs, or event details. See Event transformation.
Explore other HTTP targets: Route events to other webhook-based services such as DingTalk, Slack, or Feishu using the same HTTP target approach. See Route events to HTTP endpoints.