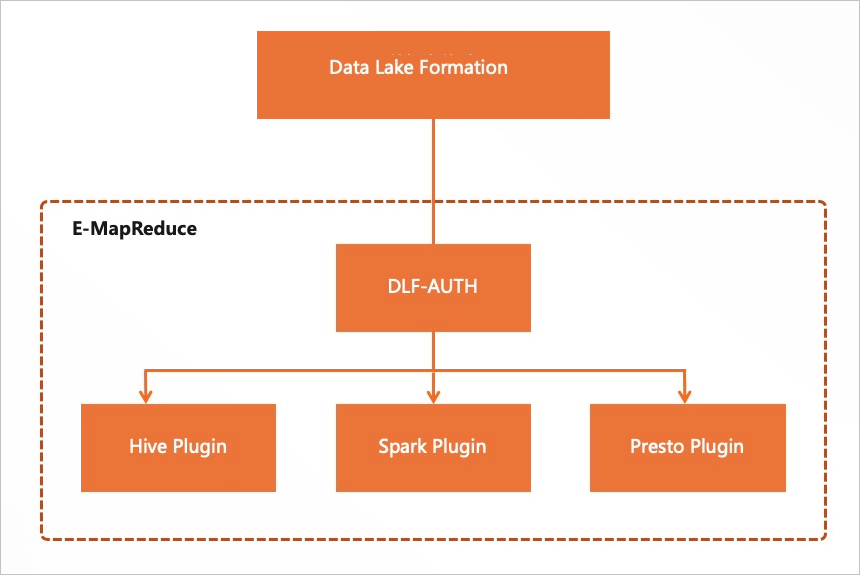
DLF-Auth is a Data Lake Formation (DLF) component that enforces fine-grained permission management on your EMR cluster. Once enabled, it controls access to databases, tables, columns, and functions through DLF—giving you centralized permission management across your data lake.
DLF is a fully managed service that helps you build cloud-based data lakes, providing centralized permission management and metadata management. For more information about DLF, see What is Data Lake Formation.
Limitations
DLF allows only RAM users to manage permissions. Add RAM users through the user management feature in the EMR console.
DLF-Auth and Ranger cannot control the same compute engine simultaneously. If you enable Hive or Spark for DLF-Auth, you cannot enable or disable the same engine for Ranger, and vice versa.
For supported regions, see Supported regions and endpoints.
Supported EMR versions and compute engines
| EMR version | Hive | Spark | Presto | Impala |
|---|---|---|---|---|
| EMR V3.39.0 and earlier | Supported | Not supported | Not supported | Not supported |
| EMR V3.40.0 | Supported | Supported | Supported | Not supported |
| EMR V3.41.0–V3.43.1 | Supported | Supported | Not supported | Not supported |
| EMR V3.44.0 and later | Supported | Supported | Supported | Supported |
| EMR V5.5.0 and earlier | Supported | Not supported | Not supported | Not supported |
| EMR V5.6.0 | Supported | Supported | Supported | Not supported |
| EMR V5.7.0–V5.9.1 | Supported | Supported | Not supported | Not supported |
| EMR V5.10.0 and later | Supported | Supported | Supported | Supported |
Prerequisites
You have created an E-MapReduce cluster and selected the OpenLDAP service. For more information, see Create a cluster.
On the software configuration page, use the default DLF Unified Metadata for Metadata.
Before you begin, ensure that you have:
An EMR cluster with the OpenLDAP service. For more information, see Create a cluster.
When creating the EMR cluster, select DLF Unified Metadata for Metadata in the Software Configuration step.
Enable DLF-Auth
Step 1: Enable Hive in DLF-Auth
In the EMR console, click EMR on ECS in the left-side navigation pane.
Select your region and resource group, then find your cluster and click Services in the Actions column.
On the Services tab, find DLF-Auth and click Status.
In the Service Overview section, turn on enableHive and click OK in the confirmation message.
Restart HiveServer:
On the Services tab, find Hive and click Status.
In the Components section, find HiveServer and click Restart in the Actions column.
Enter an execution reason and click OK, then click OK again in the confirmation dialog.
Step 2: Add a RAM user
DLF allows only RAM users to manage permissions. Use the user management feature to add a RAM user to your cluster.
In the EMR console, navigate to your cluster and click Services in the Actions column.
Click the Users tab, then click Add User.
In the Add User dialog box, select a RAM user from the Username drop-down list and set Password and Confirm Password.
Click OK.
Step 3: Verify and grant permissions
If the RAM user has the AliyunDLFDssFullAccess or AdministratorAccess policy attached, the user already has access to all DLF resources. Skip this step.
Verify current permissions
Log on to your cluster via SSH. For more information, see Log on to a cluster.
Connect to HiveServer2:
beeline -u jdbc:hive2://master-1-1:10000 -n <user> -p <password>Replace
<user>and<password>with the credentials you set in Step 2.Query an existing table:
select * from testdb.test;Replace
testdb.testwith your actual table name. If the RAM user lacks permissions, an error is returned.
Grant permissions in the DLF console
Log on to the DLF console.
In the left-side navigation pane, choose Data Permission > Data Permissions.
Click Add Permission and configure the parameters:
Parameter Description Example Principal Type The type of identity to grant permissions to. RAM User/Role (default) Choose Principal The RAM user to grant permissions to. Select the user added in Step 2 Authorization Method How the permission is scoped. Resource Authorization (default) Resource Type The type of resource to control access to. Metadata table Data Permission The operation the user is permitted to perform. Select Granted Permission The permission that is granted to the principal. — Click OK.
Verify that permissions take effect
Run the table query again from step 3. The query succeeds, confirming the Select permission is in effect.
Step 4 (Optional): Enable LDAP authentication for Hive
After enabling DLF-Auth, enable Lightweight Directory Access Protocol (LDAP) authentication for Hive so that all users connecting to Hive must authenticate before running queries.
In the EMR console, navigate to your cluster and click Services in the Actions column.
On the Services tab, click Status in the Hive section.
Enable enableLDAP based on your EMR version:
EMR V5.11.1 and later minor versions, or EMR V3.45.1 and later minor versions: In the Service Overview section, turn on enableLDAP and click OK.
EMR V5.11.0 and earlier minor versions, or EMR V3.45.0 and earlier minor versions: In the Components section, find HiveServer, click
 > enableLDAP, enter an execution reason, and click OK in both dialogs.
Restart HiveServer:
In the Components section, find HiveServer and click Restart in the Actions column.
Enter an execution reason and click OK, then click OK again in the confirmation dialog.