Alibaba Cloud Elasticsearch automatically backs up data at specified intervals. You can restore data from backups to recover from accidental deletion or application errors. This topic describes how to enable, monitor, and disable automatic backup, and how to restore data.
Overview
Alibaba Cloud Elasticsearch clusters use the elasticsearch-repository-oss plugin to back up data to Object Storage Service (OSS). This plugin is pre-installed on all clusters and cannot be removed.
Quick reference:
Item | Value |
Storage | OSS |
Repository name |
|
Retention period | 7 days |
Frequency options | Every 30 minutes, Daily, or Custom |
Cross-cluster restore | Not supported. Use manual backup instead. |
What's backed up: Index data only. Snapshots do not include system indexes (such as .monitoring and .security_audit), metadata, Translogs, instance configurations, Elasticsearch software packages, plugins, or logs.
For more information about the plugin, see the GitHub repository: elasticsearch-repository-oss.
Usage notes
Note the following before enabling automatic backup:
Index metadata size limit: Index metadata size cannot exceed
100 MB. If exceeded, the backup may fail. Use manual backup instead.Initial vs. incremental snapshots: The first snapshot is a full copy; subsequent snapshots are incremental. For large clusters, perform a manual backup first.
Restore to original cluster only: Restore is limited to the original cluster. For cross-cluster restore, see Manual backup and restoration or Set up a cross-cluster OSS repository.
Backup trigger on disablement: Disabling automatic backup triggers one final backup. Changing the backup time does not trigger a backup.
Unsupported instances: OpenStore and Indexing Service instances do not support automatic backup. The underlying storage ensures HA.
Enable automatic backup
Log on to the Alibaba Cloud Elasticsearch console.
In the left navigation menu, choose Elasticsearch Clusters.
Navigate to the desired cluster.
In the top navigation bar, select the resource group and region.
On the Elasticsearch Clusters page, find the cluster and click its ID.
In the left navigation menu, click .
In the Snapshots (Free Trial) section, turn on Auto Snapshot.
Click Set to the right of Auto Snapshot Period.
In the Auto Snapshot Configuration panel, set Frequency.
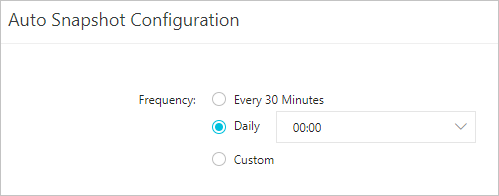
Backup cycle
Description
Every 30 Minutes
Backups run every 30 minutes.
Daily
Backups run daily at a customizable time.
Custom
Customize the backup cycle and time.
NoteThe backup time is the local time of the region where the instance resides.
Click OK.
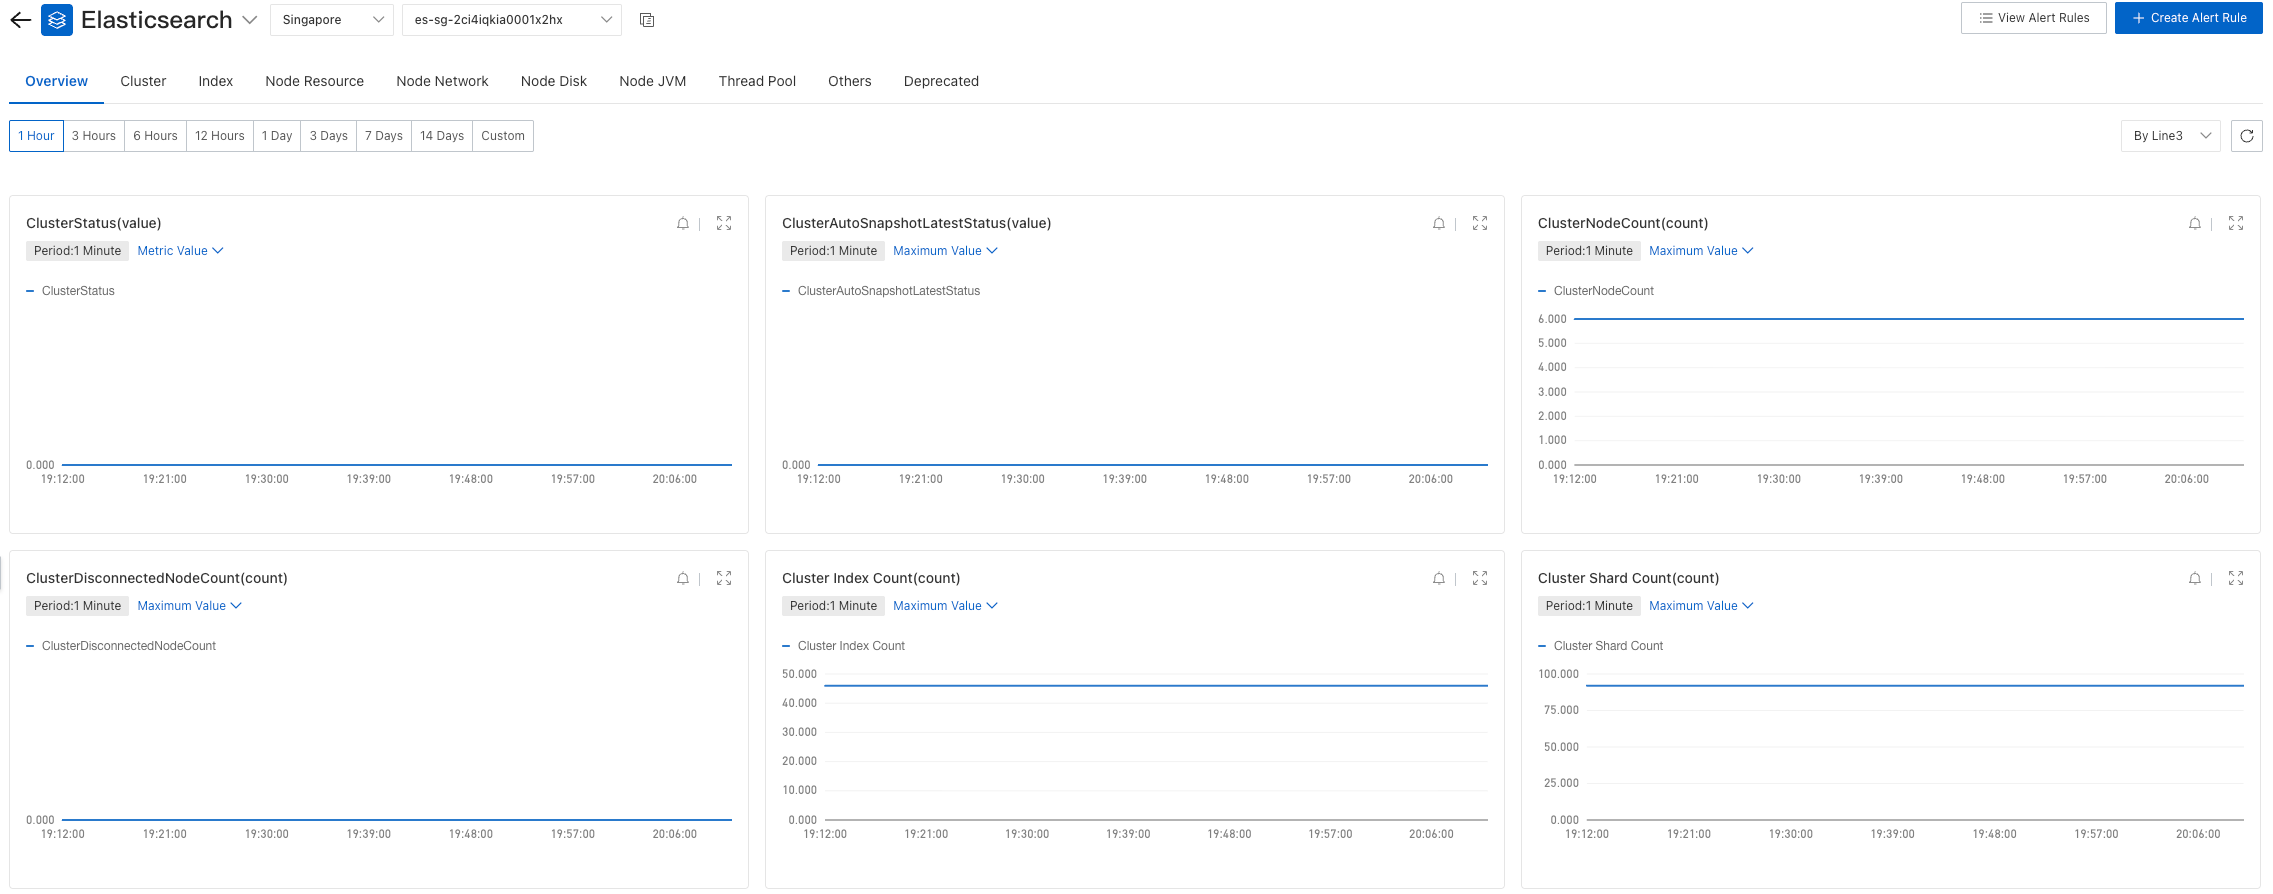
Monitor backup status
Enable one-click alerts to monitor backup status. A Snapshot Status value of 2 indicates failure.
Run the following command in Kibana Dev Tools to view the status of the latest snapshot:
GET /_cat/snapshots/aliyun_auto_snapshot?format=jsonIf a backup fails, manually back up the relevant data.
Snapshot status values:
Status | Description |
SUCCESS | All shards were successfully backed up. |
PARTIAL | Some shards failed to back up. |
FAILED | The backup task failed. |
No recent snapshots indicate the backup was not triggered. This can occur due to a cluster or node exception.
View backup snapshots
Use the _snapshot API in Kibana Dev Tools to view snapshot information.
View the snapshot repository.
GET _snapshotA successful request returns a response similar to the following example:
{
  "aliyun_auto_snapshot" : {
    "type" : "oss",
    "settings" : {
      "compress" : "true",
      "base_path" : "cf95b9-185320276651****/es-cn-09k2053us0003****",
      "endpoint" : "http://oss-cn-hangzhou-internal.aliyuncs.com"
    }
  }
}
Parameter
Description
aliyun_auto_snapshot
Repository name for automatic backups (fixed). Created when the first snapshot is taken.
NoteA repository can store multiple snapshots. Each snapshot can contain the backup data of one or more indices.
type
Storage type.
compress
Whether to compress metadata files (index mappings and settings):
true
false (default)
base_path
Snapshot location in OSS.
endpoint
OSS region endpoint.
List all snapshots in the aliyun_auto_snapshot repository.
GET _snapshot/aliyun_auto_snapshot/_allA successful request returns a response similar to the following example.
{ "snapshots": [ { "snapshot": "es-cn-09k2053us0003****_20210117030003", "uuid": "vIdSCkthTeGa0nSj4D****", "version_id": 5050399, "version": "5.5.3", "indices": [ ".kibana" ], "state": "SUCCESS", "start_time": "2018-06-28T01:22:39.609Z", "start_time_in_millis": 1530148959609, "end_time": "2018-06-28T01:22:39.923Z", "end_time_in_millis": 1530148959923, "duration_in_millis": 314, "failures": [], "shards": { "total": 1, "failed": 0, "successful": 1 } }, { "snapshot": "es-cn-09k2053us0003****_20210118030004", "uuid": "XKO_Uwz_Qu6mZrU3Am****", "version_id": 5050399, "version": "5.5.3", "indices": [ ".kibana" ], "state": "SUCCESS", "start_time": "2018-06-28T01:25:00.764Z", "start_time_in_millis": 1530149100764, "end_time": "2018-06-28T01:25:01.482Z", "end_time_in_millis": 1530149101482, "duration_in_millis": 718, "failures": [], "shards": { "total": 1, "failed": 0, "successful": 1 } } ] }ImportantBackup times are in local time, but response times are in UTC. For UTC+8, add 8 hours to convert.
The state parameter indicates the snapshot status:
Snapshot status
Description
IN_PROGRESS
The backup is in progress.
SUCCESS
All shards backed up successfully.
FAILED
Backup failed; some index data was not stored.
PARTIAL
At least one shard failed to back up.
INCOMPATIBLE
Incompatible with the current Elasticsearch version.
Additional default parameters (not displayed in responses):
Parameter
Description
max_snapshot_bytes_per_sec
Maximum backup speed per node. Default: 40 MB/s.
max_restore_bytes_per_sec
Maximum restore speed per node. Default: 40 MB/s.
chunk_size
Specifies the maximum size for each chunk (e.g.,
1GB,10MB,5KB). Default:null(No limit).View details about a specific snapshot in the aliyun_auto_snapshot repository.
GET _snapshot/aliyun_auto_snapshot/<snapshot>/_status<snapshot>: Replace it with the name of the automatic backup snapshot. You can retrieve this name by running
GET _snapshot/aliyun_auto_snapshot/_all.A successful request returns a response similar to the following example.
{
  "snapshots": [
    {
      "snapshot": "es-cn-09k2053us0003****_20210118030004",
      "repository": "aliyun_auto_snapshot",
      "uuid": "XKO_Uwz_Qu6mZrU3Am****",
      "state": "SUCCESS",
      "shards_stats": {
        "initializing": 0,
        "started": 0,
        "finalizing": 0,
        "done": 1,
        "failed": 0,
        "total": 1
      },
      "stats": {
        "number_of_files": 4,
        "processed_files": 4,
        "total_size_in_bytes": 3296,
        "processed_size_in_bytes": 3296,
        "start_time_in_millis": 1530148959688,
        "time_in_millis": 77
      },
      "indices": {
        ".kibana": {
          "shards_stats": {
            "initializing": 0,
            "started": 0,
            "finalizing": 0,
            "done": 1,
            "failed": 0,
            "total": 1
          },
          "stats": {
            "number_of_files": 4,
            "processed_files": 4,
            "total_size_in_bytes": 3296,
            "processed_size_in_bytes": 3296,
            "start_time_in_millis": 1530148959688,
            "time_in_millis": 77
          },
          "shards": {
            "0": {
              "stage": "DONE",
              "stats": {
                "number_of_files": 4,
                "processed_files": 4,
                "total_size_in_bytes": 3296,
                "processed_size_in_bytes": 3296,
                "start_time_in_millis": 1530148959688,
                "time_in_millis": 77
              }
            }
          }
        }
      }
    }
  ]
}
Restore data from an automatic snapshot
Use the _restore API in Kibana Dev Tools to restore data from automatic backups.
Do not restore system indexes (indexes starting with .). Restoring system indexes may cause Kibana access to fail.
Run the following commands in Kibana Dev Tools to restore index data:
Restore all indexes from a snapshot (runs in background):
POST _snapshot/aliyun_auto_snapshot/<snapshot>/_restore<snapshot>: Replace it with the name of the automatic snapshot, such as es-cn-abcdefghij****_20180627091600.
Restore all indices:
POST _snapshot/aliyun_auto_snapshot/<snapshot>/_restore?wait_for_completion=trueNoteThe _restore API is asynchronous and returns immediately. Add wait_for_completion to block until restoration completes.
<snapshot>: Replace it with the name of the automatic snapshot, such as es-cn-abcdefghij****_20180627091600.
Restore specific indexes and rename them:
POST _snapshot/aliyun_auto_snapshot/<snapshot>/_restore
{
"indices": "index_1",
"rename_pattern": "index_(.+)",
"rename_replacement": "restored_index_$1"
}
Parameter
Description
<snapshot>
Replace it with the name of the automatic snapshot, such as es-cn-abcdefghij****_20180627091600.
indices
Index name to restore.
rename_pattern
Optional. Regex pattern to match index names.
rename_replacement
Optional. Rename pattern for matched indexes.
Disable automatic backup
Log on to the Alibaba Cloud Elasticsearch console.
In the left navigation menu, choose Elasticsearch Clusters.
Navigate to the target cluster.
In the top navigation bar, select the resource group to which the cluster belongs and the region where the cluster resides.
On the Elasticsearch Clusters page, find the cluster and click its ID.
In the left navigation pane, click Data Backup.
In the Snapshots (Free Trial) section, turn off Auto Snapshot.