A larger amount of data on a disk requires a longer period of time to create a snapshot for the disk and upload the snapshot to Object Storage Service (OSS). The instant access feature allows you to access snapshots within seconds after the snapshots are created, instead of after the snapshots are uploaded to OSS.
The instant access feature
The instant access feature allows you to use the following snapshot-related features even if the snapshots that you created are being uploaded to OSS buckets.

When you use a snapshot to create cloud disks, you can create only Enterprise ESSD (ESSD) series disks, such as ESSDs, ESSD AutoPL disks, ESSD Entry disks, and Regional ESSDs.
If the Progress of Upload to OSS value for a snapshot is less than 100%, the cloud disk from which the snapshot is created does not have the zone-redundant storage (ZRS) capability. If a fault occurs in the zone in which a cloud disk resides, you may be unable to create a cloud disk or roll back the cloud disk by using the instant access feature.
Billing
You can use the instant access feature free of charge. After an instant access snapshot is created from a cloud disk, you are charged for the snapshot based on the size and usage duration of the snapshot in each region. For information about the billing of snapshots, see Snapshots.
Limits
Only ESSD series disks (ESSDs, ESSD AutoPL disks, ESSD Entry disks, and Regional ESSDs) support the instant access feature.
By default, the instant access feature is enabled when you create snapshots for ESSD series disks. You cannot manually enable or disable the feature, or enable the feature after snapshots are created.
By default, the instant access feature is enabled for new snapshots, shared snapshots, and snapshots managed by cloud services, such as snapshots created by using Alibaba Cloud Backup. You cannot use the instant access feature for snapshot copies or the snapshots that are created from images.
Enable or disable instant access
By default, the Instance Access option is enabled when you create a snapshot for an ESSD series disk. You do not need to manually configure the parameter and you cannot disable the parameter. For information about how to create a snapshot, see Create a snapshot.

If you use an earlier version of the instant access feature, you can configure the DisableInstantAccess parameter in the ModifySnapshotAttribute operation to disable the instant access feature.
Differences between the old and new versions
As of 11:00 on October 12, 2023, the instant access feature was updated. For more information, see Price Reduction Notice for Instant Access Feature. The following table describes the differences between the old and new versions of the instant access feature.
Item | Old version | New version |
Availability time | Before 11:00 on October 12, 2023 | Since 11:00 on October 12, 2023 |
Availability status | In the snapshot list, the validity time of the instant access feature is displayed in the Instant Access column. Example: Oct 20, 2023, 11:07:07 Remaining Before Expiration.
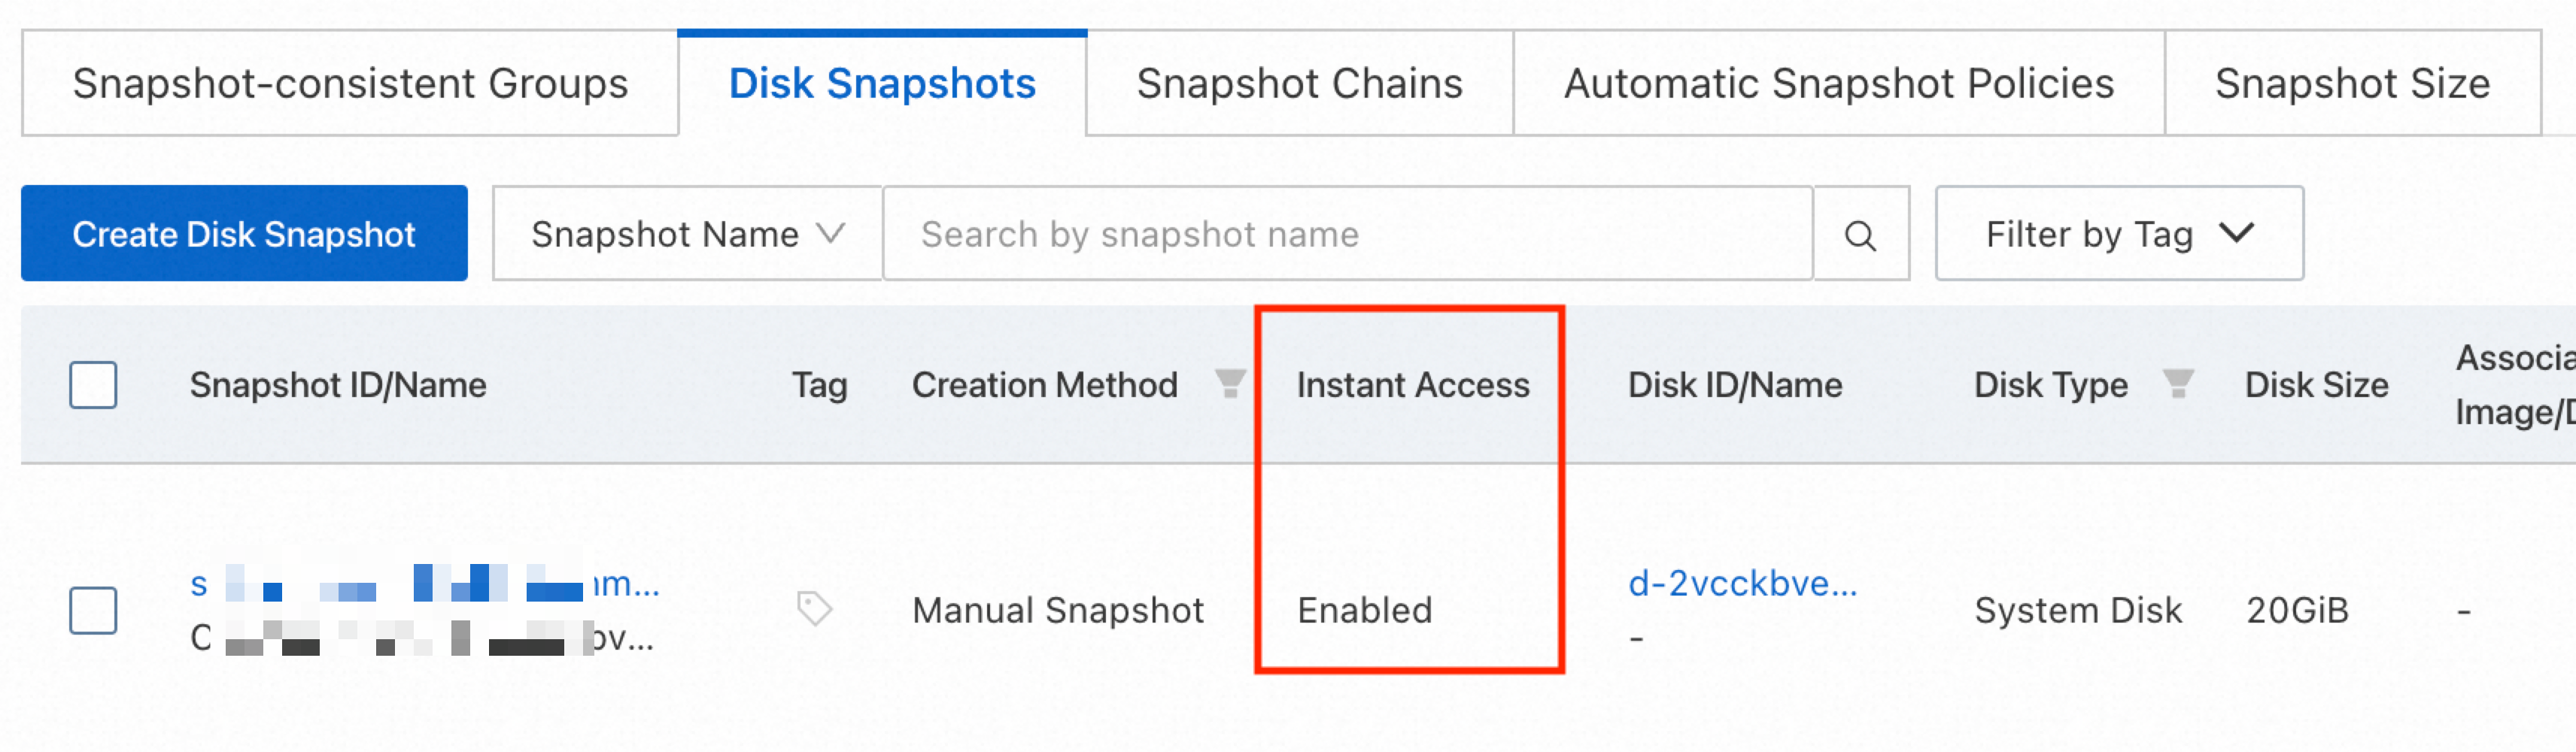
Note If you have instant access-enabled snapshots of the earlier version, you can use the snapshots until the snapshots expire. The instant access feature is automatically disabled after the snapshots expire. | In the snapshot list, Enabled is displayed in the Instant Access column.
|
Billing |
| You can use the instant access feature free of charge in all regions. |
Supported snapshot type | Manual snapshots. | Manual and automatic snapshots. |
How to enable the feature | You can manually enable the feature when you create snapshots. | The feature is automatically enabled when snapshots are created. |
How to disable the feature | To disable the instant access feature, configure the | The instant access feature cannot be disabled. |
Re-initialization of cloud disks for which instant access snapshots are created | Not supported. Note Before you can re-initialize a cloud disk for which instant access snapshots are created, call the ModifySnapshotAttribute operation to disable the instant access feature. For more information, see Re-initialize a disk. | Supported. |
Maximum number of instant access snapshots that can be retained per disk | 10. | The same as the maximum number of snapshots that can be retained per disk. For more information, see the Limits section of the "Overview" topic. |