Data Studio supports connecting a personal development environment to a remote Git repository for version control and team collaboration. Once connected, you can clone repositories, edit files, commit, push, switch branches, and merge — all from within Data Studio, without switching to an external Git client.
Typical workflow
Start your personal development environment.
Open the built-in terminal in Data Studio.
Configure your Git identity (username and email).
Clone your remote repository.
Edit files, then commit and push changes using the terminal or the source control GUI.
Prerequisites
Before you begin, ensure that you have:
A serverless resource group created and associated with a workspace. See Create and use a serverless resource group.
A workspace created with computing resources associated.
A personal development environment created. See Personal development environment.
Git credentials (username and password) for the remote repository.
Only personal development environments created by the current Alibaba Cloud account are accessible.
Billing
Charges apply based on the configured compute unit (CU) quota and the duration the personal development environment is running. See Billing of serverless resource groups for details.
Stop the personal development environment on the instance management page when you no longer need it to avoid unnecessary charges.
Step 1: Enter a personal development environment
Go to the Workspaces page in the DataWorks console. In the top navigation bar, select a region. Locate the target workspace and choose Shortcuts > Data Studio in the Actions column.
In the top navigation bar, click the
 icon next to Select Personal development environment, then click the name of the environment you want to enter.Important
The personal development environment must be in the running state before you enter it. If it is not running, Data Studio displays an error: the current environment is unavailable.

Step 2: Set up and use a Git repository
Configure Git and clone your repository
Click the
 icon in the lower-left corner of the Data Studio page to open the TERMINAL tab.
Set your Git identity. Run the following commands and replace the placeholder values with your actual name and email:
git config --global user.name "John Doe"
git config --global user.email johndoe@example.com
For more information about first-time Git setup, see Getting Started - First-Time Git Setup.
Clone your remote repository. Replace
https://xxx.gitwith your repository URL:git clone https://xxx.gitWhen prompted, enter the username and password for the repository. If authentication fails, Git returns a
Failed to authenticate to git remoteerror — verify your credentials and try again.
Edit files and commit changes
After cloning, your repository appears in the Personal Directory section of the DATASTUDIO pane (![]() ) on the left.
) on the left.
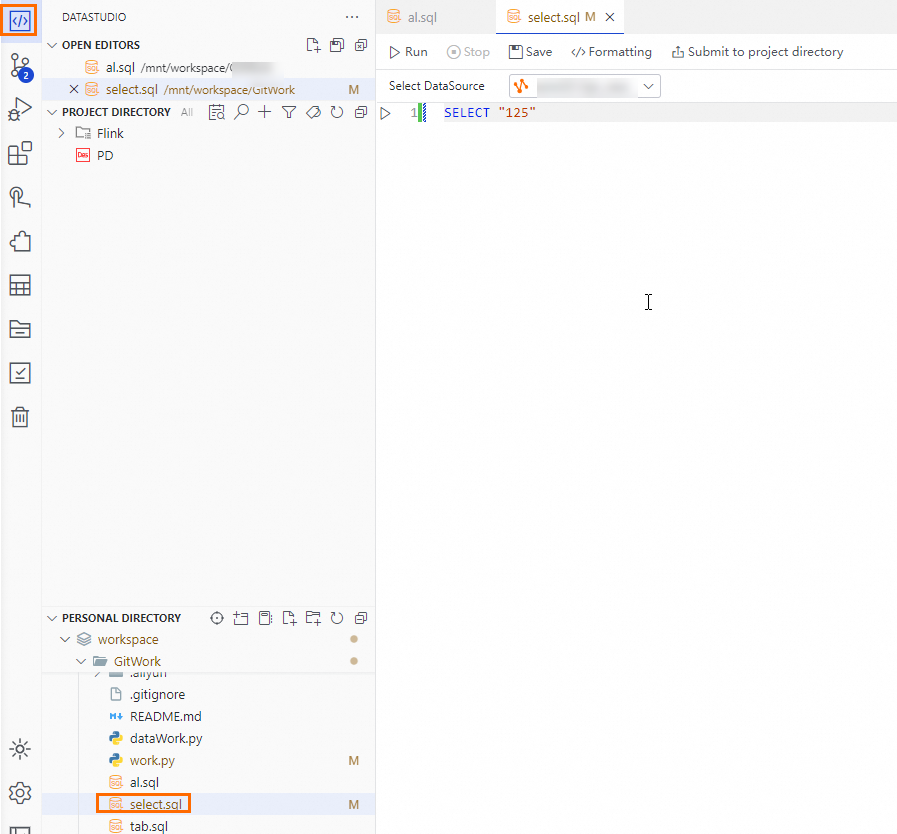
Edit files directly in the file tree. To commit and push your changes, use either:
Terminal: run standard Git commands (
git add,git commit,git push).Source control GUI: use the graphical interface in the source control menu for a point-and-click experience.
For a full reference on available Git operations (branching, merging, pulling, and more), see Using Git source control in VS Code.