Set up the new data security features in DataWorks by selecting a sensitive data management type, configuring identification tasks, and enabling masking and risk detection rules.
Limitations
-
Applicable users: This feature is available in DataWorks Standard, Professional, and Enterprise editions for users with the new data security features enabled in Security Center.
-
Supported regions: China (Hangzhou), China (Shanghai), China (Beijing), China (Zhangjiakou), China (Ulanqab), China (Shenzhen), China (Chengdu), China (Hong Kong), Japan (Tokyo), Singapore, and Indonesia (Jakarta).
-
Supported compute engines: MaxCompute and Hologres.
Prerequisites
-
No sensitive data management type has been selected for your DataWorks tenant.
-
The account used to log on to DataWorks must have one of the following permissions or roles:
An account granted the AliyunDataWorksFullAccess policy.
An account assigned the DataWorks tenant security administrator role.
An account assigned the DataWorks tenant administrator role.
Select sensitive data protection
Log on to the DataWorks console. In the target region, click in the left-side navigation pane. On the page that appears, click Go to Security Center.
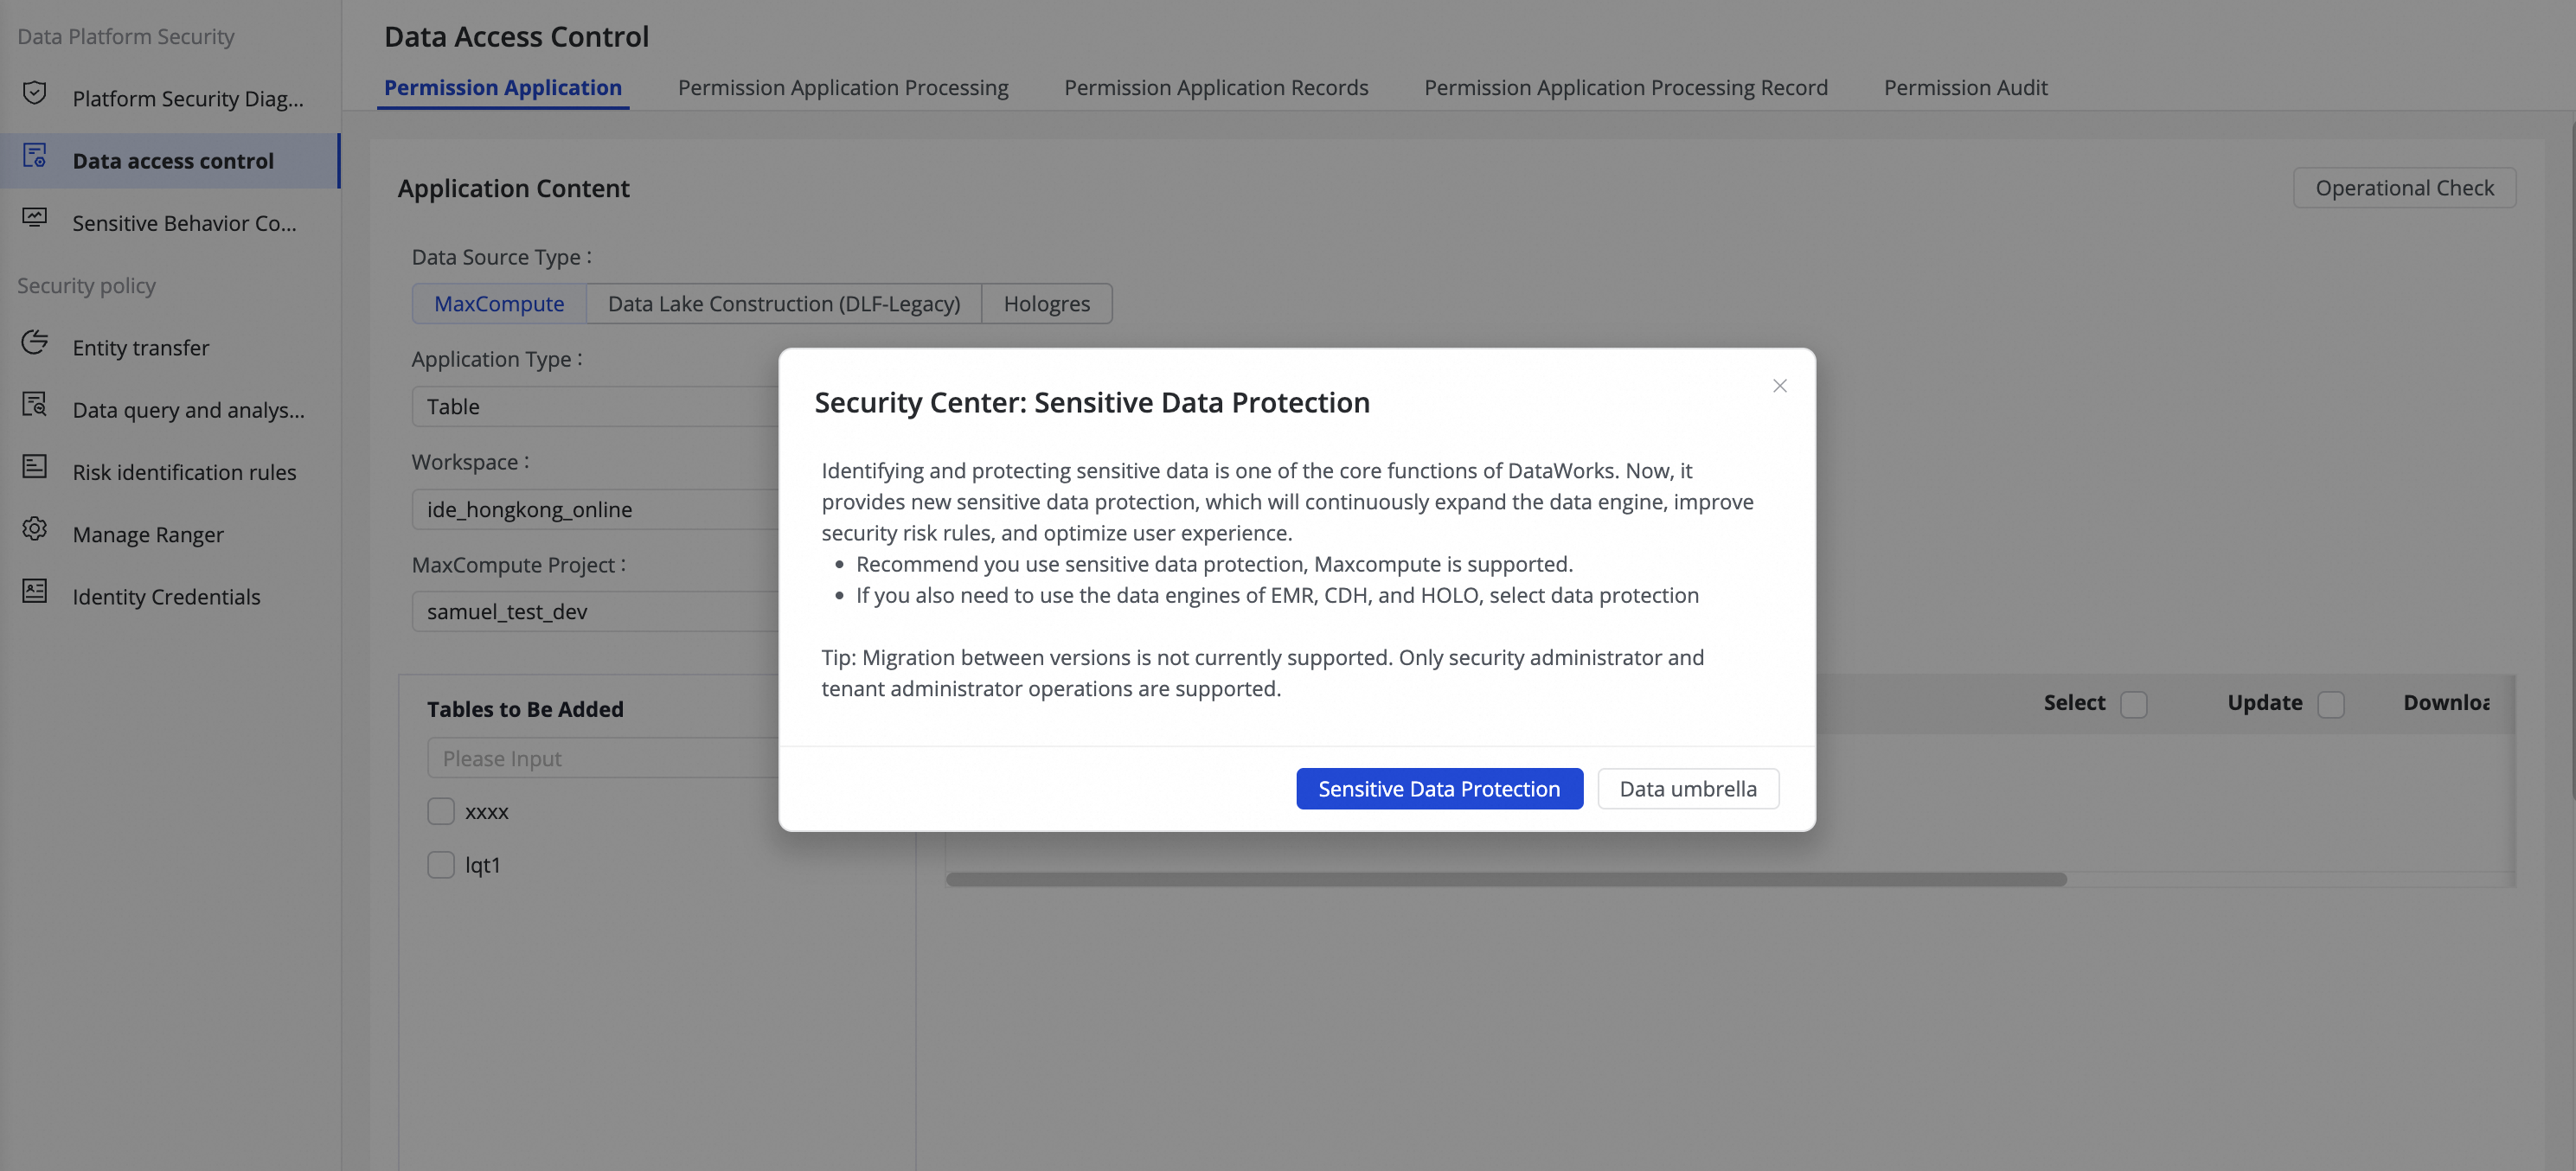
In the dialog box that appears, select Sensitive Data Protection as the Security Center type. You are then taken to the page.
This is a one-time selection that you make on your first visit and cannot be changed later.
Configure the data identification task
-
Select an industry Template.
Click Preview to view the details of data classification and categorization for a template. Select the most suitable template, and then click Next step.
Note-
The industry template cannot be changed after it is selected.
-
Based on the selected template, you can add sensitive data types, customize data classification and categorization, and disable types that do not apply.
-
-
Configure Identification Tasks.
Create a one-time task that uses a specified account to sample and identify data in a specified project, and then evaluate the classification and categorization results for each field.
Parameter
Description
Task Name
The name of the task.
Task Type
This setup guide supports only Single Task.
After you complete the setup guide, you can create a periodic task on the Data Classification and Categorization page.
Identification range
The data scope for the identification task. The minimum scope is a single table.
Sampling quantity
The number of data rows sampled from each column during the identification task.
A larger sample size leads to higher identification accuracy but a longer task duration. The maximum sample size is 200.
Data sampling using
DataWorks uses this account to access data for the identification task. If the account lacks the required permissions, data sampling and identification will fail.
NoteMake sure that the account you specify has the permissions to access table names, column names, column comments, and column data within the specified identification scope.
After you configure the parameters, click Next step to configure Set desensitization rules.
-
Set desensitization rules.
After masking rules take effect, users see only masked data when they access sensitive data from Data Studio, DataAnalysis, or Data Map in DataWorks.
-
Based on the selected industry template, DataWorks enables masking rules for some data types by default. You can modify these rules on the page.
-
DataWorks masking policies support whitelists. Users on a whitelist can view raw data when they access sensitive data. You can configure whitelists on the page.
Parameter
Description
Desensitization Policy Name
The name of the policy.
Effective user range
The users that the masking policy applies to. Both RAM users and RAM roles are supported.
If a RAM user or RAM role is on the whitelist of the masking policy, the whitelist takes precedence.
Effective Project Scope
The projects to which this policy applies.
Effective workspace
The DataWorks workspaces to which this policy applies for tasks in Data Studio and DataAnalysis.
Note-
Data Studio and DataAnalysis: The masking policy applies only when all three conditions (Effective user range, Effective Project Scope, and Effective workspace) are met.
-
Data Map: The masking policy applies only when two conditions (Effective user range and Effective Project Scope) are met.
After you configure the masking rules, click Next to go to the Configure Risk Detection Rules page.
-
-
Set up risk detection rules.
DataWorks detects security risks based on user data access behavior. Enable detection rules here, or customize them later on the page. After you configure the risk detection rules, click Commit to start and initialize the data identification task.
NoteAfter you submit the task, DataWorks begins initializing the data security features. This process takes 1 to 3 minutes.
Before you click Submit, you can cancel the configuration at any time. If you cancel the configuration, you must restart from the beginning. After you click Submit, this initial task runs immediately and cannot be canceled.