The Workspace Directory is a shared development space in Data Studio where team members create, organize, and manage nodes, workflows, scripts, and other assets for periodically scheduled data pipelines. It works like a file system: you create directories to structure your work, then collaborate with your team inside that structure.
Directory types
Data Studio provides two directory types to support different development needs.
| Type | Scope | Supports periodic scheduling | Visibility |
|---|---|---|---|
| Workspace Directory | Workspace-level | Yes — nodes and workflows | Nodes in this Directory belong to the Workspace |
| Personal Directory | User account-level | No | Only you |
Use the Workspace Directory for production pipeline development. Use the Personal Directory for individual code debugging.
Navigate to the Workspace Directory
-
Go to the Workspaces page in the DataWorks console. In the top navigation bar, select a region. Find the workspace, then choose Shortcuts > Data Studio in the Actions column.
-
In the left-side navigation pane, click
 , then choose Data Development > Workspace Directories.
Manage directories
Create a directory
-
On the Workspace Directories page, click Create Directory... on the right.
-
In the Create Directory dialog box, configure the following:
Parameter Description Path The storage path for the directory Name The name of the directory
Tag directories
Tags let you categorize directories by type and filter them quickly. For example, tag a directory as Workflow to group all workflow-related directories and filter them in one click.
Available tags: Workflow, Data Integration, MaxCompute, Hologres, Flink, Algorithm, General, Custom
Tags are primarily designed for compatibility with the directory structure of the previous Data Development version, making it easy to replicate existing structures.
Tag a directory
In the Workspace Directories panel, right-click the directory name and select Mark As > [tag type].
Remove a tag
Right-click the directory name and select Untag.
Filter by tag
Click the ... > Filter by Tag icon to the right of Workspace Directories, select the tag types to filter by, then click OK.
Use Focus mode
Focus mode pins one directory and hides all others, so you can concentrate on a specific area without visual distractions.
Enter Focus mode
Right-click the directory you want to focus on and select Enter Focus Mode. The panel shows only that directory.
Exit Focus mode
Click the ![]() icon, or right-click the focused directory and select Exit Focus Mode.
icon, or right-click the focused directory and select Exit Focus Mode.
Create workflows and nodes
All workspace members can create nodes and workflows for periodic scheduling within the directory structure.
Find workflows and nodes
The Workspace Directory provides four ways to locate nodes and workflows.
| Method | How to use |
|---|---|
| Filter by owner | Click ... > Show... to the right of Workspace Directories, then select Show all or Show managed by me |
| Locate the currently open item | Click the locate icon to the right of Workspace Directories |
| Search by name, node ID, or owner | Use the search box above the Workspace Directories panel |
| Search by code snippet | Click the code search icon to the right of Workspace Directories. See Code search |
The search box returns a maximum of 2,048 results.
Run batch operations
Batch Operations lets you apply the same change to multiple workflows, standalone nodes, or nodes within a workflow simultaneously. Common scenarios include personnel changes, environment migrations, and uniform scheduling adjustments.
Batch Operations is available in DataWorks Standard Edition and higher.
Common use cases
-
Personnel changes: Reassign nodes to a new team member when someone leaves or changes roles
-
Environment migration: Update the Data Source, data destination, or Scheduling Resource Group for all affected Data Integration tasks
-
Scheduling adjustments: Modify the scheduling cycle, rerun properties, or other scheduling attributes across a group of tasks
-
Bulk deploy or undeploy: Deploy an entire module to the Production Environment in one operation
Open Batch Operations
Click the Batch Operations icon  to the right of Workspace Directories. If you select a directory first, it is pre-filled as the filter.
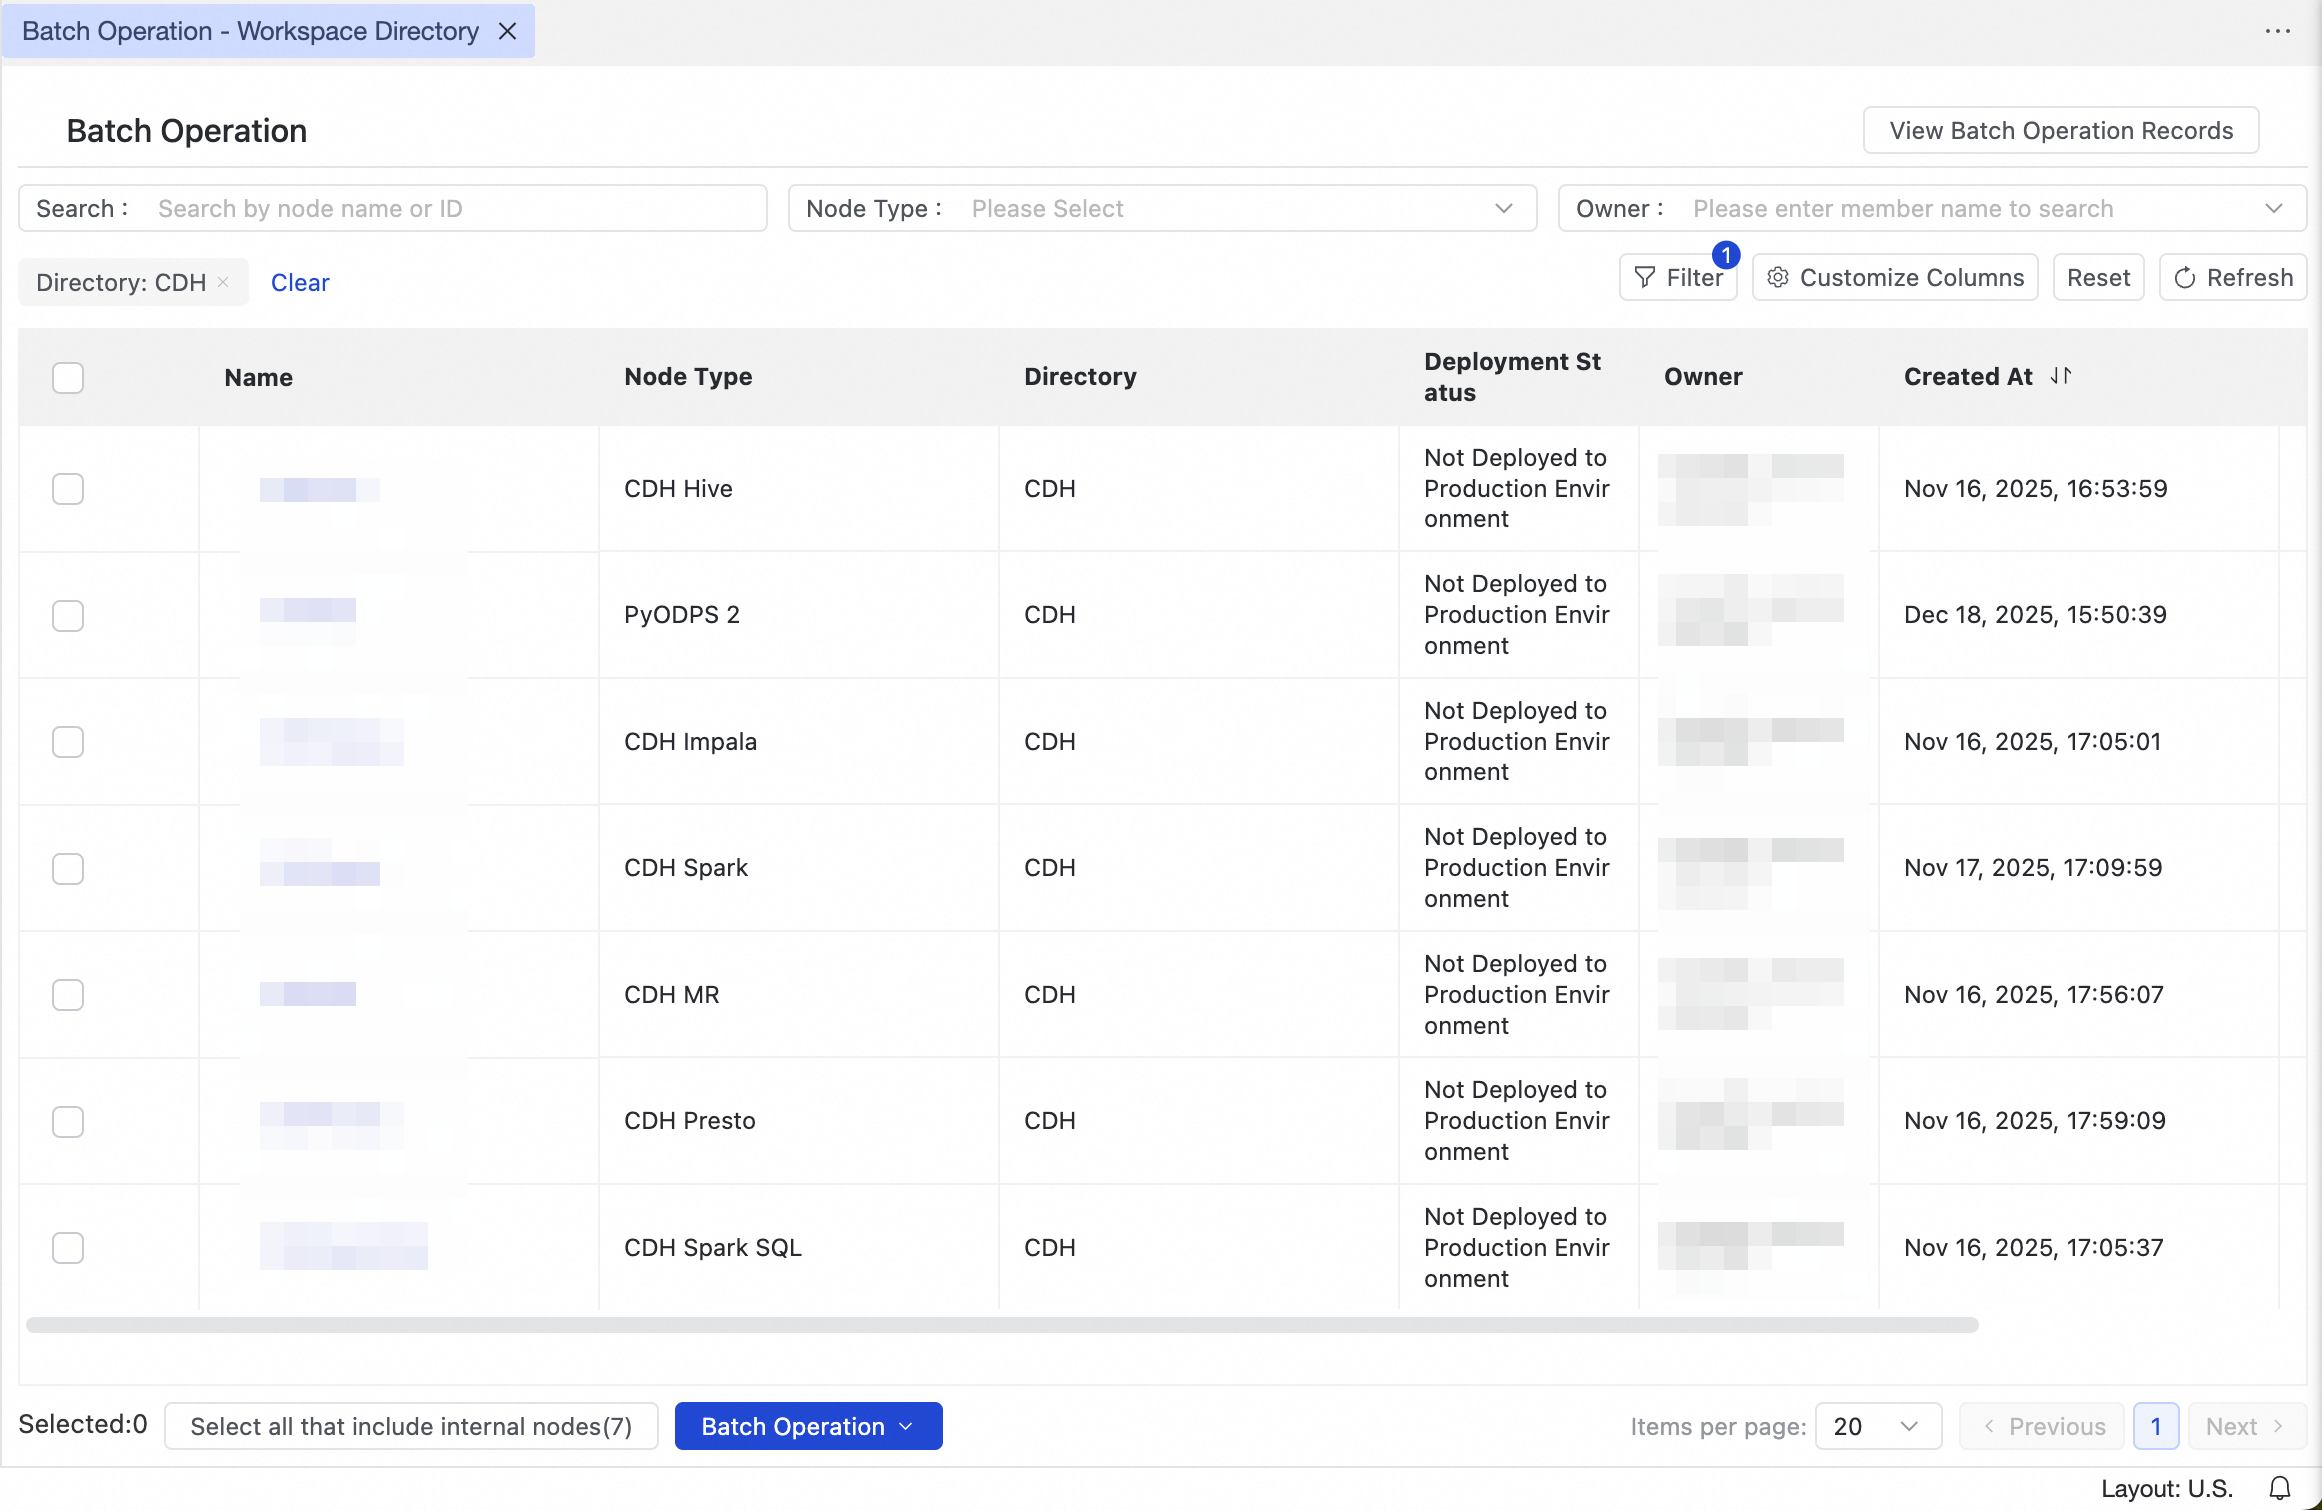
Select target objects
Use the search box and the Filter icon ![]() to narrow the list by Directory, Node Type, Owner, or Scheduling Resource Group.
to narrow the list by Directory, Node Type, Owner, or Scheduling Resource Group.
Tip: Save frequently used filter combinations as favorites — they appear above the list for quick access.
Select one or more objects from the list. To select a workflow together with all its child nodes, click the drop-down icon to the left of the workflow and choose Select parent Node and all sub-nodes.
Execute the operation
After selecting the target objects, click Batch Operations in the lower-left corner and choose an action.
| Operation | Permissions required | What you can change |
|---|---|---|
| Modify Owner | Workspace Administrator | Reassign the owner |
| Modify Data Integration task | — | Data Source, data destination, Scheduling Resource Group |
| Modify Scheduling Configuration | — | Scheduling cycle, dependencies, Scheduling Resource Group |
| Deploy / Undeploy | — | Push changes to or remove from the Production Environment |
Review operation history
To audit past batch operations, click Batch Operation History in the upper-right corner. Each record shows the operation type, object scope, execution status, and time.
Limitations
-
Edition requirement: Batch Operations is available in DataWorks Standard Edition and higher.
-
Development Environment only: All changes made through Batch Operations take effect in the Development Environment. To apply changes to the Production Environment — such as updated Scheduling Configuration — deploy them to the Operation Center.
-
Forced modification risk: If your selection includes nodes locked by other users, the system prompts you to enable Forcibly modify files locked by others. This overwrites any unsaved changes from those users. Confirm with the affected users before enabling this option.
What's next
-
Nodes — Configure and develop individual task nodes
-
Workflows — Build and manage multi-node workflows
-
Code search — Search across all node code in your workspace