This topic describes how to manage the map component and basic features. This allows you to use the map component more quickly and accurately.
Procedure
- Log on to the DataV console.
- On the My Visualizations page, click Edit above the project that you created.
On the Canvas Editor page, click the
 icon in the upper-left corner to expand the Assets List.
In the left-side navigation pane of the All Widgets page, click the Maps icon and add a map widget to the canvas.
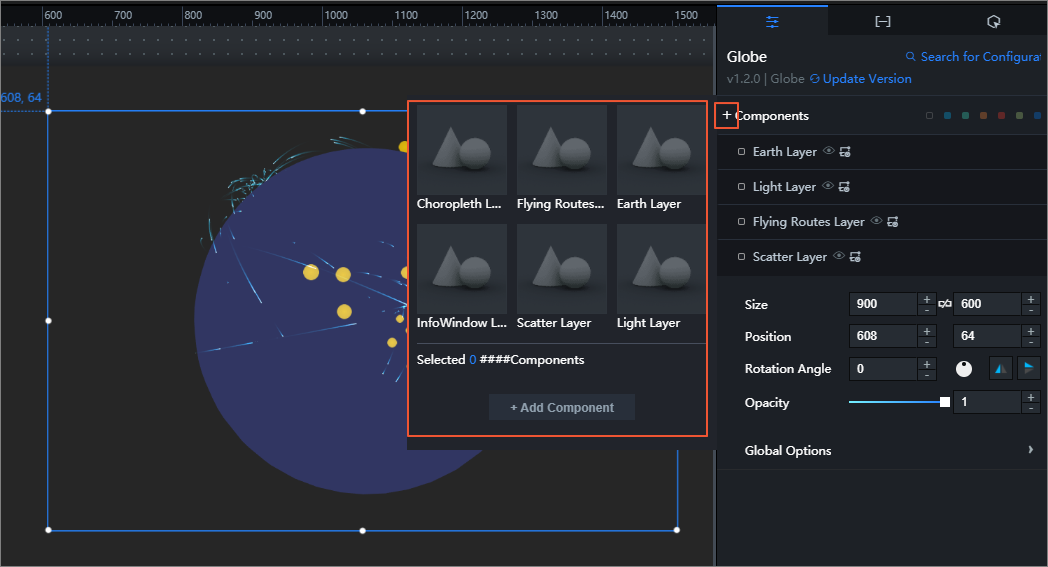
The Globe component is used as an example. 
On the canvas, click the Globe widget. In the right-side navigation pane, click Components.
You can add, show or hide, copy, rename, and delete a component and categorize components by color. For more information, see Add a component, Categorize components by color, Show or hide a component, Copy a component, Rename a component, and Delete a component.
Add a component
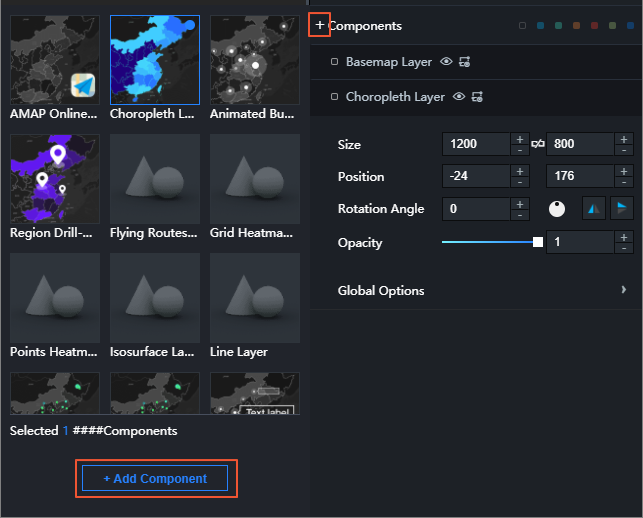
Click the plus sign (+) on the left of Components.
In the box that appears on the left, click the thumbnails to select one or more components.
Click Add Component.
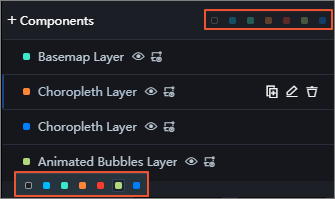
Categorize components by color
Click the square on the left of a component in the Maps widget.
In the displayed color block list, select a color to mark the component.
Note A color in the label bar on the right of Components represents a category. You can mark the components with different colors to classify them into different categories.On the right of Components, click a color to filter out the components that are marked with this color.
Show or hide a component
In the Components section, click the  icon on the right of a component to show or hide the component on the map.
Copy a component
Move the point over a component in the Components section and click the Copy icon on the right of the component. 
Rename a component
Move the pointer over a component in the Components section and click the Rename icon on the right of the component. Then, edit the component name. 
Delete a component
Move the pointer over a component in the Components section and click the Delete icon on the right of the component. 
Sort components
Move the pointer over a component in the Components section and click the Sort icon. Then, drag the component up or down to adjust its position within the layer to which is belongs. 
A map widget has three layers of components: Top Layer, Intermediate Layer, and Bottom Layer. Each layer contains different components.
- Top Layer: floating bubbles layer and mixed scatter layer
- Intermediate Layer: image layer, choropleth layer, animated bubbles layer, regional drilldown choropleth layer, density grid layer, points heatmap layer, hexagon heatmap layer, isosurface layer, text label layer, line density map layer, point cluster layer, flying routes layer, icon scatter layer, and vector scatter layer
- Bottom Layer: AMAP online basemap and basemap layer