Use the DataV developer tools to create, preview, and publish custom widgets.
Environment preparation
-
Go to the official website of Node.js, download and install Node.js. The recommended version is 8.0.0 or later but earlier than 10.12.0.
NoteWe recommend that you use Node Version Manager (NVM) to manage multiple Node.js versions. If you use NVM, you can install another version of Node.js without the need to uninstall the existing version. To install NVM, visit GitHub - creationix/nvm: Node Version Manager - Simple bash script to manage multiple active node.js versions.
-
After you install NVM, run the
node -vandnpm -vcommands in the macOS Terminal or Windows Command Prompt to view the Node.js and npm versions.
Install DataV
-
Run the following command in the macOS Terminal or Windows Command Prompt to install DataV:
npm install datav-cli -g -
After DataV is installed, run the
datav --versioncommand to view the version of DataV.
Set the language
The default language of DataV is English. Run the datav locale command in the macOS Terminal or Windows Command Prompt to change the language.
After you run the command, the following result is returned:
?  What is your language?  (Use arrow keys)
> English
  Chinese
  Japanese
Press the ↑ and ↓ arrow keys to select a language and press Enter.
To reset the language based on the region of your Alibaba Cloud account, log on to the DataV developer console and run the datav locale-clear | datav lc command to clear the language settings. Then, set the language again.
Log on to the DataV developer console
Run the datav login command in the macOS Terminal or Windows Command Prompt to log on to the DataV developer console. Specify the following parameters as prompted.
|
Parameter |
Description |
|
|
The username displayed in the upper-right corner of the DataV console. If you are a RAM user, enter the username of the Alibaba Cloud account to which your RAM user belongs. |
|
|
The developer token obtained from the Widgets tab in the DataV console. |
|
|
Press Y or N. |
|
|
Enter an alias. |
If the message the configuration is successful appears, you have logged on to the DataV developer console.
Logging on to the DataV developer console is required only to publish widgets. You can create or preview widgets without logging on.
Generate a widget package
Run the datav init command in the macOS Terminal or Windows Command Prompt to generate a widget package. Specify the following information as prompted.
|
Widget information |
Description |
|
|
The widget name. It can contain letters, digits, and hyphens (-). |
|
|
The display name of the widget in the widget list of a project. |
|
|
The description of the widget. |
|
|
The widget template. Valid values: Press the ↑ and ↓ arrow keys to select a template and press Enter. |
When the command line displays Widget Created, the widget package is generated. 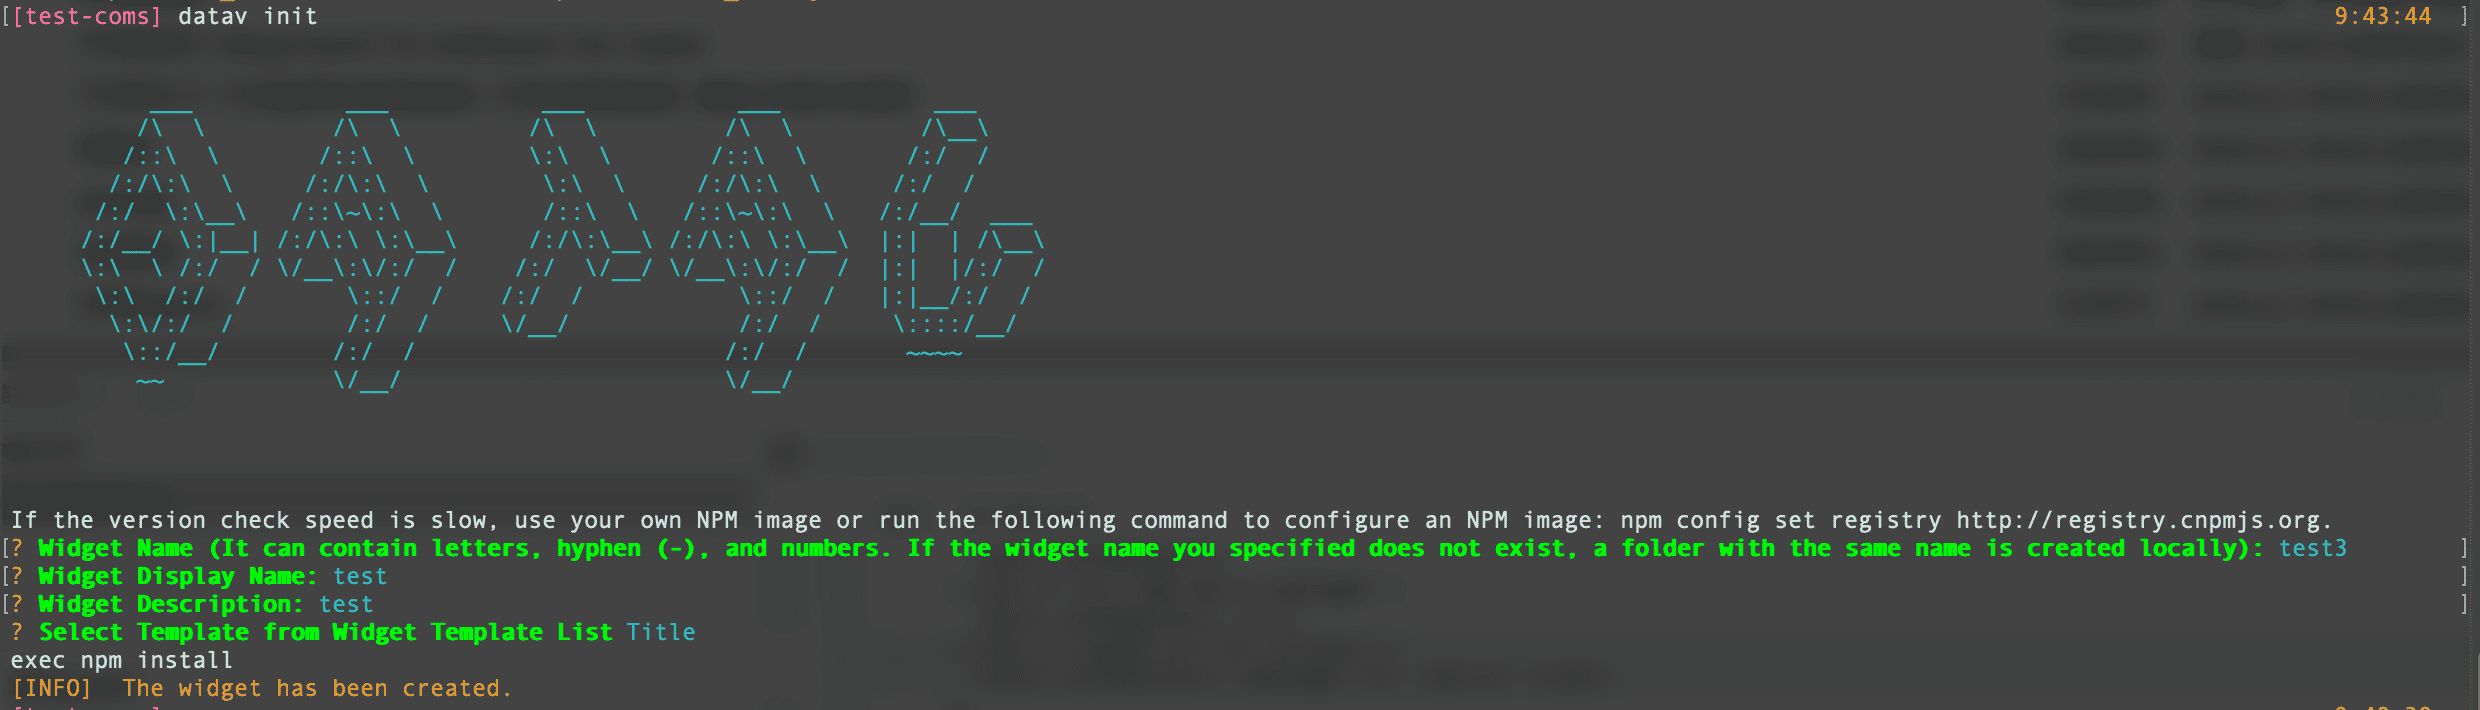
Preview a widget
Run the following commands in the macOS Terminal or Windows Command Prompt to preview a widget:
cd your component name
datav run
When Service Started is displayed on the CLI, the preview service is running. Google Chrome opens automatically and navigates to the widget preview page. 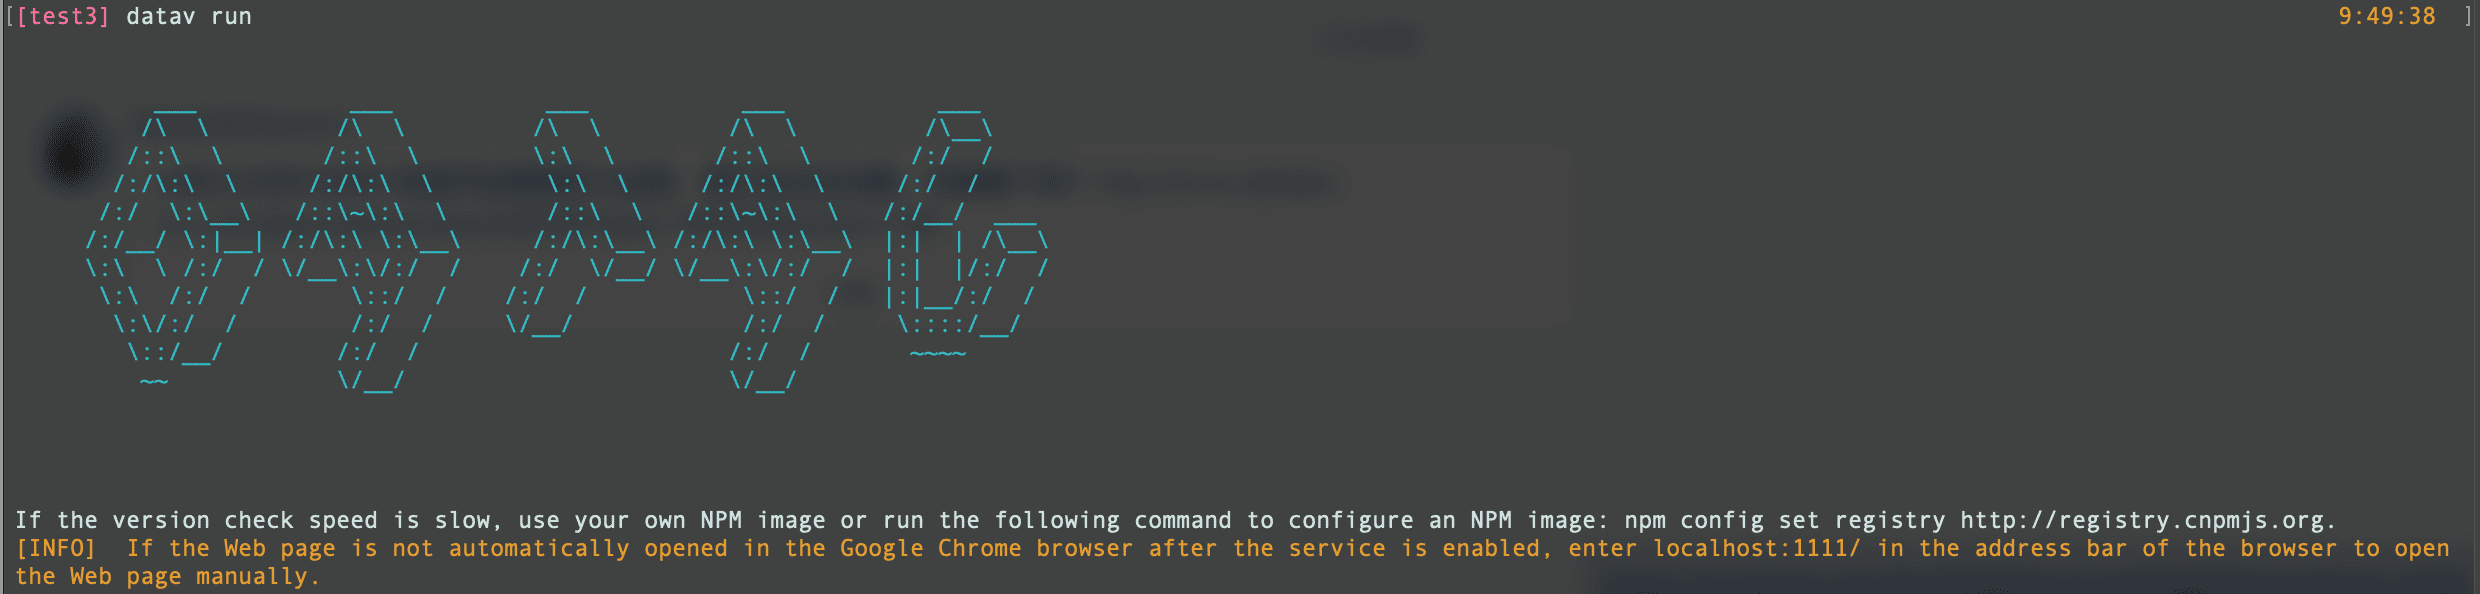
-
If Google Chrome does not open automatically, it may not be installed. Install Google Chrome and manually access localhost:1111/ to preview the widget.
-
If port 1111 is occupied by another application, run the
datav run -p 1112command to use port 1112 instead. -
If the widget preview does not display at localhost:1111/, check whether localhost is mapped to 127.0.0.1 in the hosts file. If so, access 127.0.0.1:1111/ instead.
The following figure shows a successfully previewed widget. 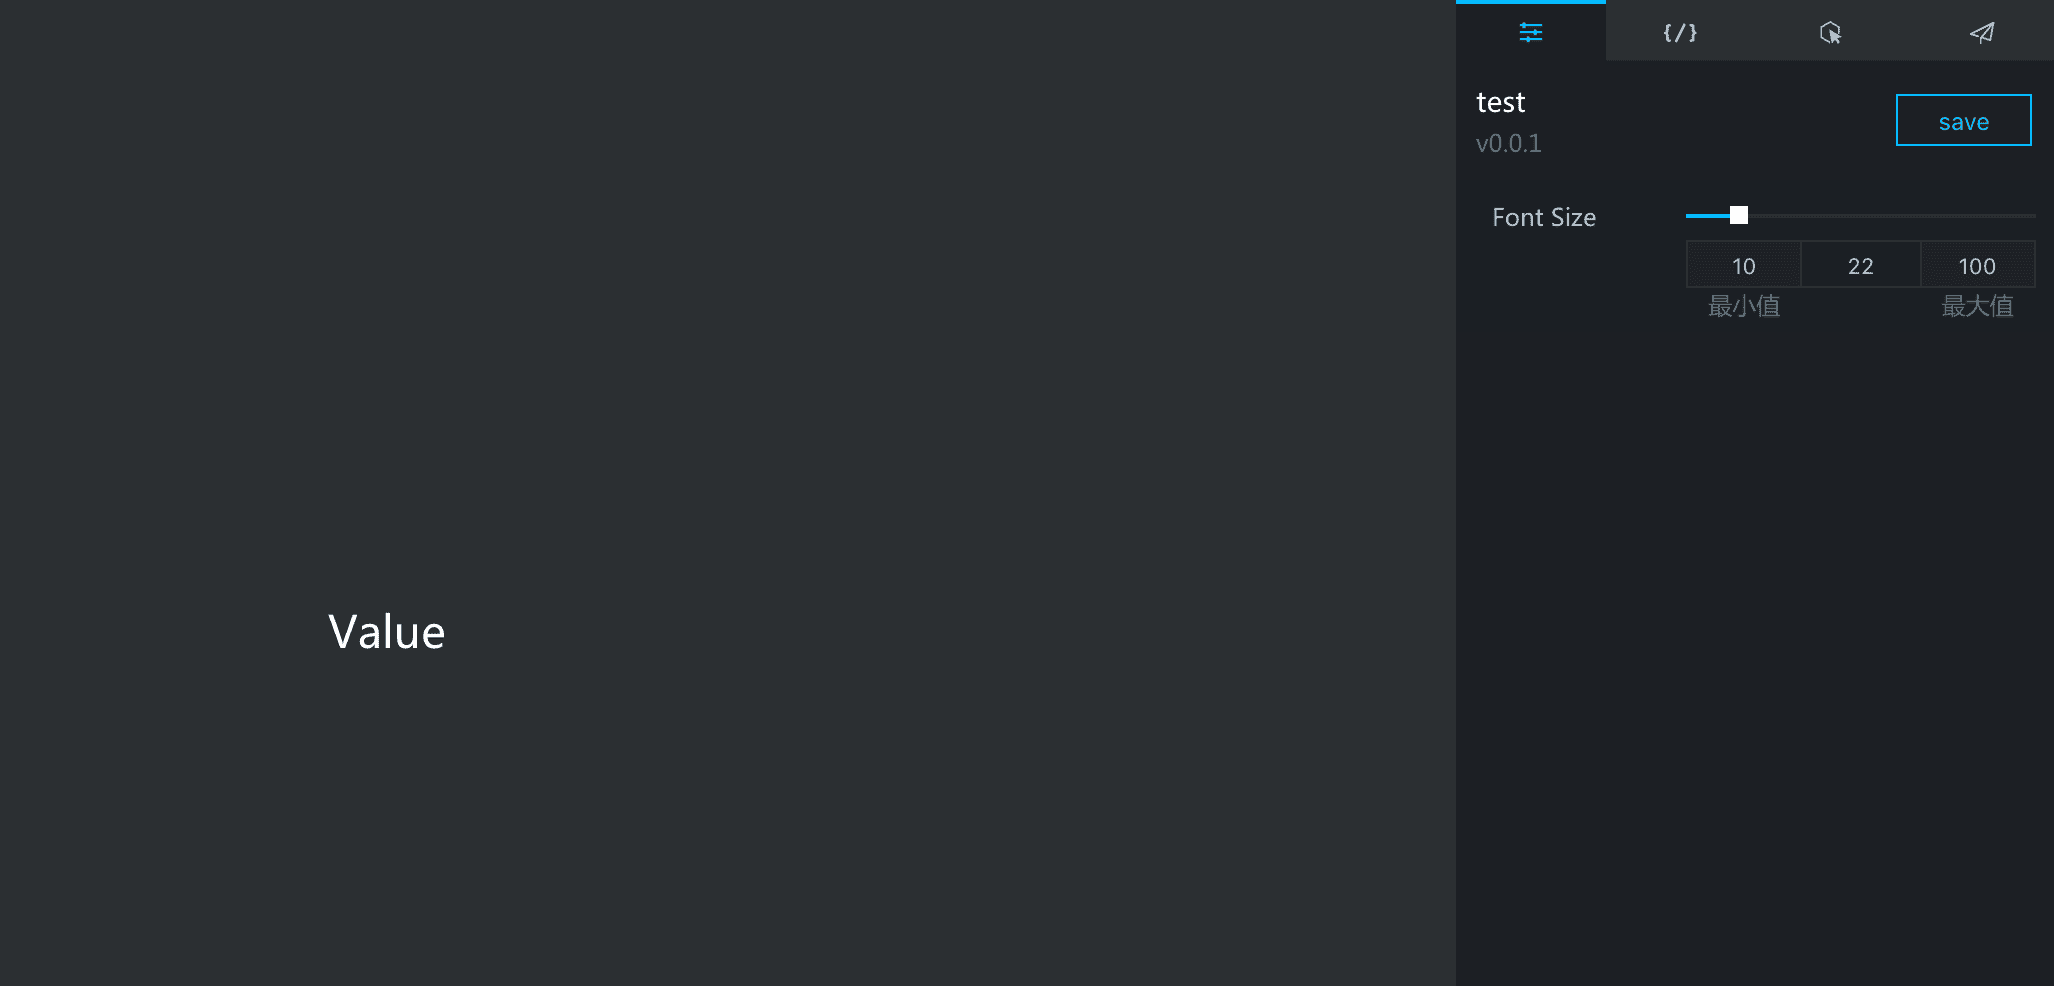
The preview page consists of a canvas, a bottom toolbar, and a right-side panel.
-
Canvas
-
Displays the widget and reflects all changes in real time.
-
Changes to widget settings and data on the right-side panel are reflected on the canvas.
-
Drag the borders to resize the widget.
-
-
Bottom toolbar
Allows you to change the language of the widget.
-
Right-side panel
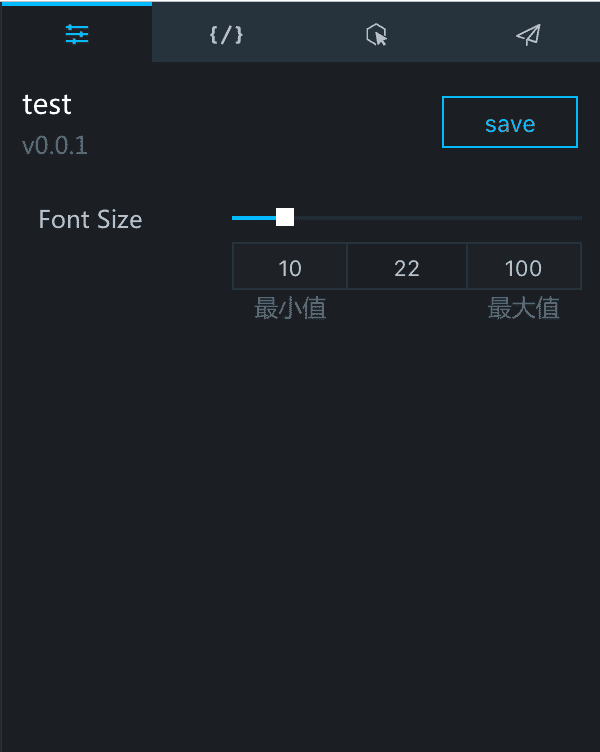
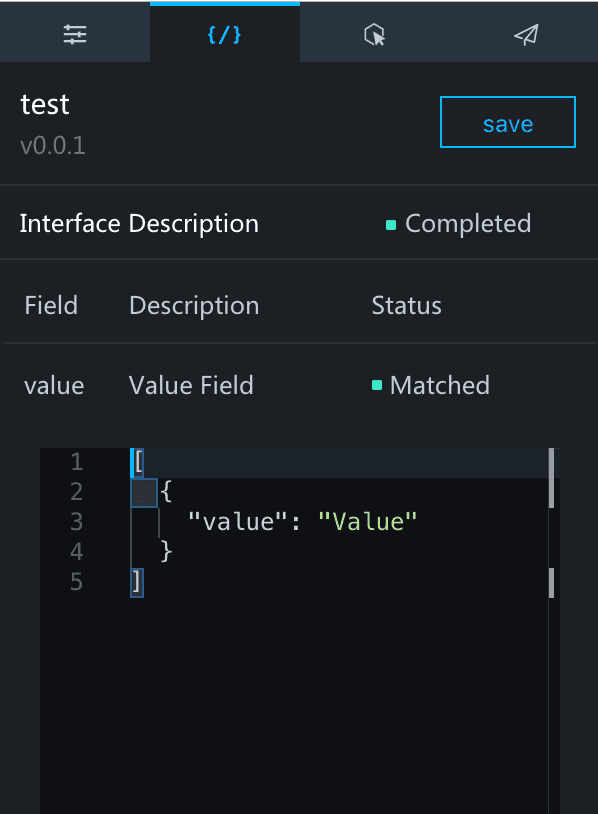
The right-side panel consists of four tabs: Settings, Data, Interaction, and Publish.
Tab
Description
Parameter
Contains the style settings of the widget. Changes take effect immediately on the canvas. For example, adjusting the font size slider updates the font size of the text in the widget instantly. Click Save in the upper-right corner to save the current configuration as the default.
Data delivery
Provides the API data of the widget. Updating the data on this tab refreshes the widget on the canvas immediately. Click Save in the upper-right corner to save the current data as the default.
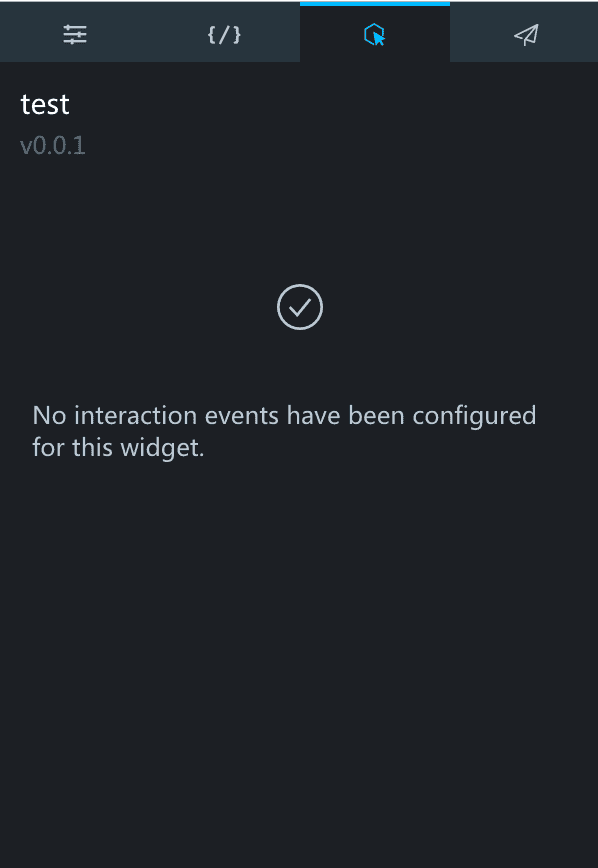
Interaction
Displays the interaction settings of the widget.
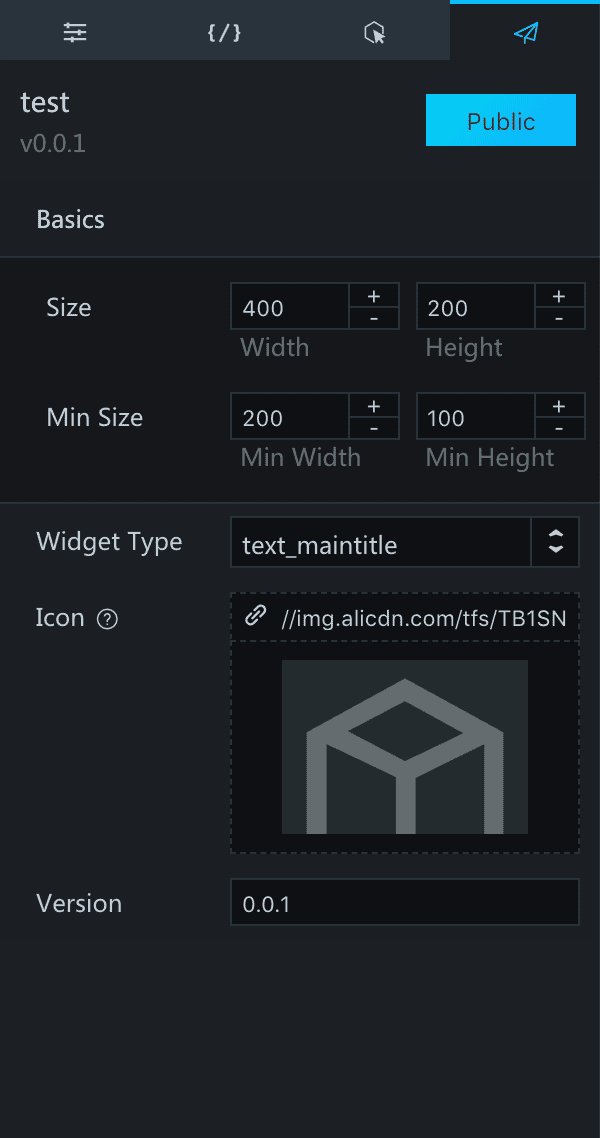
Publish
Allows you to configure the widget type, icon, and version. Click Publish in the upper-right corner to publish the widget.
Publish a widget
You can publish a widget by using one of the following methods:
-
Method 1 (recommended)
Go to the directory of the widget and run the datav publish command. The widget is compressed into a package and published to a server in the same region as your Alibaba Cloud account.
-
Method 2
Go to the directory of the widget and run the datav package command. A tar.gz package named in the format of
Widget name-Version numberis generated in the parent directory. Upload the package to datav.aliyun.com to publish the widget. -
Method 3
On the widget preview page, click Publish.