Dataphin lets you run a debug session to verify your Flink task logic before deploying to production. Debugging runs the task against sample data without writing output to result tables — production data is never affected.
Two debugging methods are available: local debugging uses data you provide manually, while session cluster-based debugging uses live streaming data collected automatically from a Session cluster.
Limitations
For Blink, local debugging requires engine version 3.6.0 or later.
DataStream tasks do not support debugging.
Session cluster-based debugging is available only for customers using the open-source Flink engine on the latest architecture. Contact technical support for details.
Choose a debugging method
Local debugging — Runs the task without a cluster using data you upload or enter manually. Use this method when you have specific test data or want to validate logic without a live data source.
-
Session cluster-based debugging — Uses a Session cluster to collect live production data in streaming format. When new records arrive at the source table, the cluster computes a result for each record, mirroring production behavior. This gives you real-time visibility into Flink task status, logs, and output — ideal for validating streaming logic with realistic data.
NoteDebugging results from session cluster-based debugging are not written to the result table.
Start a debugging session
On the Dataphin homepage, click Data Development in the top menu bar.
-
Select the task you want to debug and open its Debug Task dialog box.

Only one debugging mode can be active at a time. The mode you select determines which physical tables Dataphin samples data from.
Real-time mode debugging: Samples data from the corresponding real-time physical tables and runs the task in FLINK Stream mode with local debugging or session cluster-based debugging. For more information, see Debug in real-time mode.
Offline mode debugging: Samples data from the corresponding offline physical tables and runs the task in FLINK Batch mode with local debugging. For more information, see Debug in offline mode.
Debug in real-time mode
-
In the Debug Task dialog box, on the Select Sampling Mode tab, select Real-time mode - FLINK Stream Task.
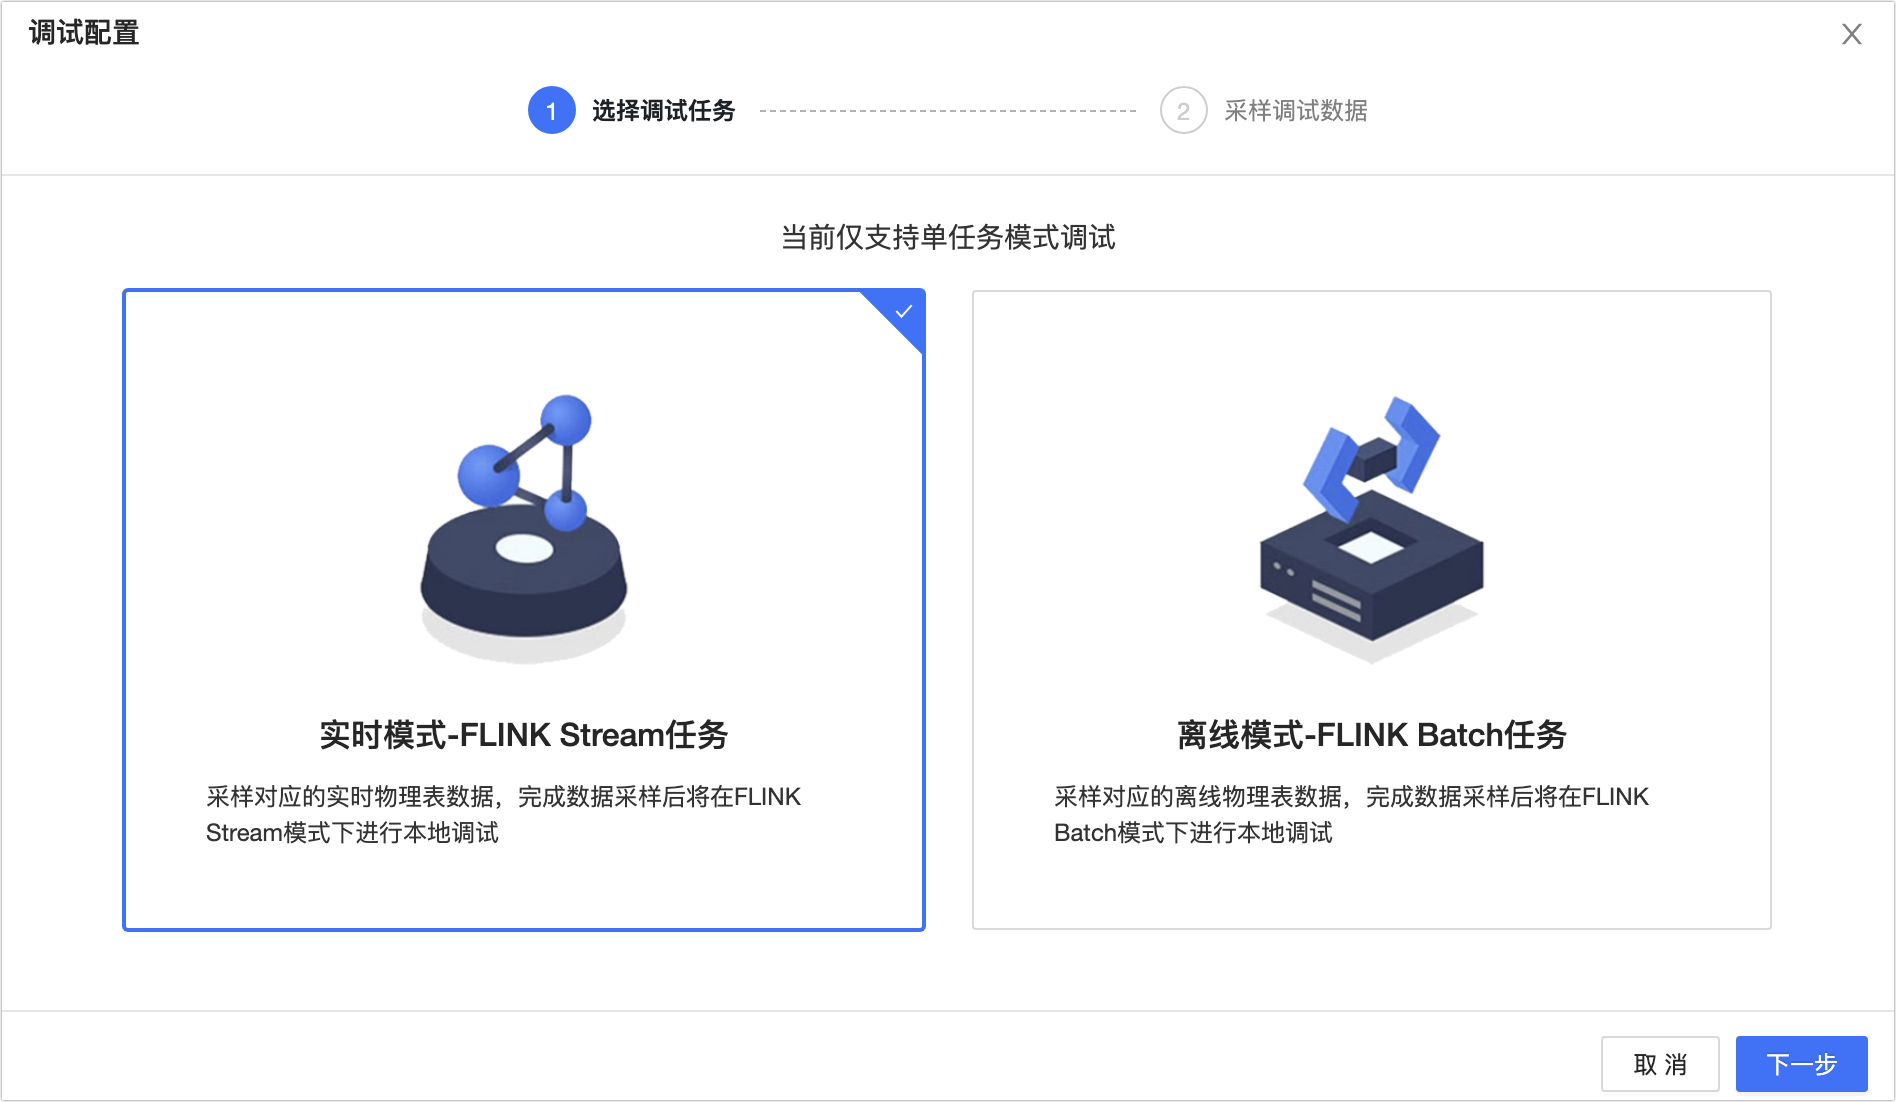
Click Next.
-
Select a Debug Data Source.
-
Upload data manually (local debugging)
Provide test data using one of three methods: Upload sample data file, Enter data manually, or Sample data automatically.
-
Upload sample data file
Download the sample template first — Dataphin generates this CSV file automatically based on the schema of the tables your task reads from and writes to. Fill in your test data, then click Upload. The data appears in the Metadata Sampling area.
-
Enter data manually
Enter or edit data directly in the interface. Best for small datasets or quick modifications to existing sampled data.
-
Sample data automatically
Click Auto Sample to pull random records from HBase, MaxCompute, DataHub, or Kafka. Use this option when you have no specific data requirements.
NoteFor Kafka, automatic sampling supports JSON, CSV, Canal-JSON, Maxwell-JSON, and Debezium-JSON formats.
For Kafka, automatic sampling supports No Authentication and username and password authentication only. SSL is not supported.
When sampling from Kafka, you can specify the data range to read. The maximum is 100 records.
-
-
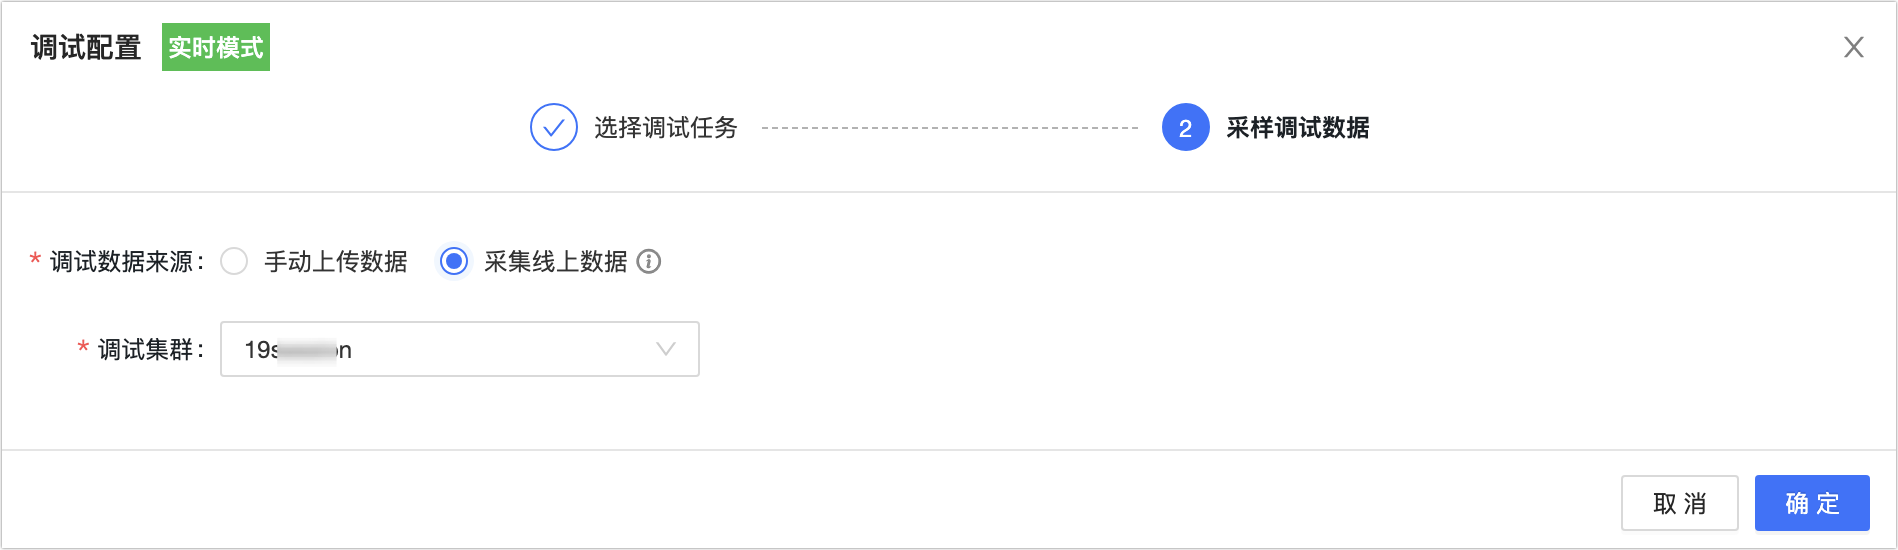
Collect online data (session cluster-based debugging)
Select an available Session cluster to collect live data automatically. If no cluster is available, create one first. For more information, see Create a Session cluster.
NoteOnly Session clusters in the Running state are available for selection.
A Session cluster collects a maximum of 1,000 records.
-
After all source tables have been sampled, click OK.
-
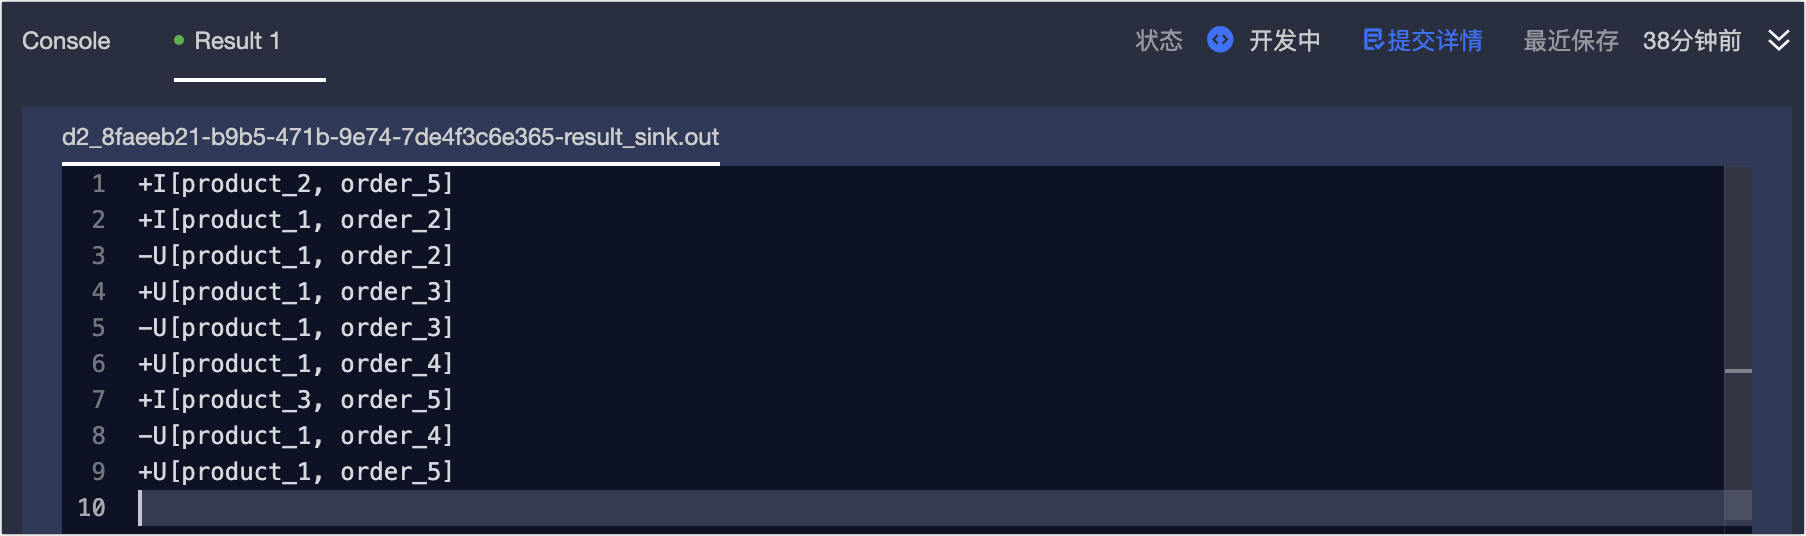
On the Result page, review the debugging results.
-
Upload data manually (local debugging)

-
Collect online data (session cluster-based debugging)
-
Debug in offline mode
-
In the Debug Task dialog box, on the Select Sampling Mode tab, select Offline mode - FLINK Batch Task.
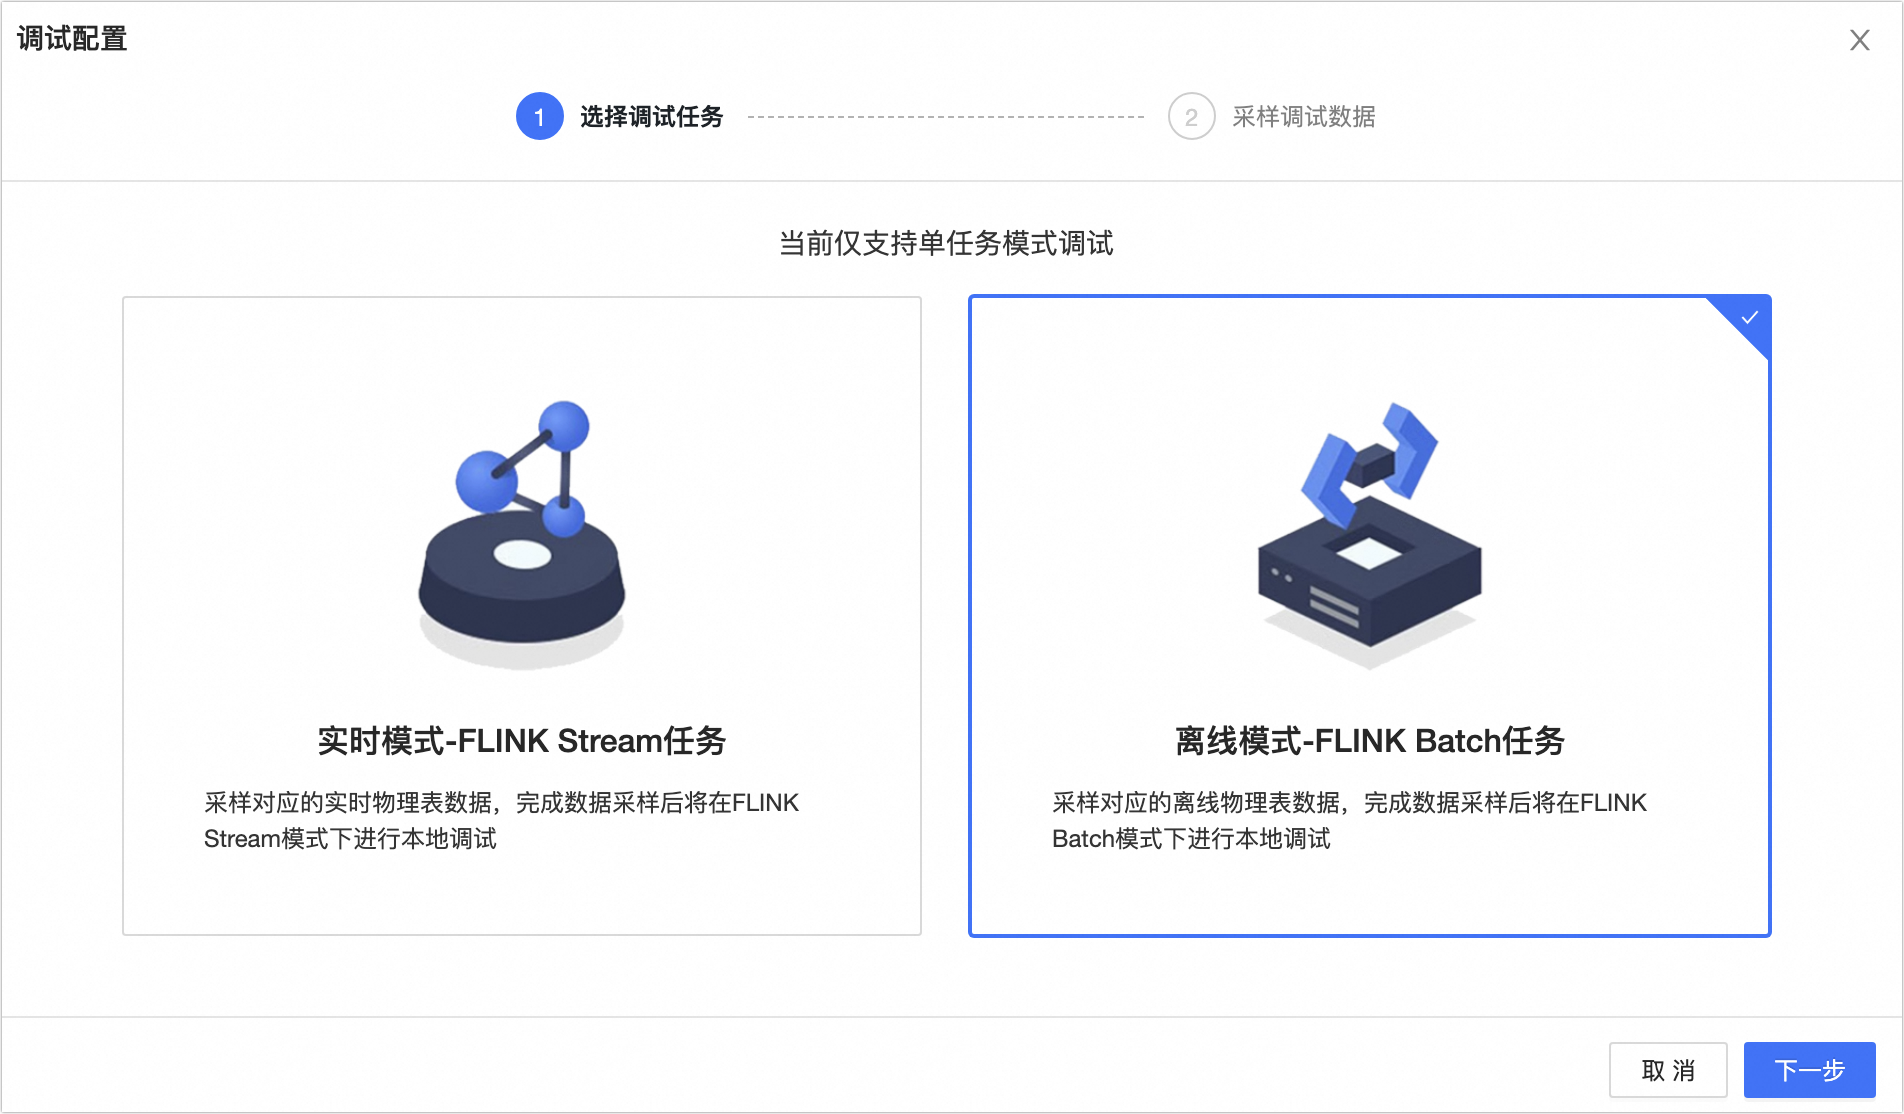
Click Next.
-
Select a Debug Data Source.
-
Upload data manually (local debugging)
Provide test data using one of three methods: Upload sample data file, Enter data manually, or Sample data automatically.
-
Upload sample data file
Download the sample template first — Dataphin generates this CSV file automatically based on the schema of the tables your task reads from and writes to. Fill in your test data, then click Upload. The data appears in the Metadata Sampling area.
-
Enter data manually
Enter or edit data directly in the interface. Best for small datasets or quick modifications to existing sampled data.
-
Sample data automatically
Click Auto Sample to pull random records from HBase, MaxCompute, DataHub, or Kafka. Use this option when you have no specific data requirements.
NoteFor Kafka, automatic sampling supports JSON, CSV, Canal-JSON, Maxwell-JSON, and Debezium-JSON formats.
For Kafka, automatic sampling supports No Authentication and username and password authentication only. SSL is not supported.
When sampling from Kafka, you can specify the data range to read. The maximum is 100 records.
-
-
Collect online data (session cluster-based debugging)
Select an available Session cluster to collect live data automatically. If no cluster is available, create one first. For more information, see Create a Session cluster.
NoteOnly Session clusters in the Running state are available for selection.
A Session cluster collects a maximum of 1,000 records.
-
After all source tables have been sampled, click OK.
-
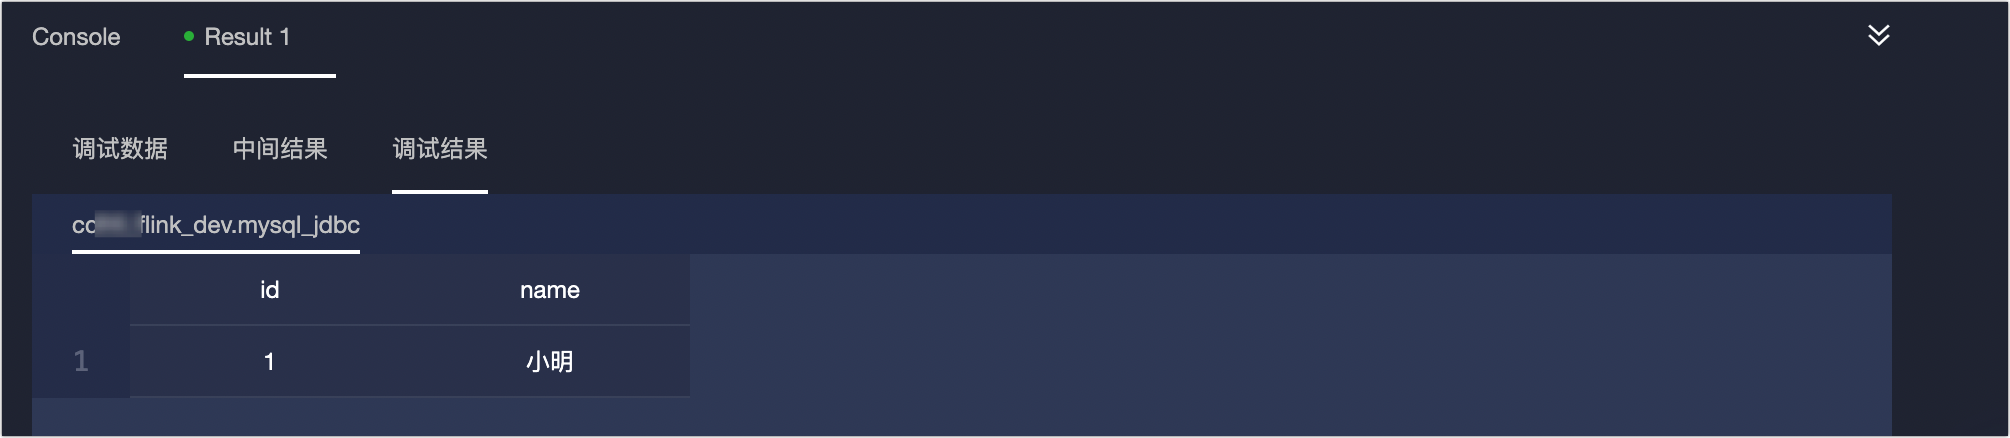
On the Result page, review the Debug data, Intermediate results, and Debugging results.
Appendix: Automatically sampled debug data
When using automatic sampling, the data source depends on two factors: the Default read for task debugging setting of the metatable, and the table syntax used in your task.
-
The Default read for task debugging parameter of the metatable is set to Development table.
If the task uses the syntax
Project_Name_dev.metatable_name, the system samples the development metatable. If no development metatable exists for the data source, automatic sampling is not supported.If the task uses the syntax
Project_Name.metatable_name, the system samples the production metatable. If you do not have permissions for the production metatable, an error occurs — apply for permissions first. For more information, see Apply for table permissions.If the task uses the syntax
${Project_Name}.metatable_nameormetatable_name, the system samples the development metatable. If no development metatable exists for the data source, automatic sampling is not supported.
-
The Default read for task debugging parameter of the metatable is set to Production table.
If the task uses the syntax
Project_Name_dev.metatable_name, the system samples the development metatable. If no development metatable exists for the data source, automatic sampling is not supported.If the task uses the syntax
Project_Name.metatable_name, the system samples the production metatable.If the task uses the syntax
${Project_Name}.metatable_nameormetatable_name, the system automatically replaces the${Project_Name}variable based on your parameter settings to determine whether to use the production or development metatable. If${Project_Name}is not specified, the system samples the production metatable.