In Flink SQL tasks, Dataphin enables the rapid creation of meta tables using native DDL statements, streamlining development processes and enhancing efficiency. This topic provides guidance on creating a meta table with native DDL statements.
Background information
A meta table, a higher-level logical construct in native DDL development, is created across different storage types in data management. By creating meta tables, developers can manage input, output, and dimension tables more effectively, addressing challenges such as complex development pathways, plaintext password storage, security vulnerabilities, and low development efficiency. For further details, see Dataphin meta table development method (recommended) and .
Step 1: Create a new Flink SQL task
For more information, see Data development entry to access the data Development page.
Follow the instructions in the figure below to open the New Flink_sql Task dialog box.
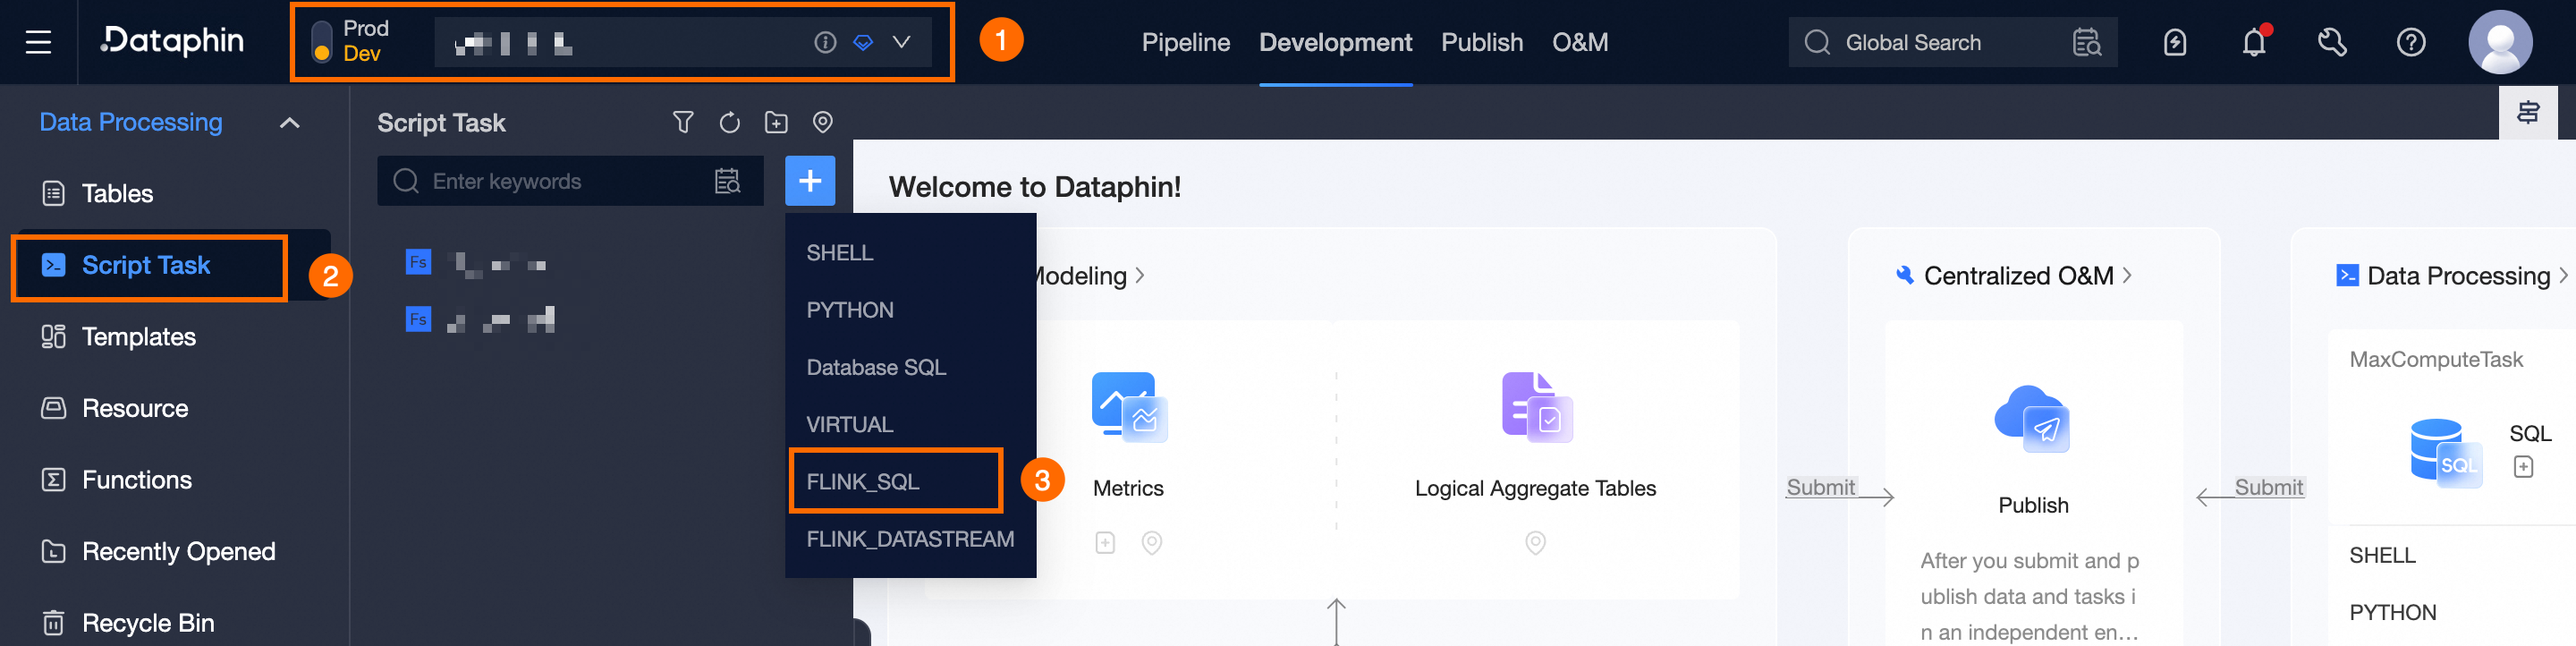
In the New Flink_sql Task dialog box, set the parameters as follows:
Parameter
Description
Task Name
Follow the naming convention: use only lowercase letters, digits, and underscores (_), with a length of 3 to 62 characters, starting with a letter, and ensuring uniqueness within the project.
Names are restricted to lowercase letters, digits, and underscores (_).
Length must range from 3 to 62 characters.
Each name must be distinct within the project.
Names should begin with a letter.
Production Environment Cluster
Select the appropriate cluster for the Flink SQL task's production environment.
Production Environment Engine Version
Choose the appropriate engine version for tasks to be executed in the production environment.
NoteIn Basic mode project spaces, the relevant configuration item is labeled as Engine Version.
Development Environment Cluster And Engine Version
Choose between System Default Configuration, which mirrors the production environment, and Custom Configuration for the development environment. Basic mode project spaces do not require this configuration.
System Default Configuration: This option selects the same environment cluster and engine version as the production environment by default.
Custom Configuration: Choose the desired environment cluster and engine version for your development task.
NoteConfiguration of this item is not required if your project space is in Basic mode.
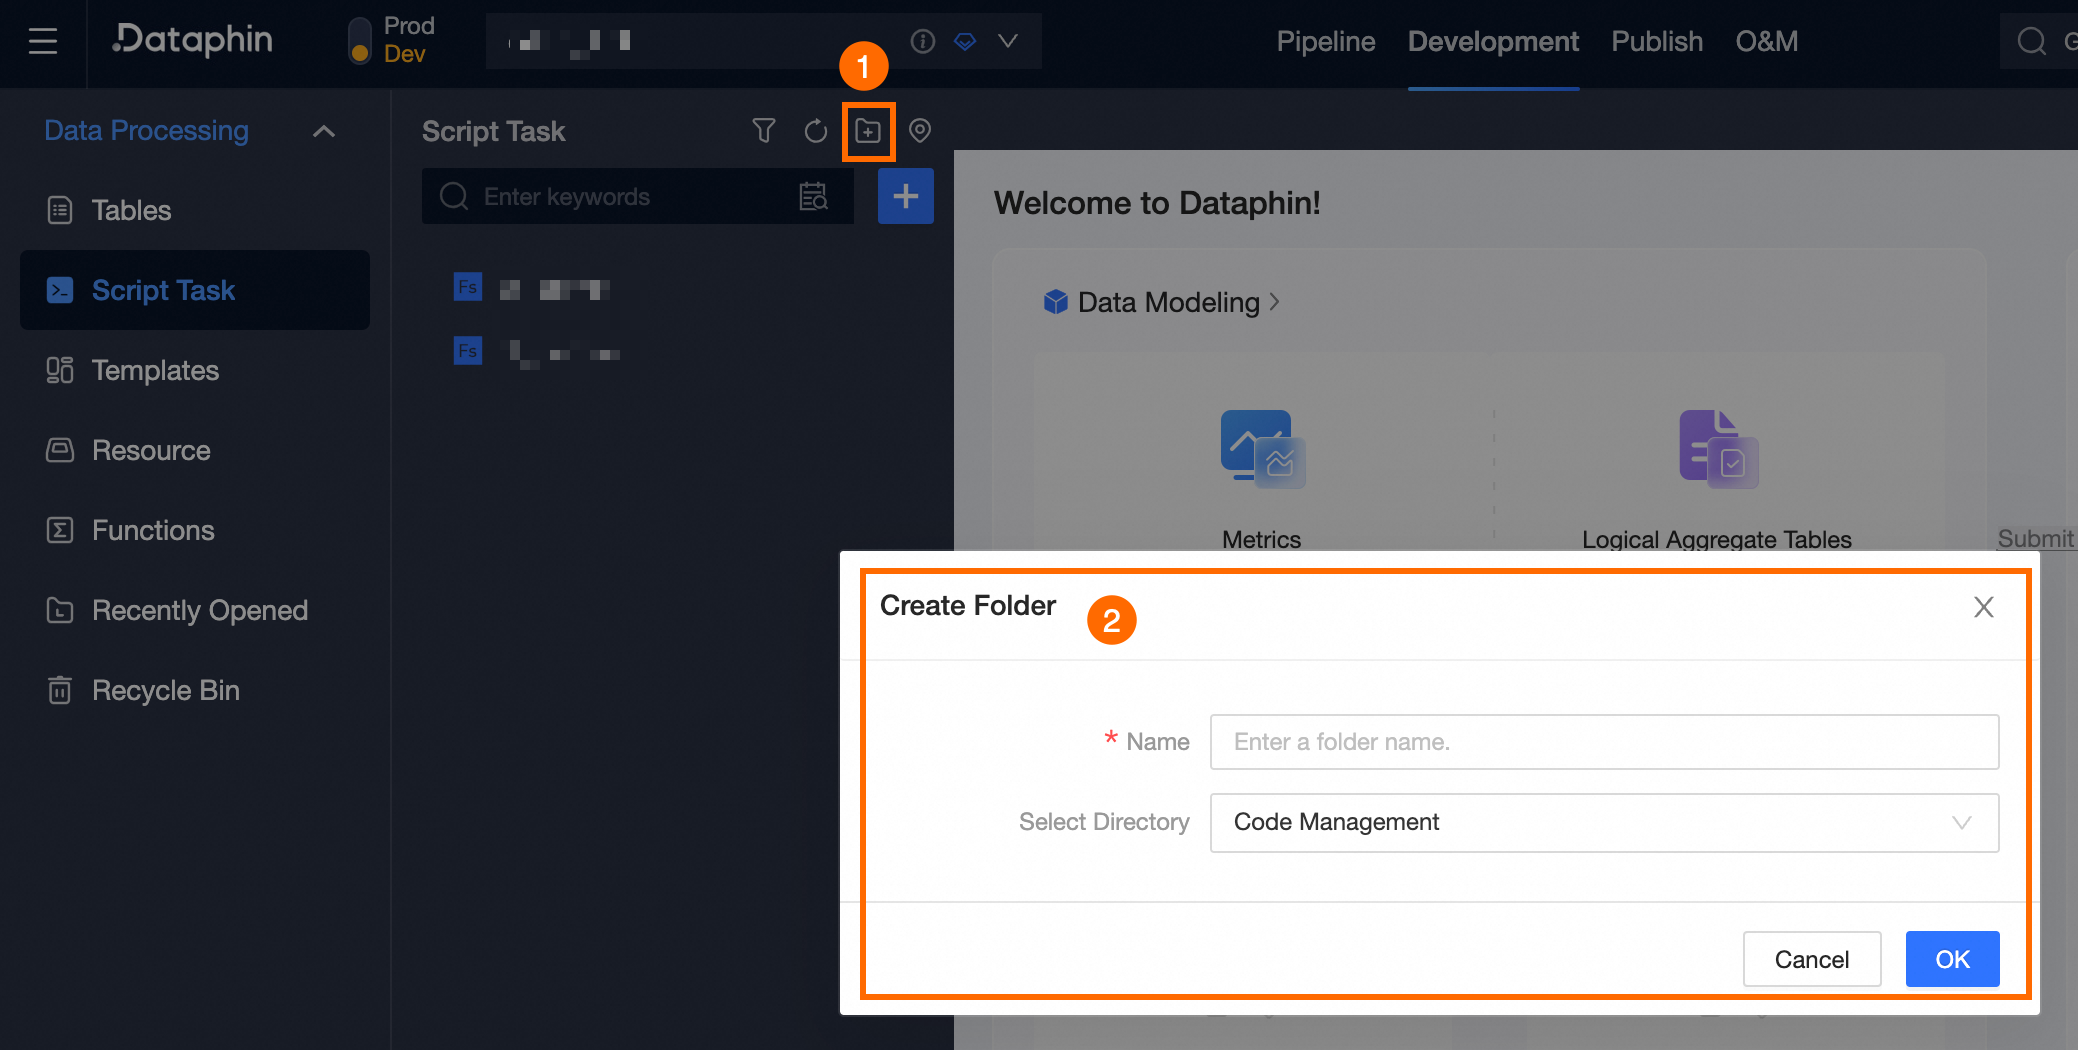
Storage Directory
By default, code management is selected. However, you can create a destination folder on the Compute Task page and designate it as the directory for your Flink SQL task.
Use Template
Enable this option to utilize an existing real-time template.
Description
Enter a concise description of the Flink SQL task.
Step 2: Write native DDL statements
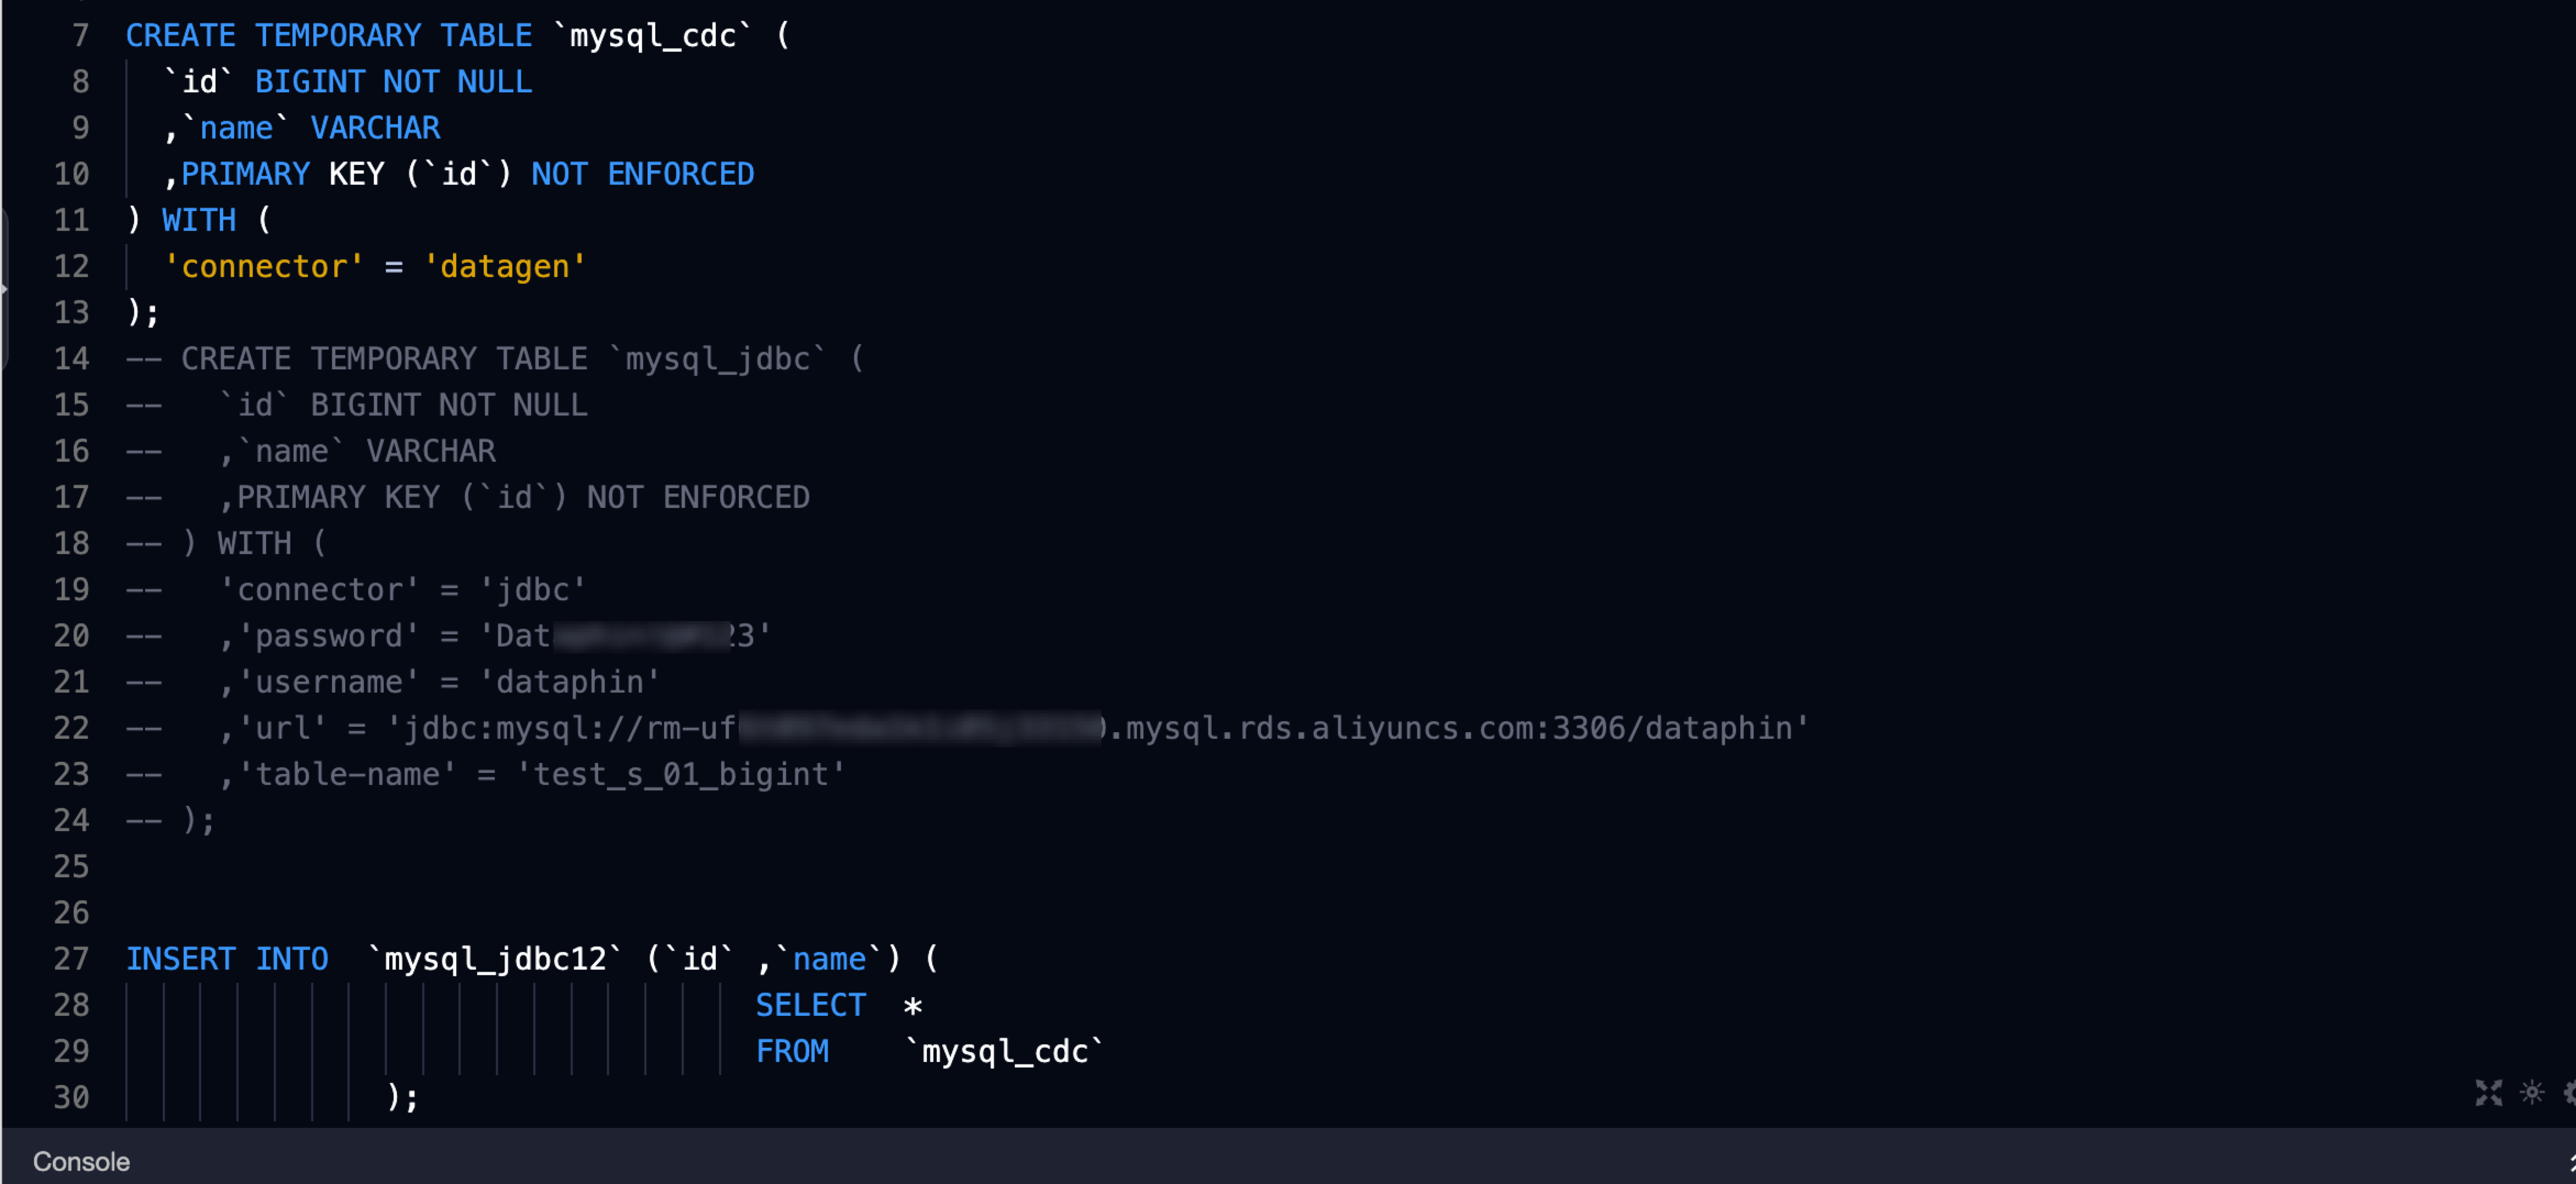
Write native DDL statements on the Flink SQL task code page. An example is provided below:
CREATE TEMPORARY TABLE `mysql_jdbc` (
  `id` BIGINT NOT NULL
  ,`name` VARCHAR
  ,PRIMARY KEY (`id`) NOT ENFORCED
) WITH (
  'connector' = 'jdbc'
  ,'password' = 'Data*****3'
  ,'username' = 'dataphin'
  ,'url' = 'jdbc:mysql://rm-uf6t0*******150.mysql.rds.aliyuncs.com:3306/dataphin'
  ,'table-name' = 'test_s_01_bigint'
);
Upon detection of the native DDL statement by Dataphin, proceed to the Create Meta Table dialog box as illustrated:

Step 3: Create a meta table
In the Create Meta Table dialog box, fill in the relevant parameters as follows:
For instance, to create a MySQL data source type meta table:
Parameter
Description
Meta table name
Specify the meta table name, which should consist of English letters, numbers, and underscores, with the first character being a letter.
Data source
Choose the data source from which the meta table will be created. Dataphin automatically identifies the data source type from the DDL statement, allowing you to select the appropriate data source from the dropdown menu.
NoteDataphin automatically determines the data source type from your DDL statement, allowing you to choose the appropriate data source from the dropdown menu.
Source table
After selecting the data source, choose the corresponding source table from the dropdown menu.
Connector
Dataphin will automatically determine the Connector configuration required based on the code. The configuration varies with different data source types. For more details, see Appendix: Real-time data source configuration information and .
Field information acquisition
Supports the use of As defined in DDL and As defined in the source table of the data source.
DDL Definition: The meta table's field information corresponds to the definitions specified in the DDL.
As defined in the source table of the data source: The metadata table's field information corresponds to the fields defined in the data source's source table.
Select directory
The default directory is table management. Alternatively, create a target folder on the Table Management page and select it as the directory for the meta table.
Description
Provide a brief description of the meta table.
Click Create to complete the Creation of the meta table.
To create and immediately submit the meta table to the publishing center, click Create And Publish.
Subsequent instructions
Upon successful creation, the meta table will appear in Dataphin as shown below:

The DDL statement used to create the meta table will be commented out, and the table referenced in the DML will automatically be updated to the new meta table name