This topic describes how to copy data from a portable USB hard disk to a Data Transport Micro device.
This topic applies only to scenarios in which you lease a Data Transport Micro device for a one-time use.
Prerequisites
The portable hard disk that contains your source data is connected to a USB port on the Data Transport Micro device.
Supported hard disk formats
The following hard disk formats are supported: EXT3, EXT4, NTFS, FAT32, and HFS+.
Only hard disks with GUID Partition Table (GPT) partitions are supported.
Step 1. Confirm that the USB portable hard disk is connected
Connect the USB portable hard disk to the USB port of the Data Transport Micro device.
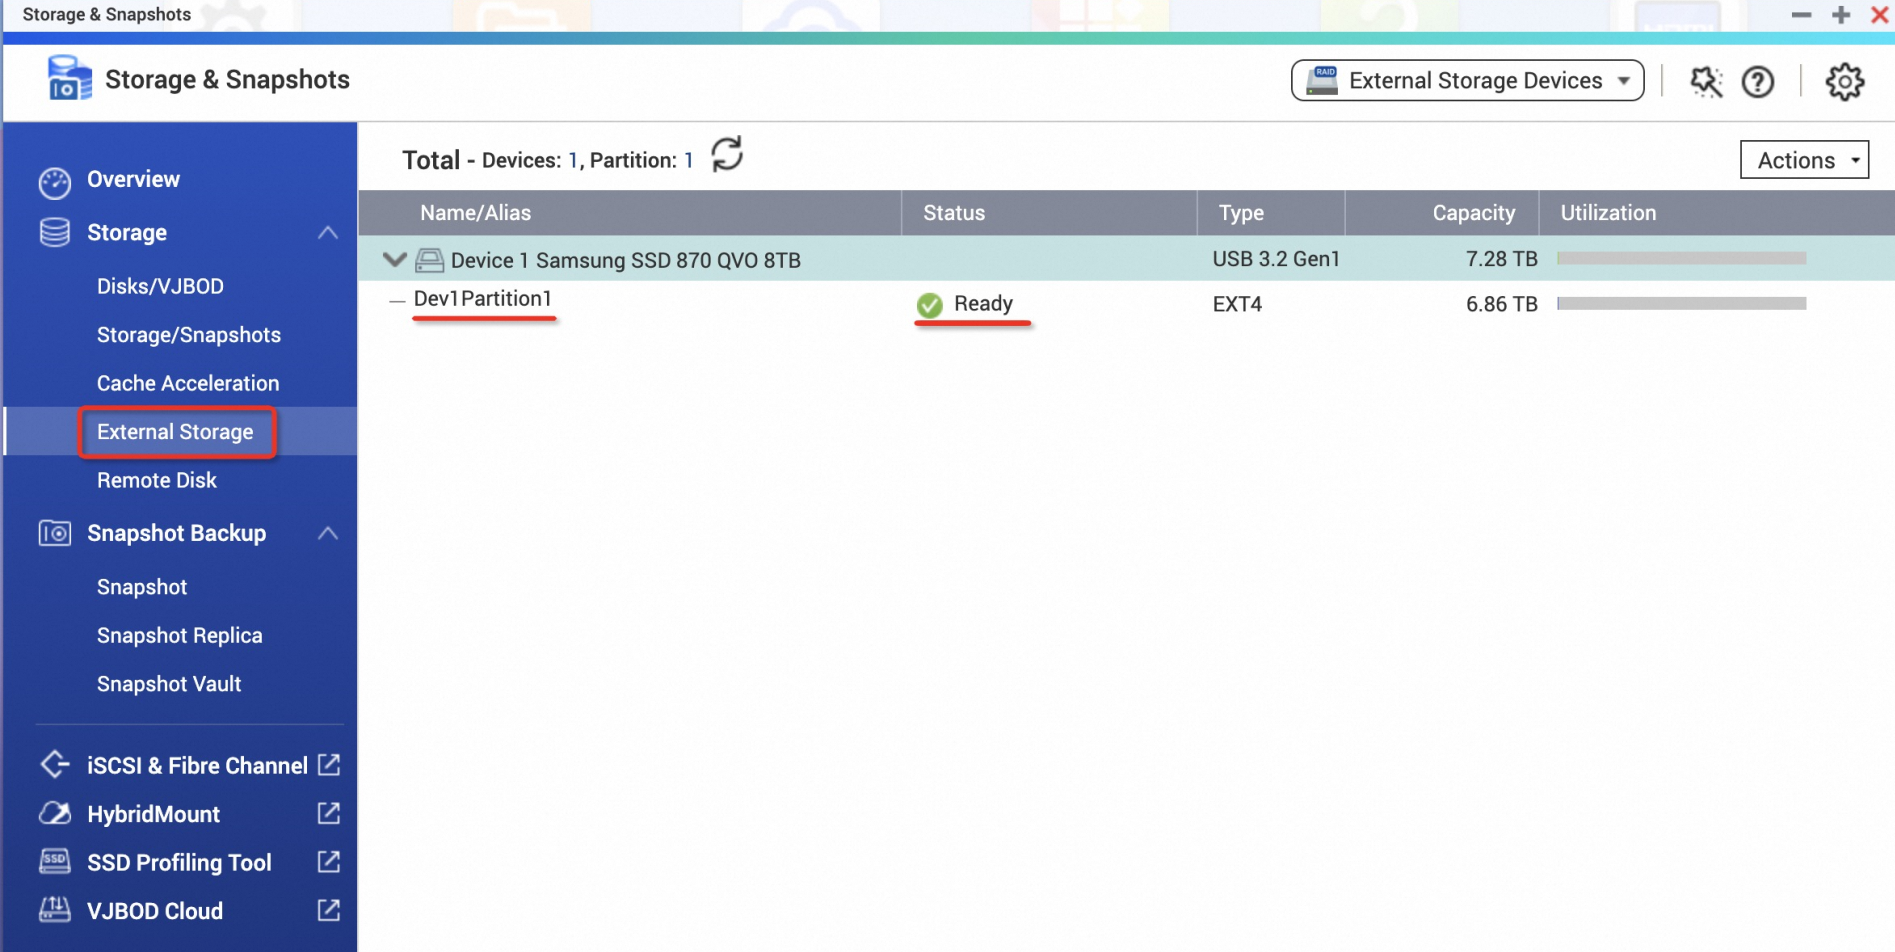
Log on to the Data Transport Micro console and select Storage & Snapshots.
Select External Storage to view the name and status of the portable hard disk. A status of Ready indicates that the portable hard disk is recognized and functioning correctly.
ImportantIf the status is not Ready, a device recognition error has occurred. Disconnect and reconnect the hard disk to try again.
Step 2. Copy data
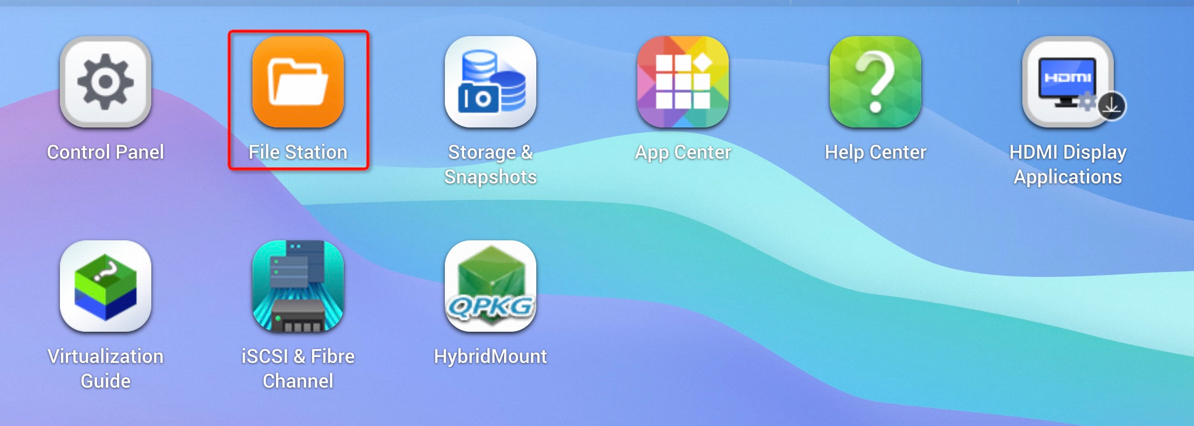
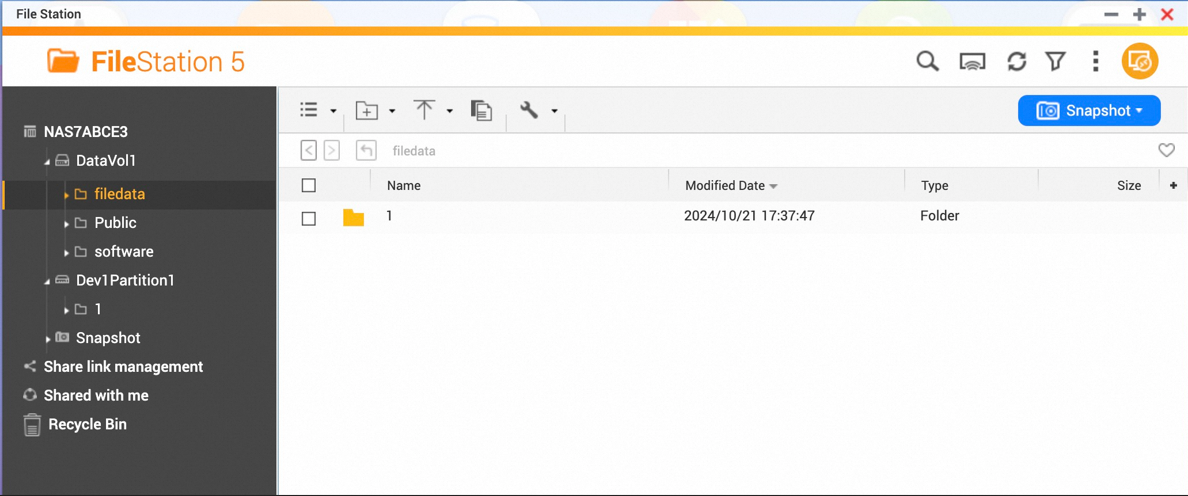
Select File Station.

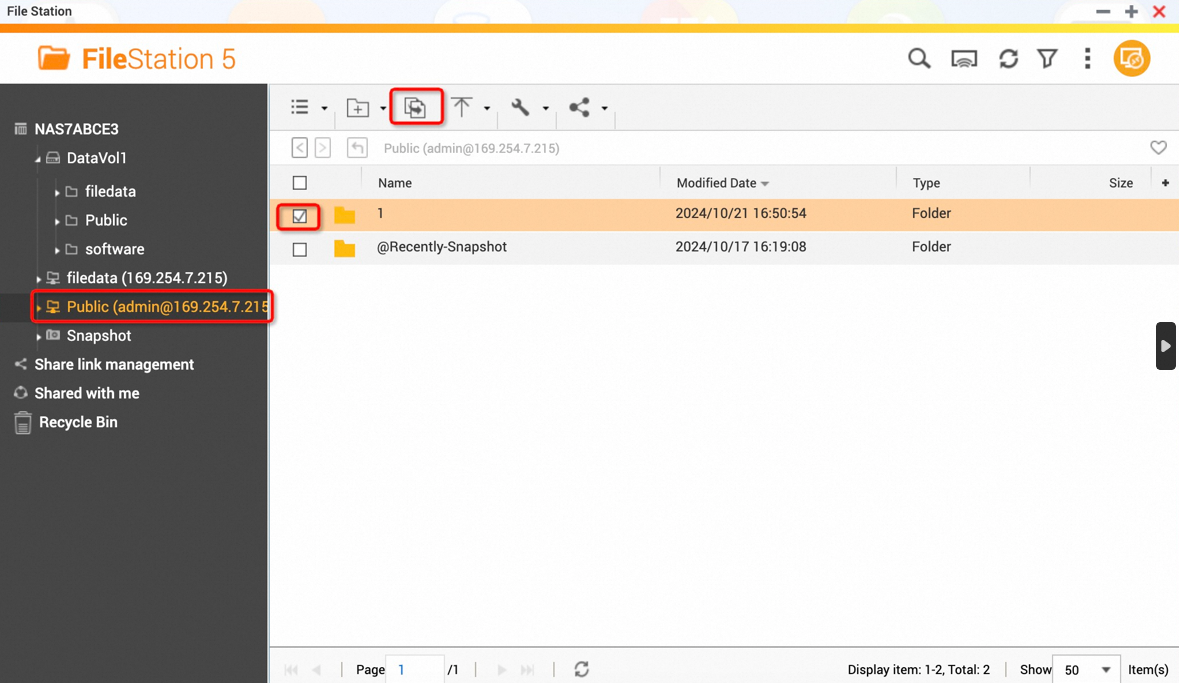
On the portable hard disk, select the folder you want to copy, and then click the Copy icon.
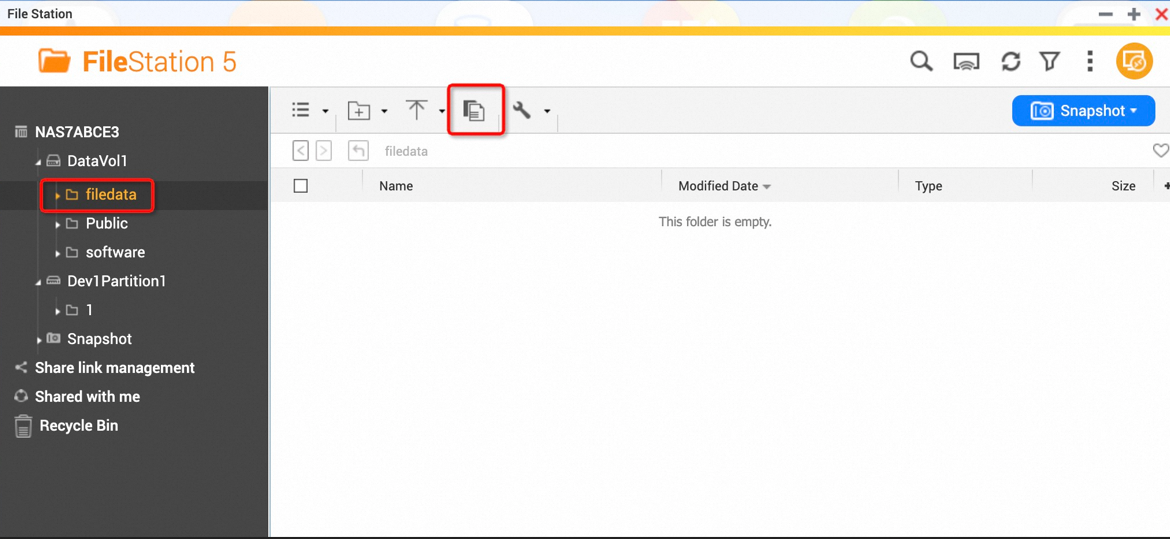
The filedata folder is the data storage folder on the Data Transport Micro device. Select the filedata folder and click the Paste icon.
During the copy process, an icon appears that you can click to view the task status and progress. The icon disappears after the copy is complete.

The Progress column shows the number of copied files and the total number of scanned files. The Size column shows the amount of copied data and the total amount of scanned data.
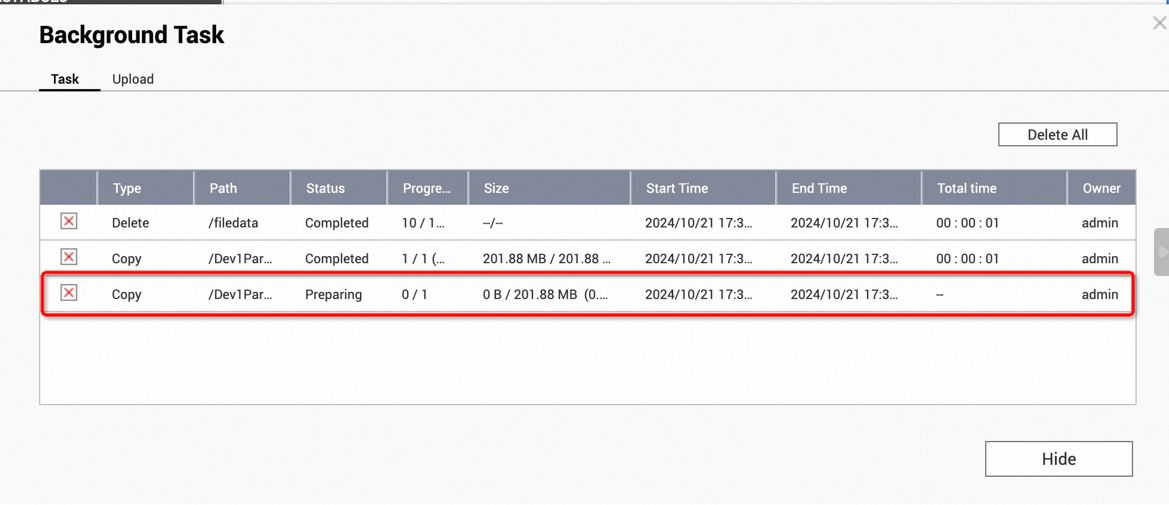
Refresh the filedata folder. The files that were copied successfully are displayed.
Query the migration speed
Click the menu icon (three horizontal lines) in the upper-left corner and select Resource Monitor.

Go to Storage Resource > Volume/LUN Activity. Select Throughput to view the data write speed.
