This topic introduces the relevant settings for governance maturity checks, including configuring check items, managing check tasks, and subscribing to governance reports.
Configure check items
For some governance maturity check items, you can customize the check parameters and scope. After you configure the parameters, you must trigger a new check for the settings to take effect.
Configure check parameters
You can configure check parameters to adjust the criteria for check items.
After you enable the multi-account governance maturity check, only the management account can configure check parameters. The settings automatically take effect for all member accounts.
Log on to the Cloud Governance Center console.
In the left-side navigation pane, choose .
On the Check Item Settings tab, filter for check items that support custom parameter configuration.

Find the check item that you want to modify and click Edit in the Actions column.

In the Check Item Settings panel, modify the value of the parameter and click OK.
For example, for "The HTTPS listening feature is enabled for the SLB instance" check item, you can customize the port number.

Configure check scope
You can set the resource check scope based on resource groups or tags. Resources outside the scope are not included in the check.
The settings take effect only for the current account. You must configure the check scope for each member account separately.
Log on to the Cloud Governance Center console.
In the left-side navigation pane, choose .
On the Check Item Settings tab, filter for check items that support custom scope configuration.

Find the check item that you want to modify and click Edit in the Actions column.

In the Check Item Settings panel, set the check scope based on resource groups or tags, and then click OK.
For example, for the "Each ECS resource uses high-availability specifications" check item, you can scope the check to include only resources in the
testresource group.
Manage check tasks
You can manage check tasks by setting a scheduled check time. After you configure the settings, the system initiates check tasks at the specified time. A check task typically takes 5 to 10 minutes to complete. The automatic check task runs once a day. In addition to automatic check, you can also manually initiate check tasks.
Log on to the Cloud Governance Center console.
In the left-side navigation pane, choose .
On the Check Task Management tab, turn on the Check Time Settings switch, set the Frequency, Time, and Apply To, then click Save.
 Note
NoteOnly a management account can set the scope to All Members. After this is set, the scheduled time configured by member accounts becomes invalid. The check tasks for all member accounts are automatically triggered at the time set by the management account. However, member accounts can still manually trigger check tasks.
Subscribe to governance reports
After you subscribe to governance reports, you can regularly receive the latest governance check results for your cloud environment, which helps you review and handle risks in a timely manner.
Log on to the Cloud Governance Center console.
In the left-side navigation pane, choose .
On the Check Settings page, click the Subscription Settings tab.
On the Subscribe to Governance Report tab, turn on the Subscribe to Governance Report switch, set the Frequency and Time, then click Save.
If you have configured scheduled check tasks, you can also select Immediately Send Report after Scheduled Check. The report will be sent immediately after the check task is complete.
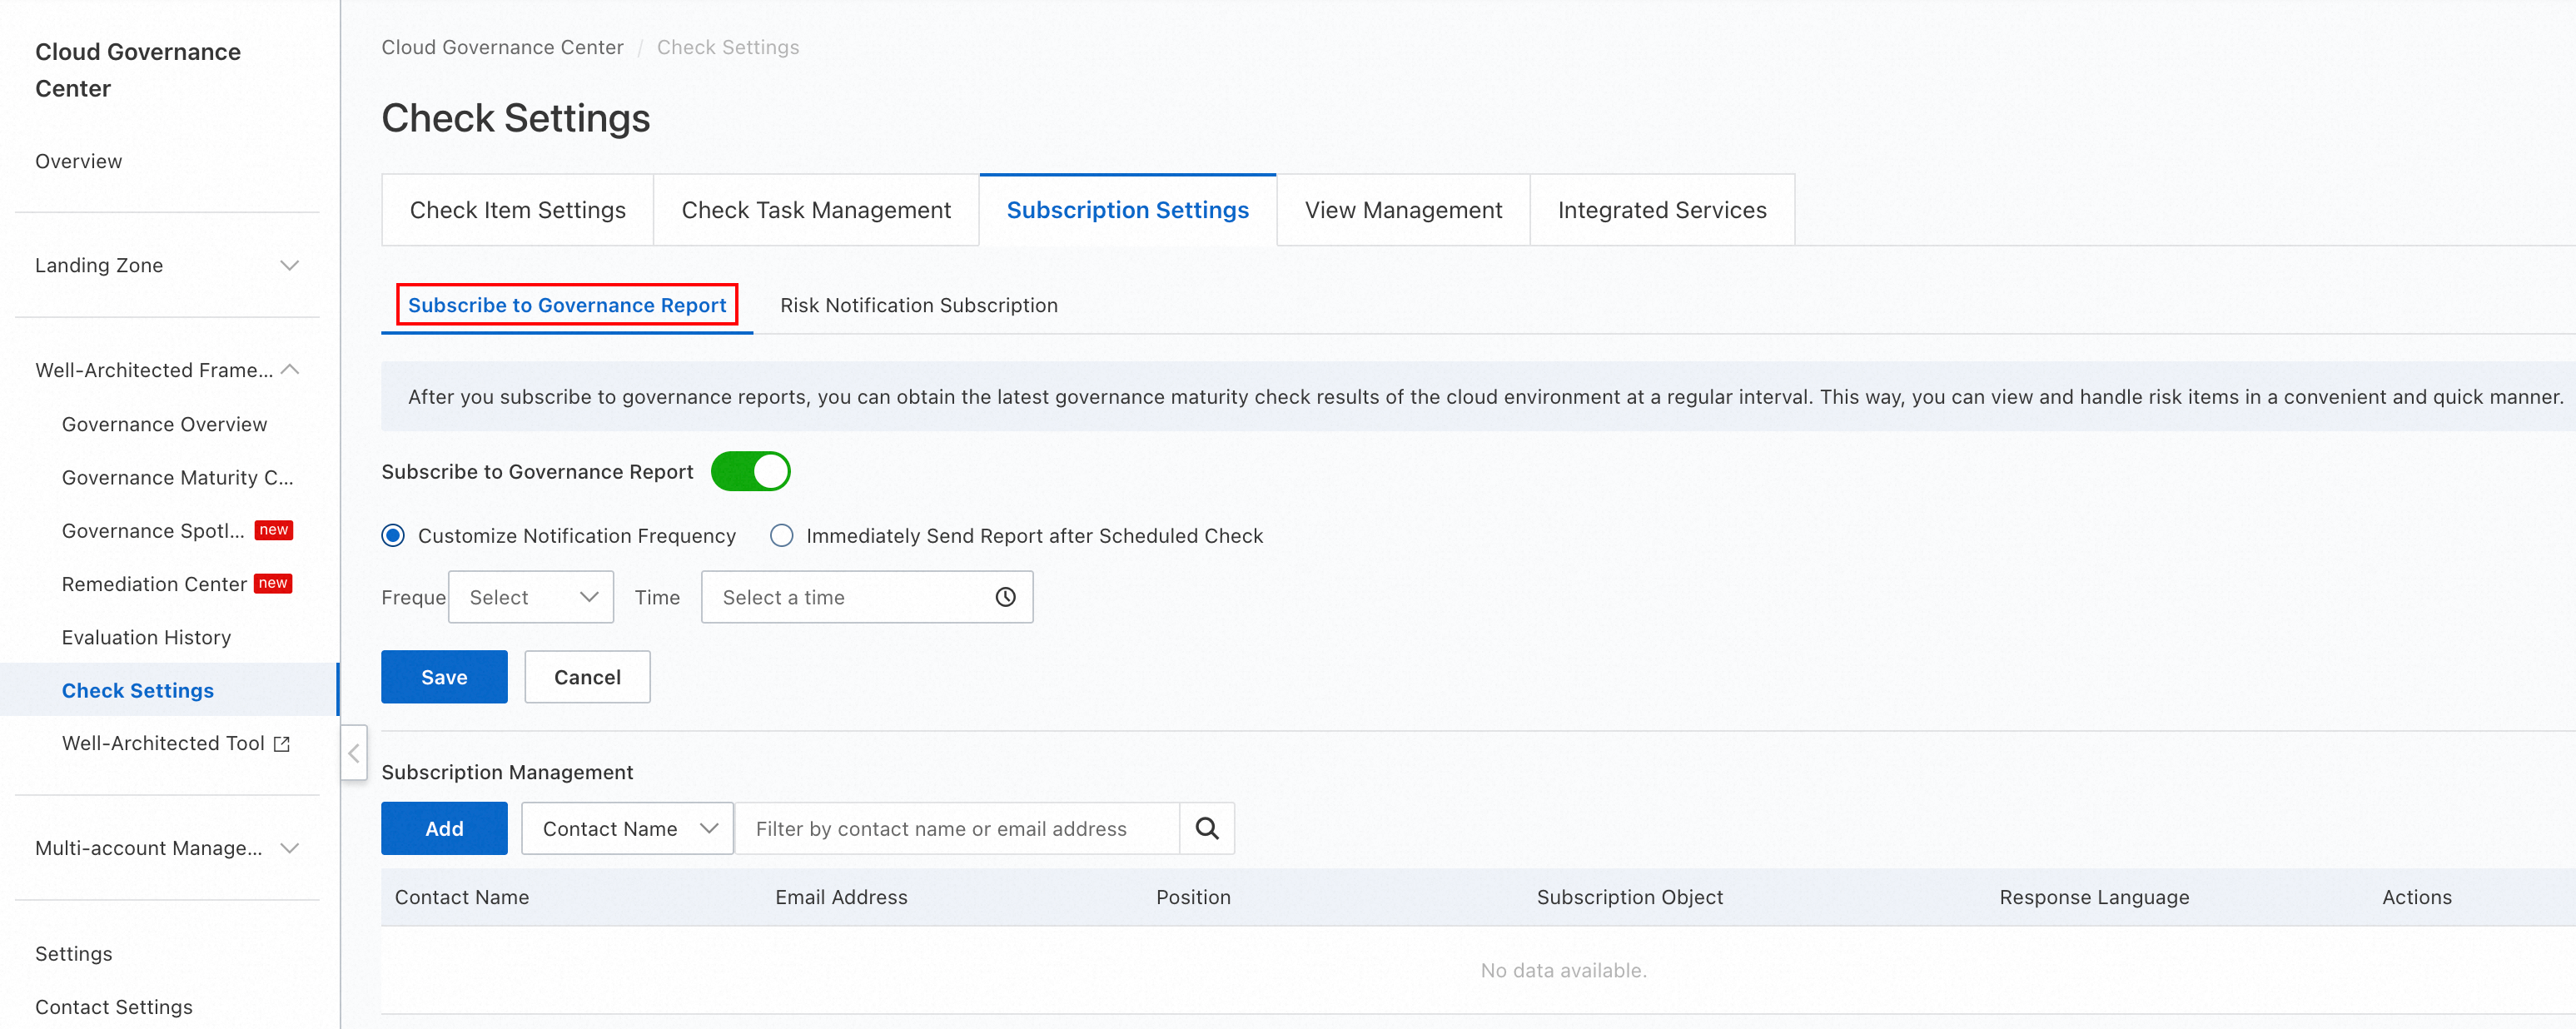
In the Subscription Management section, click Add, set the Contact Name, Subscription Object, and Language, then click OK.
For more information about contacts, see Configure contacts.

Subscribe to risk notifications
After you subscribe to risk notifications, you will receive email or SMS notifications when new risks are identified. This allows you to view and address them promptly.
Log on to the Cloud Governance Center console.
In the left-side navigation pane, choose .
On the Check Settings page, click the Subscription Settings tab.
On the Risk Notification Subscription tab, turn on the Risk Notification Subscription switch.
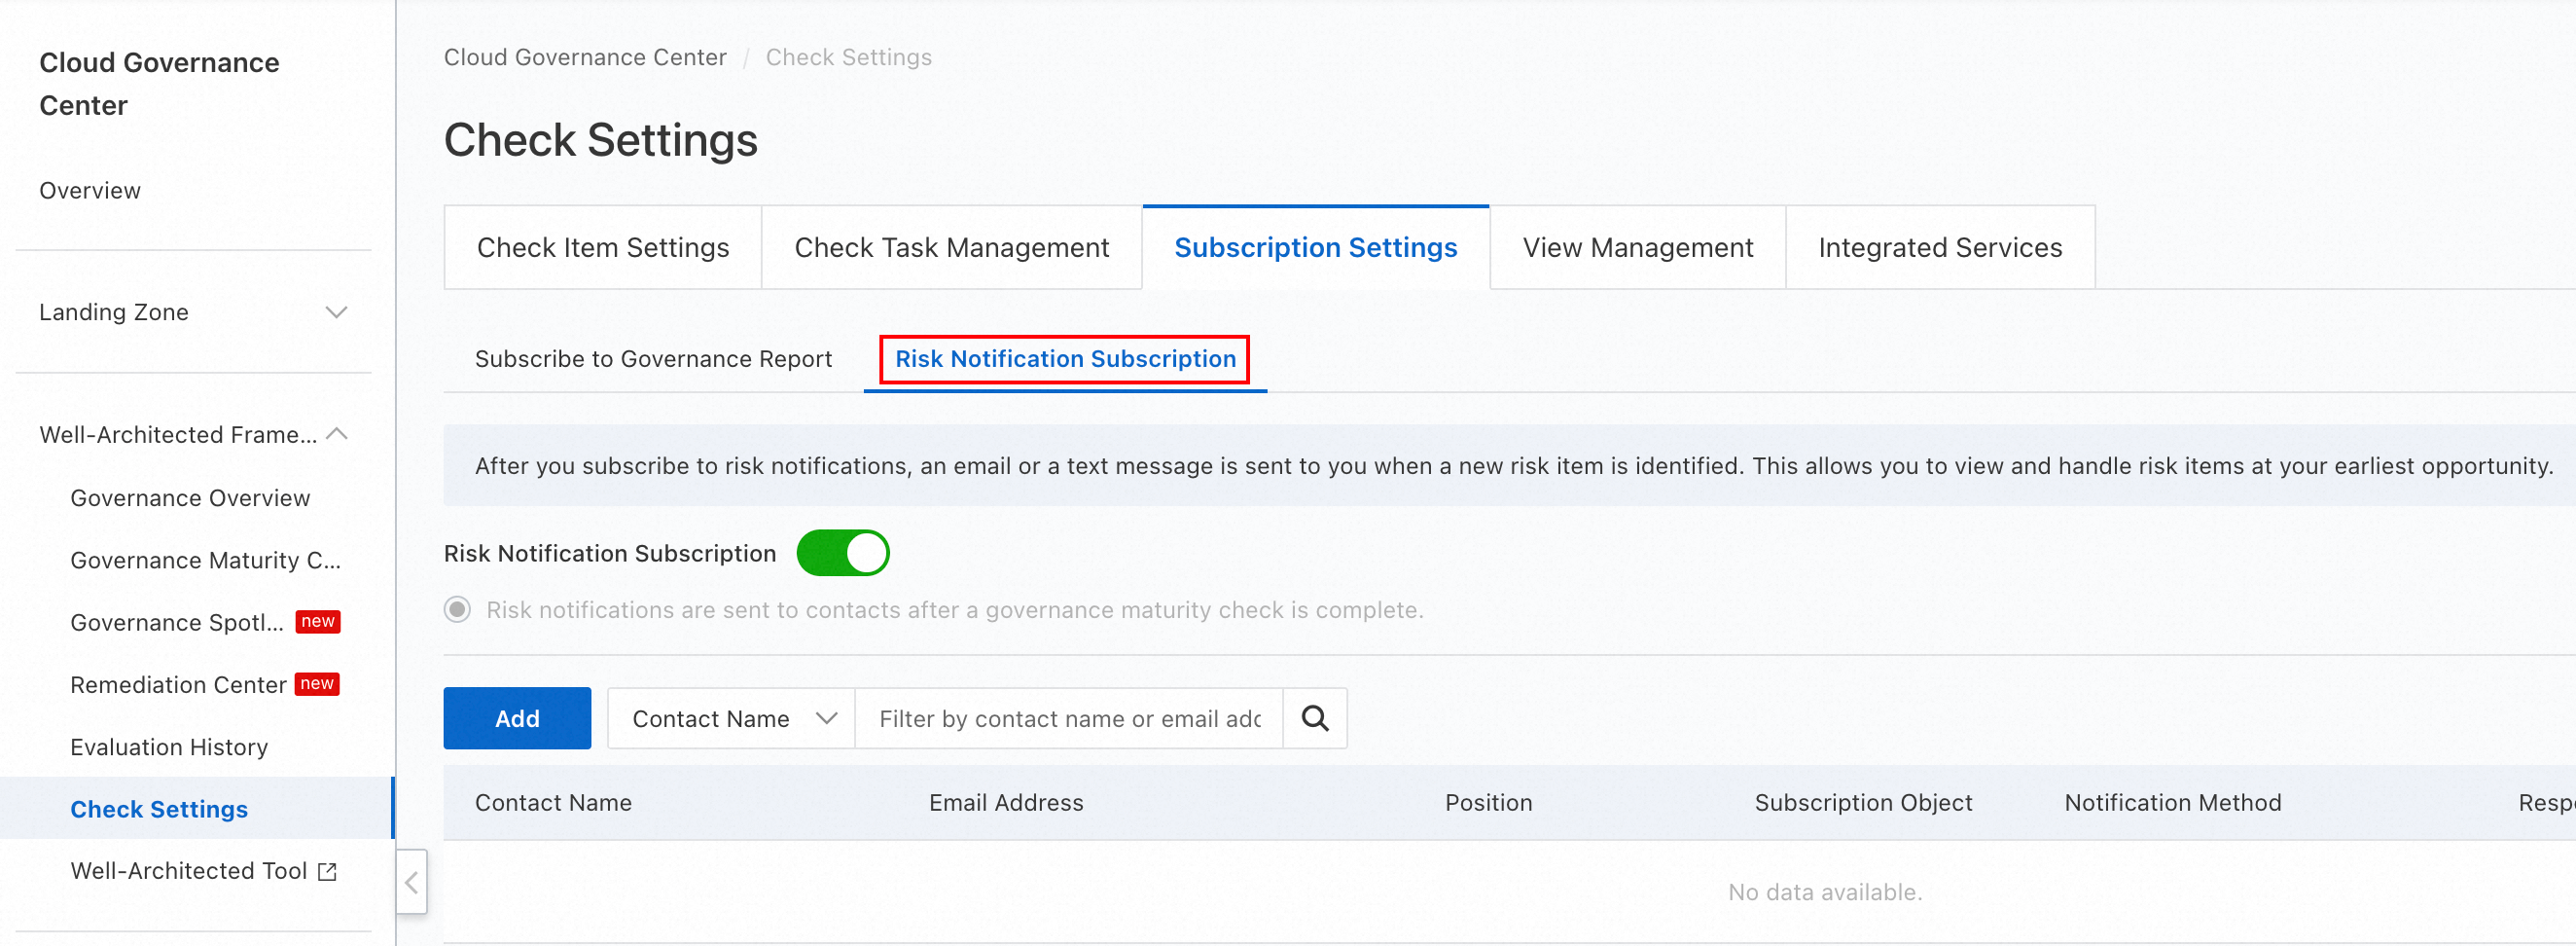
Configure subscription settings.
Click Add, set the Contact Name, Subscription Object, Notification Method, and Language, then click OK.
For more information about contacts, see Configure contacts.

Manage views
In addition to the system-provided views, you can create custom views to display only the check items you need. Custom views can be edited and deleted.
Log on to the Cloud Governance Center console.
In the left-side navigation pane, choose .
On the View Management tab, click Create a new view.
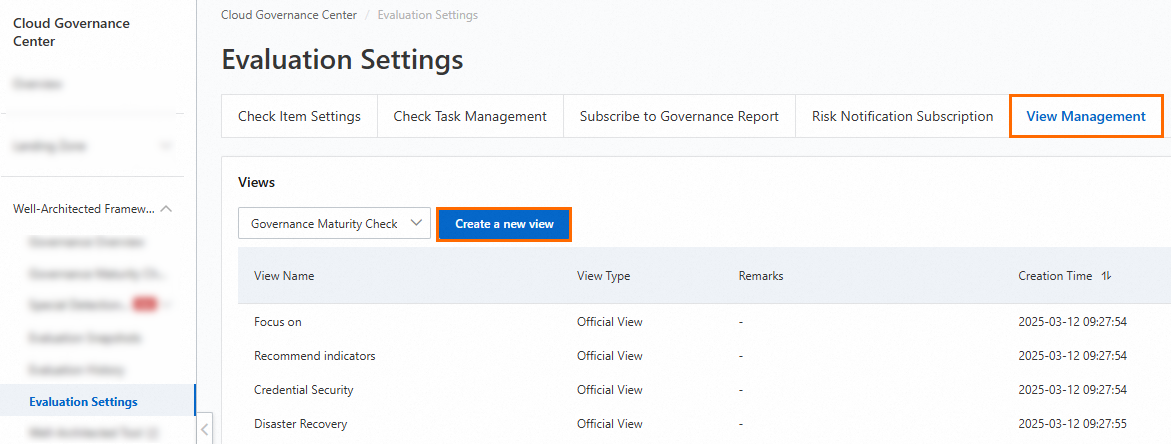
In the Create View panel, set the Lens, View Name, Remarks, and Select a check item in the view, then click Preview.

In the Preview panel, click Confirm.
After the custom view is created, you can select it on the Governance Maturity Check page.