Render Manager is an open-source web application that can help you conveniently construct private rendering systems on Alibaba Cloud. It can directly call massive computing resources and control cluster scales with one click. While accelerating rendering tasks, it also eliminates the annoyances of self-built clusters.
Render Manager is built on the foundation provided by Alibaba Cloud BatchCompute, OSS, and ECS. You can find more information about these three cloud products on the Alibaba Cloud website. Be sure to activate the following products before using Render Manager.
Batch Compute, Alibaba Cloud’s batch computing service, helps you implement large-scale parallel computation.
OSS, Alibaba Cloud’s object storage service, can store massive volumes of data.
ECS, Alibaba Cloud’s cloud server product, provides simple O&M and operations and allows you to conveniently create system images.
1. Create a computing node image
In the region where the product is to be used, create a Pay-As-You-Go ECS instance. After installing the necessary rendering software, save the instance configuration as a custom image and share the image with the account 119084704857**.
2. Upload data to OSS
Upload the data required for rendering to OSS in the corresponding region and maintain the original data directory structure.
3. Start Render Manager
Create an instance in the ECS console (for short-term use, you can select Pay-As-You-Go billing). Select the rendermanager image from the image marketplace. (You can also deploy the product using the Render Manager installation package.
4. Configure Render Manager
Log on to the Render Manager page https://ip/rm/login and configure the basic information (AccessKeys and OSS bucket). On the image management page, add the ID of the previously created computing node image and configure the rendering command line for this image.
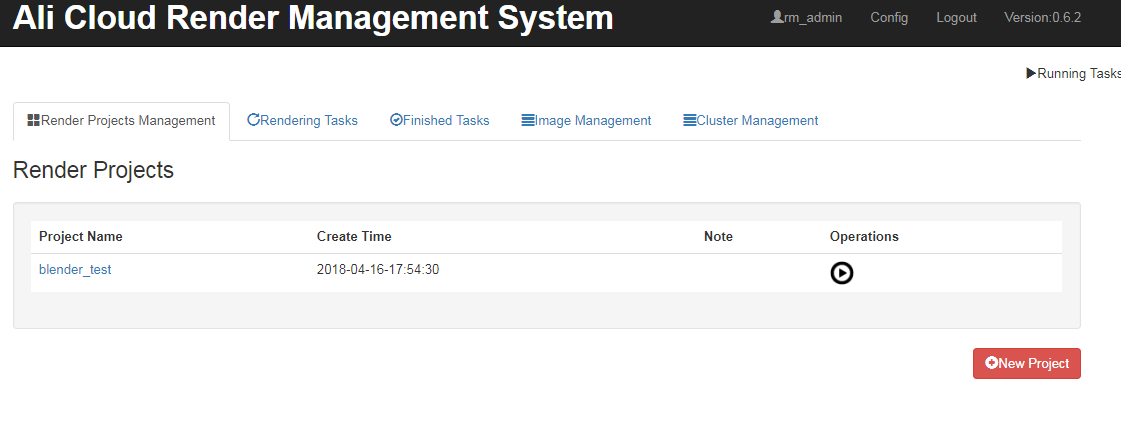
5. Create a project
Create a project on Render Manager’s project management page. To do this, you must specify OSS data mapping rules (also called “mounting OSS”; when a computing node is started, the OSS data is mounted to the node’s local path) and select the computing node image ID, OSS output path (used for the rendered results), and the zero hour output path in the computing node.
6. Create and manage clusters
On the cluster management page, you can create clusters as needed by indicating the computing node image to use, the node type, number of nodes, and other information.
7. Submit a rendering job
Submit a rendering job on the project page. When submitting the job, you can specify the target cluster (when using AutoCluster, Batch Compute automatically generates a cluster according to the size of the job; you must specify the computing node type and other settings), scope of frames to render, number of nodes, and other information. After you submit a job, you can view the rendering log, node CPU usage, and other information in real time.