Argo CD monitors the changes in application orchestration in a Git repository, compares the application orchestration with the status of applications in a cluster, and automatically pulls and deploys the changes to the cluster. Argo CD also allows you to manually deploy the changes to the cluster. If you want to improve the efficiency and traceability of service deployment in a Kubernetes environment, you can integrate ArgoCD with Service Mesh (ASM) to implement GitOps. The version control system automatically synchronizes and deploys applications. This helps you simplify the deployment process, ensure consistent configurations, trace all operations, enhance the maintainability and stability of the entire system, and reduce O&M costs.
Prerequisites
An ASM instance whose version is 1.12.4.50 or later is created. For more information, see Create an ASM instance.
The cluster is added to the ASM instance. For more information, see Add a cluster to an ASM instance.
A Git repository is created.
Background information
GitOps is a way of implementing continuous deployment for cloud native applications. You can integrate Argo CD with ASM to release and update applications. This way, you can implement GitOps in your ASM instance. As a developer, you can define application and traffic management resources by using YAML and submit the definitions to a Git repository. The application resources include Deployments and Services. The traffic management resources include VirtualServices, Gateways, and DestinationRules. Argo CD monitors the status of resources such as Deployments, Services, and VirtualServices in a cluster, and compares the status with the expected orchestration of resources in the Git repository. If changes in the orchestration of resources are detected, Argo CD can automatically synchronize and deploy the changes to the cluster. Argo CD also allows you to manually synchronize and deploy the changes to the cluster.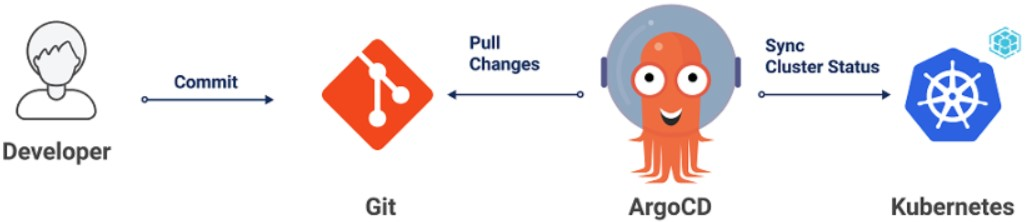
Step 1: Install Argo CD
You can manually install Argo CD or use the built-in Argo CD feature in Application Center of Container Service for Kubernetes (ACK). In the following example, Argo CD is manually installed and integrated with ASM to implement GitOps.
For more information about how to manually install Argo CD, see Getting Started.
Application Center of ACK provides the built-in Argo CD feature. You can use the built-in Argo CD feature without the need to manually install Argo CD. Application Center of ACK allows you to check the status of applications. You can use Git repositories and Helm charts to deploy applications of specific versions to Kubernetes clusters. This way, you can roll back or release application versions. For more information, see Application Center overview.
Step 2: Enable access to Istio resources by using the Kubernetes API on the data plane of your ASM instance
ASM provides a managed Istio-compatible control plane. The control plane of your ASM instance with which Argo CD is integrated and the data plane in which an ACK cluster resides are not in the same Kubernetes cluster. You must enable access to Istio resources by using the Kubernetes API on the data plane. This way, Argo CD can access Istio resources in the ASM instance in the same way as Argo CD accesses resources in the ACK cluster.
Log on to the ASM console. In the left-side navigation pane, choose .
On the Mesh Management page, find the ASM instance that you want to configure. Click the name of the ASM instance or click Manage in the Actions column.
On the Base Information page, click Enable next to Enable Data-plane KubeAPI access.
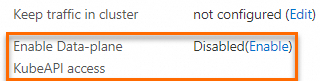
In the message that appears, click OK.
Step 3: Deploy an ingress gateway
Log on to the ASM console. In the left-side navigation pane, choose .
On the Mesh Management page, click the name of the ASM instance. In the left-side navigation pane, choose .
On the Ingress Gateway page, click Create. Set the parameters of the ingress gateway and click Create.
The following table describes only some parameters of the ingress gateway. For more information about other parameters of the ingress gateway, see Create an ingress gateway.
Parameter
Description
Name
The name of the ingress gateway. For this example, set the parameter to ingressgateway.
Gateway types
The type of the ingress gateway. For this example, set the parameter to North-South IngressGateway.
Port Mapping
The port mappings of the ingress gateway. Click Add Port and configure the following protocols and ports:
Set the Protocol parameter to HTTP and the Service Port parameter to 80.
Set the Protocol parameter to HTTPS and the Service Port parameter to 443.
Step 4: Use Argo CD to deploy Istio resources
You can define Istio resources as Kubernetes manifests and push the manifests to the Git repository that you use to deploy the application orchestration of your Kubernetes cluster.
Create a sample application named bookinfo.
On the Argo CD UI, click NEW APP and set the parameters of the application.
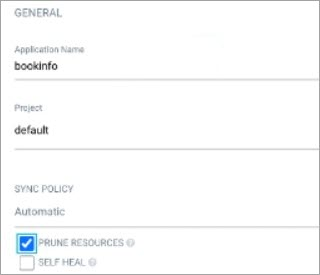
In the GENERAL section, set the Application Name parameter to bookinfo, set the Project parameter to default, and then select PRUNE RESOURCES.
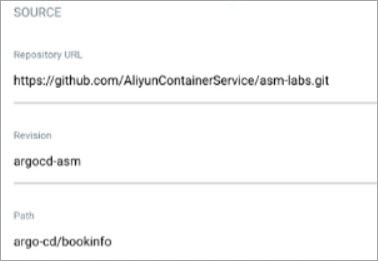
In the SOURCE section, set the Repository URL parameter to https://github.com/AliyunContainerService/asm-labs.git, the Revision parameter to argocd-asm, and the Path parameter to argo-cd/bookinfo.
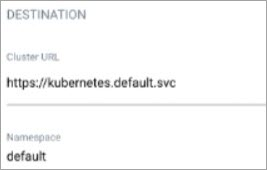
In the DESTINATION section, set the Cluster URL parameter to https://kubernetes.default.svc and the Namespace parameter to default.
After the configuration is complete, click CREATE in the upper part of the page.
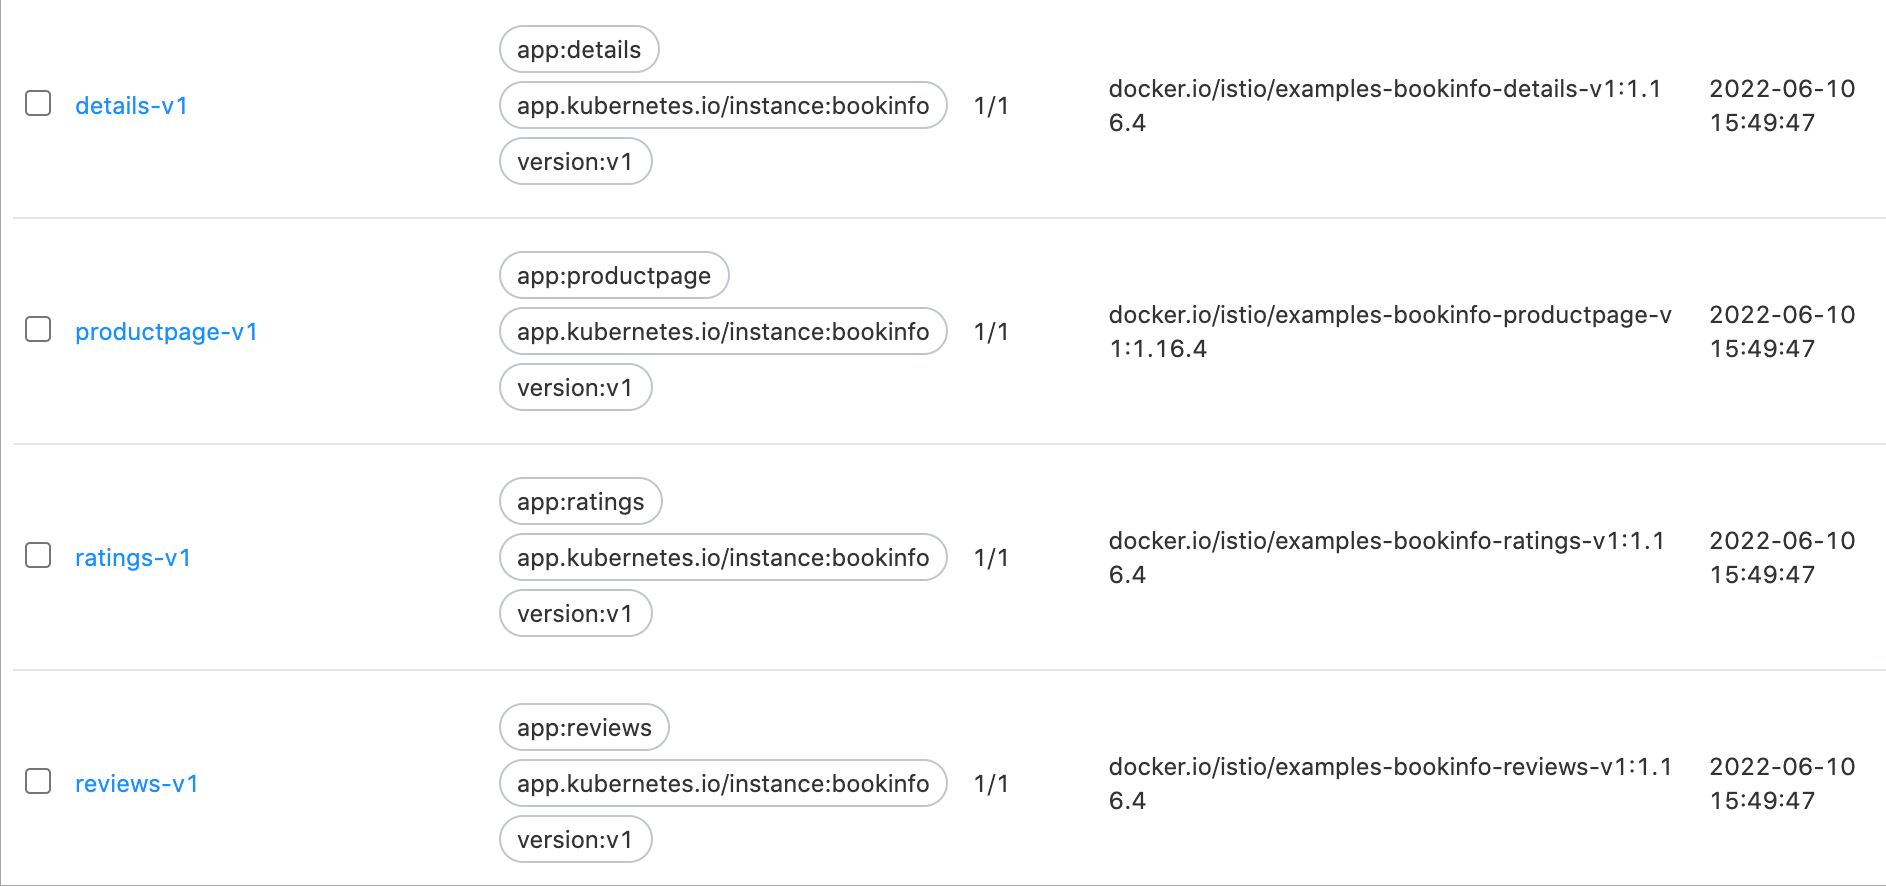
After the bookinfo application is created, you can view the status of the application on the Argo CD UI.
 Click bookinfo to view the status of the created resources.
View the resource status in the ASM console.
Log on to the ASM console. In the left-side navigation pane, choose .
On the Mesh Management page, click the name of the ASM instance. In the left-side navigation pane, choose .
On the VirtualService page, view the bookinfo application that is created.
View the resource status in the ACK console.
Log on to the ACK console. In the left-side navigation pane, click Clusters.
On the Clusters page, click the name of the cluster that you want to manage and choose in the left-side navigation pane.
View the Deployments that are created.
Access the ingress gateway.
Obtain the IP address of the ingress gateway.
Log on to the ASM console. In the left-side navigation pane, choose .
On the Mesh Management page, click the name of the ASM instance. In the left-side navigation pane, choose .
On the Ingress Gateway page, obtain Service address of the ingress gateway.
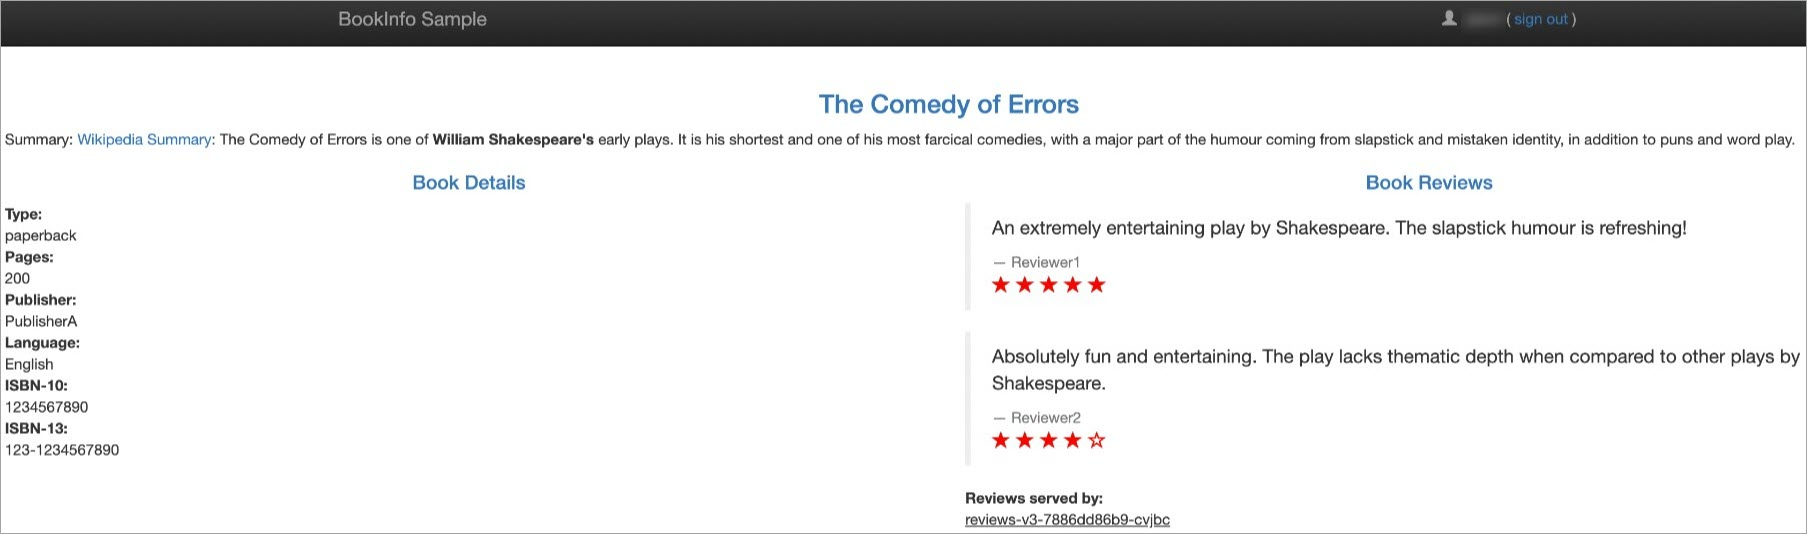
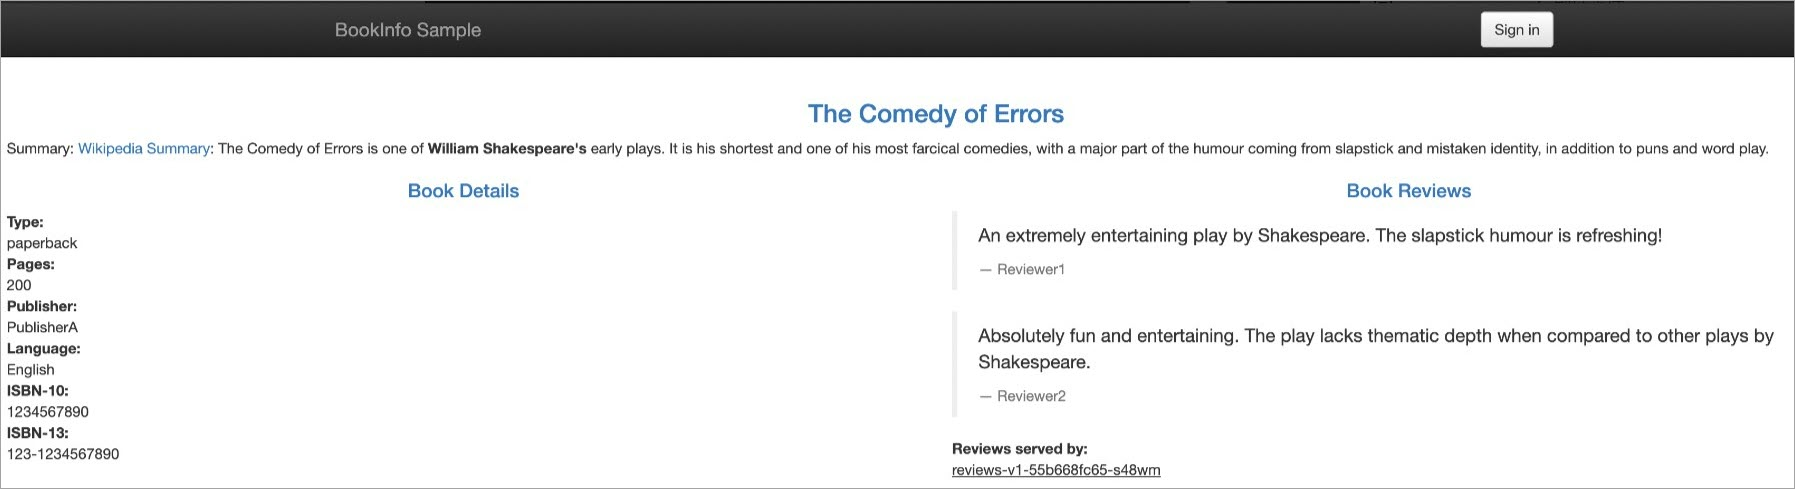
Visit http://{IP address of the ingress gateway}/productpage in a browser.
The following figure shows the result. The reviews Deployment of the Istio application bookinfo has three versions. In this case, no version is specified when you access the application. Therefore, different reviews data is displayed on the right of the page each time you refresh the page.
Step 5: Deploy GitOps
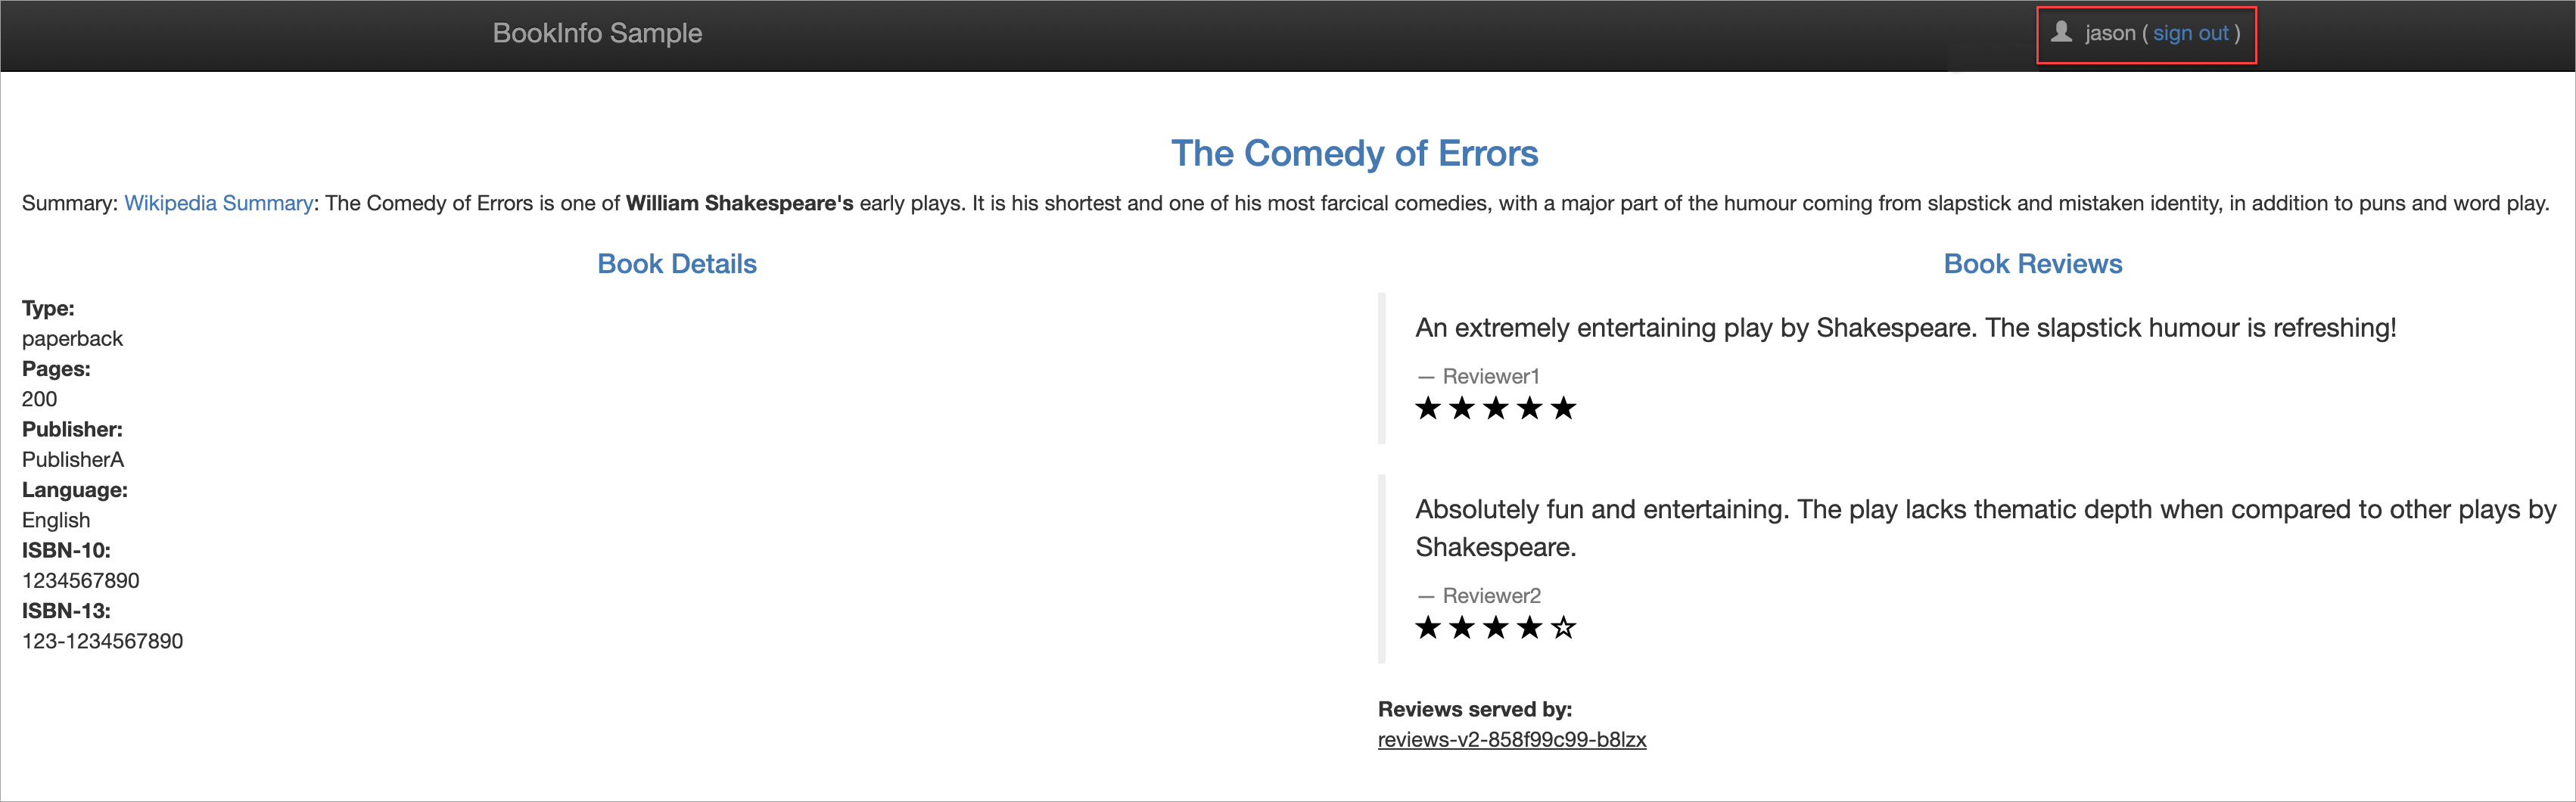
Configure a traffic rule for accessing http://{IP address of the ingress gateway}/productpage. If you have not logged on, the v1 version of the reviews data is displayed. If you have logged on as the jason user, the v2 version of the reviews data is displayed.
Modify the local YAML files of the reviews VirtualService and the reviews-v1 Deployment.
Modify the YAML file of the reviews VirtualService to contain the following content:
apiVersion: networking.istio.io/v1alpha3
kind: VirtualService
metadata:
  name: reviews
spec:
  hosts:
    - reviews
  http:
  - match:
    - headers:
        end-user:
          exact: jason
    route:
    - destination:
        host: reviews
        subset: v2
  - route:
    - destination:
        host: reviews
        subset: v1
---
Modify the YAML file of the reviews-v1 Deployment to contain the following content:
apiVersion: apps/v1
kind: Deployment
metadata:
  namespace: argocd
  name: reviews-v1
  labels:
    app: reviews
    version: v1
spec:
  replicas: 2
Run the following commands to push the configurations of the reviews-v1 Deployment to the Git repository:
git add *
git commit -m "reviews-v1"
git push
Synchronize Git configurations to the cluster.
If you have enabled the automatic synchronization feature for Argo CD, Git configurations are automatically synchronized to the cluster. If not, you can perform the following steps to synchronize Git configurations to the cluster:
On the Argo CD UI, click SYNC on the bookinfo card.
If a configuration file of the bookinfo application is modified, OutOfSync is displayed to the right of the Status parameter on the bookinfo card.
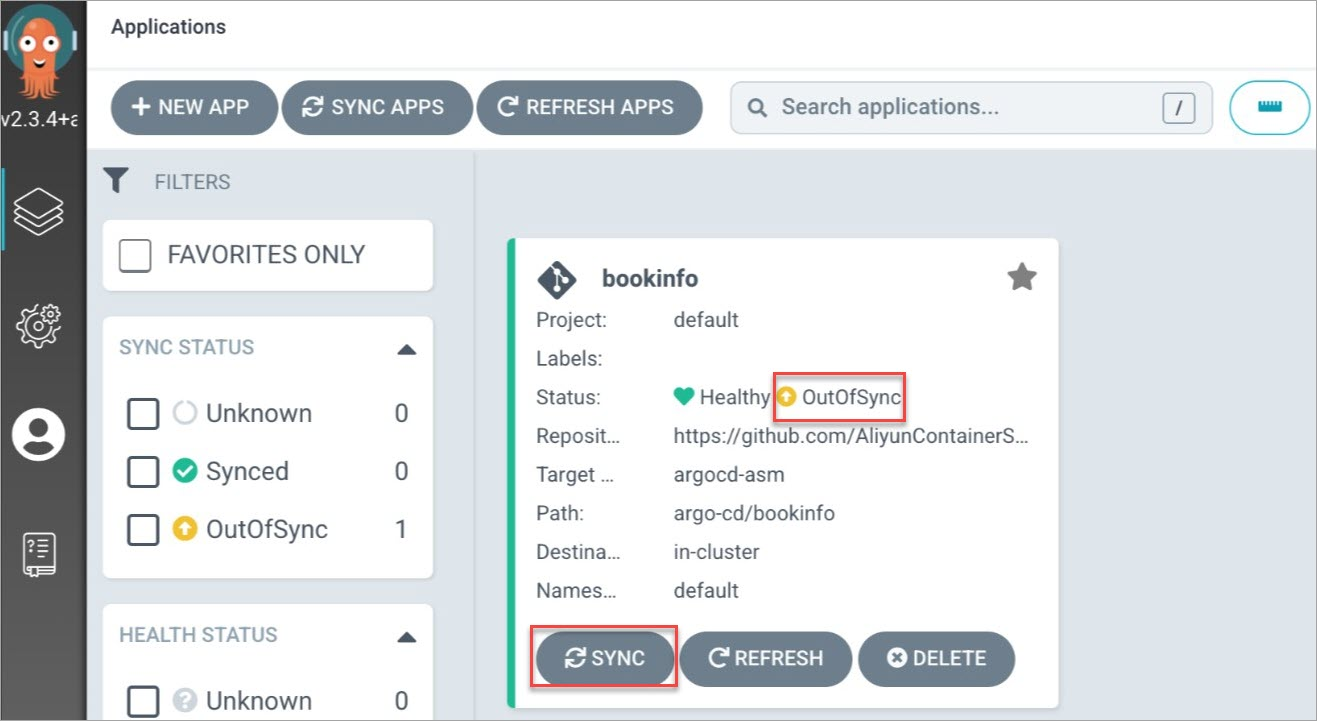
In the dialog box that appears, click SYNCHRONIZE.
After the synchronization is complete, you can view the resources that are created after the synchronization in the ASM console. You can view the updated resources in the ACK console. For more information, see View the resource status in the ASM console and View the resource status in the ACK console.
Verify the result.
Visit http://{IP address of the ingress gateway service}/productpage in a browser without logon.
The following figure shows the result. The v1 version of the reviews data is displayed.
Log on to the application as the jason user. You can enter any characters when you are prompted for a password. Access the ingress gateway.
The following figure shows the result. The v2 version of the reviews data is displayed.