When multiple applications run in a service mesh, each one typically needs its own authentication logic -- duplicating effort and creating inconsistent login experiences. Service Mesh (ASM) solves this by delegating authentication to an external identity provider (IdP) at the mesh gateway level. You configure it once, and every application in the mesh is protected without any code changes.
This guide walks you through setting up a self-managed Keycloak instance as an OpenID Connect (OIDC) IdP for ASM. After you complete the setup, unauthenticated users are automatically redirected to Keycloak to log in, and authenticated requests are forwarded to your applications with the user's identity information attached.
How it works
The SSO flow involves four components working together:
| Component | Role |
|---|---|
| Keycloak (IdP) | Stores user accounts, credentials, roles, and scopes. Issues OIDC tokens after successful authentication. |
| oauth2-proxy | An authentication proxy deployed by ASM as part of its custom authorization service. Redirects unauthenticated users to Keycloak and validates tokens on return. |
| ASM AuthorizationPolicy | An Istio CUSTOM authorization policy on the ingress gateway. Intercepts incoming requests and delegates authentication decisions to oauth2-proxy. |
| Application (httpbin) | The backend application. Receives requests only after oauth2-proxy confirms the user is authenticated. |
Request flow:
Browser ──HTTPS──> ASM ingress gateway
                        │
                  AuthorizationPolicy
                  (action: CUSTOM)
                        │
                   oauth2-proxy
                     /       \
          [unauthenticated]  [authenticated]
                 │                  │
            Redirect to         Forward request
            Keycloak login      with user info
                 │              to application
            User logs in
                 │
            Keycloak issues
            OIDC token
                 │
            Redirect back
            to oauth2-proxy
Prerequisites
Before you begin, make sure you have:
An ASM instance. For more information, see Create an ASM instance
A Container Service for Kubernetes (ACK) managed cluster. For more information, see Create an ACK managed cluster
Automatic sidecar injection enabled for the
defaultnamespace. For more information, see Enable automatic injection
Key concepts
| Concept | Description |
|---|---|
| IdP (identity provider) | A system that stores and verifies digital identities. In this guide, Keycloak serves as the IdP. |
| OIDC (OpenID Connect) | An identity authentication protocol built on OAuth 2.0. For more information, see the OpenID Connect specification. |
| Scope | A mechanism in OIDC that controls which categories of user information (such as email or profile) an application can access after authentication. |
Step 1: Deploy the demo application and Keycloak
Deploy httpbin as the demo backend application and Keycloak as the IdP, both in the default namespace of your ACK cluster.
Deploy httpbin
Save the following YAML to a file named httpbin.yaml and apply it:
kubectl apply -n default -f httpbin.yamlapiVersion: v1
kind: ServiceAccount
metadata:
name: httpbin
---
apiVersion: v1
kind: Service
metadata:
name: httpbin
labels:
app: httpbin
service: httpbin
spec:
ports:
- name: http
port: 8000
targetPort: 80
selector:
app: httpbin
---
apiVersion: apps/v1
kind: Deployment
metadata:
name: httpbin
spec:
replicas: 1
selector:
matchLabels:
app: httpbin
version: v1
template:
metadata:
labels:
app: httpbin
version: v1
spec:
serviceAccountName: httpbin
containers:
- image: docker.io/kennethreitz/httpbin
imagePullPolicy: IfNotPresent
name: httpbin
ports:
- containerPort: 80Deploy Keycloak
Save the following YAML to a file named keycloak.yaml and apply it:
kubectl apply -n default -f keycloak.yamlapiVersion: v1
kind: Service
metadata:
name: keycloak
labels:
app: keycloak
spec:
ports:
- name: http
port: 8080
targetPort: 8080
selector:
app: keycloak
---
apiVersion: apps/v1
kind: Deployment
metadata:
name: keycloak
labels:
app: keycloak
spec:
replicas: 1
selector:
matchLabels:
app: keycloak
template:
metadata:
labels:
app: keycloak
spec:
containers:
- name: keycloak
image: quay.io/keycloak/keycloak:latest
args: ["start-dev"]
env:
- name: KEYCLOAK_ADMIN
value: "admin"
- name: KEYCLOAK_ADMIN_PASSWORD
value: "admin"
- name: KC_PROXY
value: "edge"
ports:
- name: http
containerPort: 8080
readinessProbe:
httpGet:
path: /realms/master
port: 8080This deployment uses keycloak:latest and a hardcoded admin password for demonstration purposes. In production, pin a specific Keycloak version and store credentials in a Kubernetes Secret.
Verify the deployments
Run the following command to confirm both pods are running:
kubectl get pods -n default -l 'app in (httpbin,keycloak)'Both pods should show Running status with all containers ready (2/2, including the sidecar).
Step 2: Expose the application and Keycloak through the ASM ingress gateway
This step creates an ASM gateway rule and virtual service to expose:
httpbin over HTTPS on port 443
Keycloak console over HTTP on port 80
Create a TLS certificate
Create a certificate named myexample-credential for the HTTPS service. For detailed instructions, see Enable secure HTTPS services using an ASM gateway.
Create the gateway rule
In the ASM console, create the following gateway rule. For more information, see Manage gateway rules.
apiVersion: networking.istio.io/v1beta1
kind: Gateway
metadata:
  name: ingressgateway
  namespace: istio-system
spec:
  selector:
    app: istio-ingressgateway  # Must match the existing ingress gateway selector
  servers:
    - hosts:
        - '*'
      port:
        name: http-httpbin      # HTTPS on port 443 for the demo application
        number: 443
        protocol: HTTPS
      tls:
        credentialName: myexample-credential
        mode: SIMPLE
    - hosts:
        - '*'
      port:
        name: keycloak          # HTTP on port 80 for the Keycloak console
        number: 80
        protocol: HTTP
Create the virtual service
Create a virtual service to route traffic to httpbin and Keycloak. For more information, see Manage virtual services.
apiVersion: networking.istio.io/v1beta1
kind: VirtualService
metadata:
  name: ingressgateway-vs
  namespace: istio-system
spec:
  gateways:
    - ingressgateway
  hosts:
    - '*'
  http:
    - match:
        - port: 80
      name: keycloak
      route:
        - destination:
            host: keycloak.default.svc.cluster.local
            port:
              number: 8080
    - name: httpbin
      route:
        - destination:
            host: httpbin.default.svc.cluster.local
            port:
              number: 8000
Verify Keycloak access
Open http://<ingress-gateway-address> in a browser. The Keycloak welcome page should appear.
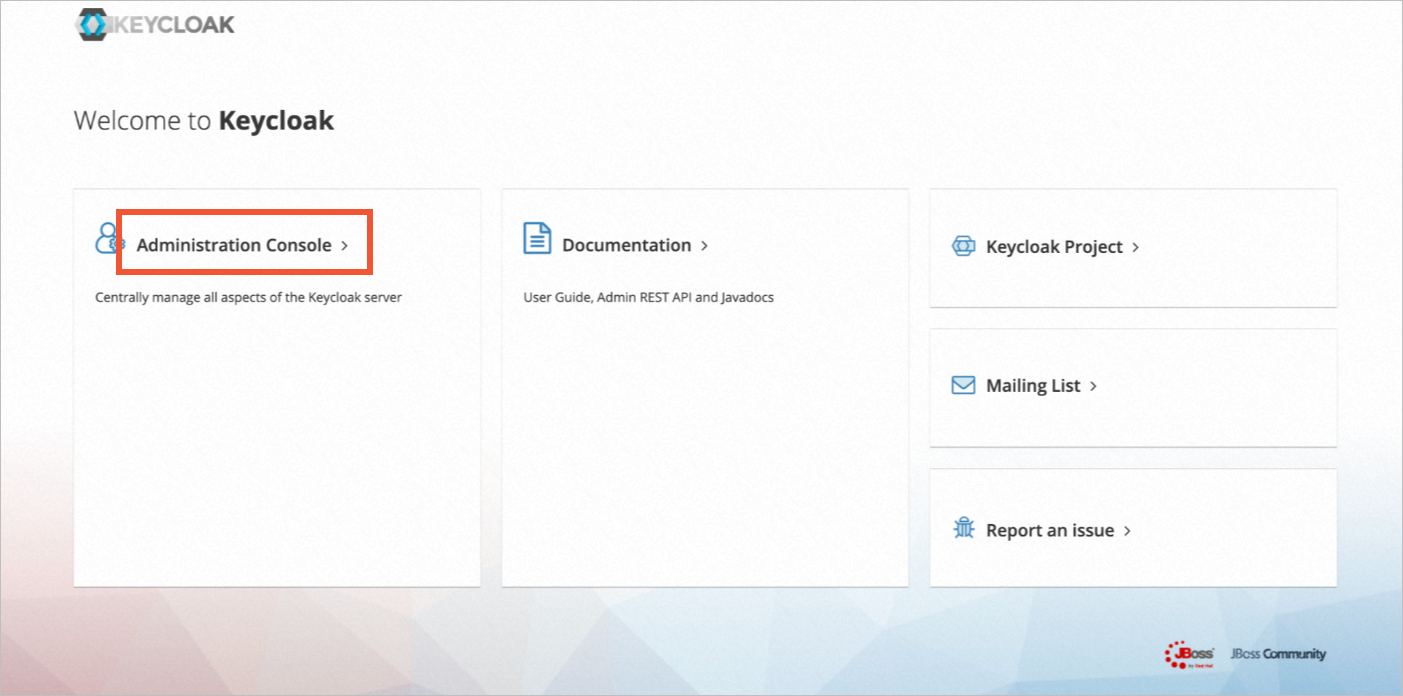
Click Administration Console and log in with the admin credentials specified in the Keycloak deployment (admin / admin).
Step 3: Configure Keycloak
Set up a realm, client, user, role, and client scope in Keycloak. Each object serves a specific purpose in the OIDC authentication flow:
| Object | Purpose |
|---|---|
| Realm | An isolated namespace in Keycloak that holds users, roles, and clients. |
| Client | Represents oauth2-proxy, the application that requests authentication from Keycloak. |
| User | A test account for verifying the SSO flow. |
| Role and scope | Control which identity claims are included in the JWT token that Keycloak issues. |
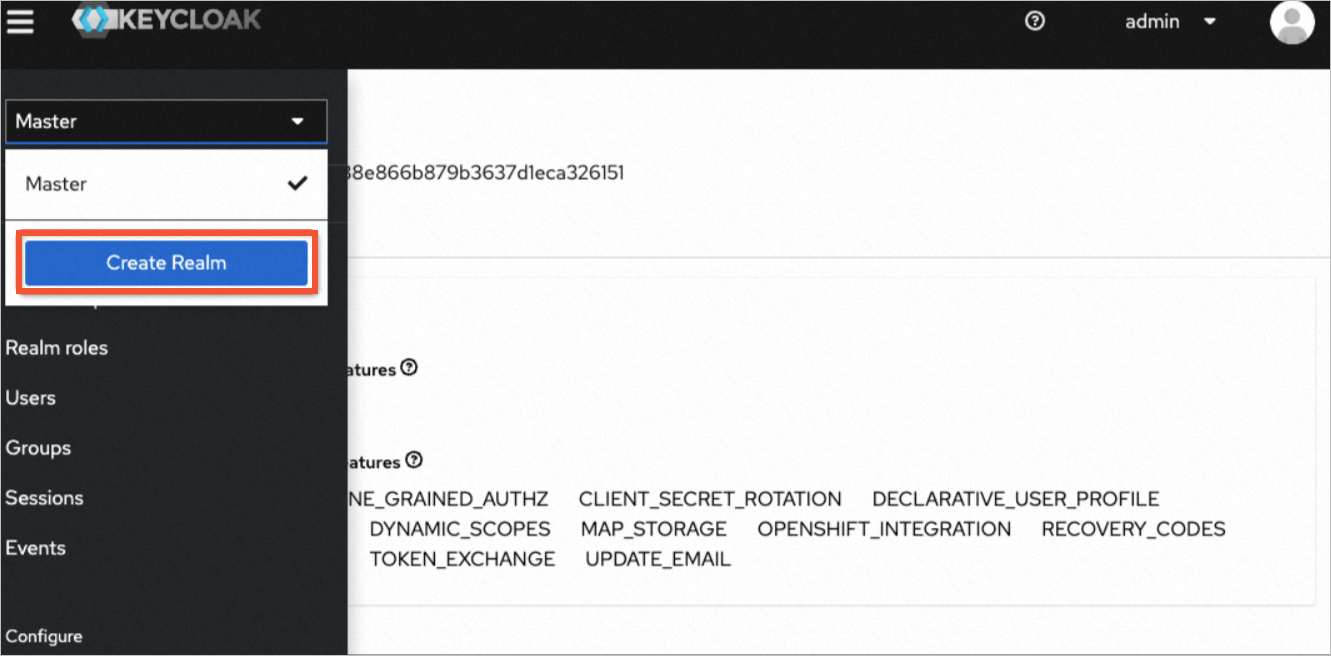
Create a realm
In the Keycloak admin console, click the Master dropdown in the upper-left corner.
Click Create Realm.
Set the realm name to
Test-oidcand click Create.
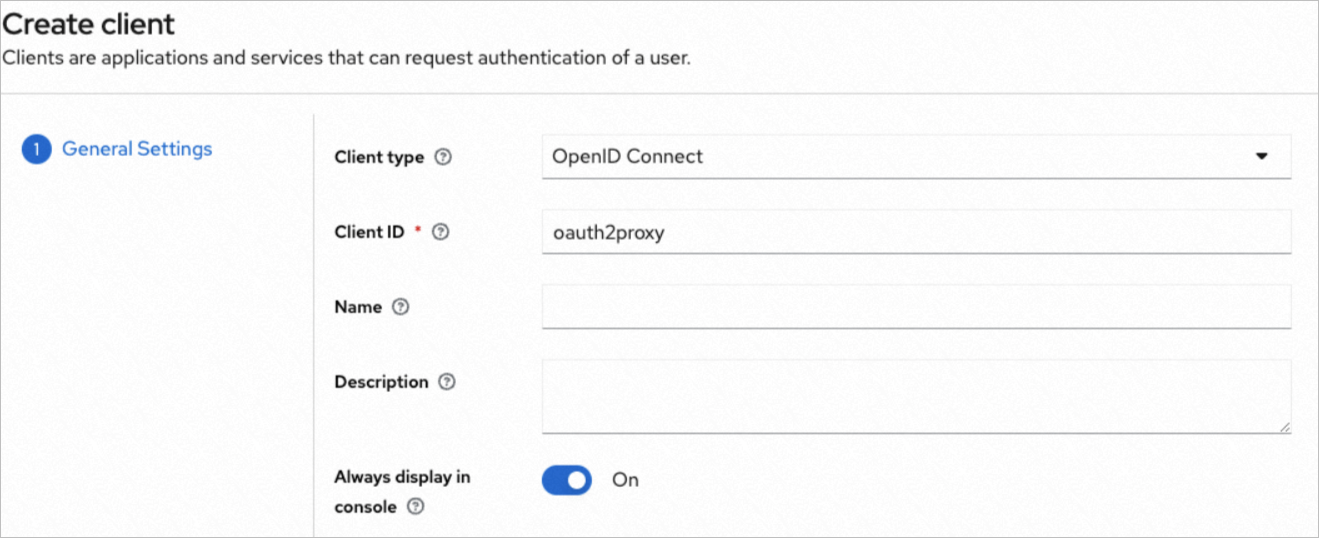
Create a client
In the left navigation pane, click Clients > Create client.
Set the following fields:
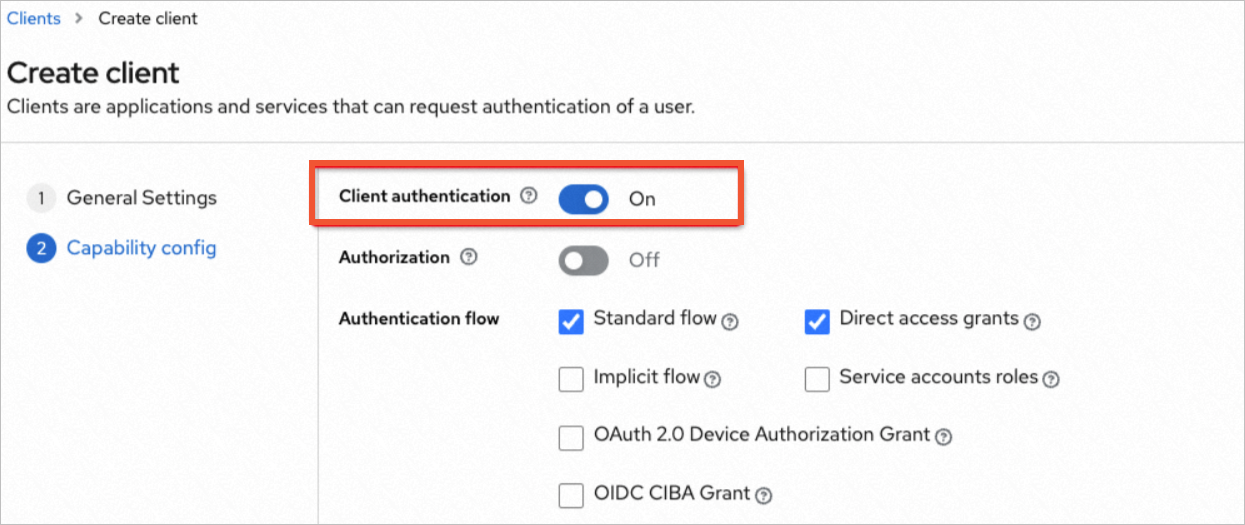
Field Value Client Type OpenID ConnectClient ID oauth2proxyClick Next, then enable Client authentication.
Click Save.
Create a test user
In the left navigation pane, click Users > Add user.
Enter a username and click Save.
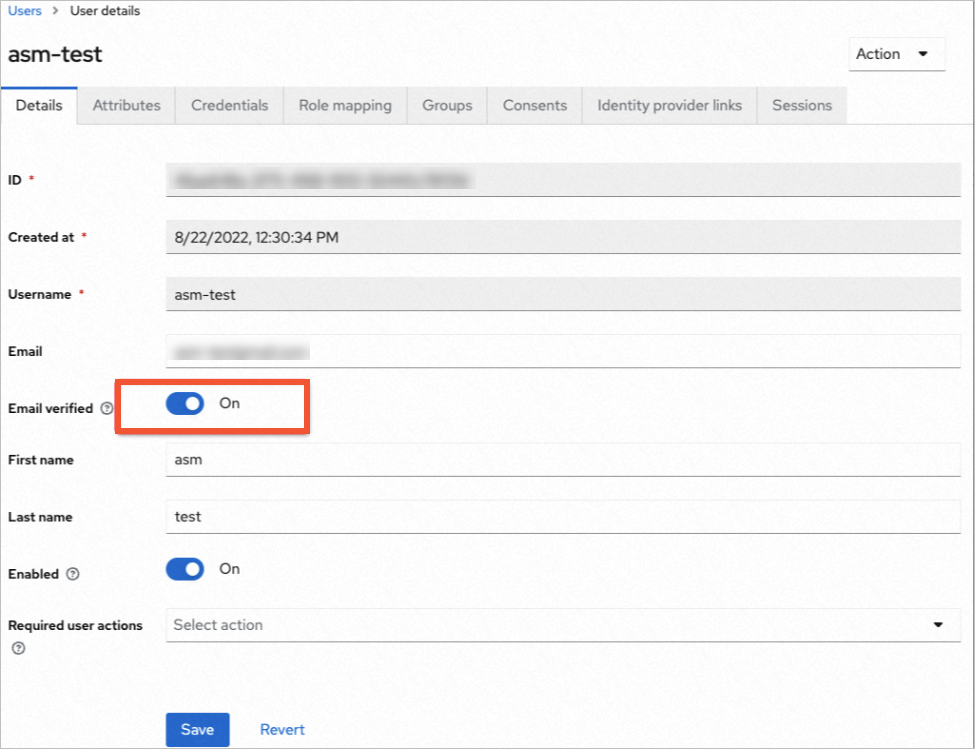
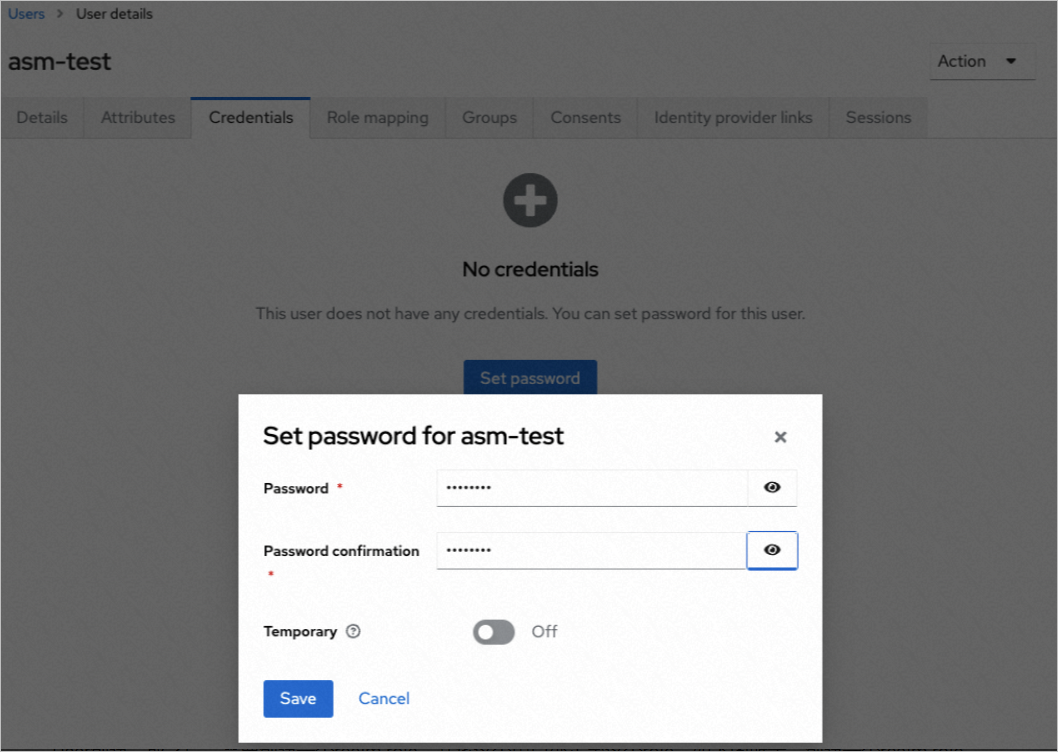
On the User details page, click the Credentials tab.
Click Set password, enter a password, turn off Temporary, and click Save.
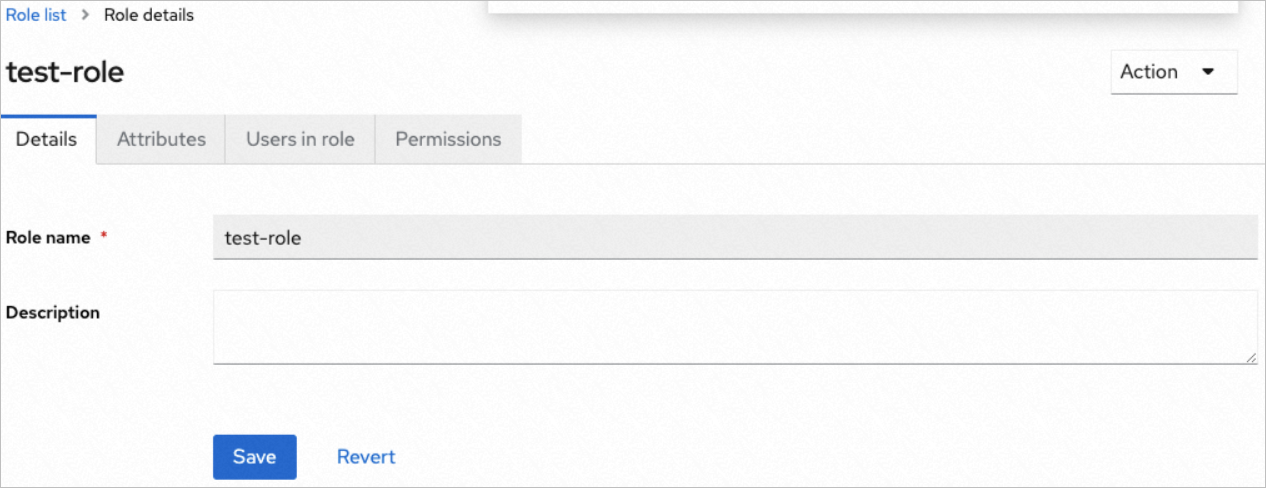
Create a realm role
In the left navigation pane, click Realm roles > Create role.
Enter a role name and click Save.
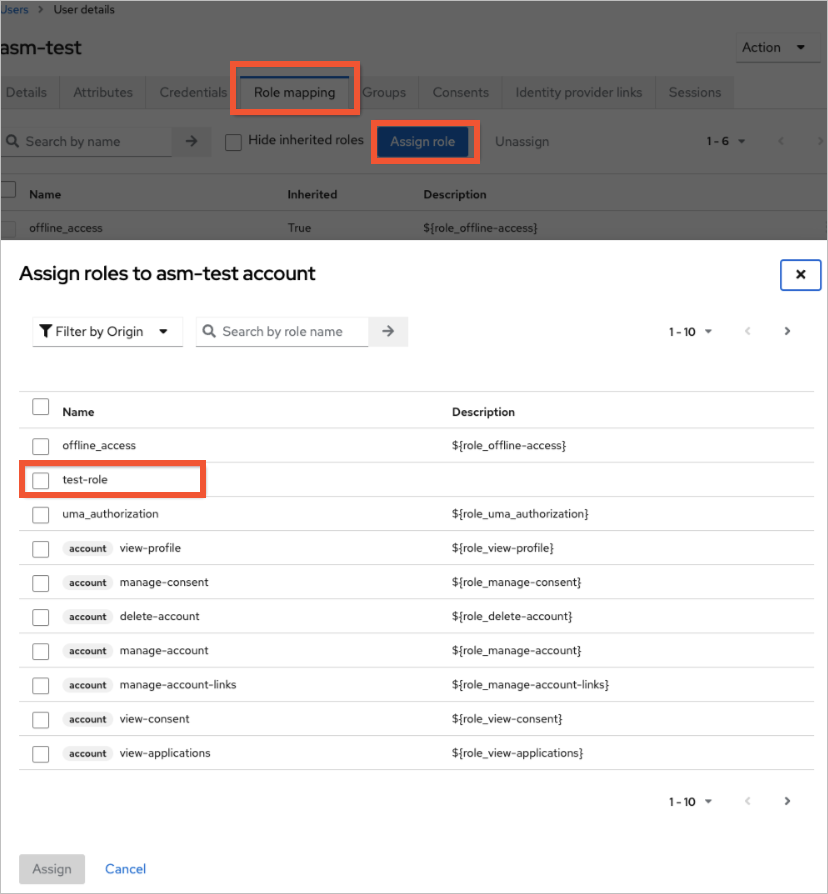
Assign the role to the user
Navigate back to the user you created. On the User details page, click the Role mapping tab.
Click Assign role, select the role you created, and click Assign.
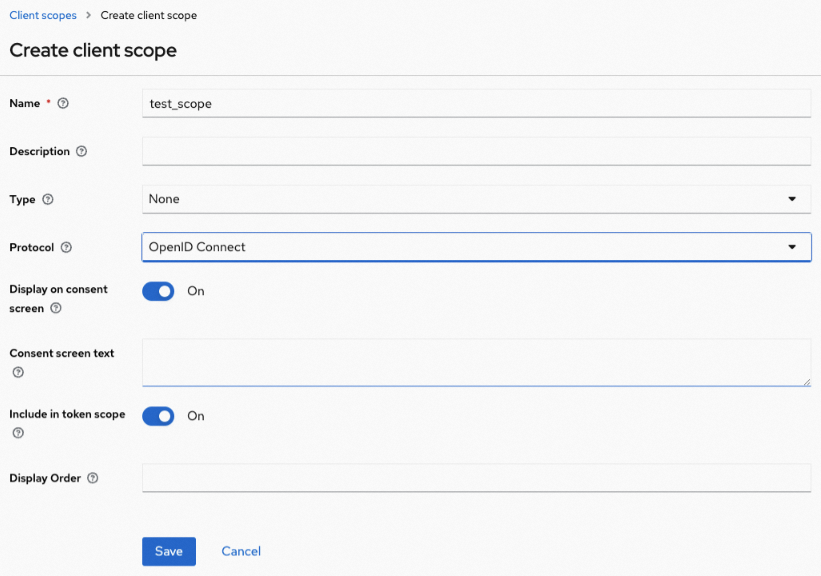
Create a client scope and mapper
A client scope groups the claims included in the JWT token. The mapper defines how Keycloak populates those claims. For example, you can map the user's realm role to a custom claim in the token so that downstream services can make authorization decisions based on user roles.
In the left navigation pane, click Client scopes > Create client scope.
Enter a name and click Save.
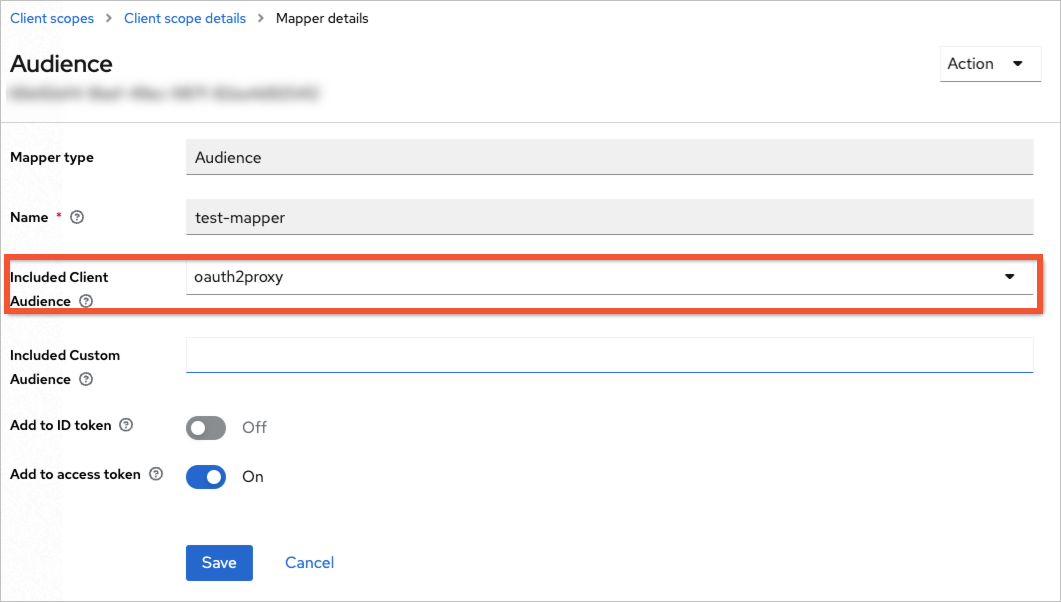
On the client scope page, click the Mappers tab > Configure a new mapper.
Select a mapper type (for example, User Realm Role), configure the token claim name, and click Save.
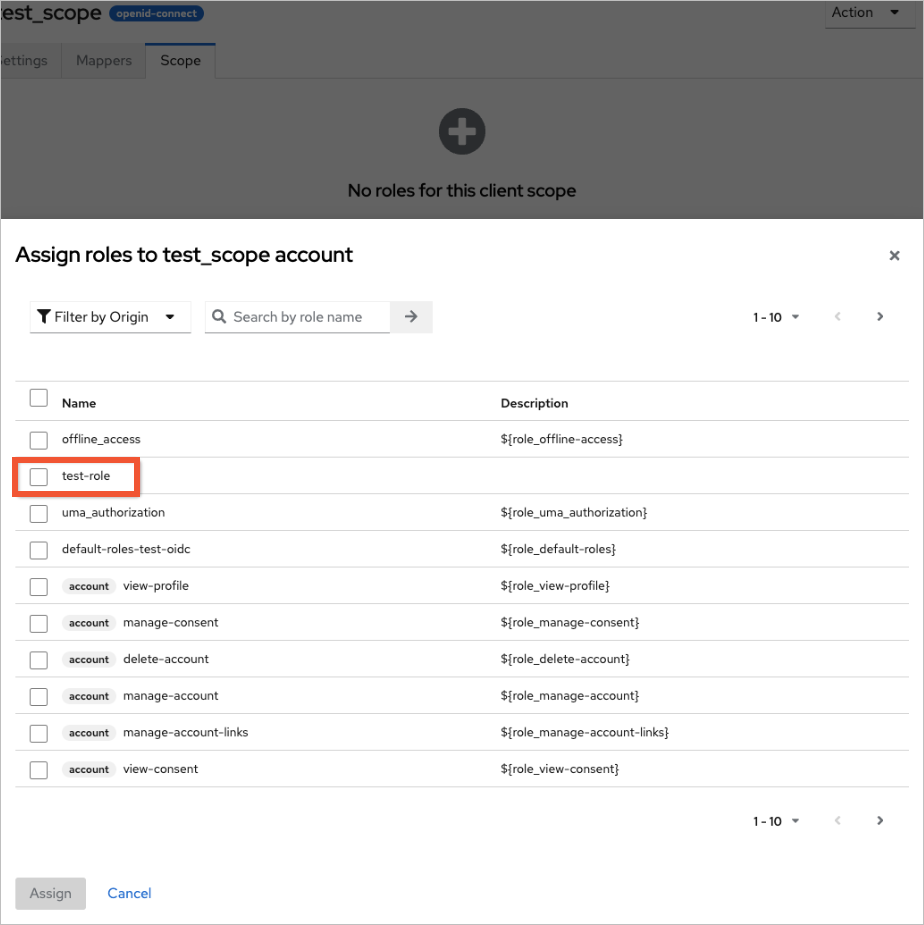
Click the Scope tab. Select the role you created earlier and click Assign.
You can preview the resulting JWT token to verify your mapper configuration. In the Keycloak admin console, navigate to Clients > oauth2proxy > Client scopes > Evaluate. Select a user and generate a token preview to confirm the expected claims are present.Add the client scope to the client
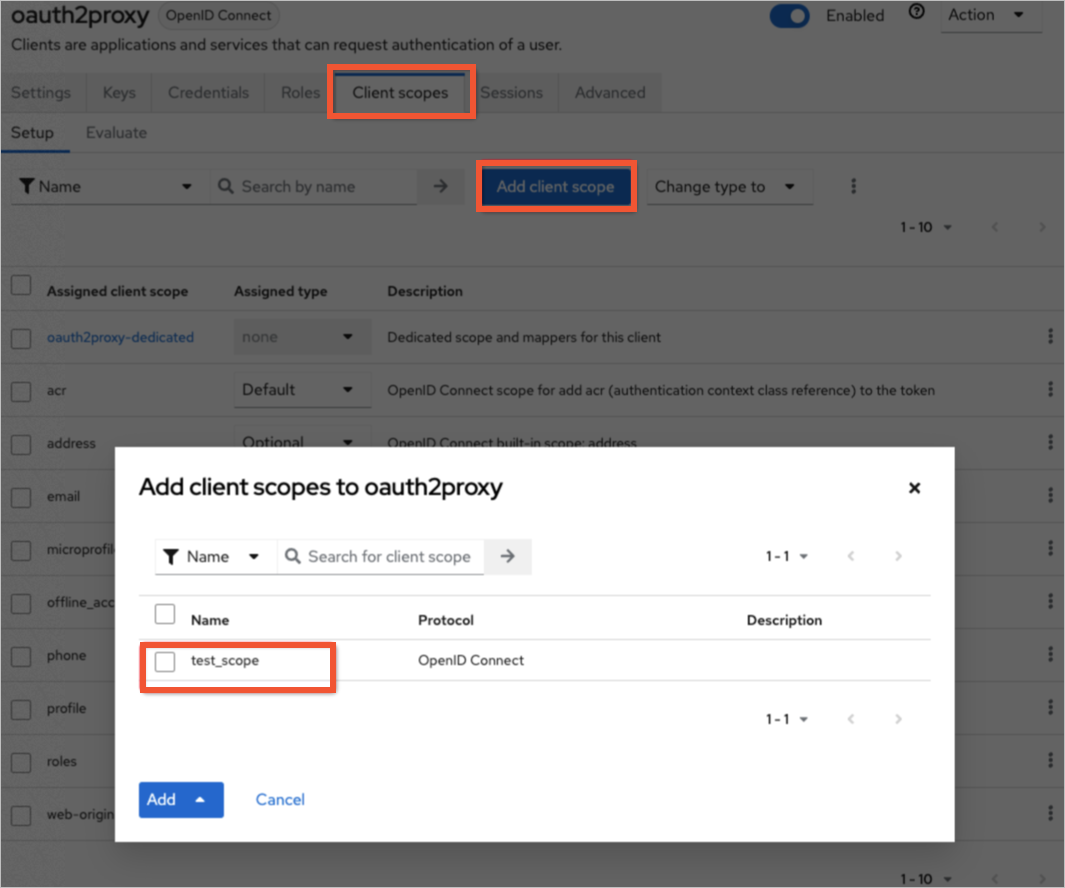
Navigate to the
oauth2proxyclient. Click the Client scopes tab.Click Add client scope, select the scope you created, and add it as a Default scope.
Configure the redirect URI
On the
oauth2proxyclient settings page, locate the Valid redirect URIs field.Add the redirect URI for oauth2-proxy:
https://<your-ASM-gateway-address>/oauth2/callbackClick Save.
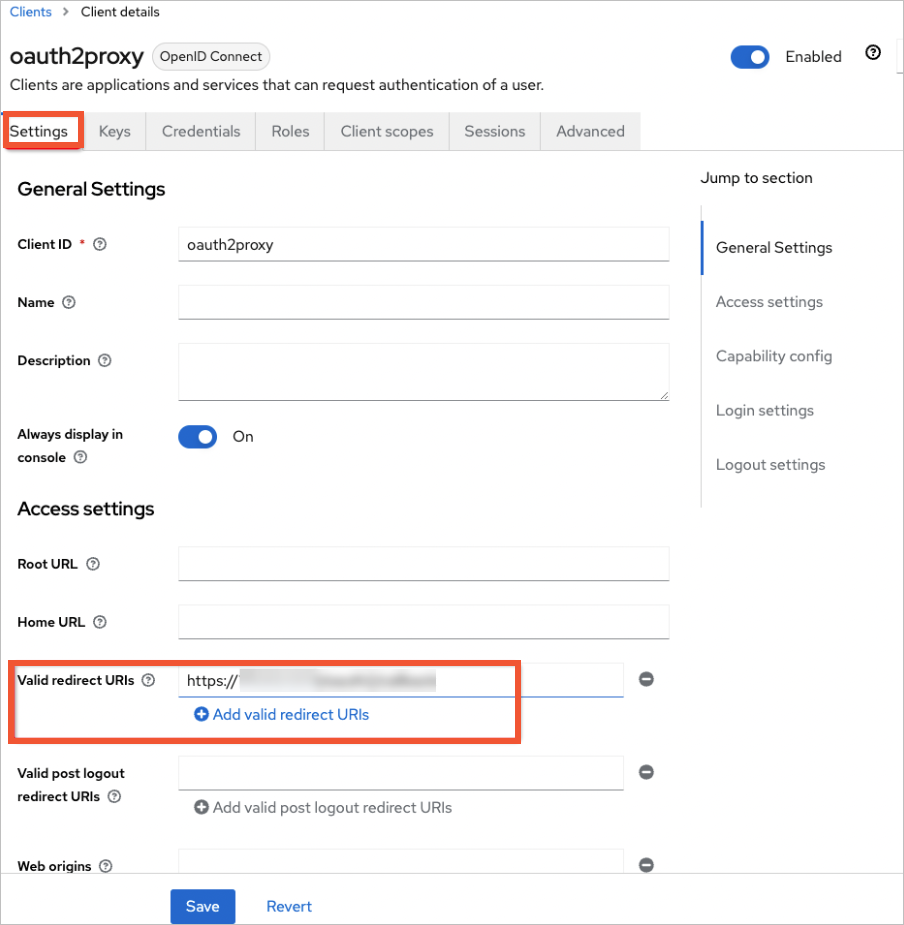
Only the Keycloak service uses HTTP in this guide. All other services use HTTPS. The redirect URI must use https://.Record the Keycloak configuration
Save the following values for the next step:
| Parameter | Value | Where to find it |
|---|---|---|
| Realm ID | Test-oidc | The realm name you created |
| Client ID | oauth2proxy | The client ID you created |
| Client secret | (auto-generated) | Clients > oauth2proxy > Credentials tab |
Step 4: Enable ASM custom authorization with OIDC
Connect ASM to Keycloak by configuring the OIDC provider settings and creating a virtual service for the oauth2-proxy callback path.
Associate the OIDC authorization service
Log on to the ASM console. In the left-side navigation pane, choose Service Mesh > Mesh Management.
Click the name of your ASM instance. In the left-side navigation pane, choose Mesh Security Center > Custom Authorization Service.
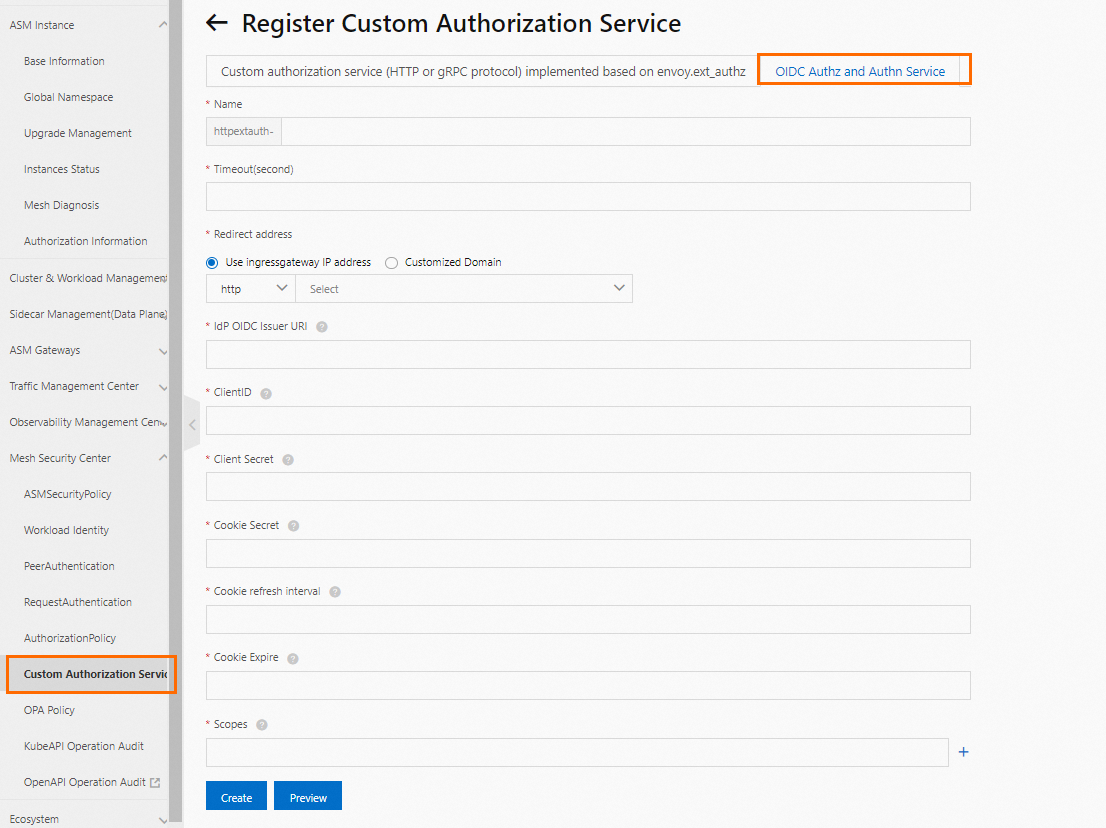
Click Associate Custom Authorization Service, select OIDC Identity Authentication And Authorization Service, and configure the following parameters:
| Parameter | Value | Description |
|---|---|---|
| IdP OIDC Issuer URL | http://<ASM-gateway-address>/realms/Test-oidc | The OIDC discovery endpoint for your Keycloak realm. Replace <ASM-gateway-address> with the external IP of your ASM ingress gateway. |
| ClientID | oauth2proxy | The client ID from Step 3. |
| Client Secret | (your client secret) | The client secret from the Credentials tab in Step 3. |
| Scopes | openid | Required. Add other scopes (such as email or profile) as needed. |
| Cookie Secret | (generated value) | A random string used to encrypt the session cookie. See Generating a Cookie Secret. |
Click Create.
Create the oauth2-proxy virtual service
Create a virtual service that routes /oauth2 requests to the oauth2-proxy service deployed by ASM:
apiVersion: networking.istio.io/v1beta1
kind: VirtualService
metadata:
  name: oauth2-vs
  namespace: istio-system
spec:
  gateways:
    - ingressgateway
  hosts:
    - '*'
  http:
    - match:
        - uri:
            prefix: /oauth2
      name: oauth2
      route:
        - destination:
            host: asm-oauth2proxy-httpextauth-oidc.istio-system.svc.cluster.local
            port:
              number: 4180
Replace thehostvalue with the actual oauth2-proxy service name in theistio-systemnamespace of your ACK cluster.
No other virtual service should match paths with the /oauth2 prefix. Conflicting route rules cause authentication callbacks to fail.Step 5: Create an authorization policy
The authorization policy tells the ASM ingress gateway to enforce external authorization on all ports except port 80 (which serves the Keycloak HTTP console).
In the ASM console, navigate to Mesh Security Center > AuthorizationPolicy for your ASM instance.
Click Create With YAML.
Select a Namespace and a Scenario Template, then apply the following YAML:
apiVersion: security.istio.io/v1beta1
kind: AuthorizationPolicy
metadata:
  name: oidc
  namespace: istio-system
spec:
  action: CUSTOM
  provider:
    name: httpextauth-oidc    # Must match the name of your custom authorization service
  rules:
    - to:
        - operation:
            notPorts:
              - '80'          # Exempt port 80 (Keycloak HTTP console) from authorization
  selector:
    matchLabels:
      istio: ingressgateway
The provider.name must match the name of the custom authorization service you created in Step 4. Find the exact name in the Custom Authorization Service list in the ASM console.The notPorts: ['80'] rule keeps the Keycloak HTTP console on port 80 accessible without authentication. All other ports (including HTTPS on 443) require OIDC authentication.Verify the SSO integration
Test SSO login
Open
https://<ASM-gateway-external-IP>in a browser. The oauth2-proxy sign-in page appears, confirming that SSO enforcement is active.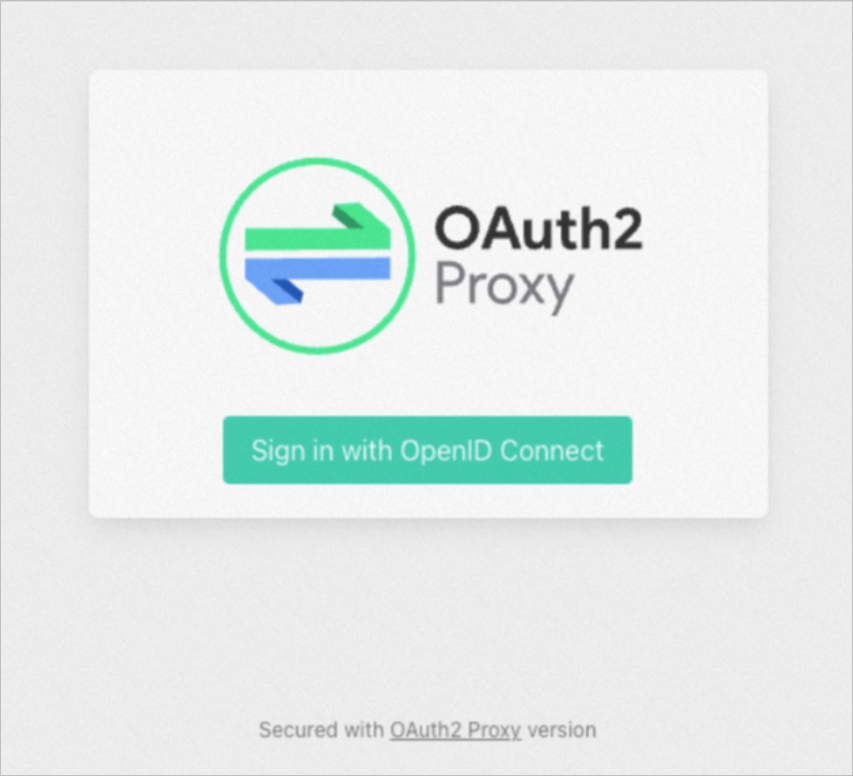
Click Sign in with OpenID Connect. The browser redirects to the Keycloak login page.
Enter the test username and password you created in Step 3 and click Log On. After successful authentication, the browser redirects to the httpbin application.
Inspect the JWT token
To confirm that ASM correctly validates the OIDC token and forwards the authenticated identity to the application:
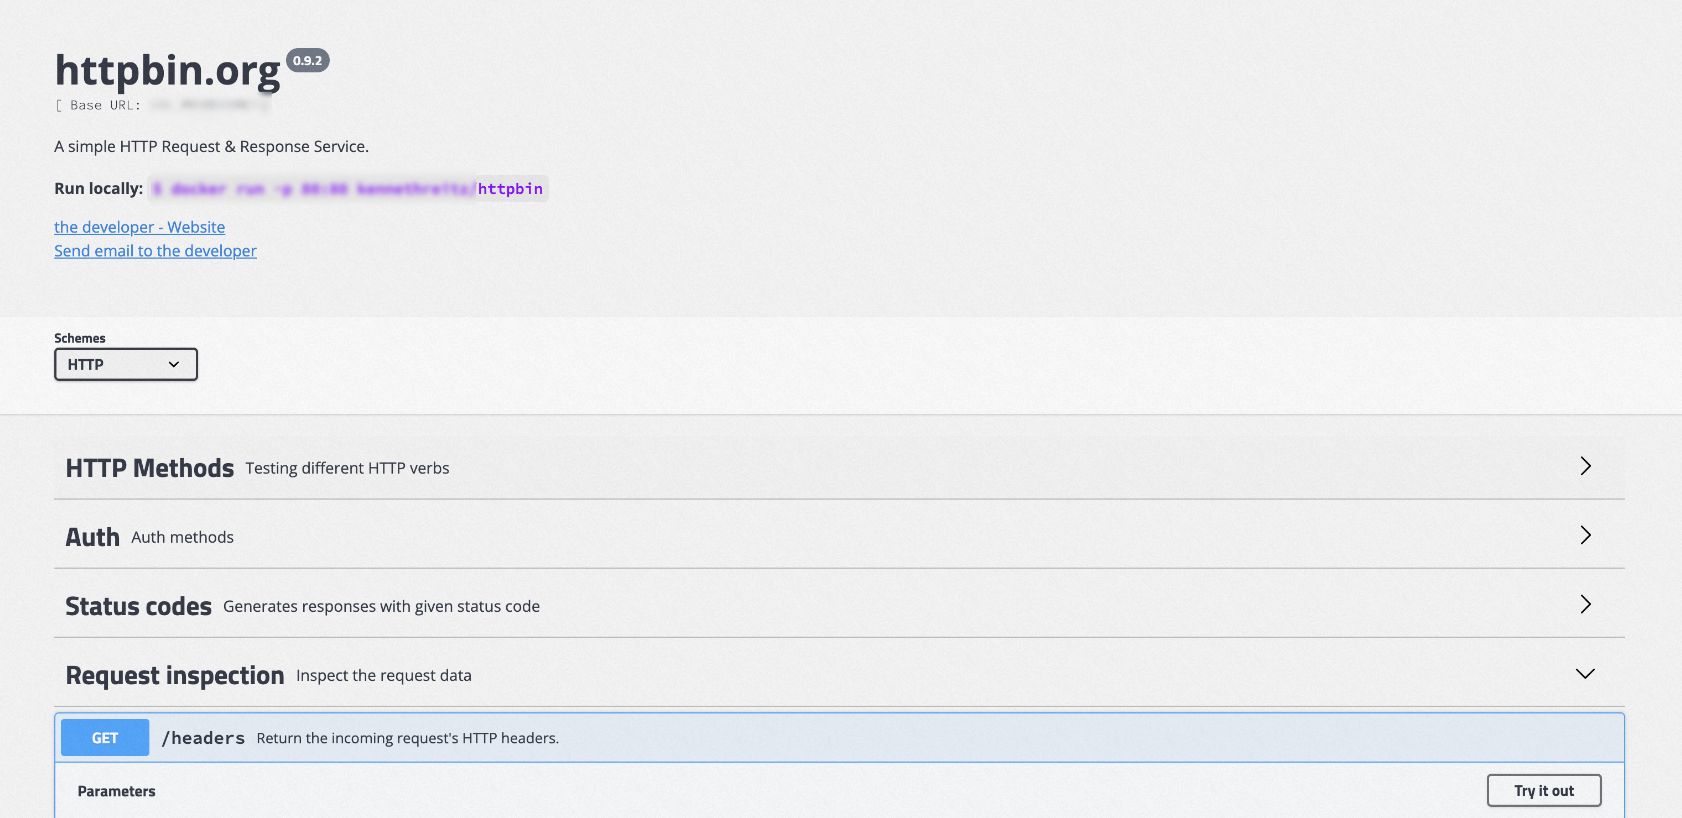
In the httpbin UI, click Request inspection > /headers > try it out > Execute. The response headers include an
Authorizationheader with a Bearer token.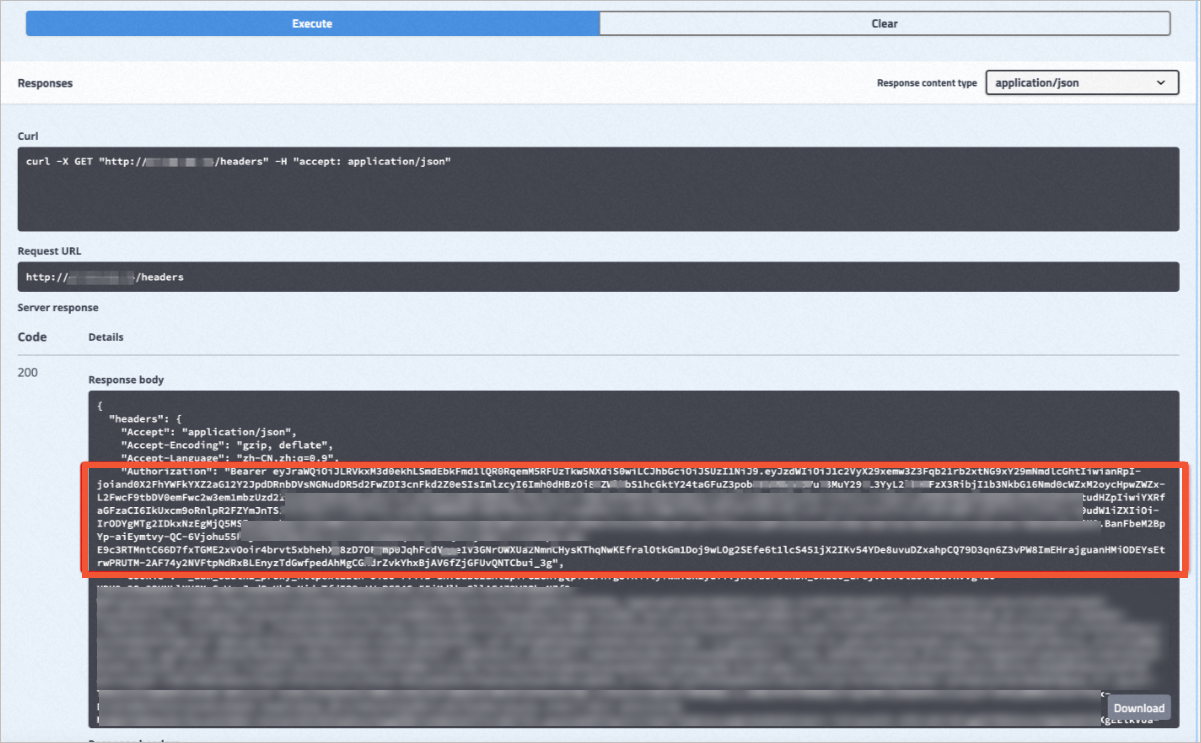
Copy the token value (everything after
Bearer) and paste it into a JWT debugger such as jwt.io. The decoded payload contains the user information from Keycloak, including the username, realm roles, and any custom claims configured through the mapper.
What's next
Configure authorization policies based on JWT claims -- Restrict access to specific mesh services based on roles or groups in the JWT token.
Manage virtual services -- Fine-tune traffic routing rules for your mesh applications.