Embed an Application Real-Time Monitoring Service (ARMS) Grafana dashboard into your web application so that users can view monitoring data directly, without switching to the Grafana console or logging on separately.
Only Grafana Shared Edition pages support embedding. Dedicated Edition and Expert Edition pages do not support this feature.
How it works
Your web application obtains temporary credentials through Security Token Service (STS), exchanges them for a logon token at the Alibaba Cloud federation endpoint, and constructs a logon-free URL that loads the Grafana dashboard.

The authentication flow involves four components:
| Component | Role |
|---|---|
| RAM user | A service account with permission to call STS |
| RAM role | Grants access to the ARMS console. The RAM user assumes this role to get temporary credentials |
| STS temporary credentials | A short-lived AccessKey pair and security token returned by the AssumeRole operation |
| Logon token | A federation token exchanged from STS credentials, used to build the logon-free URL |
Prerequisites
Before you begin, make sure that you have:
An Alibaba Cloud account or a RAM user with administrative rights
An ARMS Grafana workspace with at least one dashboard
A self-managed web application with a backend server capable of making API calls
Step 1: Create a RAM user and grant STS permissions
Create a dedicated RAM user that your web server uses to call STS.
Log on to the RAM console.
In the left-side navigation pane, choose Identities > Users.
On the Users page, click Create User.

In the User Account Information section, set Logon Name and Display Name. In the Access Mode section, select Console Access, and then click OK.
ImportantRAM generates an AccessKey pair for the new user automatically. The RAM console only displays the AccessKey secret once. Copy and store it securely before closing the dialog.
On the Users page, find the RAM user you created and click Add Permissions in the Actions column.
NoteTo grant permissions to multiple RAM users at once, select the users and click Add Permissions at the bottom of the page.

In the Policy section of the Grant Permission panel, search for and add AliyunSTSAssumeRoleAccess, then click Grant permissions.
Click Close.
Step 2: Create a RAM role and grant ARMS permissions
Create a RAM role that provides access to the ARMS console. The RAM user from Step 1 assumes this role to get temporary credentials.
Grant permissions to the RAM role. Attach one of the following policies:
Policy Access level AliyunARMSFullAccess Full read and write access to ARMS AliyunARMSReadOnlyAccess Read-only access to ARMS
Step 3: Get temporary credentials from STS
On your web server, call the AssumeRole operation to get a temporary AccessKey pair and STS token.
You can call AssumeRole through either of these methods:
OpenAPI Explorer -- Test the call interactively in a browser.
RAM SDK for Java -- Integrate the call into your backend code.
The following example uses the RAM SDK for Java. Replace the placeholders with your actual values:
String accessKey = "<your-access-key-id>";       // AccessKey ID of the RAM user
String accessSecret = "<your-access-key-secret>"; // AccessKey secret of the RAM user
String roleArn = "<your-role-arn>"; // ARN of the RAM role| Placeholder | Description | Where to find it |
|---|---|---|
<your-access-key-id> | AccessKey ID of the RAM user | Saved during Step 1. See Create an AccessKey pair |
<your-access-key-secret> | AccessKey secret of the RAM user | Saved during Step 1 |
<your-role-arn> | Alibaba Cloud Resource Name (ARN) of the RAM role | RAM console, as described below |
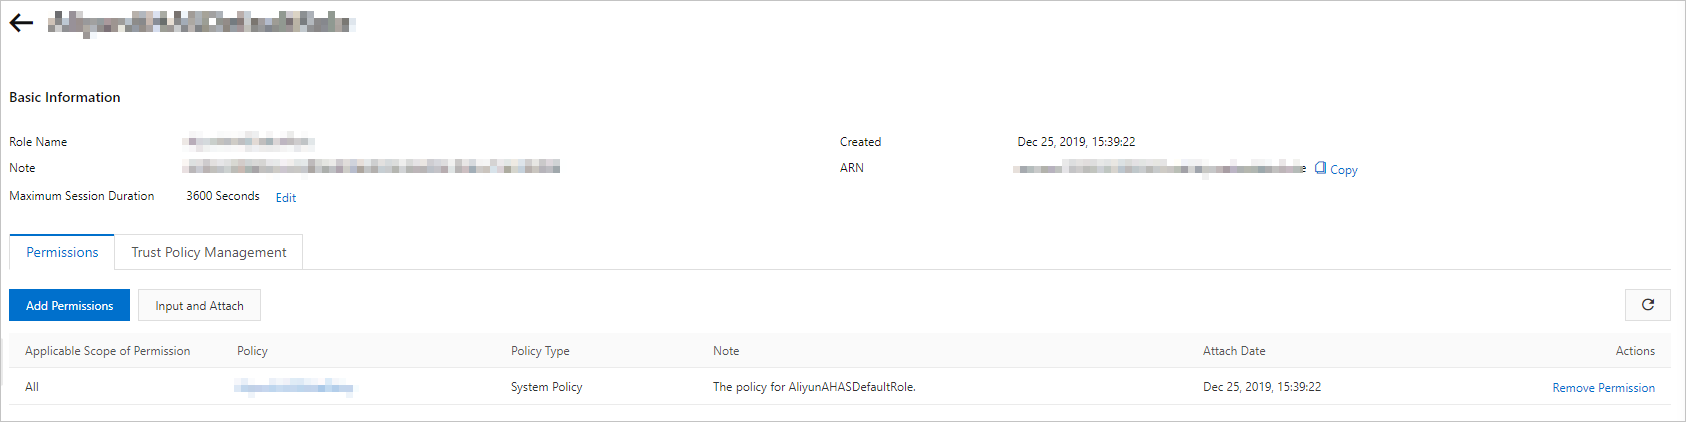
Find the ARN of a RAM role
In the left-side navigation pane of the RAM console, choose Identities > Roles.
Click the name of the target RAM role.
In the Basic Information section, copy the value of ARN.
Step 4: Get a logon token
Exchange the STS temporary credentials for a logon token by calling the GetSigninToken operation on the Alibaba Cloud federation endpoint.
The STS token may contain special characters. URL-encode the token value before sending the request.
Send a GET request to the federation endpoint:
https://signin.alibabacloud.com/federation?Action=GetSigninToken
    &AccessKeyId=<temporary-access-key-id>
    &AccessKeySecret=<temporary-access-key-secret>
&SecurityToken=<url-encoded-sts-token>| Parameter | Value |
|---|---|
AccessKeyId | Temporary AccessKey ID returned by AssumeRole |
AccessKeySecret | Temporary AccessKey secret returned by AssumeRole |
SecurityToken | URL-encoded STS token returned by AssumeRole |
If your web application is deployed by a virtual network operator, append &TicketType=mini to the request.
Step 5: Build the logon-free URL
Combine the logon token with the Grafana dashboard URL to generate a logon-free URL that loads the dashboard without requiring a separate logon.
A logon token expires after 3 hours. Generate a new token on each page request to provide uninterrupted access.
Get the dashboard URL
Open the target dashboard in the ARMS Grafana console.
Copy the URL from the browser address bar.
Control the Grafana UI with kiosk mode
Append a kiosk parameter to the dashboard URL to hide navigation elements:
| Parameter | Effect |
|---|---|
kiosk=tv | Hides the left-side navigation pane |
kiosk | Hides both the top navigation bar and left-side navigation pane |
kiosk=tv2 | Hides navigation elements but keeps the time selector in the upper-right corner |
Construct the logon-free URL
Use the logon token and the dashboard URL to build the logon-free URL:
http://signin.alibabacloud.com/federation?Action=Login
    &LoginUrl=<your-fallback-url>
    &Destination=<grafana-dashboard-url>
&SigninToken=<logon-token>| Parameter | Description |
|---|---|
LoginUrl | Fallback URL that the user is redirected to if logon fails (HTTP 302) |
Destination | Grafana dashboard URL, including any kiosk parameters |
SigninToken | Logon token from Step 4 |
Verify the result
Open the logon-free URL in a browser. The Grafana dashboard loads without prompting for credentials. If you specified a kiosk parameter, confirm that the expected navigation elements are hidden.