Instead of creating Grafana accounts for each team member manually, configure an SMTP-enabled email account to send invitations. Invited users create their own accounts, which saves time as your team grows.
Prerequisites
Before you begin, make sure that you have:
An email account with Simple Mail Transfer Protocol (SMTP) support (for example, NetEase 163, Gmail, or Outlook)
The SMTP server address, port number, and authorization password for your email account
A Managed Service for Grafana workspace in the ARMS console
Grafana administrator privileges for the workspace
Step 1: Enable SMTP on your email account
Enable SMTP through your email provider and collect the required credentials. The following example uses a NetEase email account. For other providers, check their documentation for SMTP setup instructions.
In the top navigation bar of your NetEase email account homepage, choose .
In the POP3/SMTP/IMAP section, click Enable next to POP3/SMTP.
ImportantComplete the security verification as prompted and save the authorization password. This password differs from your regular login password and is required in Step 2.
After SMTP is enabled, find the SMTP server address in the Tips section.
NoteYou can also find the SMTP server address and port number in the NetEase email service documentation.
Record the following information for Step 2:
| Information | Example (NetEase) |
|---|---|
| SMTP server address | smtp.163.com |
| Port number | 465 |
| Authorization password | The password returned during SMTP enablement |
Step 2: Configure SMTP parameters in the workspace
Log on to the ARMS console. In the left-side navigation pane, choose .
On the Workspace Management page, click the ID of the workspace that you want to manage.
In the left-side navigation pane, click Parameter Settings.
On the Parameter Settings page, click Modify parameters and then select smtp.
Configure the following SMTP parameters and click Save and Take Effect.
Parameter Description Example enabled Enables SMTP email sending. Set to true. truehost SMTP server address and port in the format <smtp-server>:<port>.smtp.163.com:465user Email address for SMTP authentication. your-email@163.compassword Authorization password from Step 1. Not your regular email login password. - from_address Sender email address displayed to recipients. Typically the same as user. your-email@163.comfrom_name Optional sender display name. You can ignore this parameter. -  Note
NoteReplace the SMTP server address and port with values from your email provider. The example uses NetEase (
smtp.163.com:465).
Step 3: Send invitations from Grafana
In the left-side navigation pane of the Managed Service for Grafana console, click Workspace information. In the Connection information section, click Log In in the Operation column.
NoteLog on with the Grafana administrator account and the password set during workspace creation, or click Sign in with Alibaba Cloud to use the Alibaba Cloud account that created the workspace.
(Optional) To switch to a different organization, click the avatar in the lower-left corner of the Grafana page and click Switch organization.
In the left-side navigation pane, choose
 > Users.
On the Users tab, click Invite.
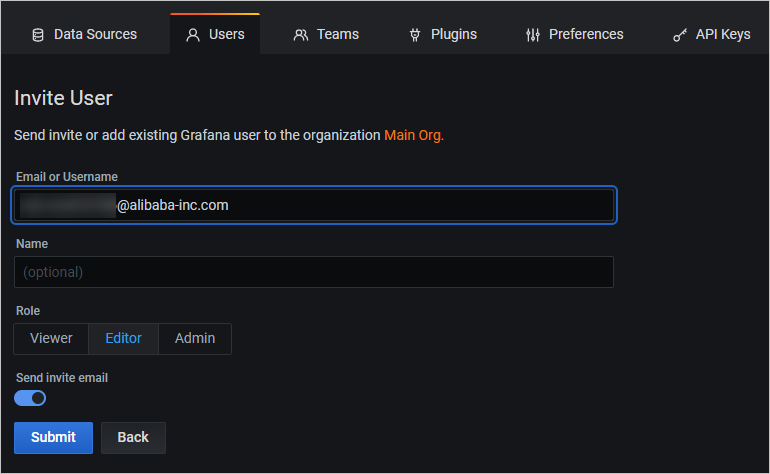
On the Invite user page, enter the user's email address in the Email or username field, assign a role, and click Submit. The user receives an invitation email from the email account that you specify in Step 1.
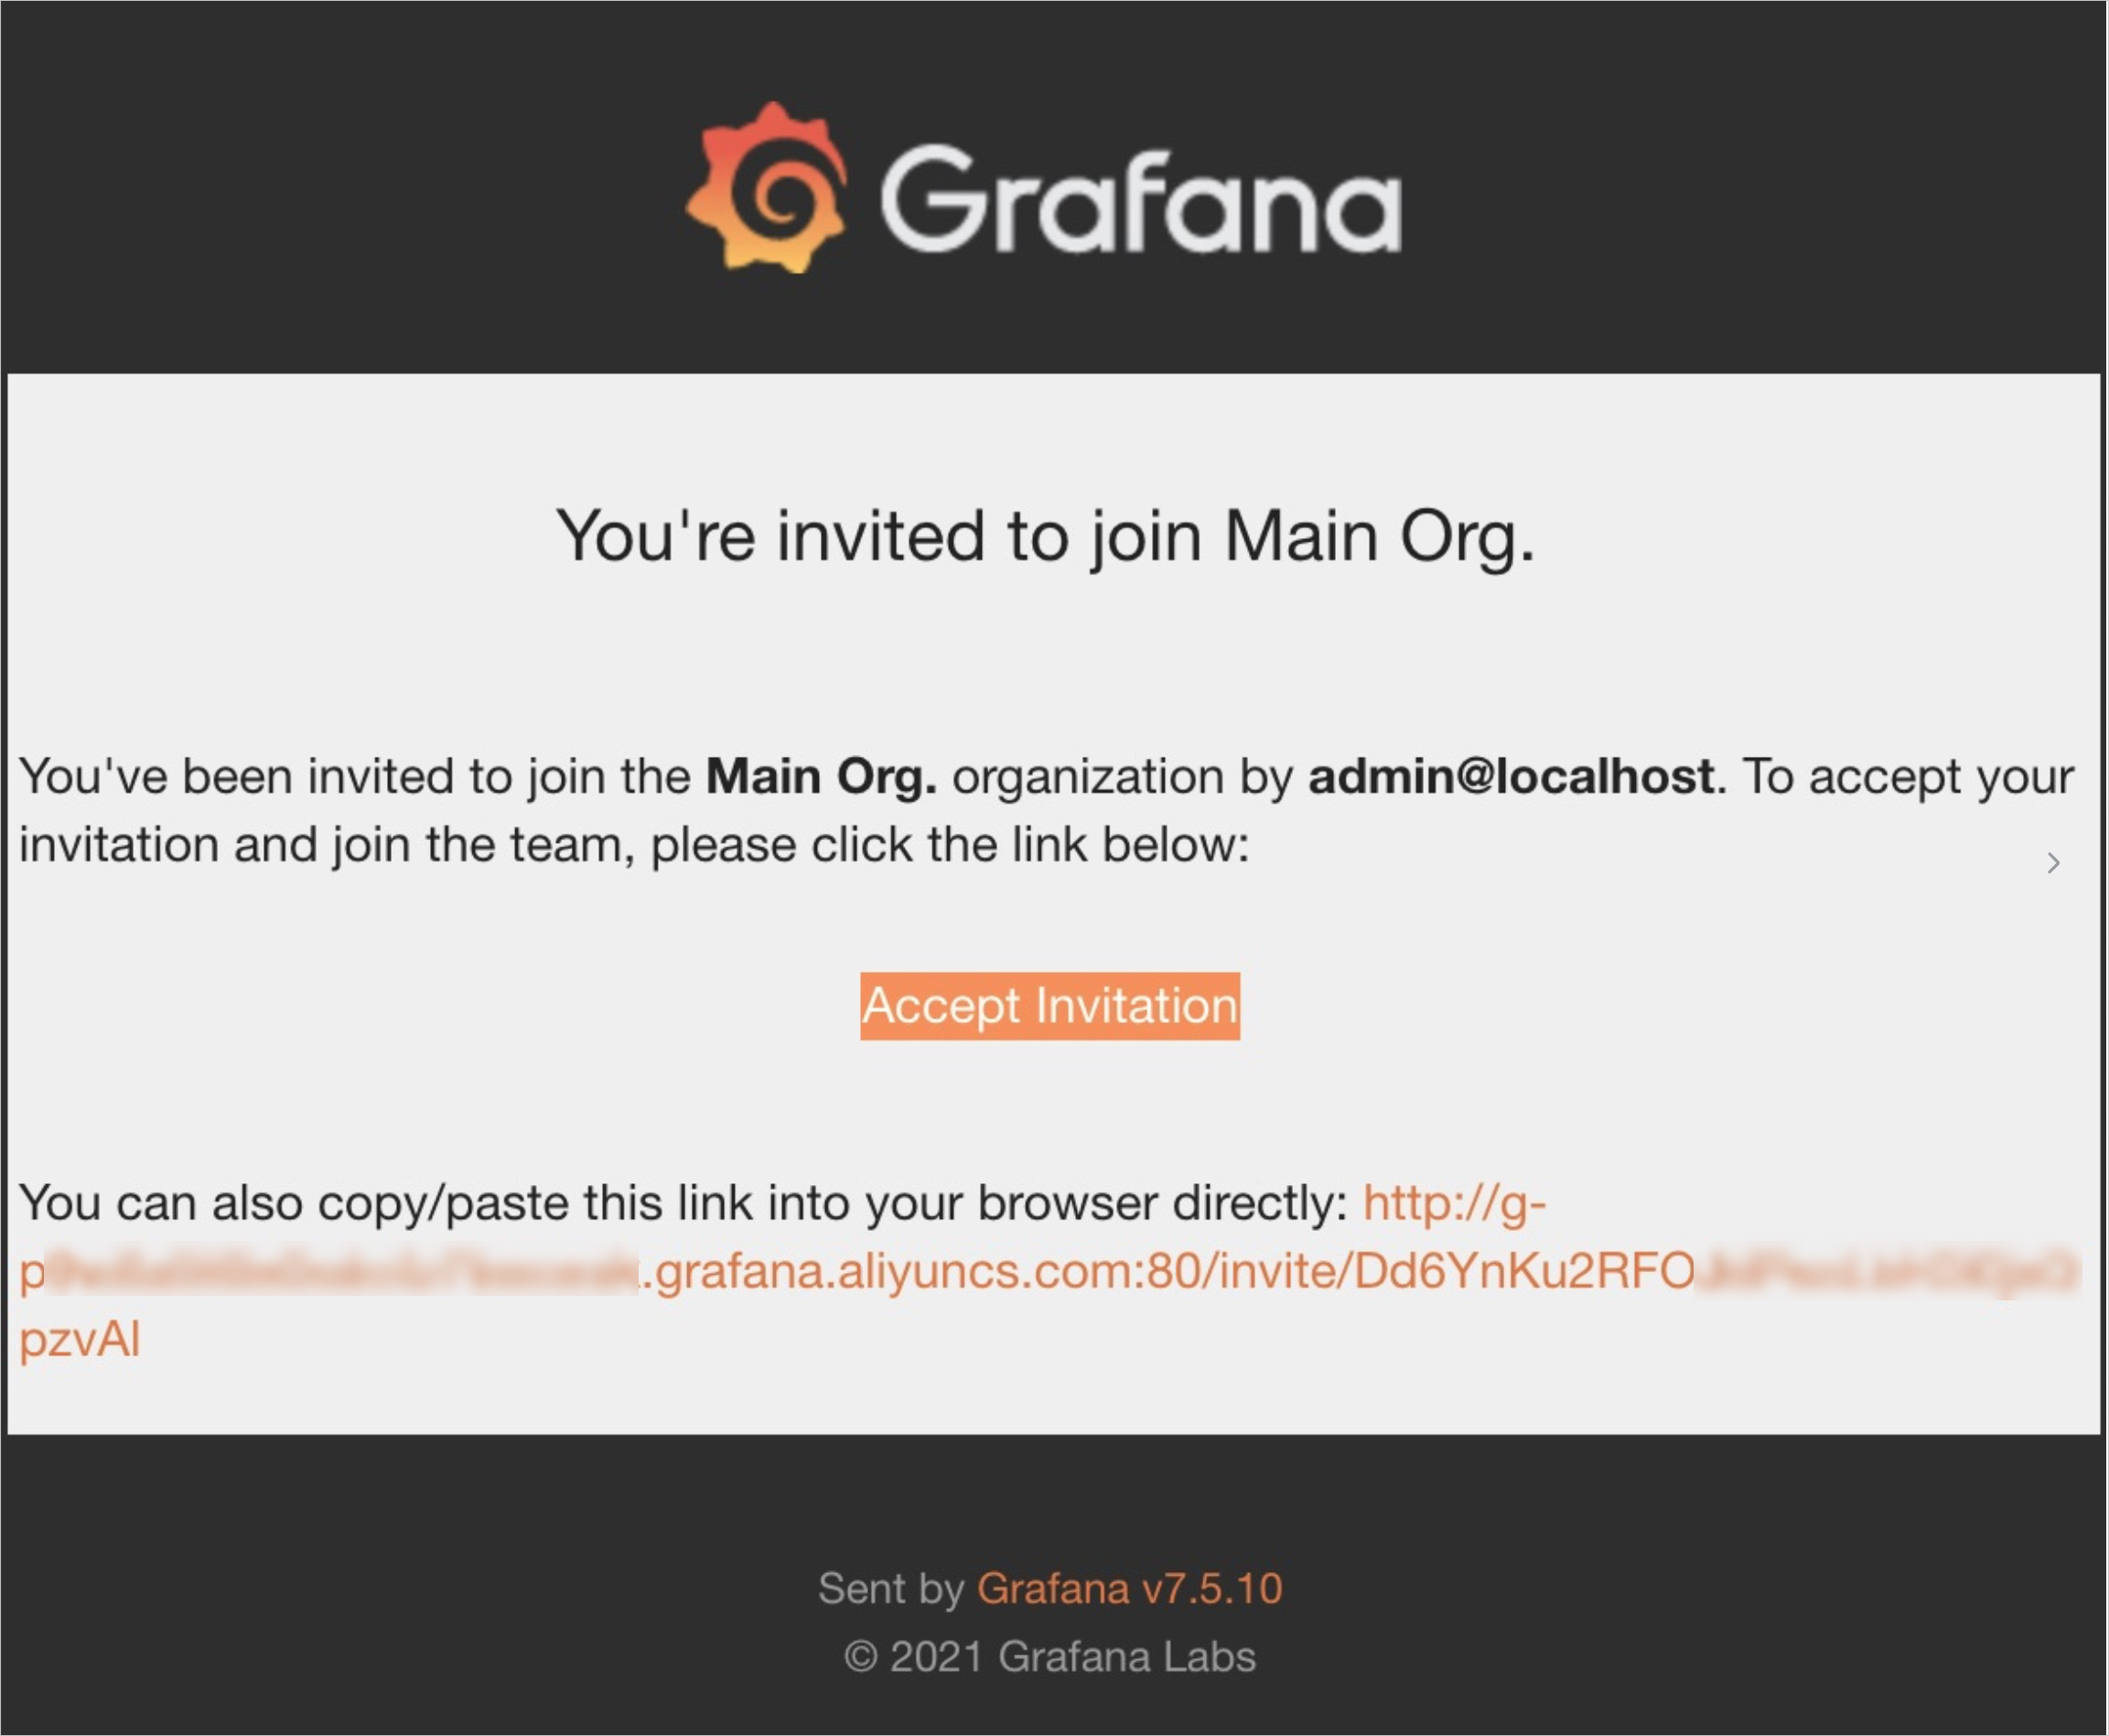
The user clicks Accept Invitation in the email and is redirected to Grafana.
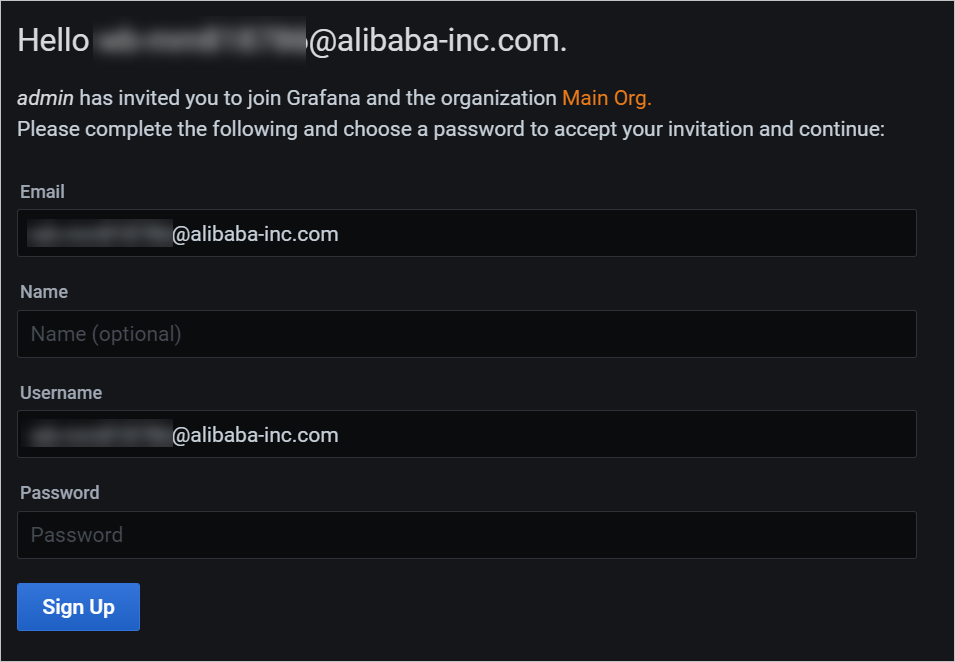
In Grafana, the user sets a password and clicks Sign Up to complete account creation.
Verify the result
After the user completes sign-up, the invited user has a Grafana account and belongs to the organization you specified. The user can log on to Grafana with the email address and password configured during sign-up.
To verify, go to > Users in Grafana and confirm the new user appears in the list.