After media upload and media processing are complete, a large amount of media assets are generated. ApsaraVideo VOD provides a centralized and powerful media asset management service that allows you to manage media assets by using the ApsaraVideo VOD console or API. This topic describes the types of media assets, media asset management features, methods to manage media assets, and usage scenarios.
What is a media asset?
During content production, a large amount of business data is generated, including audio, video, image, and text data. A media asset includes the business data and the metadata that defines the business data.
Media asset type
Type | Description | References |
Basic information |
Note The | |
Source file information | Includes the file name, duration, size, status, width, height, frame rate, URL, bitrate, output file type, and creation time. | |
Playback information | Includes the video stream bitrate, definition, duration, encryption status, playback URL, format, frame rate, width, height, stream type, transcoding job ID, watermark ID, stream status, creation time, and modification time. |
Scenarios
You can manage the complete metadata of multiple types of media assets such as videos and images. This reduces the cost to maintain a large amount of media content.
You can use multiple methods to obtain media asset information. Text tokenization is supported for queries based on titles and descriptions. This helps you quickly find the required information and facilitates long-term and frequent use of media content.
Media assets such as audio, video, image, and text files, stream information, and AI information can be associated with each other. You can obtain a media asset and the related information at the same time. For example, you can obtain the snapshots, thumbnail, playback information, and AI data related to a video.
Media assets can be used as materials to produce content. You can use existing materials in multiple content production processes such as editing and transcoding.
URLs are generated for all media assets. This way, you can share and distribute media content in a convenient manner.
Features
ApsaraVideo VOD allows you to obtain, update, and query media asset information, modify the storage classes of audio and video files, and download and delete media files.
Feature | Description | References |
Obtain media asset information | Obtains the basic information about a media asset based on the media asset ID. You can call different operations based on the type of the media asset. | |
Update media asset information | Modifies media asset information such as the title, description, category, and tag. Information such as the size, status, and storage region cannot be modified. | |
Change the storage class of a media asset | Modifies the storage classes of audio and video files. You can save the files as Standard, Infrequent Access (IA), Archive, or Cold Archive objects in ApsaraVideo VOD. | |
Query media asset information | Queries the basic information about media assets. Text tokenization is supported for queries based on titles and descriptions. This allows you to perform fuzzy search. The SearchMedia operation and the media asset search protocol apply to all types of media assets. | |
Download media files |
| |
Delete media files | Deletes media files at different granularities. ApsaraVideo VOD can generate multiple types of media files. You can delete media files such as source files, transcoded streams, snapshots, and images. |
Methods
You can manage media assets by using the ApsaraVideo VOD console or API.
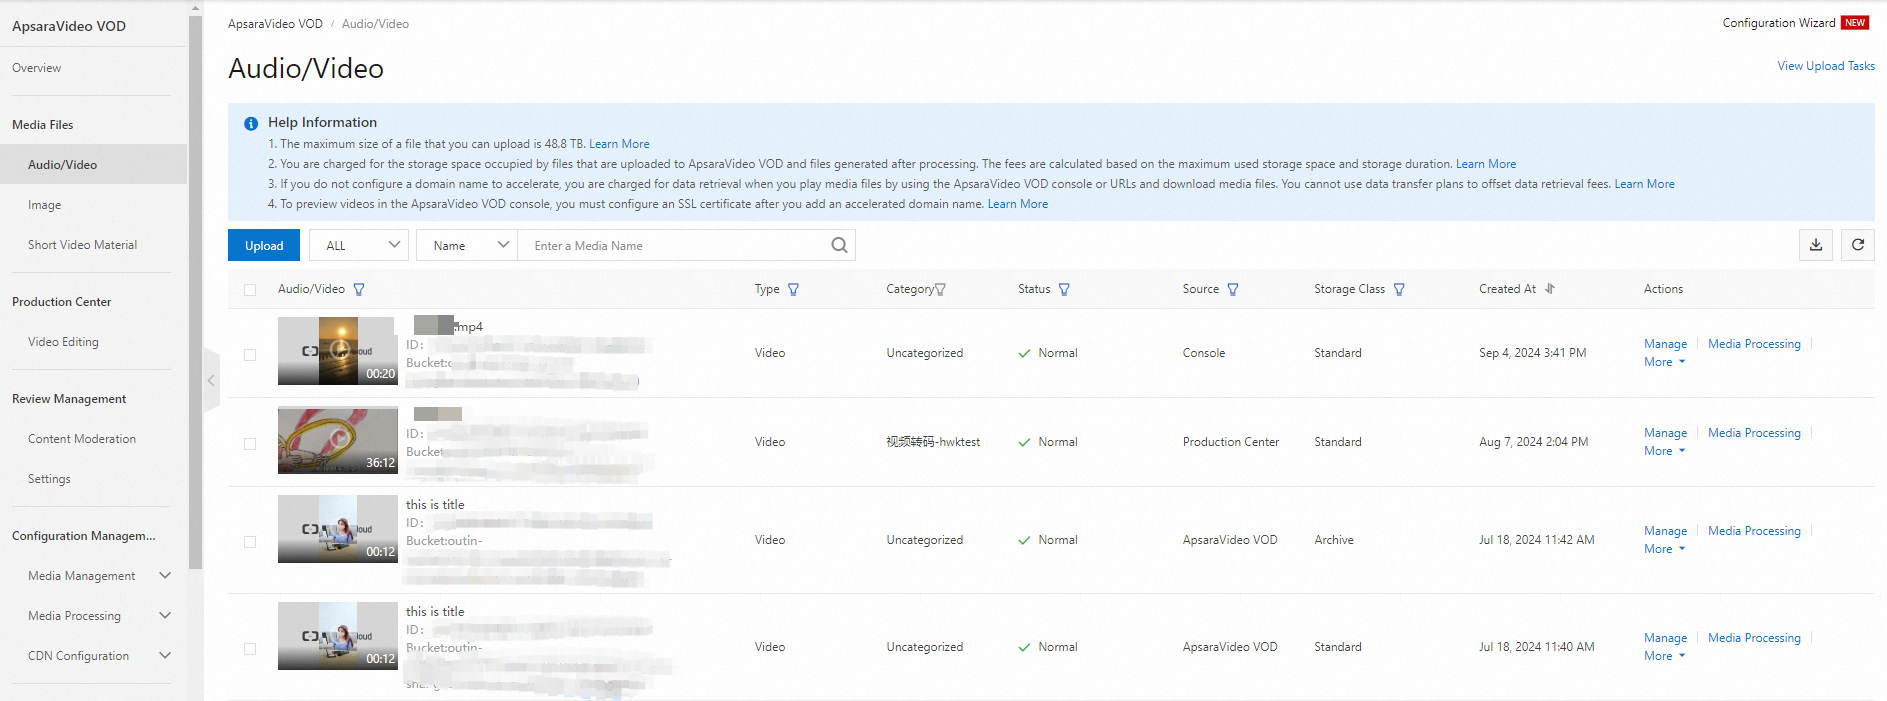
Manage media assets by using the ApsaraVideo VOD console
Log on to the ApsaraVideo VOD console. In the left-side navigation pane, click Audio/Video, Image, or Short Video Material under Media Files to manage audio and video files, images, and short video materials. You can upload, delete, update, view, and query audio, video, and image files. When you delete media asset information, the source files are permanently deleted and cannot be recovered.
Manage media assets by using the ApsaraVideo VOD API
You can call API operations to query audio, video, and image files, view media file details, update media files in a batch, and delete media files. For more information, see List of operations by function.