This topic describes how to use the migration or synchronization object renaming feature provided by the data transmission service.
Scenarios
By default, migration or synchronization objects, such as databases and tables, have the same names in the source and target. You can rename a migration or synchronization object in the target to map the database and table names between the source and the target. The renaming feature applies to multi-table aggregation scenarios and scenarios where the object names in the test and production environments are inconsistent.
The multi-table aggregation feature is mainly used to synchronize data from Distribute Relational Database Service (DRDS) and MyCat data sources to the same table in the target.
Limitations
The data transmission service allows you to rename migration or synchronization objects only when you select migration or synchronization objects for a data migration or synchronization task.
Do not rename objects after the data migration or synchronization task is started.
Directly rename a specified object
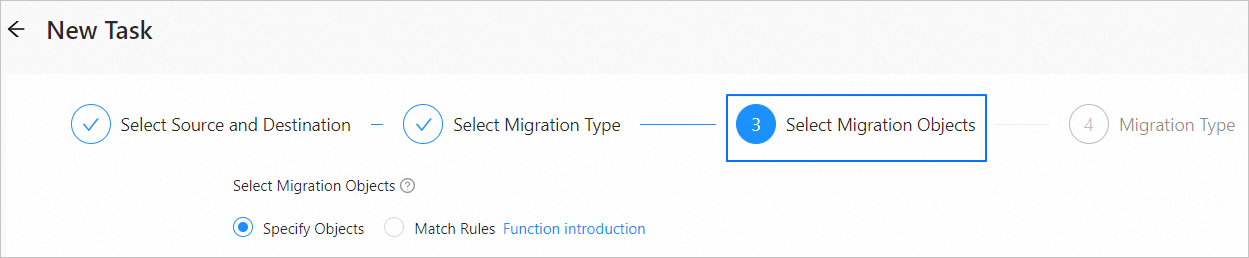
After you select migration or synchronization objects by using the Specify Objects option, you can rename the objects by performing the following operations.
Configure a data migration or synchronization task as prompted to the Select Migration Objects or Select Synchronization Objects step.
For more information, see the topics about data migration or data synchronization tasks of the corresponding data source types.
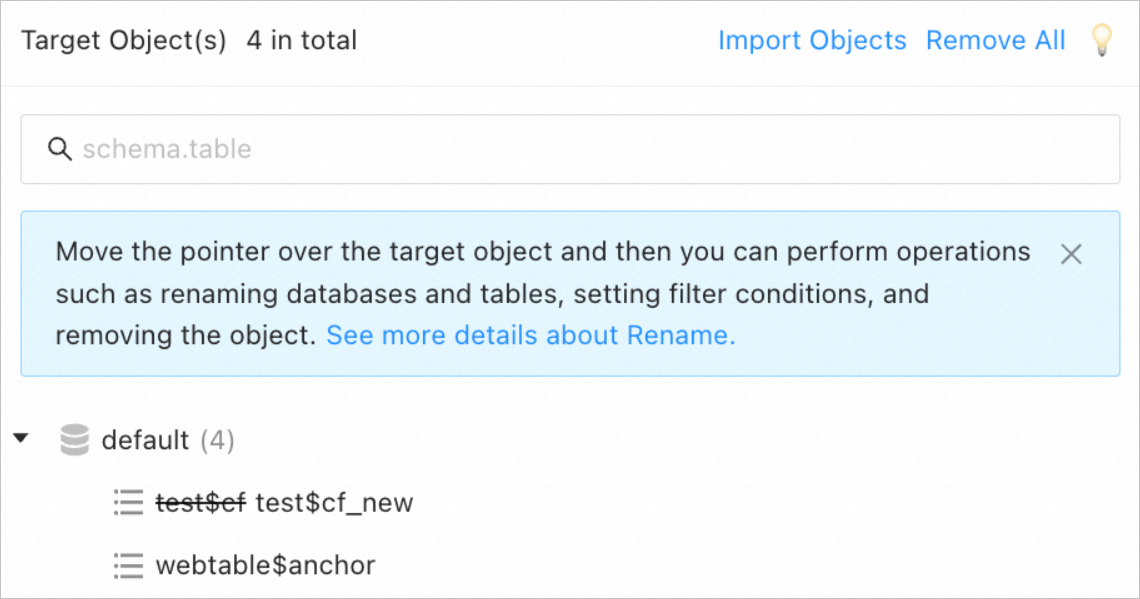
After you manually specify the database objects to be migrated or synchronized, move the pointer over the table object that you want to rename in the Target Object(s) pane on the right of the Specify Migration Scope or Specify Synchronization Scope section, and click Rename.

Enter the new name of the target object in the text box.

For a task that migrates data from a Lindorm or an HBase database to OBKV, the object name must be in the
tablename$columnfamilyformat. Thetablenameandcolumnfamilyfields can contain only digits (0 to 9), lowercase letters (a to z), and uppercase letter (A to Z). The dollar sign ($) cannot be edited when you rename the object.
Click OK to view the new object name.

For a task that migrates data from a Lindorm or an HBase database to OBKV, you can click ✅ to view the new object name.
Complete subsequent task settings as prompted.
Rename an object by using a matching rule
After you select migration or synchronization objects by using the Match Rules option, you can rename an object by performing the following operations.
After you rename an object in the target by using a matching rule on the left, you cannot rename this object again on the right.
The row filter conditions and other settings remain the same after an object is renamed by using a matching rule.
Configure a data migration or synchronization task as prompted to the Select Migration Objects or Select Synchronization Objects step.
For more information, see the topics about data migration or data synchronization tasks of the corresponding data source types.
After you choose Match Rules and specify the database objects to be migrated or synchronized, enter a matching rule with new object names in the Specify Migration Scope section.
In the Object Migration Rule section, clear the mappings between the source and target objects by using an equal sign (=), and then rename the objects. For example, if the source database name is test and the table name is test1, you can enter
test.test1=a.bto change the source database name to a and the table name to b.
Click Verify.
After the verification is passed, click Preview Object to view the new database name and table name.
Complete subsequent task settings as prompted.