The API Gateway console allows you to test the network connectivity between an API Gateway instance and the virtual private cloud (VPC) that you want the instance to access. This helps detect network issues that will otherwise occur during API debugging. This topic describes how to use the connectivity test feature of API Gateway and how to troubleshoot a connectivity issue based on the troubleshooting instructions.
1. Overview
The VPC access authorization feature allows you to create an authorization record to allow API Gateway to access your service in your VPC. When creating a VPC access authorization, you must specify your VPC ID, Classic Load Balancer (CLB) instance ID or Elastic Compute Service (ECS) instance ID, and the port number that is used to provide services. After you specify the information, API Gateway can access the exact backend service that you specified for an API. For more information, see Use a resource in a VPC as the backend service of an API.
2. Perform a connectivity test
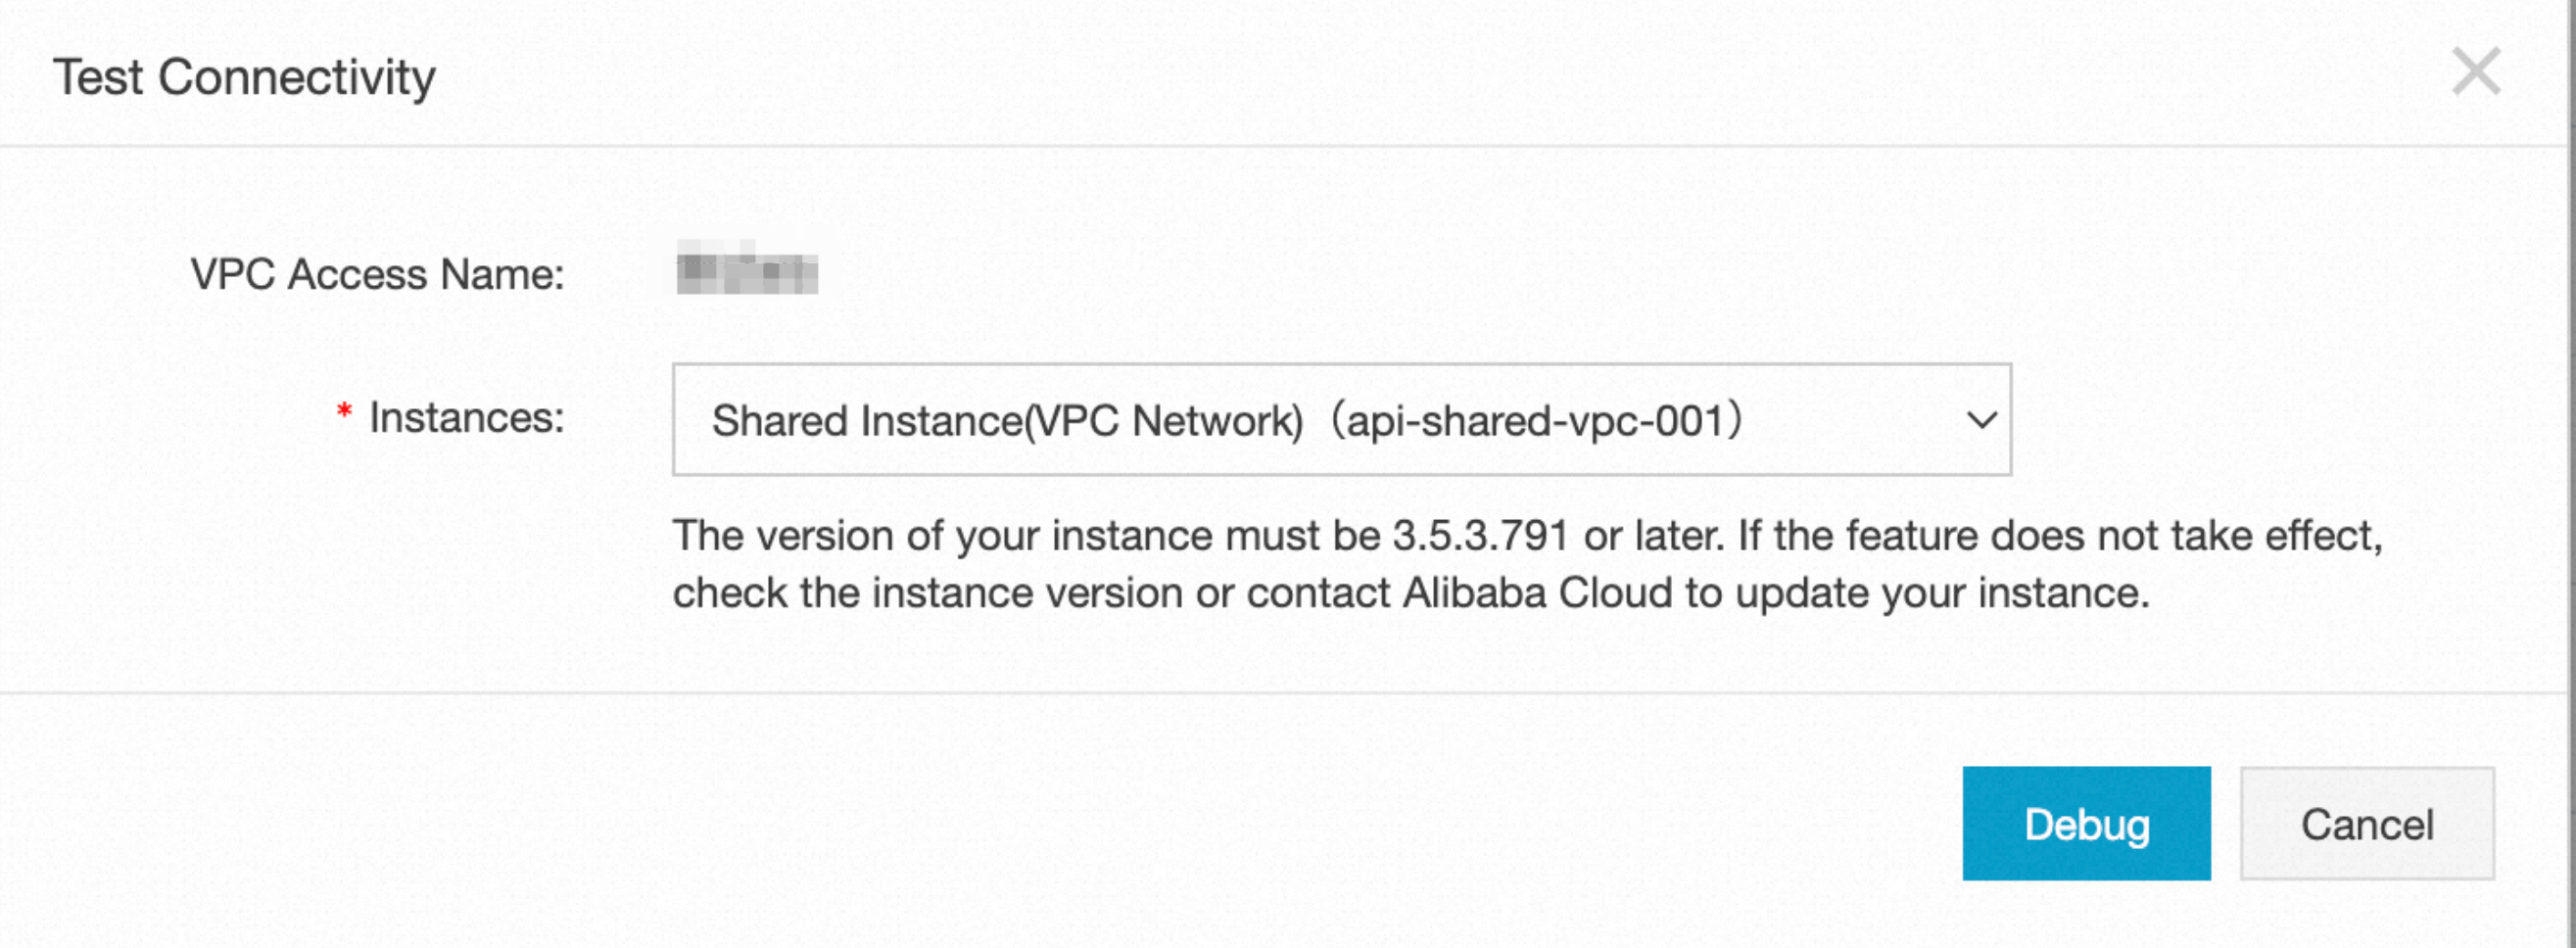
Log on to the API Gateway console. In the left-side navigation pane, choose Manage APIs > VPCs. Find the access authorization that you want to test and click Test Connectivity in the Actions column. On the Test Connectivity page, select the API Gateway instance that you want to test. Click Debug. The system tests the network connectivity between the selected API Gateway instance and the specified backend service in the authorization.

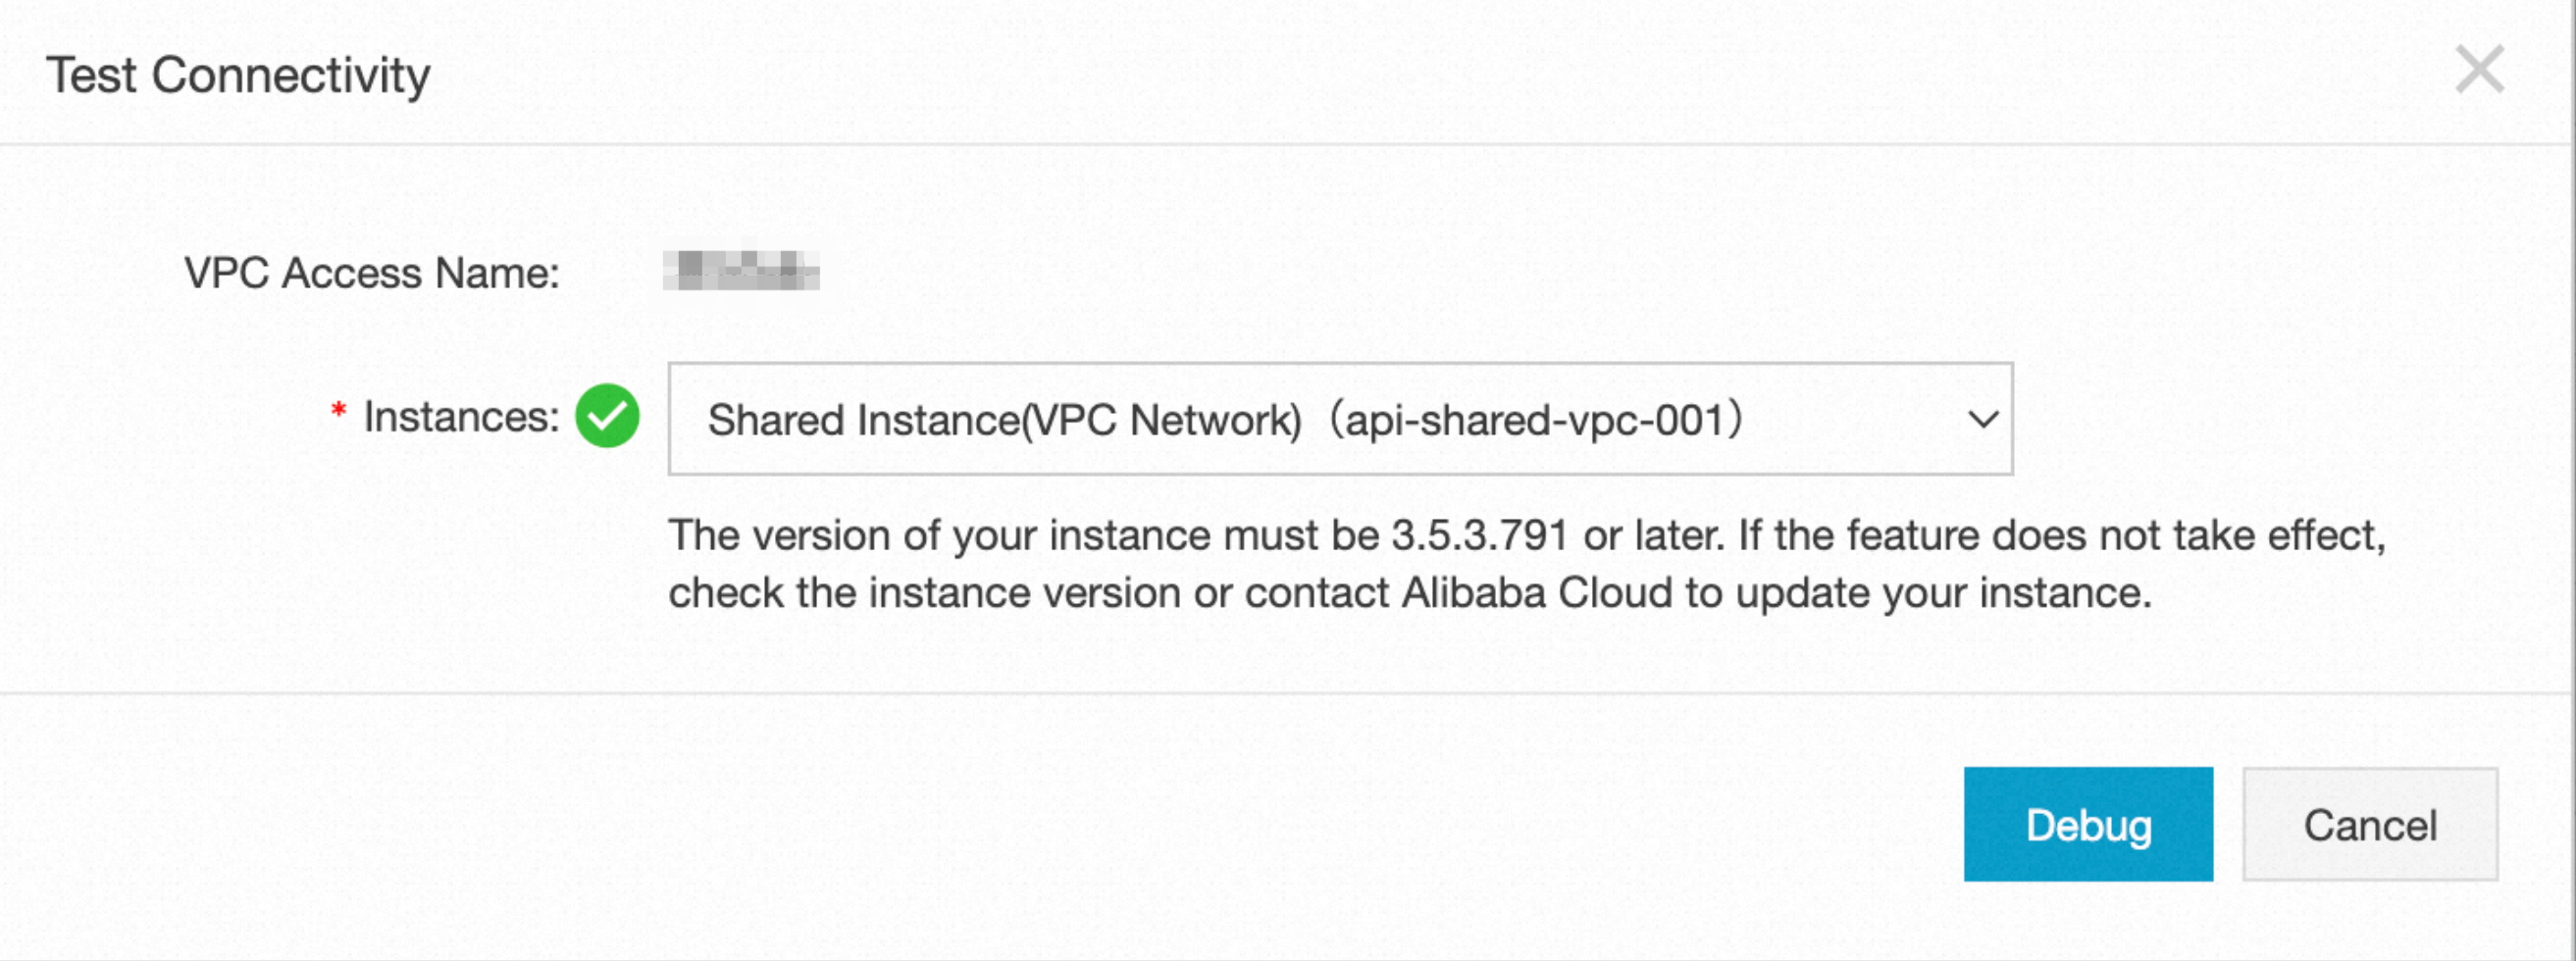
2.1 Test passed
If your API Gateway instance is connected to your backend service, a green tick sign appears next to your instance. The following figure shows an example.

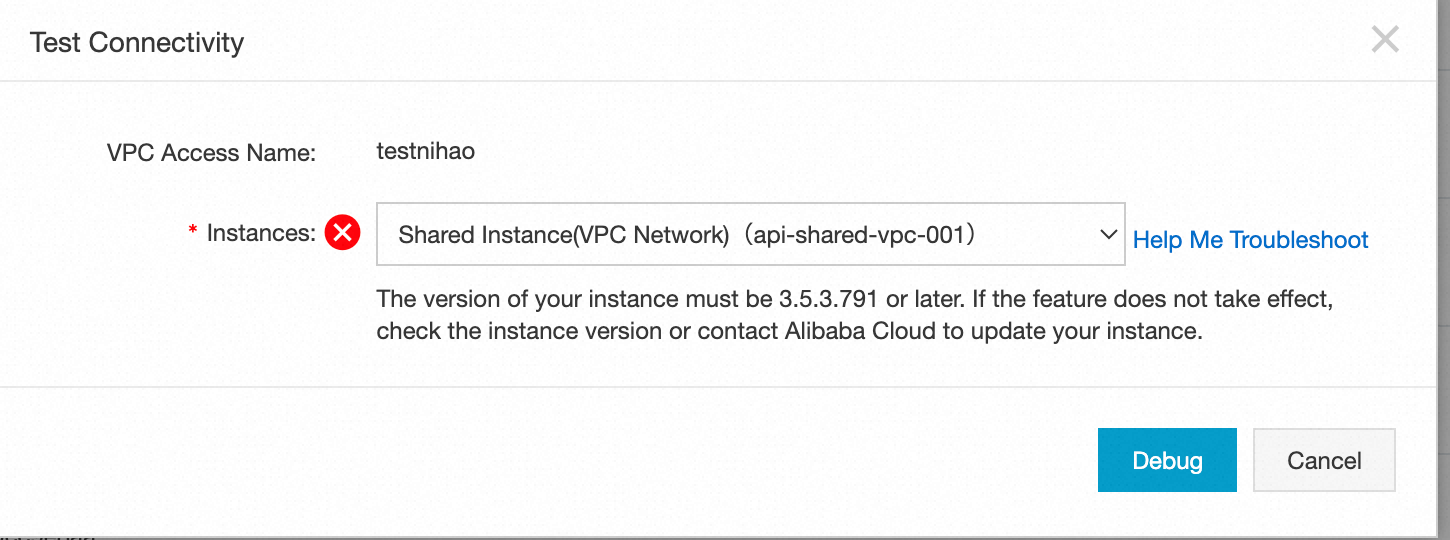
2.2 Test failed
If the connectivity test fails, the following message appears in most cases, indicating that your API Gateway instance is not connected to your backend service in the VPC authorization.

2.2.1 Troubleshoot the issue based on the instructions
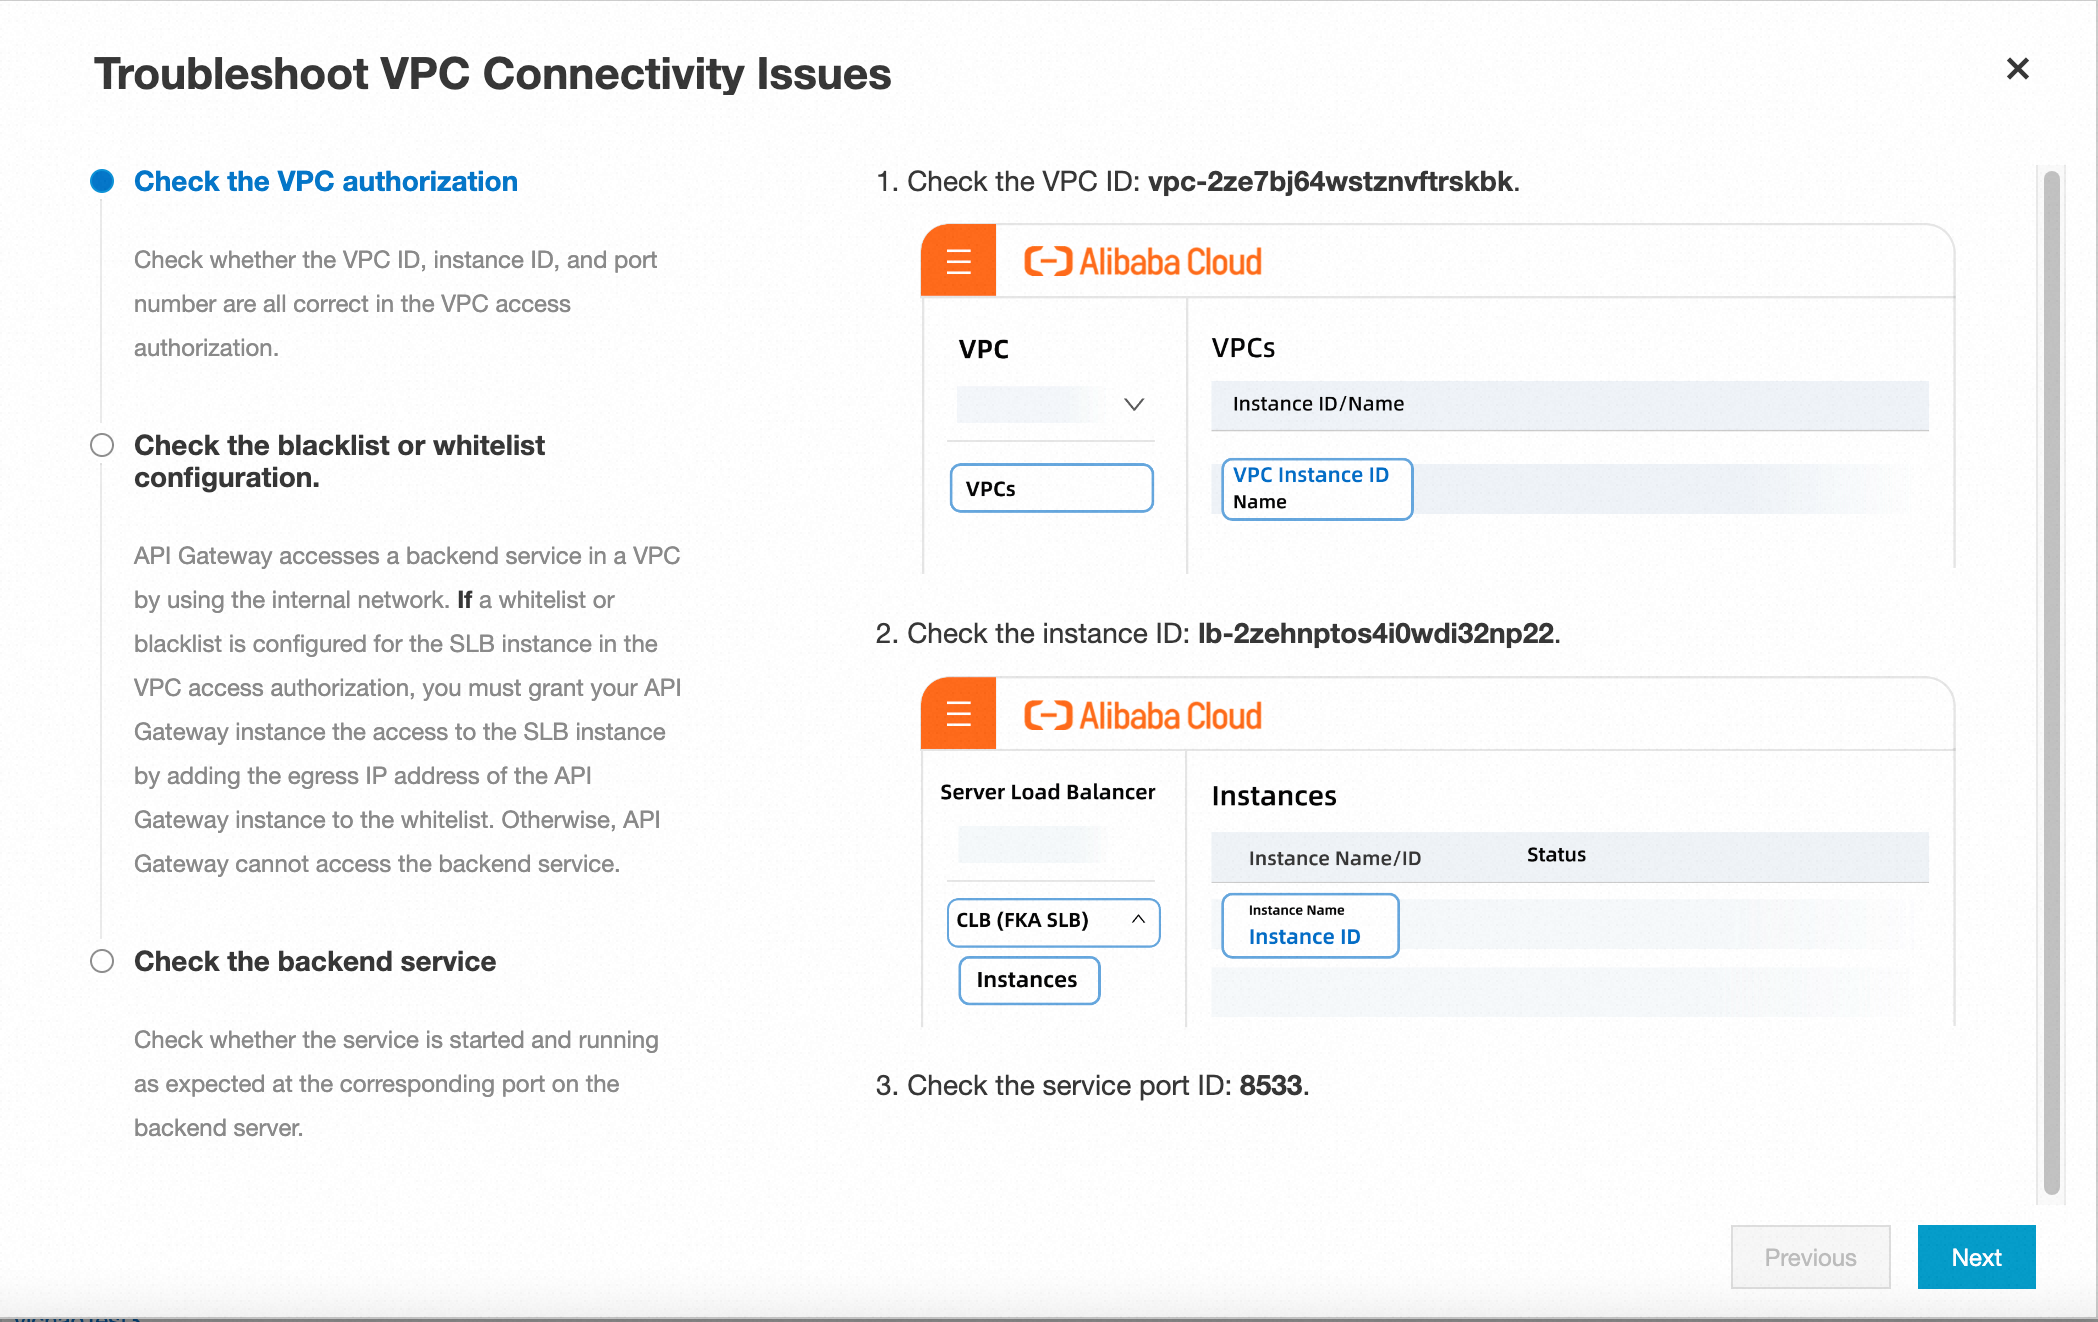
If the connectivity test fails, you can click Help Me Troubleshoot and troubleshoot the issue based on the instructions provided. After you click Help Me Troubleshoot, a window appears to provide troubleshooting instructions, which differ based on whether an ECS instance or a CLB instance is specified in the VPC authorization.
The general troubleshooting process consists of three steps:
1. Check whether the VPC authorization is correctly configured
When you create a VPC authorization, you must specify the VPC ID, instance ID, and service port. In this step, you are prompted to go to the corresponding console to check whether the information you specified is correct.

2. Check the security group of the ECS instance or the blacklist and whitelist settings of the CLB instance
If you specified an ECS instance in your VPC authorization and the ECS instance has a security group configured, you must go to the ECS console to add the egress IP address of your API Gateway instance to the inbound policy of the security group of the ECS instance.
If you specified a CLB instance in your VPC authorization and the CLB instance has a whitelist configured, you must add the egress IP address of your API Gateway instance to the whitelist of the CLB instance.
3. Check whether the backend service works as expected
In this step, you must check the health and running statuses of the backend service. If you specified an ECS instance in the VPC authorization, you must check the health status of the ECS instance. If you specified a CLB instance in the VPC authorization, you must check the health statuses of both the configured listener on the CLB instance and the CLB instance itself. To verify that the port you specified works as expected, you can log on to any server in the same VPC and run the curl command to check whether the configured port is being listened on on the specified ECS or CLB instance.