In multi-zone deployments, cross-zone traffic adds latency and data transfer costs. Zone-aware routing directs traffic to service endpoints in the same zone as the caller. When a same-zone endpoint becomes unavailable, traffic automatically fails over to endpoints in other zones.
This tutorial uses the Bookinfo sample application to demonstrate both behaviors on the ASM topology:
Same-zone preference: Traffic from
productpageroutes toreviews-v1in the same zone.Cross-zone failover: When
reviews-v1becomes unavailable, traffic shifts toreviews-v2in a different zone.
Prerequisites
Before you begin, make sure that you have:
An ASM instance. See Create an ASM instance
An ACK managed cluster added to the ASM instance. See Create an ACK managed cluster and Add a cluster to an ASM instance
Cluster nodes distributed across at least two zones. This tutorial uses
cn-hangzhou-jandcn-hangzhou-k. To check zone assignments, see the node details in the ACK console. For more information, see Regions and zonesAn ingress gateway deployed with topology viewing enabled. See Get started
Helm 3 installed on your local machine
Step 1: Deploy the sample application
Download the Helm chart for the sample application.
Extract the package and open the
asm-az-routingdirectory. Invalues.yaml, set the zones where the application deploys:zone1: cn-hangzhou-j zone2: cn-hangzhou-kThis deploys
reviews-v1incn-hangzhou-jandreviews-v2incn-hangzhou-k.Install the chart:
helm install --namespace azdemo azdemo ./After all pods are running, send continuous requests through the ingress gateway:
while true; do
  curl -I http://<ingress-gateway-ip>/productpage
  echo; sleep 1
done
Replace
<ingress-gateway-ip>with the IP address of your ingress gateway. PressCtrl+Cto stop.
Step 2: Confirm same-zone routing on the topology
Log on to the ASM console. In the left-side navigation pane, choose Service Mesh > Mesh Management.
Click the name of the ASM instance. In the left-side navigation pane, choose Observability Management Center > Mesh Topology.
Click Copy token and open in new window.
On the logon page, enter the token and click log in.
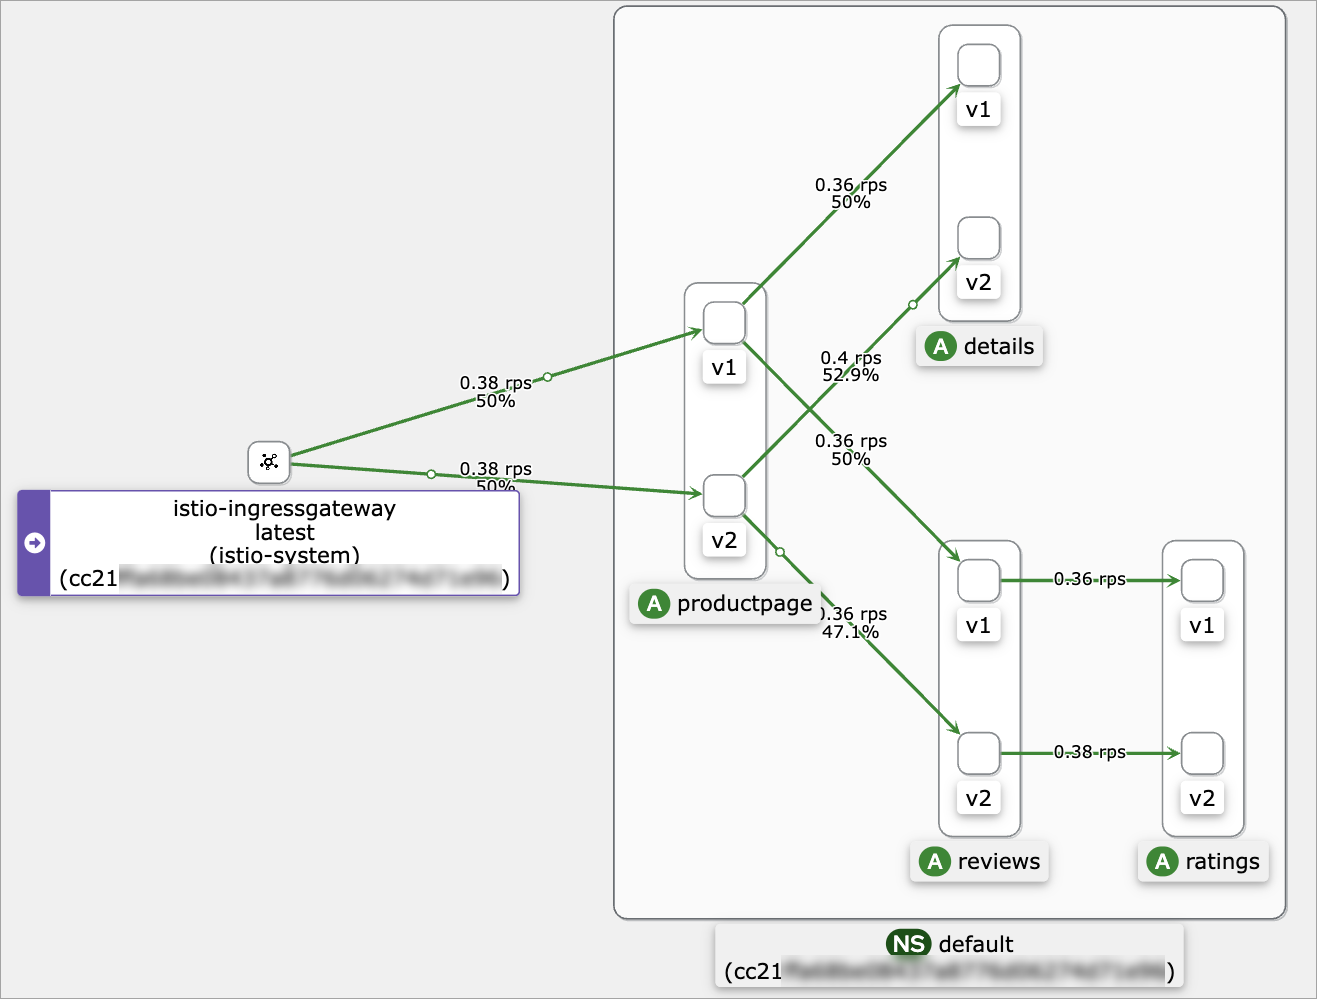
Select the namespace of the ASM instance. From the Display drop-down list, select Traffic Distribution, Traffic Rate, and Traffic Animation. Deselect Service Nodes.
The topology shows traffic flowing from
productpage-v1toreviews-v1in the same zone, confirming that zone-aware routing is active.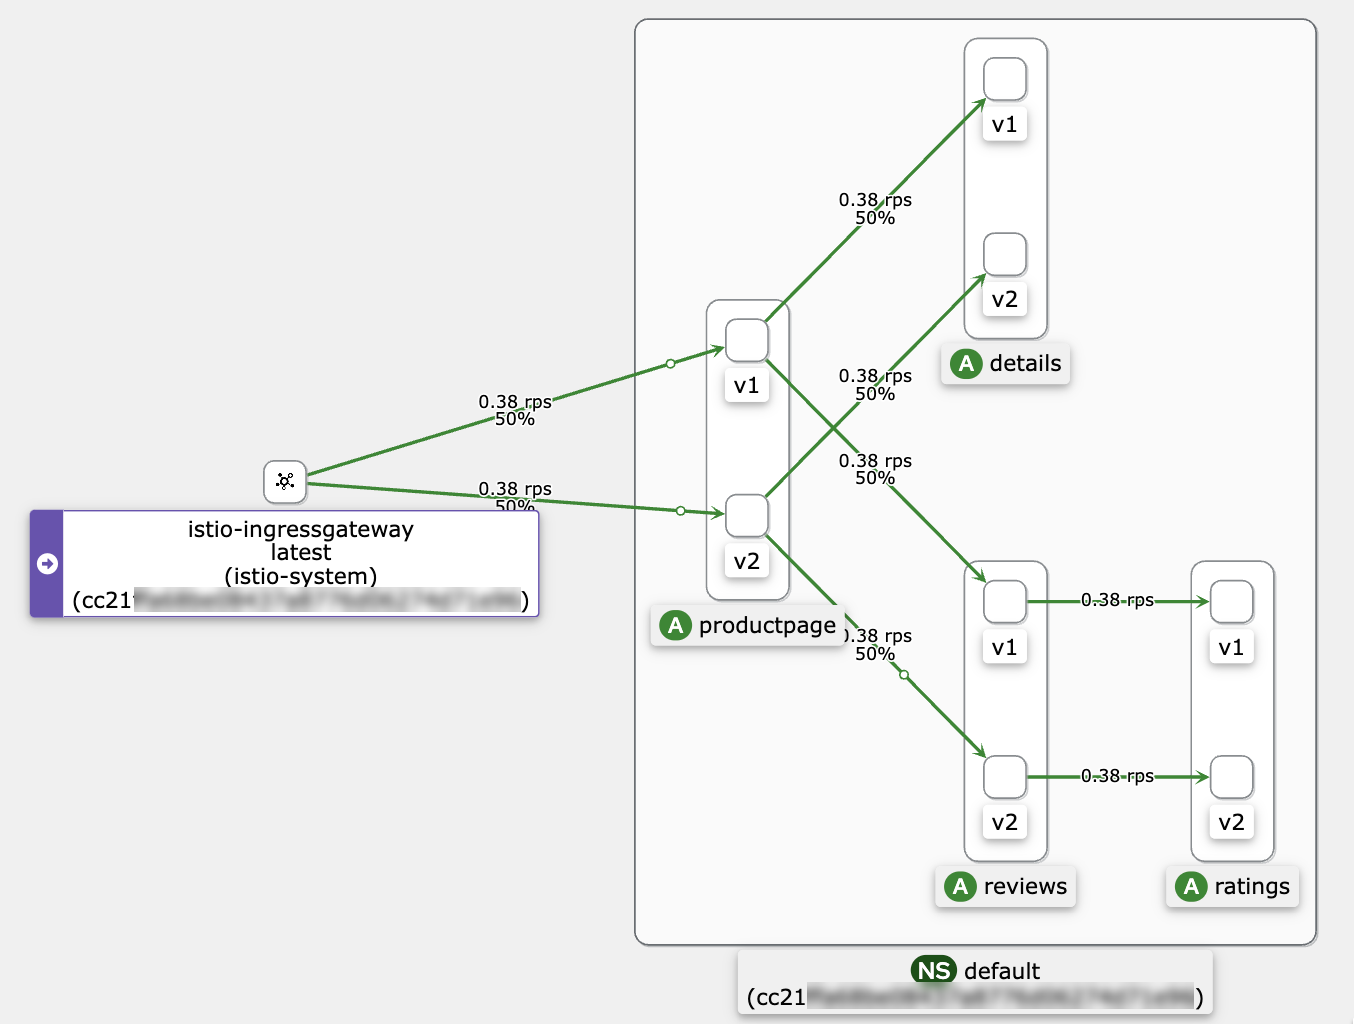
Step 3: Verify cross-zone failover
Simulate a zone failure by scaling reviews-v1 to zero pods, then observe the traffic shift.
In the ACK console, navigate to Clusters and click the cluster name. Choose Workloads > Deployments.
Find the
reviews-v1deployment, click Scale in the Actions column, set Desired Number of Pods to0, and click OK.Return to the Mesh Topology page opened in Step 2.
The topology now shows
productpage-v1routing toreviews-v2. This confirms cross-zone failover: when the same-zonereviewsservice is unavailable, traffic automatically routes to thereviewsservice in another zone.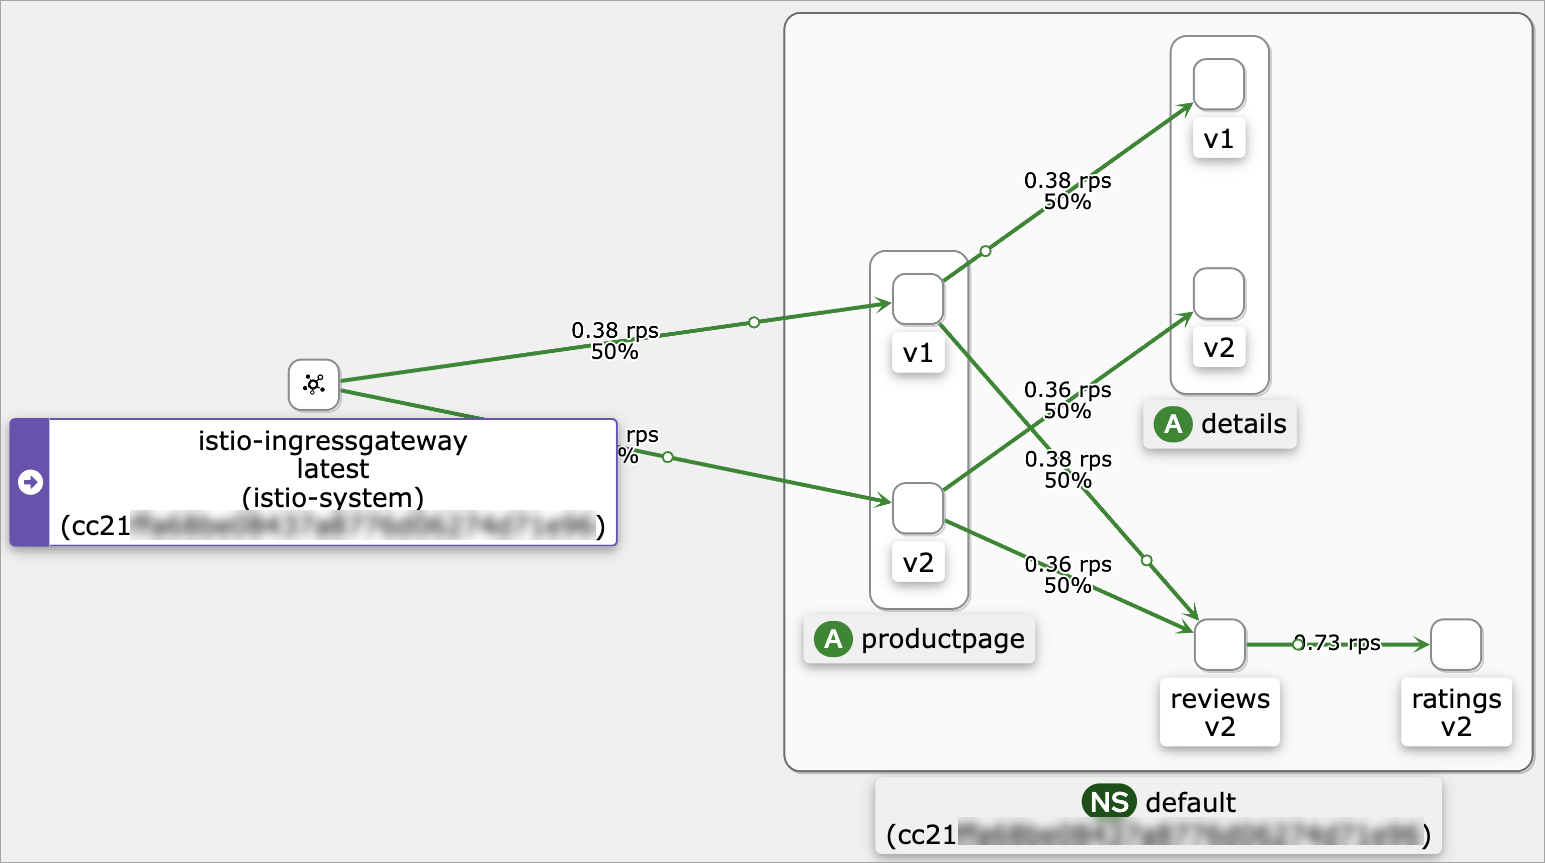
Step 4: Verify routing recovery
Restore reviews-v1 and confirm that traffic returns to the same-zone endpoint.
In the ACK console, navigate to Workloads > Deployments for the same cluster.
Find the
reviews-v1deployment, click Scale in the Actions column, set Desired Number of Pods to1, and click OK.Return to the Mesh Topology page opened in Step 2.
The topology shows
productpage-v1routing back toreviews-v1in the same zone, confirming that zone-aware routing recovers after the endpoint is restored.