System policies grant broad permissions at the service level. If you need fine-grained control — for example, limiting a RAM user to a specific instance or namespace — create a custom policy and attach it to that user. The following procedure grants read and write access to a single namespace on a Container Registry Enterprise Edition instance as an example.
Prerequisites
Before you begin, ensure that you have:
A RAM user account with administrative rights to create policies in the RAM console
The instance ID and namespace name of the Container Registry Enterprise Edition instance
Create a custom policy
Log on to the RAM console as a RAM user with administrative rights.
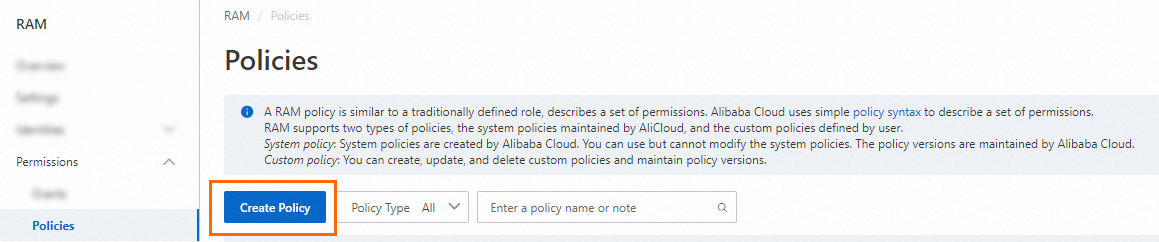
On the Policies page, click Create Policy.
On the Create Policy page, click the JSON tab.

Copy the following JSON into the code editor and replace the placeholders with your actual values.
Placeholder Description Example $instanceidThe ID of your Container Registry Enterprise Edition instance cri-123456$namespaceThe name of the namespace to grant access to ns{ "Statement": [ { "Effect": "Allow", "Action": [ "cr:ListInstance*", "cr:GetInstance*", "cr:ListSignature*" ], "Resource": "*" }, { "Action": [ "cr:*" ], "Effect": "Allow", "Resource": [ "acs:cr:*:*:repository/$instanceid/$namespace/*", "acs:cr:*:*:repository/$instanceid/$namespace" ] }, { "Action": [ "cr:List*" ], "Effect": "Allow", "Resource": [ "acs:cr:*:*:repository/$instanceid/*", "acs:cr:*:*:repository/$instanceid/*/*" ] } ], "Version": "1" }Replace the following placeholders: The asterisk (
*) is a wildcard. For example,cr:ListInstance*grants all actions that start withcr:ListInstance. Setting the resourceacs:cr:*:*:repository/$instanceid/$namespace/*toacs:cr:*:*:repository/cri-123456/ns/*grants all permissions on thensnamespace of instancecri-123456across all regions. To grant additional permissions, see Authentication rules of Container Registry for the full list of available actions and resource formats. For policy syntax details, see Policy structure and syntax.Click OK. In the Create Policy dialog box, set Policy Name and Description.
Attach the custom policy to a RAM user
Log on to the RAM console as a RAM administrator.
In the left-side navigation pane, choose Identities > Users.
On the Users page, find the RAM user you want to authorize, then click Add Permissions in the Actions column. To grant the same permissions to multiple RAM users at once, select them and click Add Permissions at the bottom of the page.

In the Grant Permission panel, configure the following:
-
Set Resource Scope.
Option When to use Account The permission applies to the current Alibaba Cloud account ResourceGroup The permission applies to a specific resource group ImportantIf you select ResourceGroup, confirm that Container Registry supports resource groups. See Services that work with Resource Group. For instructions on granting permissions at the resource group level, see Use a resource group to grant a RAM user the permissions to manage a specific ECS instance.
The Principal defaults to the current RAM user.
Set Policy. Select the custom policy you created. You can select multiple policies at a time. Policies fall into two types:
-
System policies: Created and maintained by Alibaba Cloud. You can use these policies but cannot modify them. Version updates of the policies are maintained by Alibaba Cloud. For the full list, see Services that work with RAM.
NoteThe RAM console automatically flags high-risk system policies such as AdministratorAccess and AliyunRAMFullAccess. Avoid attaching these unless strictly necessary.
Custom policies: Policies you create, update, and delete based on your requirements. See Create a custom policy.
-
Click Grant permissions.
-
Click Close.
After the RAM user logs on to the Container Registry console, they can perform operations in the namespaces that the RAM user is authorized to access — including building, pushing, and pulling images.