When managing applications across multiple clusters, you need a central plane to distribute workloads and control traffic without switching between cluster credentials. With Service Mesh (ASM) enabled on an ACK One Fleet instance, you can distribute Kubernetes resources to associated clusters and apply Istio traffic rules — all from the Fleet instance, without using the kubeconfig of the Service Mesh instance directly.
This topic walks you through a complete example: deploying two versions of an application (blue and green) to multiple clusters, then shifting traffic between those versions using Istio traffic rules.
Prerequisites
Before you begin, ensure that you have:
-
Enabled Service Mesh for the ACK One Fleet instance
-
Obtained the kubeconfig file of the Fleet instance from the ACK One console and connected a kubectl client to the Fleet instance
How this works
The following figure illustrates the architecture used in this example.

The three connection types in the figure correspond to three distinct capabilities:
-
Connection 1 — Application distribution: Deploy Kubernetes resources (Deployments, Services, and ConfigMaps) from the Fleet instance to associated clusters. For details, see Application distribution.
-
Connection 2 — Traffic management: Apply Istio traffic distribution rules from the Fleet instance to associated clusters. The Fleet instance propagates these rules automatically — you do not need the kubeconfig of the Service Mesh instance. Supported rule types:
-
DestinationRules
-
EnvoyFilters
-
Gateways
-
ServiceEntries
-
Sidecars
-
VirtualServices
-
WorkloadEntries
-
WorkloadGroups
-
-
Connection 3 — Traffic access: Access the application through the ingress gateway IP address. Requests are forwarded to the appropriate version based on the active traffic distribution rules.
Overview
This example consists of three steps:
-
Deploy the
podinfoapplication (blue and green versions) to associated clusters using a KubeVela Application. -
Create an Istio Gateway, DestinationRule, and VirtualService to route all traffic to the blue version.
-
Verify the traffic split and update the VirtualService to shift 80% of traffic to the green version.
Step 1: Deploy the application
-
Enable automatic sidecar injection for the
defaultnamespace:kubectl label namespace default istio-injection=enabled -
Create the Kubernetes base resources — a Service and two Deployments (one per version):
kubectl apply -f - <<EOF apiVersion: v1 kind: Service metadata: name: podinfo labels: app: podinfo service: podinfo spec: selector: app: podinfo ports: - protocol: TCP port: 80 targetPort: 8080 --- apiVersion: apps/v1 kind: Deployment metadata: name: podinfo-green labels: app: podinfo version: green spec: replicas: 4 minReadySeconds: 5 revisionHistoryLimit: 5 progressDeadlineSeconds: 60 strategy: rollingUpdate: maxUnavailable: 1 type: RollingUpdate selector: matchLabels: app: podinfo version: green template: metadata: labels: app: podinfo version: green spec: containers: - name: podinfod image: registry.cn-hangzhou.aliyuncs.com/acs/rollouts-demo:green imagePullPolicy: IfNotPresent ports: - name: http containerPort: 8080 protocol: TCP readinessProbe: tcpSocket: port: 8080 initialDelaySeconds: 5 timeoutSeconds: 5 --- apiVersion: apps/v1 kind: Deployment metadata: name: podinfo-blue labels: app: podinfo version: blue spec: replicas: 4 minReadySeconds: 5 revisionHistoryLimit: 5 progressDeadlineSeconds: 60 strategy: rollingUpdate: maxUnavailable: 1 type: RollingUpdate selector: matchLabels: app: podinfo version: blue template: metadata: labels: app: podinfo version: blue spec: containers: - name: podinfod image: registry.cn-hangzhou.aliyuncs.com/acs/rollouts-demo:blue imagePullPolicy: IfNotPresent ports: - name: http containerPort: 8080 protocol: TCP readinessProbe: tcpSocket: port: 8080 initialDelaySeconds: 5 timeoutSeconds: 5 EOF -
Get the IDs of the clusters associated with the Fleet instance. You need these IDs in the next step. For details on the AMC CLI tool, see Use AMC command line.
kubectl amc get managedclustersExpected output:
Name Alias HubAccepted c5f4110f2ad88499583fc76cc568a**** ack-hy-01 true c7f78dd3b09a146b8b750b4c1c51d**** ack-hy-02 true -
Deploy a KubeVela Application named
podinfoto distribute the Deployments and Service to both clusters. Replace<clusterid1>and<clusterid2>with the cluster IDs from the previous step.kubectl apply -f - <<EOF apiVersion: core.oam.dev/v1beta1 kind: Application metadata: name: podinfo namespace: default annotations: app.oam.dev/publishVersion: version1 spec: components: - name: podinfo type: ref-objects properties: objects: - apiVersion: apps/v1 kind: Deployment name: podinfo-blue - apiVersion: apps/v1 kind: Deployment name: podinfo-green - apiVersion: v1 kind: Service name: podinfo policies: - type: topology name: podinfo-clusters properties: clusters: ["<clusterid1>","<clusterid2>"] # Specify the cluster IDs to deploy to EOFThe Fleet instance distributes the Deployments and Service to the clusters you specified.
Step 2: Configure gateway rules and create a virtual service
Create the Istio resources in this order: Gateway first, then DestinationRule (which defines the subsets), then VirtualService (which references both). The Fleet instance propagates all three resources to the associated clusters automatically — you do not need to apply them directly to each cluster.
-
Log on to the ACK One console and create a Service Mesh ingress gateway. For details, see Create an ingress gateway.
-
Create the Istio Gateway resource on the Fleet instance:
kubectl apply -f - <<EOF apiVersion: networking.istio.io/v1alpha3 kind: Gateway metadata: name: podinfo-gateway spec: selector: istio: ingressgateway servers: - port: number: 80 name: http protocol: HTTP hosts: - "*" EOF -
Create a DestinationRule that maps the
blueandgreensubsets to the corresponding Pod labels. The outlier detection policy automatically ejects unhealthy endpoints.kubectl apply -f - <<EOF apiVersion: networking.istio.io/v1alpha3 kind: DestinationRule metadata: name: podinfo spec: host: podinfo trafficPolicy: outlierDetection: baseEjectionTime: 30s consecutiveErrors: 7 interval: 30s subsets: - name: blue labels: version: blue - name: green labels: version: green EOF -
Create a VirtualService that routes all traffic to the
bluesubset:kubectl apply -f - <<EOF apiVersion: networking.istio.io/v1alpha3 kind: VirtualService metadata: name: podinfo spec: hosts: - "*" gateways: - podinfo-gateway http: - match: - uri: prefix: / route: - destination: host: podinfo subset: blue port: number: 80 EOF
Step 3: Verify the results
-
Get the external IP address of the ingress gateway in each associated cluster. Use the AMC CLI to query services across clusters without switching kubeconfig contexts. For details on the AMC CLI tool, see Use AMC command line.
kubectl amc get svc -n istio-system -m <Name of an associated cluster>Expected output:
Run on ManagedCluster c5f4110f2ad88499583fc76cc568a**** (ack-hy-01) NAME TYPE CLUSTER-IP EXTERNAL-IP PORT(S) AGE istio-ingressgateway LoadBalancer 10.12.1**.*** 47.113.***.*** 80:30315/TCP,443:32***/TCP 47h Run on ManagedCluster c7f78dd3b09a146b8b750b4c1c51d**** (ack-hy-02) NAME TYPE CLUSTER-IP EXTERNAL-IP PORT(S) AGE istio-ingressgateway LoadBalancer 10.75.9**.*** 47.113.***.*** 80:32101/TCP,443:30***/TCP 47h -
Open
http://<EXTERNAL-IP>/in a browser, replacing<EXTERNAL-IP>with the address from the previous step. The page shows theblueversion of the application, because the VirtualService routes 100% of traffic to thebluesubset.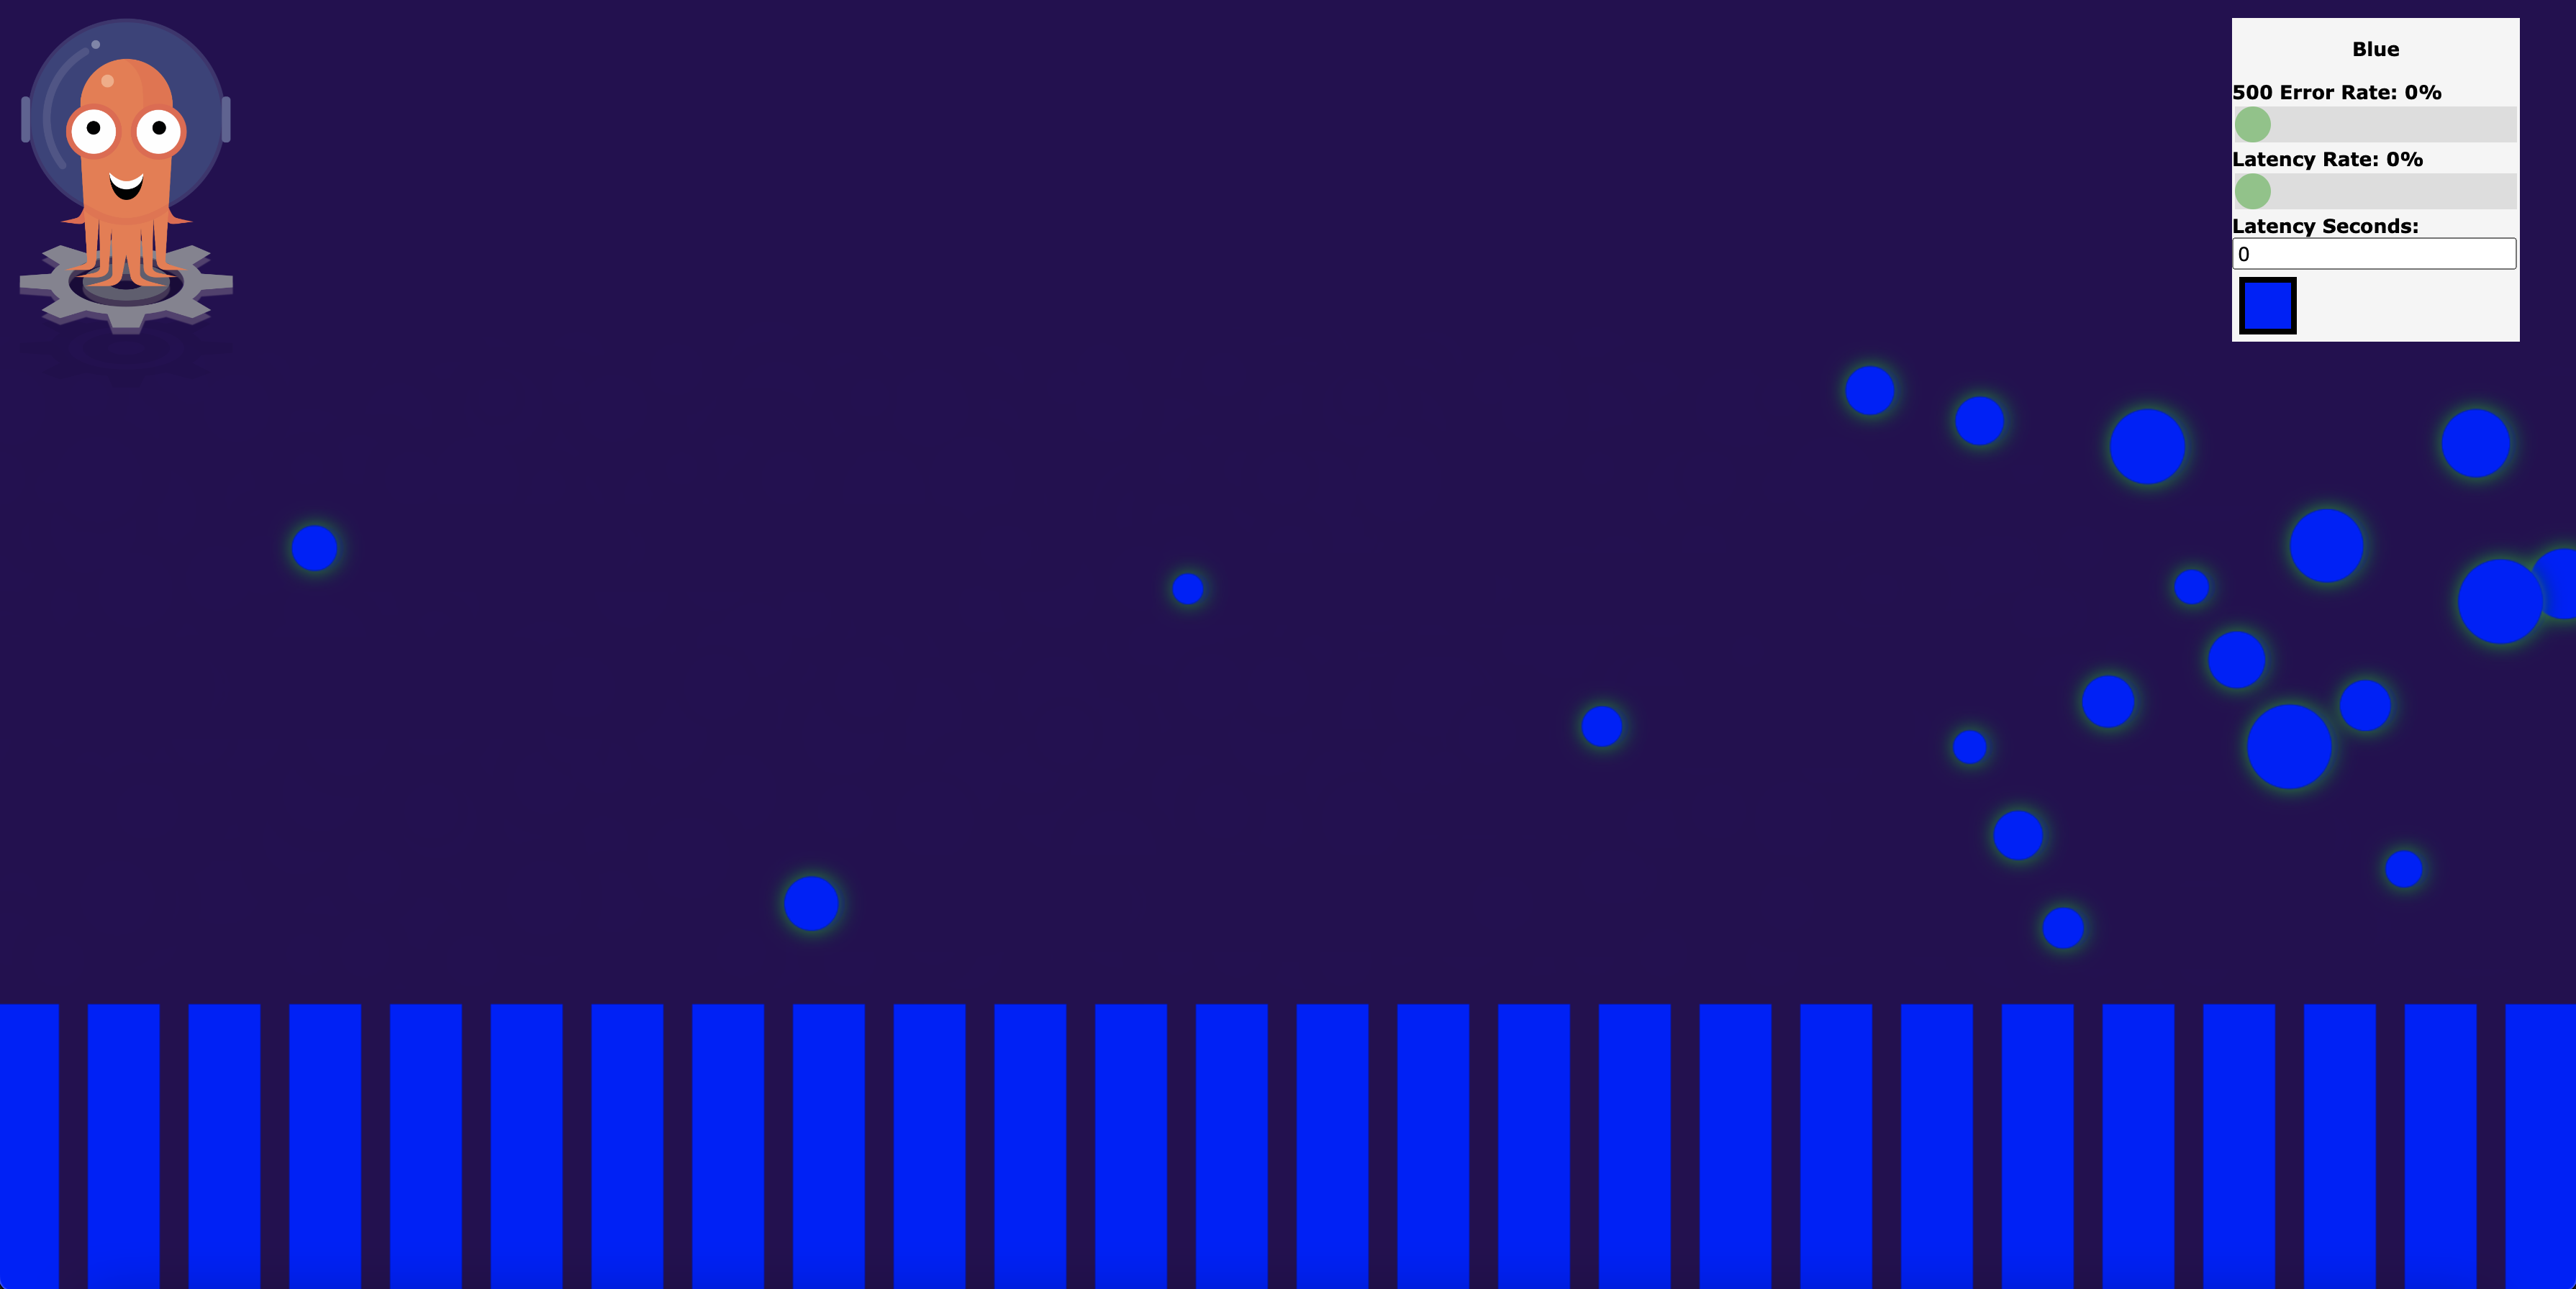
-
Shift traffic to an 80/20 split between the
greenandblueversions by applying an updated VirtualService:kubectl apply -f - <<EOF apiVersion: networking.istio.io/v1alpha3 kind: VirtualService metadata: name: podinfo spec: hosts: - "*" gateways: - podinfo-gateway http: - match: - uri: prefix: / route: - destination: host: podinfo subset: green port: number: 80 weight: 80 - destination: host: podinfo subset: blue port: number: 80 weight: 20 EOF -
Refresh
http://<EXTERNAL-IP>/in your browser. About 80% of responses now come from thegreenversion and 20% from theblueversion.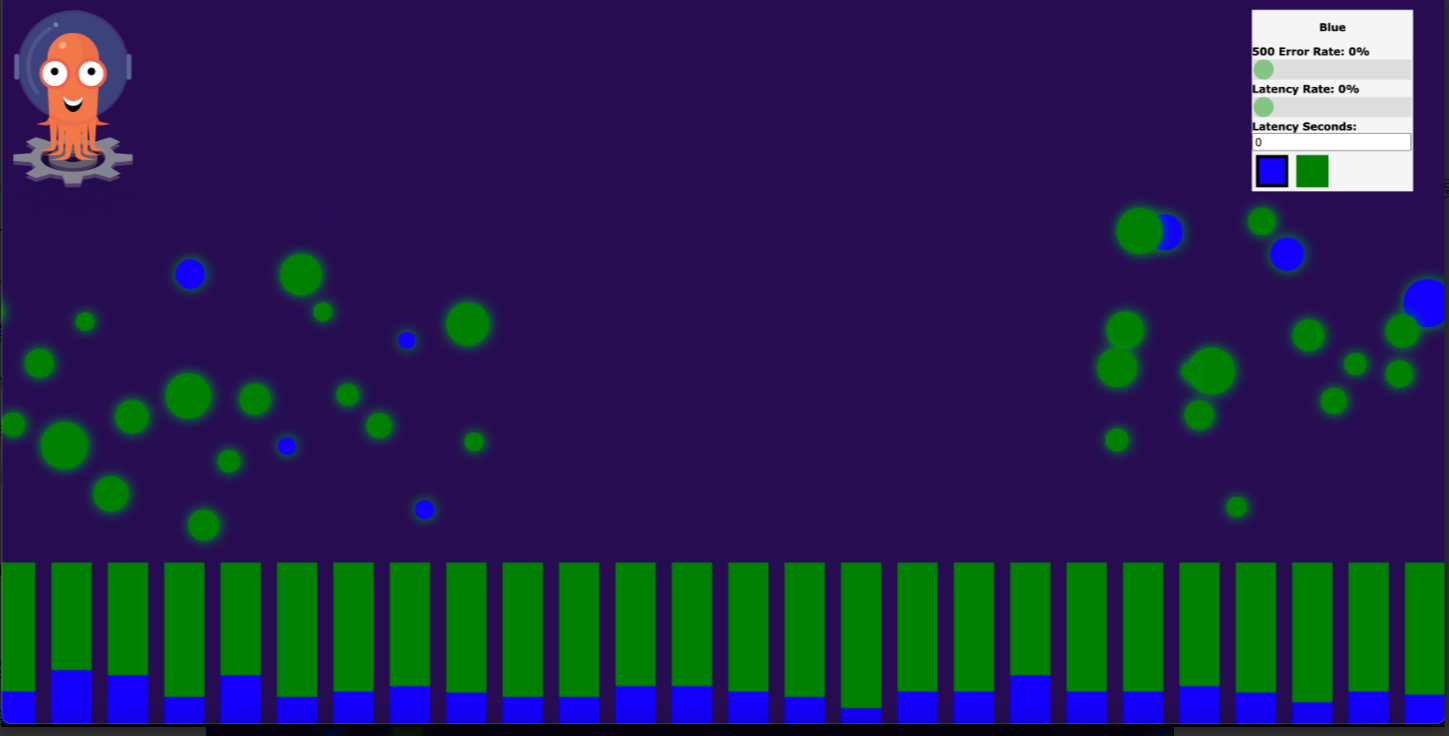
If the traffic split does not match the expected ratio, verify that sidecar injection is enabled for the
defaultnamespace (kubectl get namespace default --show-labels) and that the Pod labels (version: blue/version: green) match the DestinationRule subset selectors.
What's next
-
To deploy the application to more clusters, add cluster IDs to the
clustersfield in the KubeVela Application topology policy and reapply. -
To complete the traffic migration (for example, 100% to
green), update the VirtualService weights and reapply. -
To learn more about application distribution in ACK One, see Application distribution.