Use the backup center to back up and restore applications between ACK clusters in the same region, enabling cluster-level backup and disaster recovery.
Limitations
Unmet conditions cause migration failure:
-
Kubernetes version: The restore cluster must run Kubernetes 1.18 or later to use Elastic Compute Service (ECS) snapshots for disk restoration.
-
Storage plugin: The restore cluster must use the Container Storage Interface (CSI) plugin. Clusters using FlexVolume or csi-compatible-controller with FlexVolume are not supported.
-
System components: Install and configure these components in the restore cluster before restoring:
-
aliyun-acr-credential-helper: Grant the required permissions and configureacr-configuration. -
alb-ingress-controller: Configure an ALBConfig resource.
-
-
Cross-region: This procedure supports same-region migration only. For cross-region migration, see Migrate applications across clusters in different regions.
-
Volume plugin compatibility: For clusters using different volume plugins or running older Kubernetes versions, see Use the backup center to migrate applications in an ACK cluster that runs an old Kubernetes version.
Prerequisites
Before you begin:
-
Two ACK managed clusters in the same region: a backup cluster and a restore cluster
-
migrate-controller installed with the required permissions in both clusters
-
A backup vault created. Existing vaults are detected automatically during installation.
How it works
A shared backup vault serves as the intermediary between clusters. When you create a backup task, the backup center uploads application state and volume data to the vault, then syncs the backup record to the restore cluster.
During restore, Kubernetes resource API versions upgrade automatically to match the restore cluster. For example, a Deployment using extensions/v1beta1 in Kubernetes 1.16 becomes apps/v1 in Kubernetes 1.28.

Migrate a WordPress application across ACK clusters
This example uses two ACK managed clusters in the China (Hohhot) region: Cluster_A (backup) and Cluster_B (restore). WordPress uses disk volumes for text and NAS file system volumes for images.
Step 1: Set up the clusters
-
Create ACK managed clusters Cluster_A and Cluster_B in the same region. Upgrade Cluster_B to Kubernetes 1.18 or later for ECS snapshot-based disk restoration.
-
Install WordPress in Cluster_A with Helm. See Deploy a WordPress application by using Helm.
-
Publish a blog post with images on WordPress. This populates both the disk volume (text) and the NAS volume (images) for post-migration verification.
Step 2: Install migrate-controller and create a backup vault in Cluster_A
Install migrate-controller in Cluster_A, grant the required permissions, and create a backup vault. See Install migrate-controller and grant permissions.
If a backup vault already exists, the system detects it automatically.
Step 3: Back up the application in Cluster_A
Create a backup task named 123backup-1 in Cluster_A to back up the default namespace. See Create a backup plan or back up instantly.
Wait for the backup task status to change to Completed. The backup record then appears on the Backups and Snapshots tab of the Application Backup page in Cluster_B after vault sync.
Step 4: Restore the application in Cluster_B
-
On the Application Backup page in Cluster_B, click Restore Now and select the shared backup vault.
-
If prompted to initialize the vault, click Initialize Backup Vault to associate it with Cluster_B.
-
After initialization, select backup file 123backup-1 and start the restore task. See Restore applications and volumes.
Step 5: Verify the migration
Verify workload health:
-
In the left-side navigation pane of the Cluster_B details page, choose Workloads > Deployments.
-
Find the WordPress Deployment and click Details in the Actions column.
-
Confirm the Deployment status is Running.
Verify accessibility and data integrity:
-
In the left-side navigation pane, choose Network > Services.
-
On the Services page, find the WordPress Service and click the External Endpoint link.
-
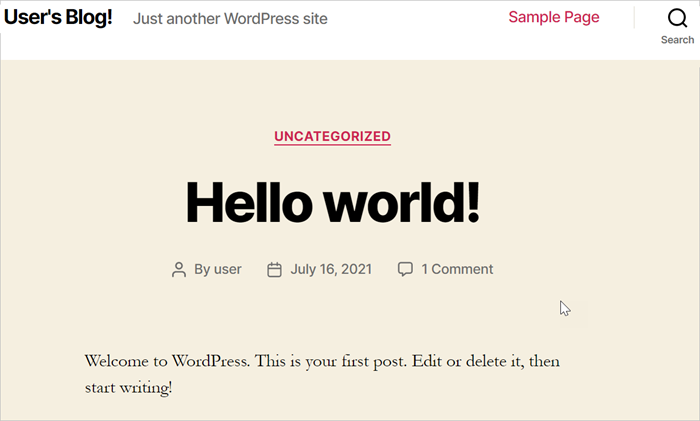
Verify that the WordPress homepage and the blog post with images appear intact.
Next steps
-
To manage backups and restores from the command line, see Use kubectl to back up and restore applications.
-
To migrate applications across regions, see Migrate applications across clusters in different regions.
-
For clusters using different volume plugins or Kubernetes versions, see Use the backup center to migrate applications in an ACK cluster that runs an old Kubernetes version.