The ApsaraVideo VOD console enables you to upload a variety of media assets, including audio, videos, images, and short video material. It supports batch uploads to save time and streamline content ingestion.
Scenario 1: Upload audio/video files
Log on to the ApsaraVideo VOD console.
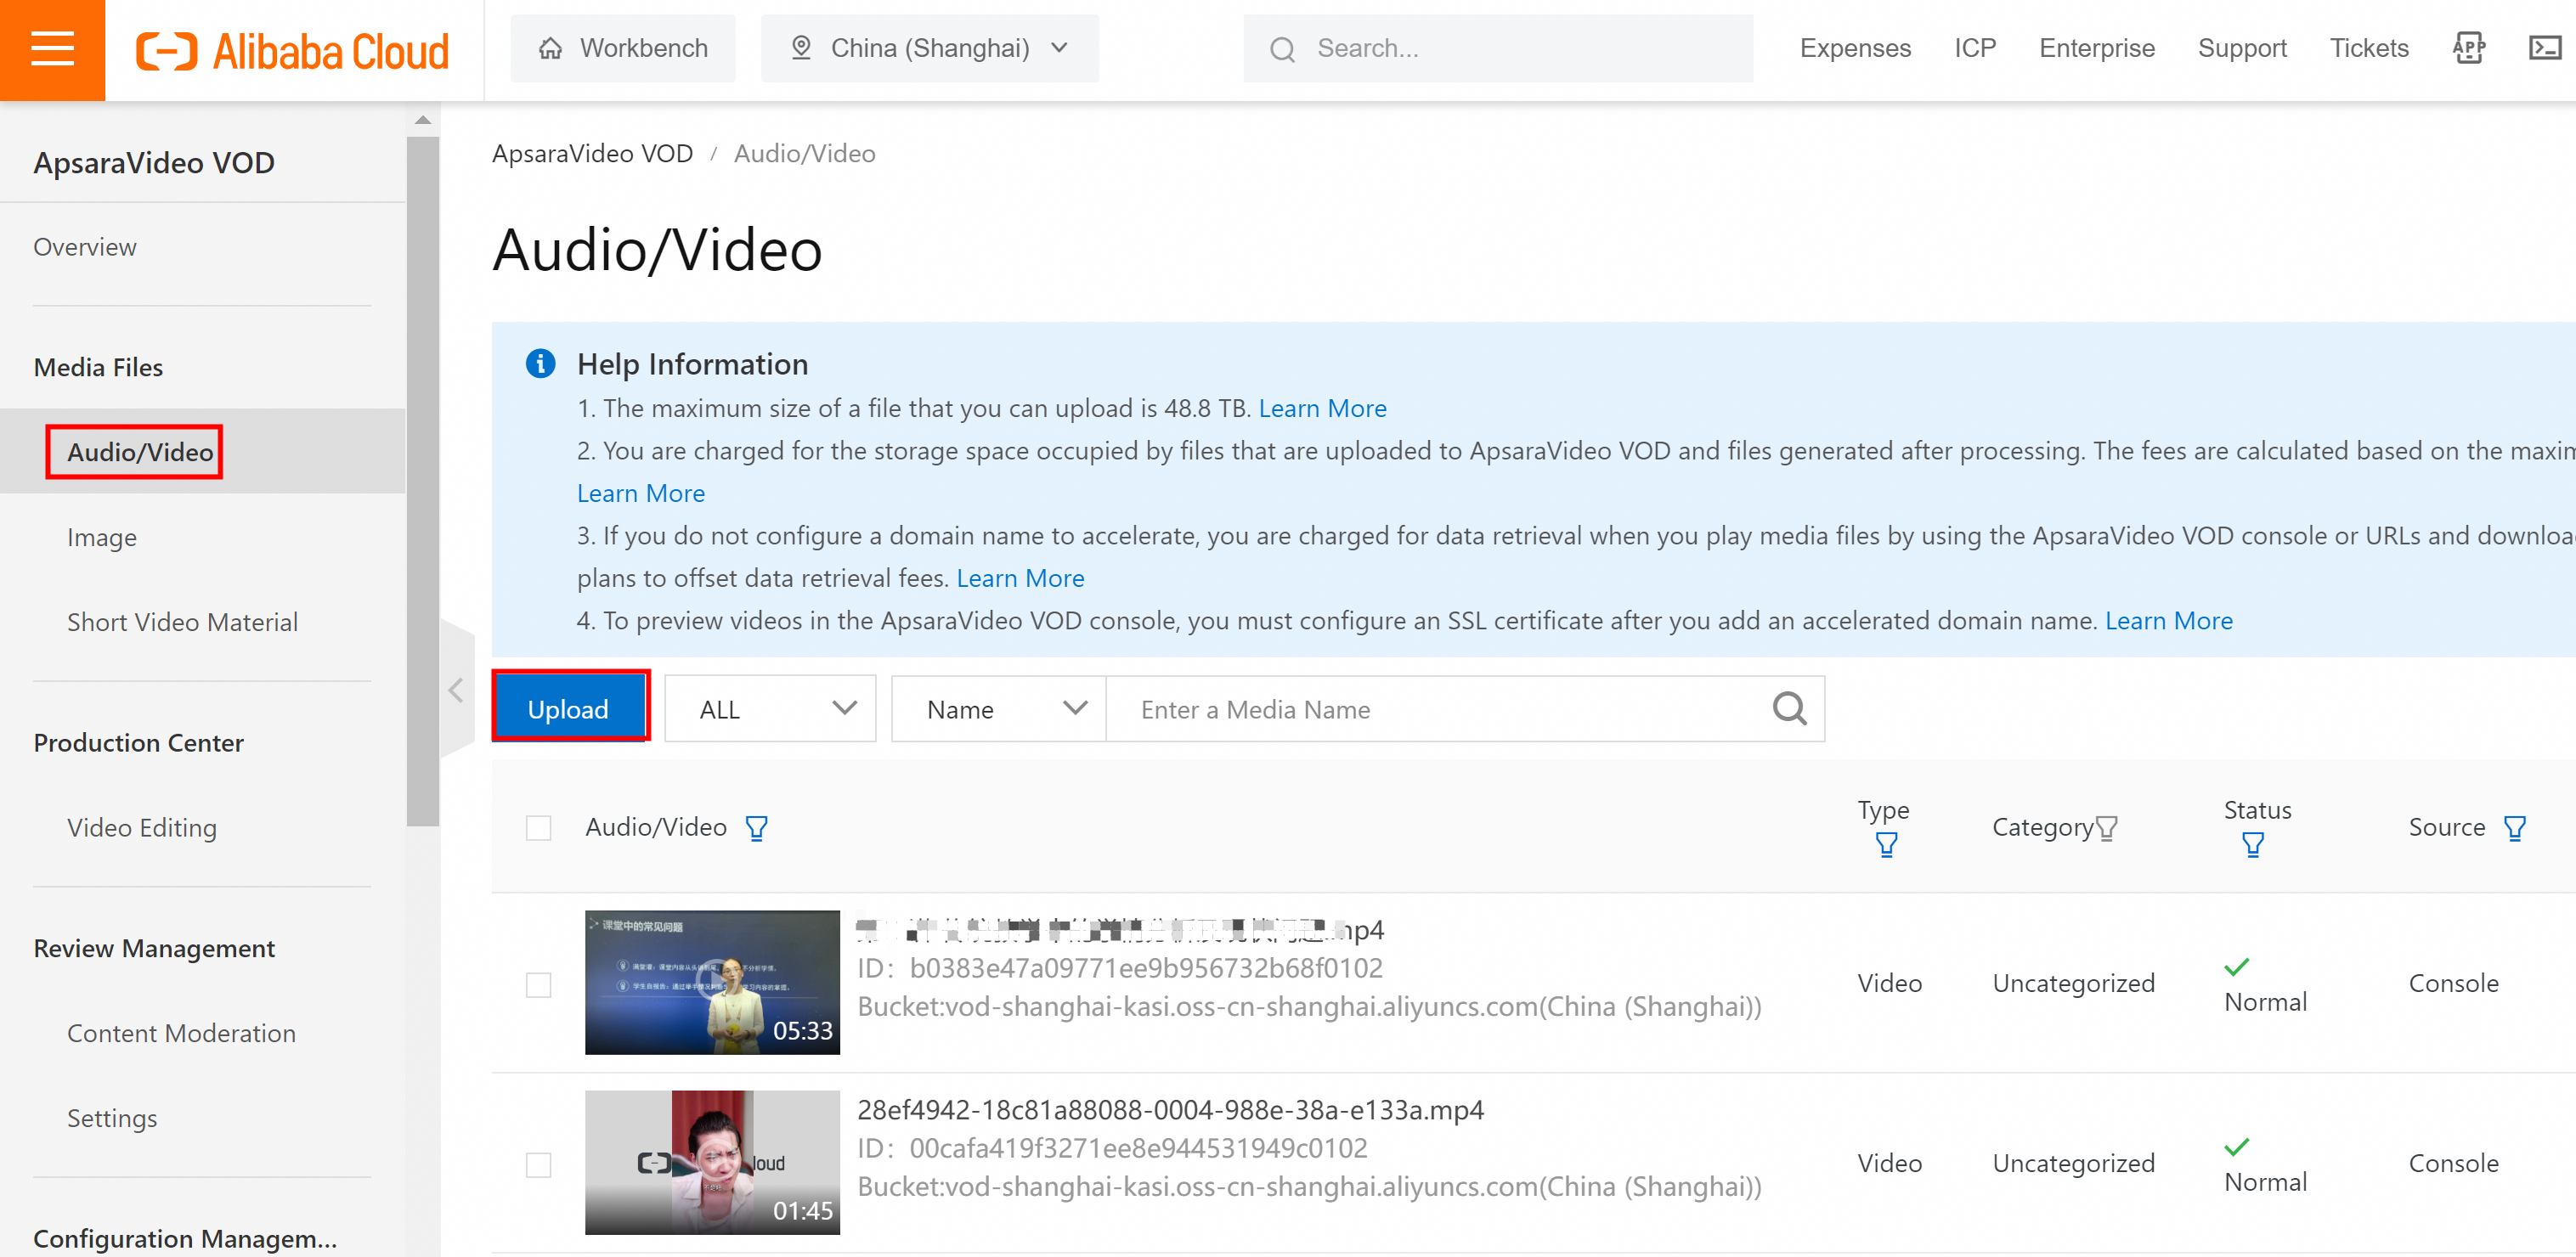
In the navigation pane on the left, choose Media Files > Audio/Video.
Click Upload.
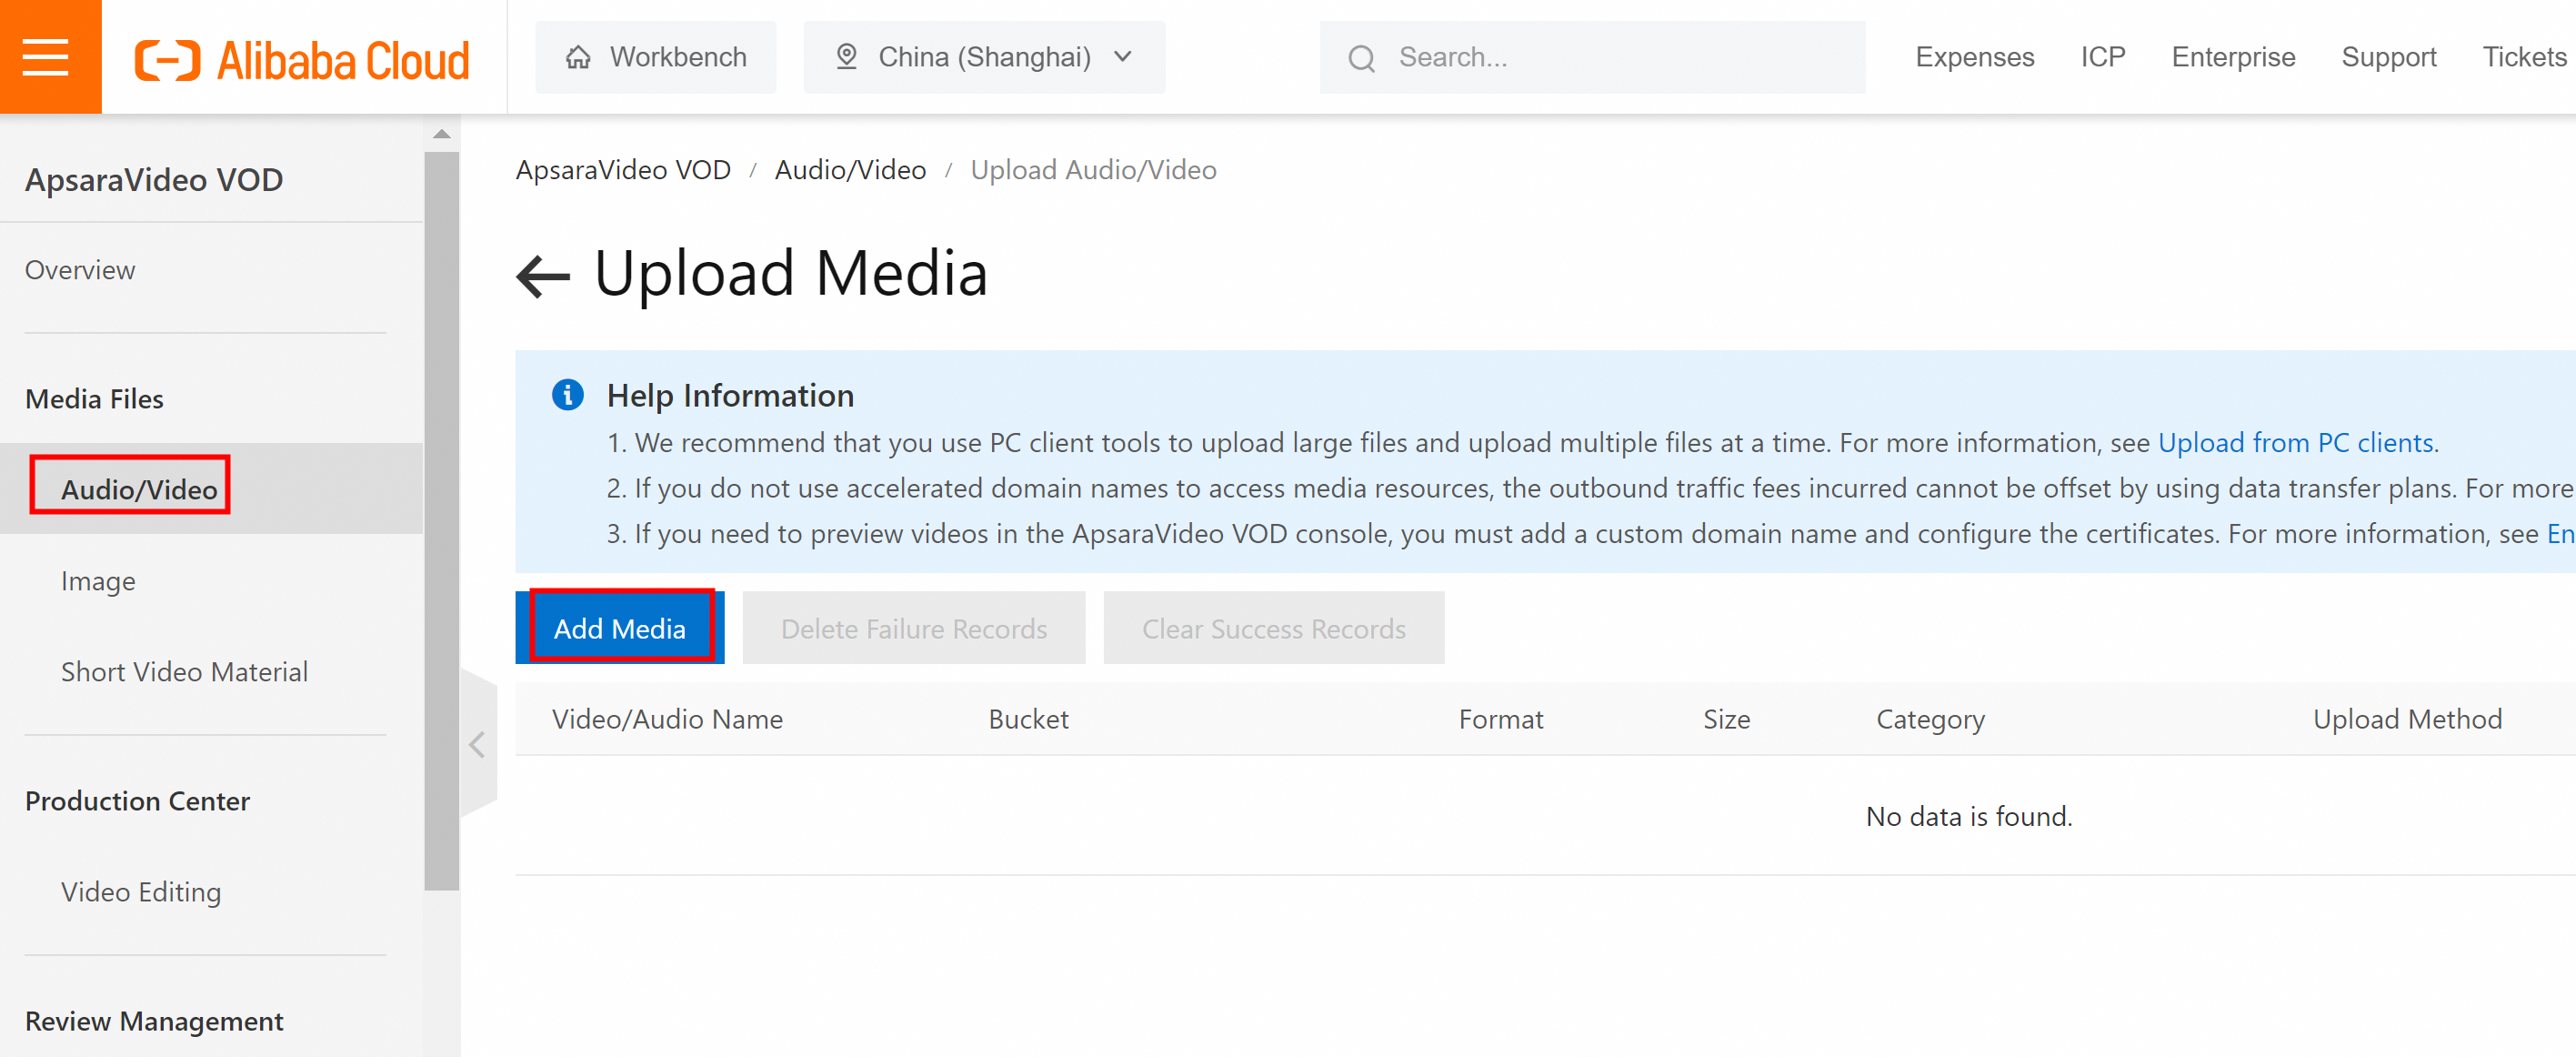
Click Add Media.
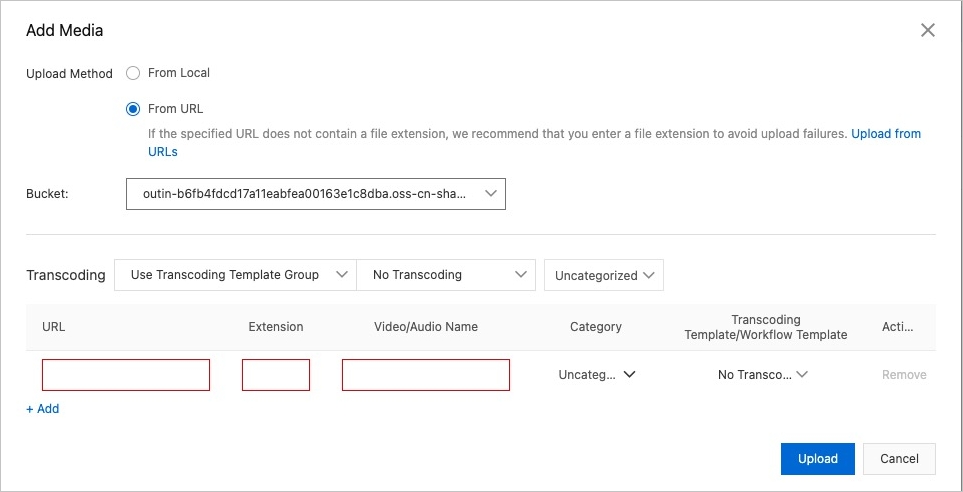
Add the files, configure transcoding settings, and click Upload.
NoteEnsure your files have a supported extension. For accepted formats, see Supported extensions.
Uploads that take a long time may fail. For large files, we recommend using the PC client. For more information, see Upload using Windows client.
The console supports uploading M3U8 files only using the Upload from URL method. Local upload is not supported.
You can leave the page or click Cancel to pause the upload, but do not refresh or close your browser.
After a media asset is uploaded, you are charged based on the peak storage usage and the storage duration. For more information, see Billing of basic services.
Local upload

Bucket: Select a storage bucket for the uploaded files. If you have multiple buckets, the system displays the default one. To configure the default bucket, see Manage storage buckets.
Processing method: Select a transcoding template group or a workflow to process media assets.
Media asset category: Modify the name and category of the media asset before uploading. For more information about categories, see Media asset categories.
Upload from URL (supported only in the China (Shanghai) region)
Specify a publicly accessible URL of the media file. If the URL does not include a file extension, add the file extension to ensure a successful upload.
Scenario 2: Upload images
Log on to the ApsaraVideo VOD console.
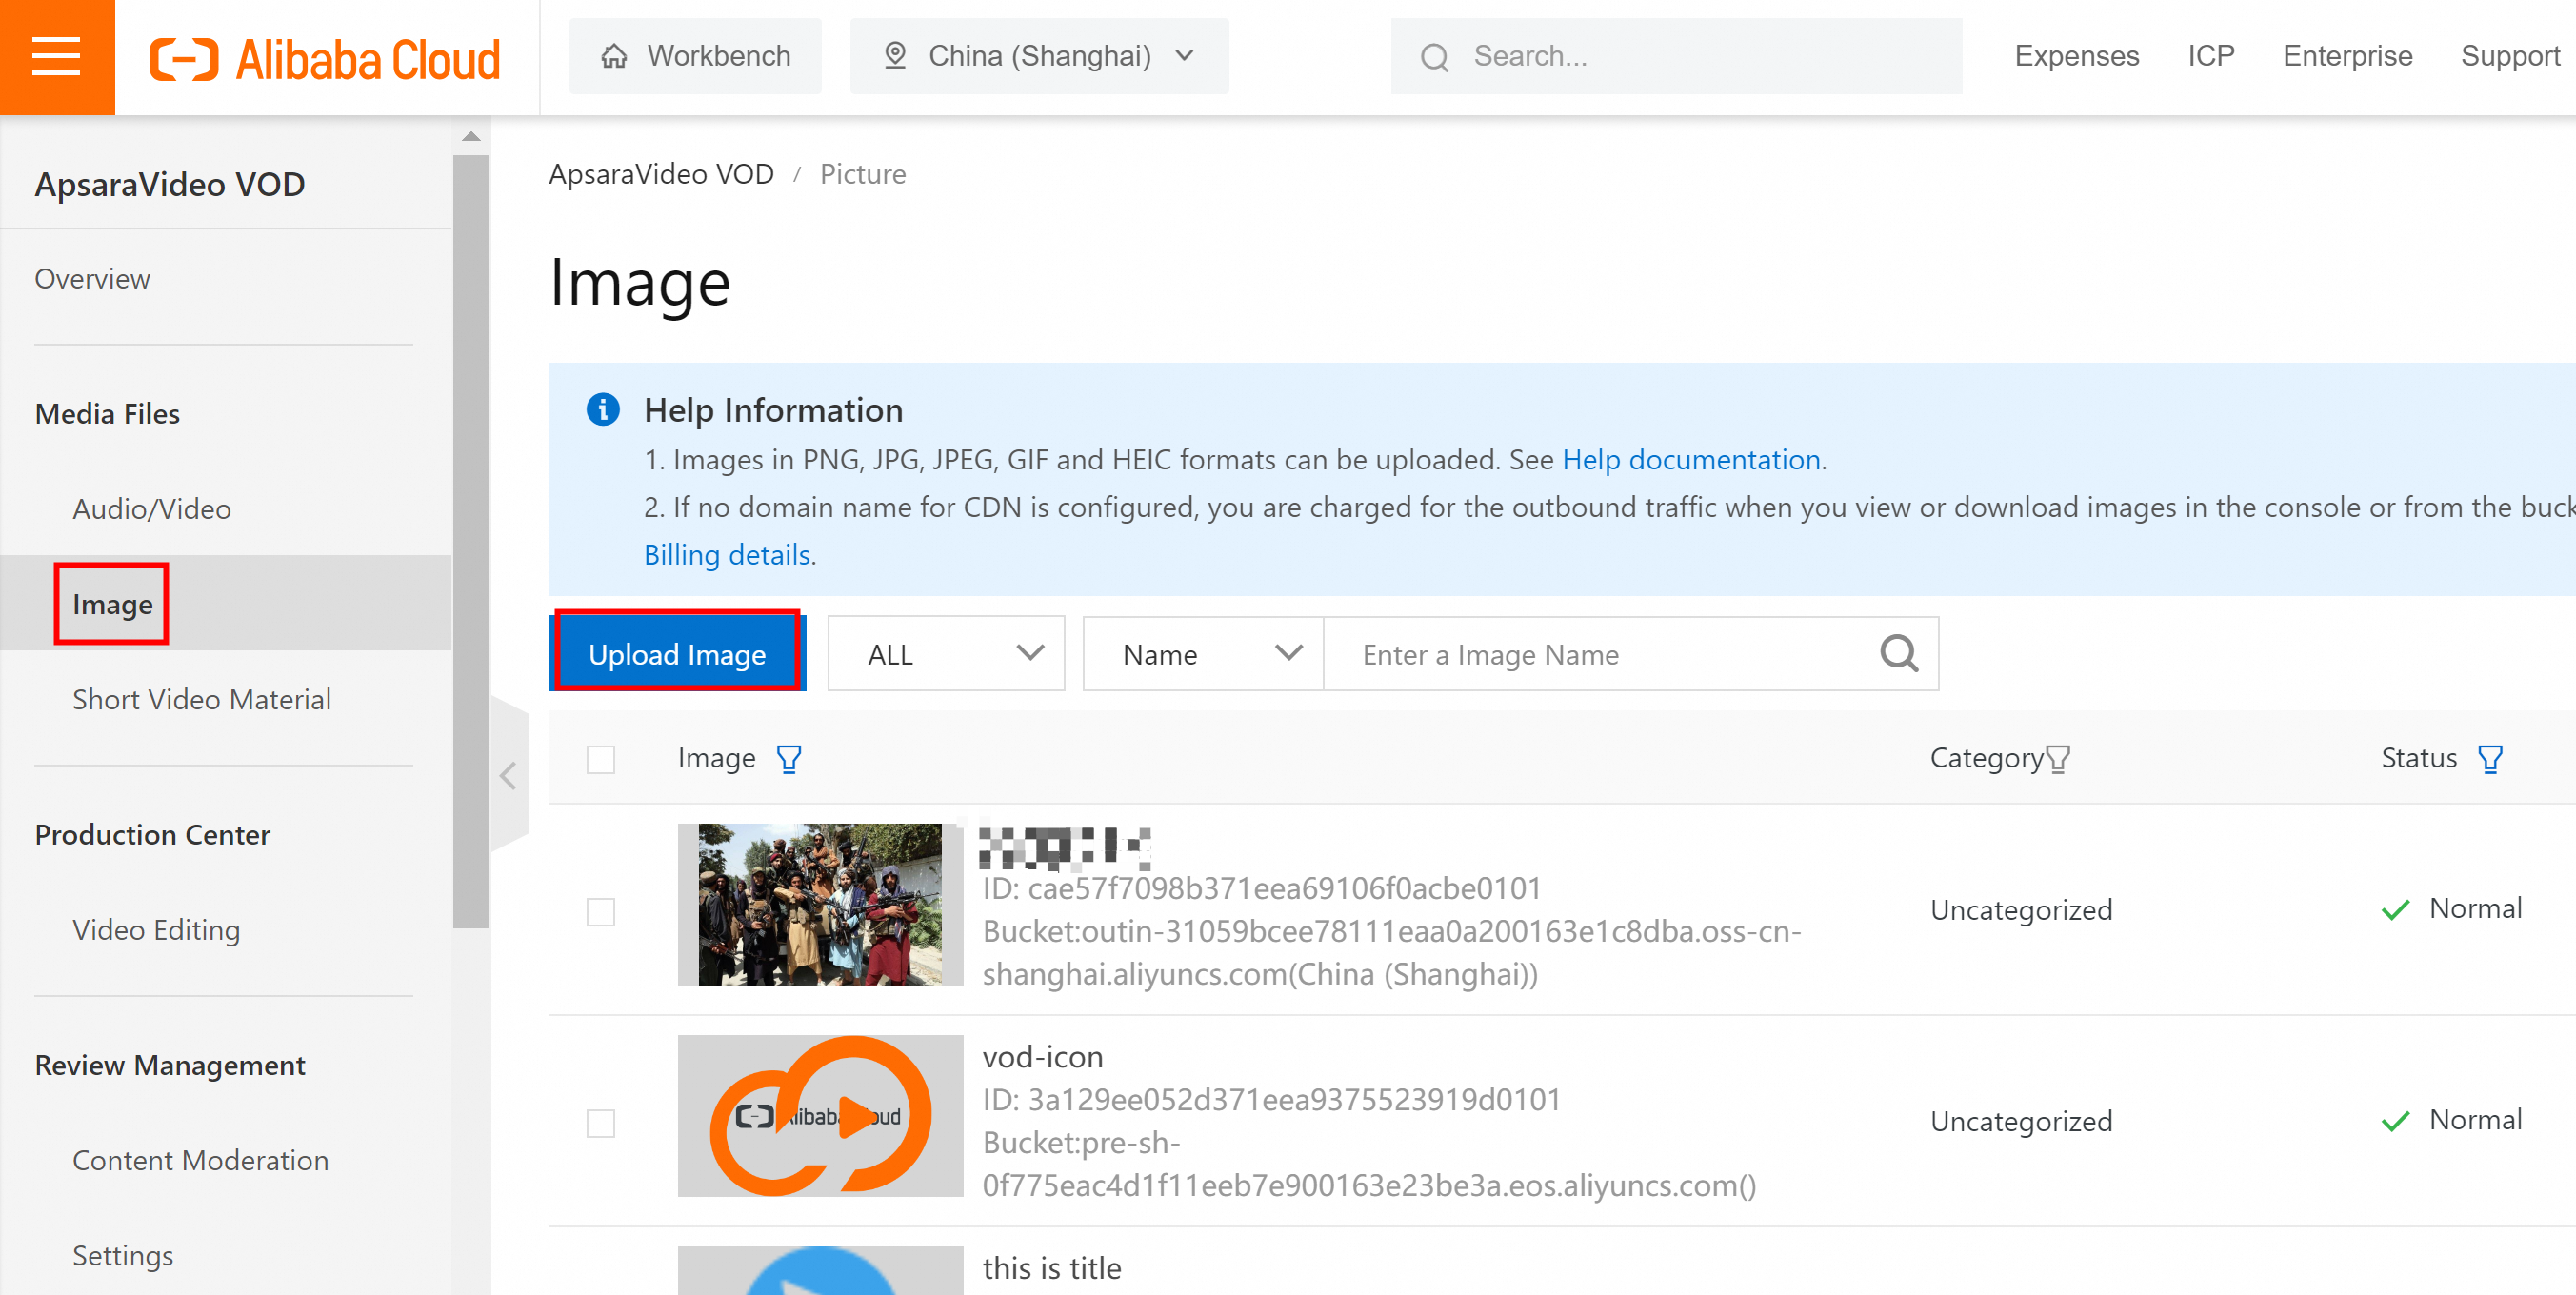
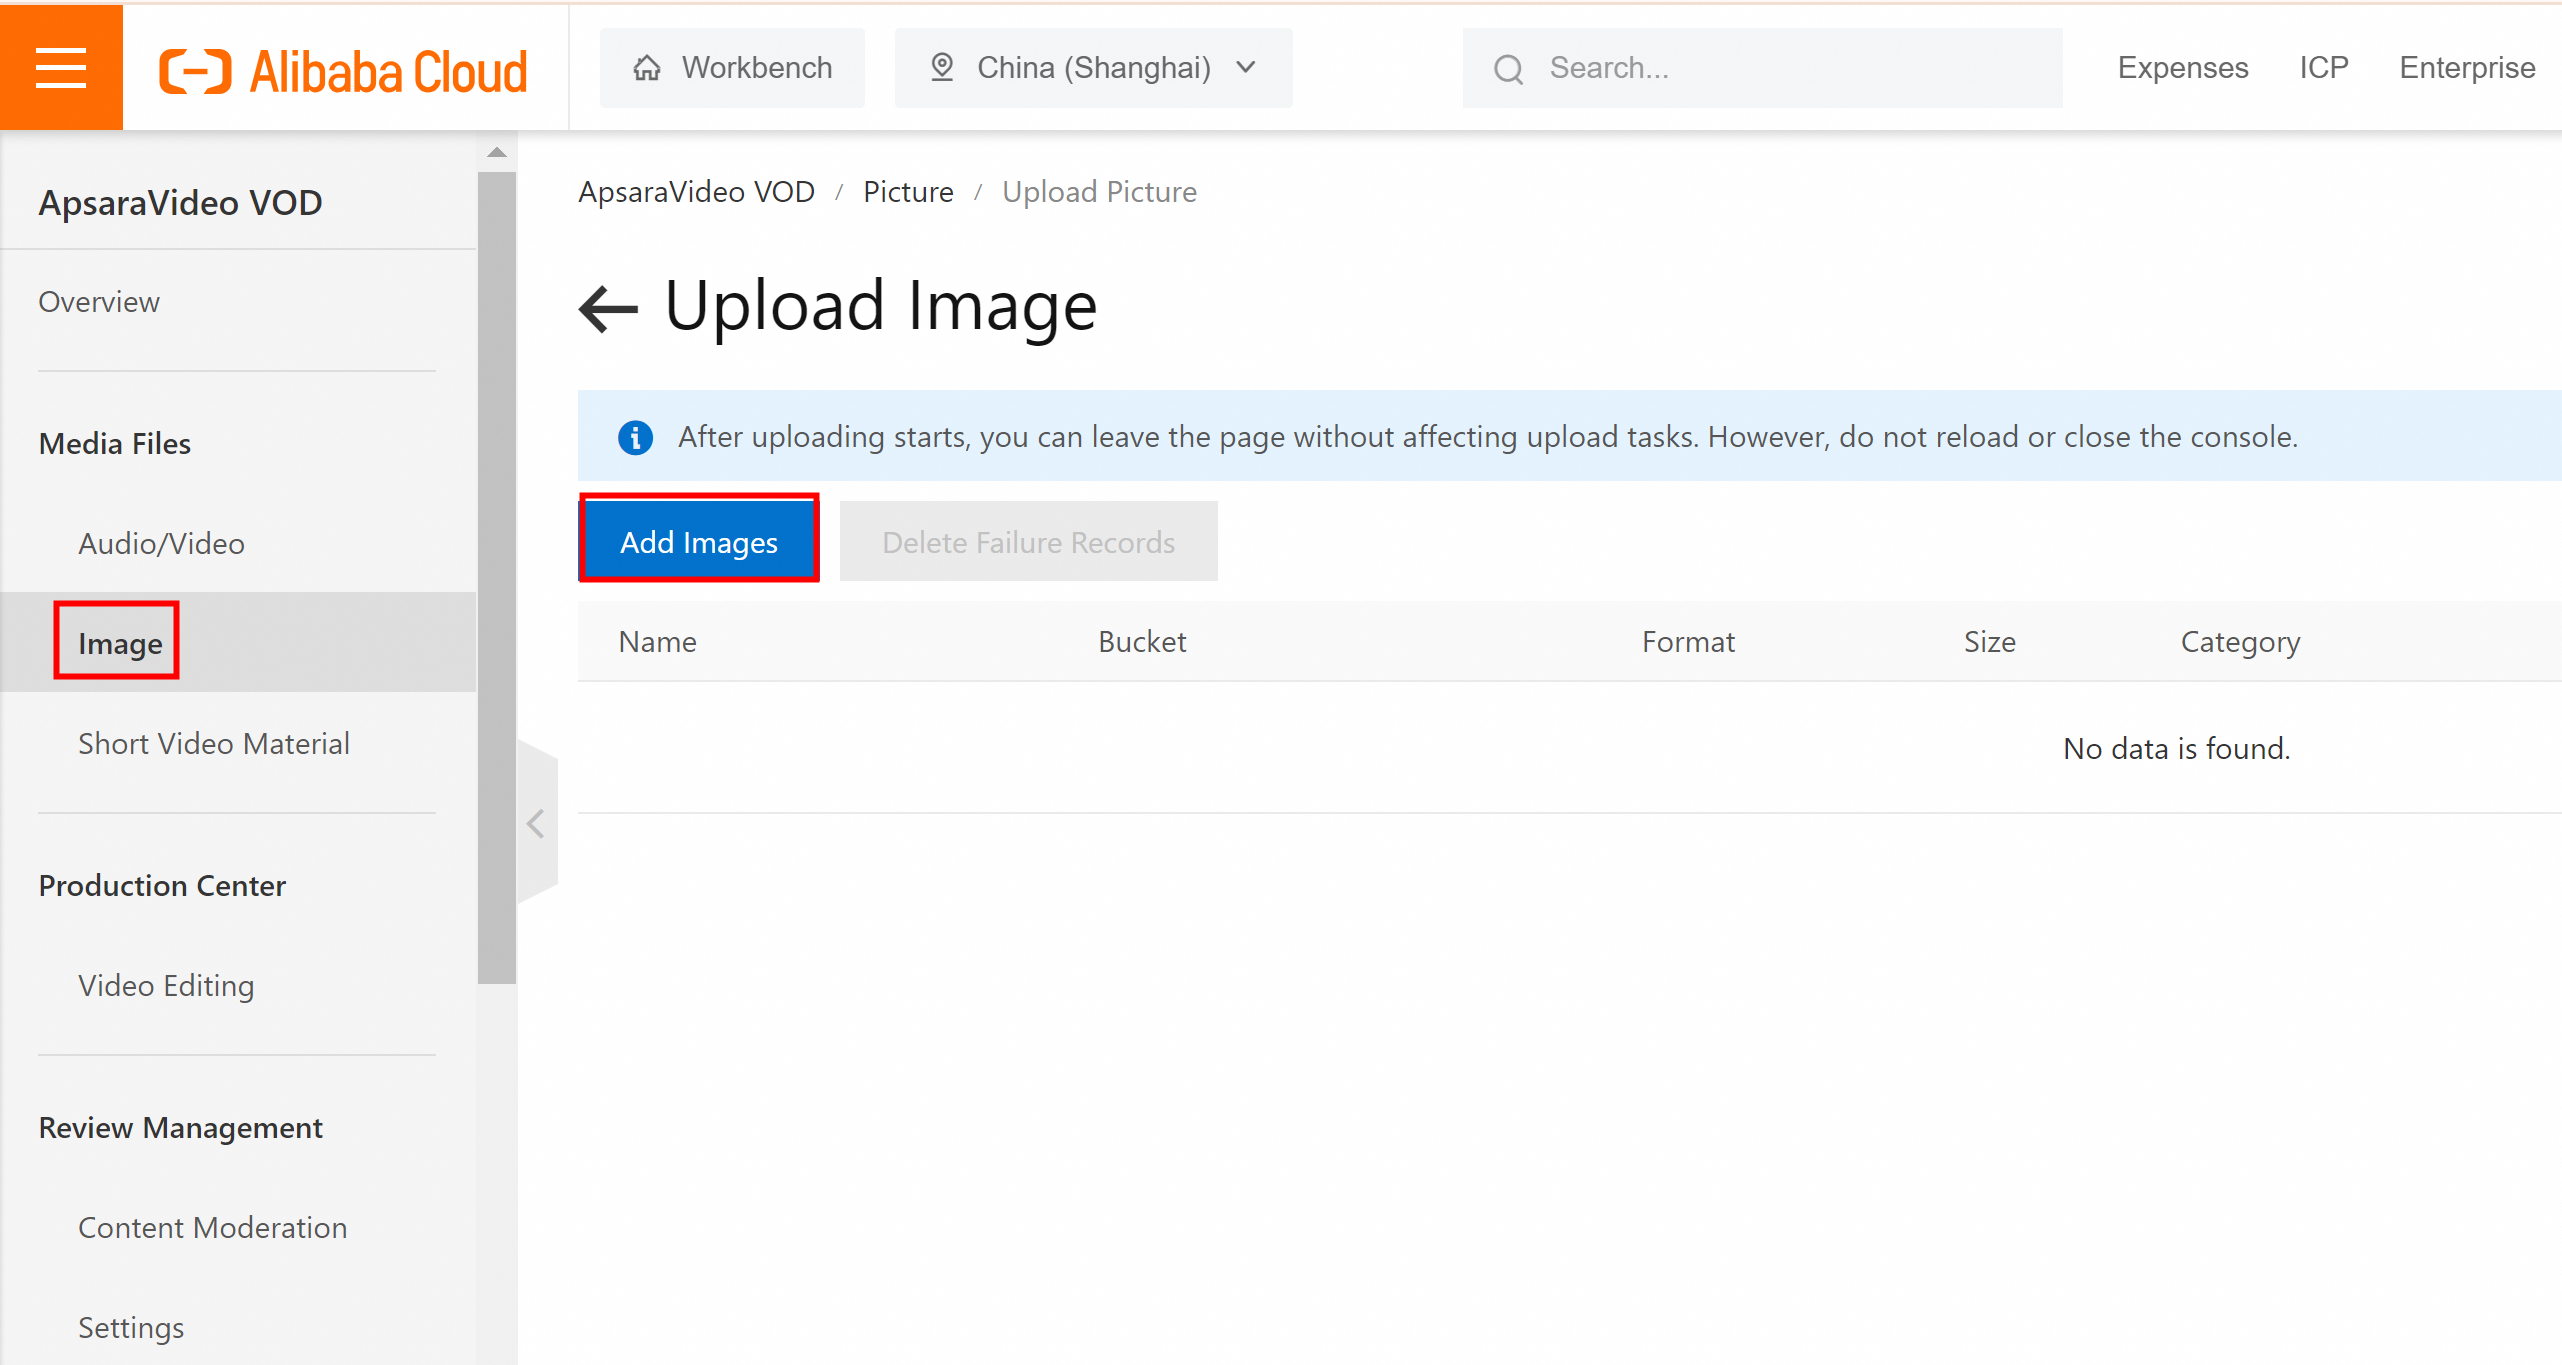
In the navigation pane on the left, choose Media Files > Image, then click Upload Image.
Click Add Images, drag and drop the images that you want to upload, and then click Upload.
Scenario 3: Upload short video material
Log on to the ApsaraVideo VOD console.
In the navigation pane on the left, click Short Video Material. Then, click Upload Material.
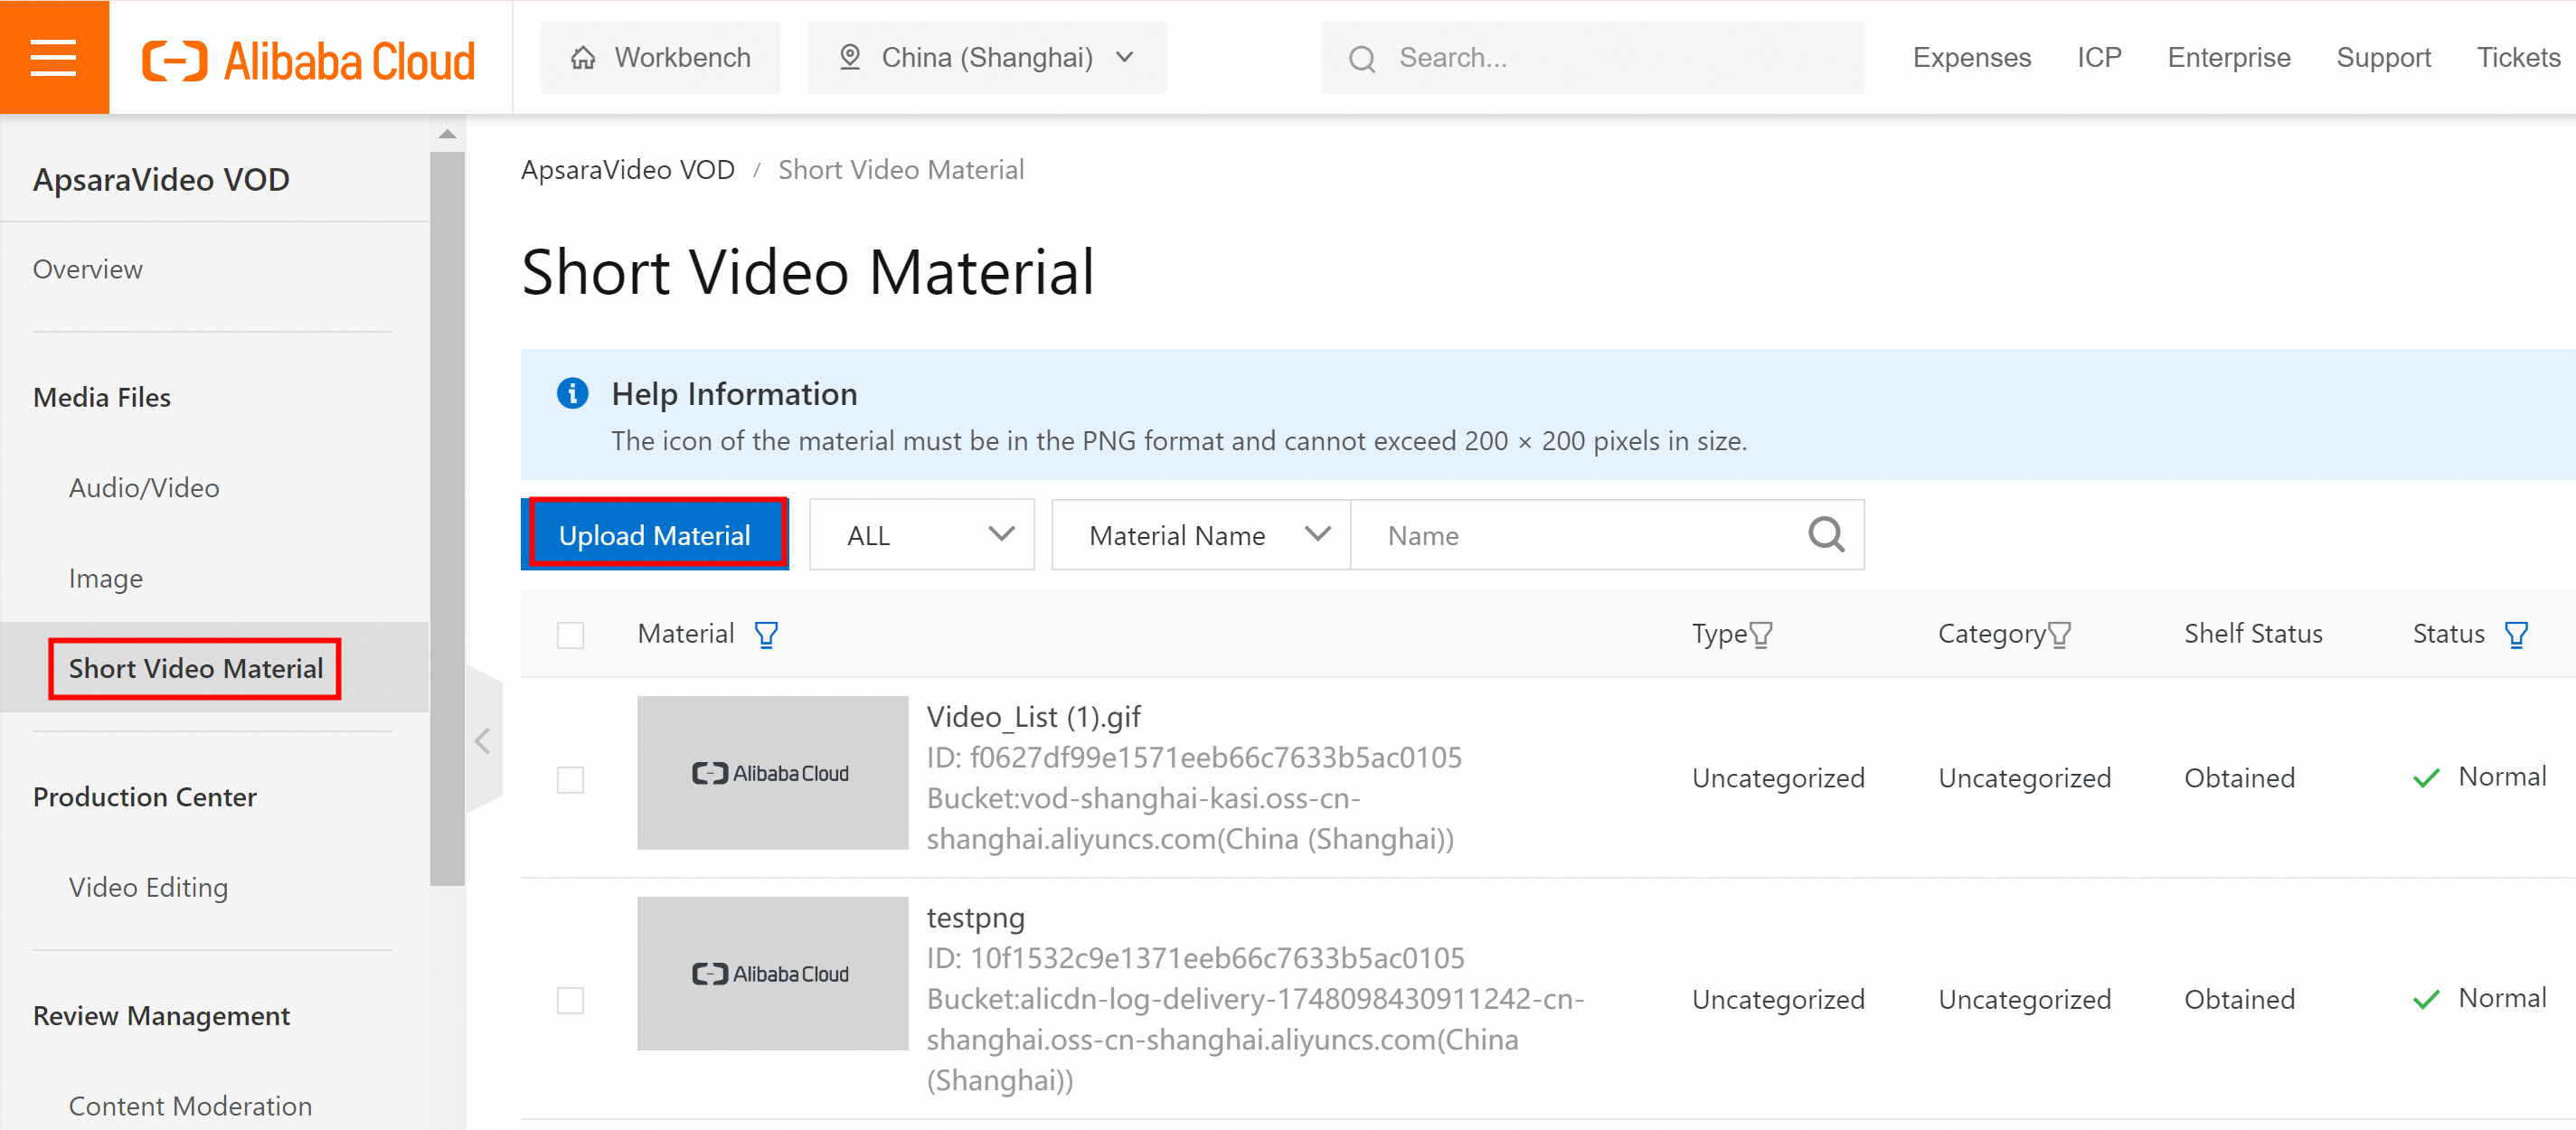
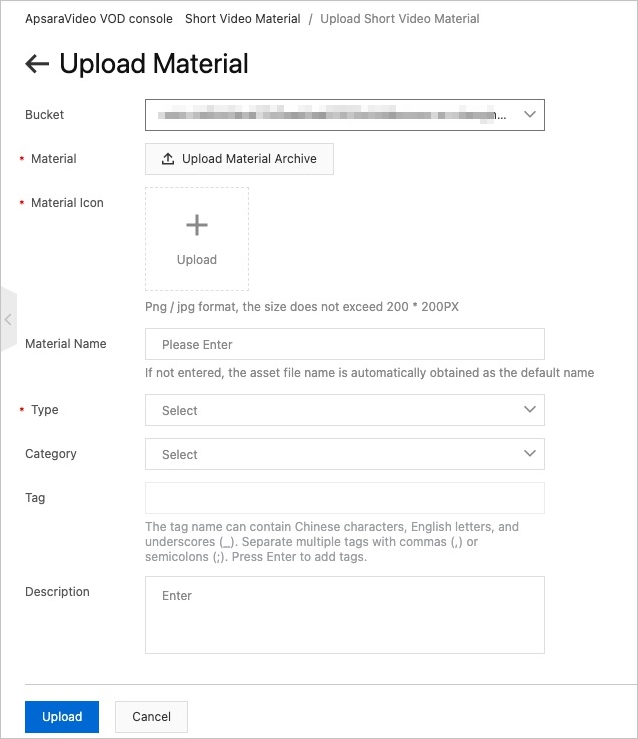
Configure the material settings and click Upload.
NoteThe Material Icon must be in PNG format and no larger than 200×200 pixels.
Supported extensions
You can upload only files with one of the following extensions:
Media asset type | Supported extensions |
Video | 3GP, ASF, AVI, DAT, DV, FLV, F4V, GIF, M2T, M3U8, M4V, MJ2, MJPEG, MKV, MOV, MP4, MPE, MPG, MPEG, MTS, OGG, QT, RM, RMVB, SWF, TS, VOB, WMV, WEBM |
Audio | AAC, AC3, ACM, AMR, APE, CAF, FLAC, M4A, MP3, RA, WAV, WMA |
Image | PNG, JPG, JPEG, GIF, HEIC |
Short video material | MAT, ZIP |
A single media file can be up to 48.8 TB. If you select files with unsupported formats or non-media files, the console automatically filters them out. Valid files appear in the console with a Pending Upload status.