This topic describes how to use an HTTP event source to integrate Shopify with EventBridge.
Background information
Shopify is a one-stop software-as-a-service (SaaS) platform for e-commerce. Shopify provides technical resources and templates for e-commerce retailers to build online stores and manage business across all channels in marketing, selling, payment, and logistics. EventBridge supports fast integration with Shopify to manage events and alerts in a centralized manner.
Prerequisites
A Shopify account is created. For more information, visit the official website of Shopify.
Step 1: Create an event source for Shopify in EventBridge
Create an event source of the HTTP/HTTPS Events type in the EventBridge console. The following table describes the parameters. For more information, see Create a custom event source of the HTTP/HTTPS Events type.
Request Type: Select HTTP&HTTPS.
Request Method: Select a POST.
Security Configuration: Select Optional.
After the event source is created, you can find the custom event source in the event source list, and then click Details to view the configuration information. Internet request URL can be used as the webhook URL of the event source. 
Step 2: Configure notification settings in Shopify
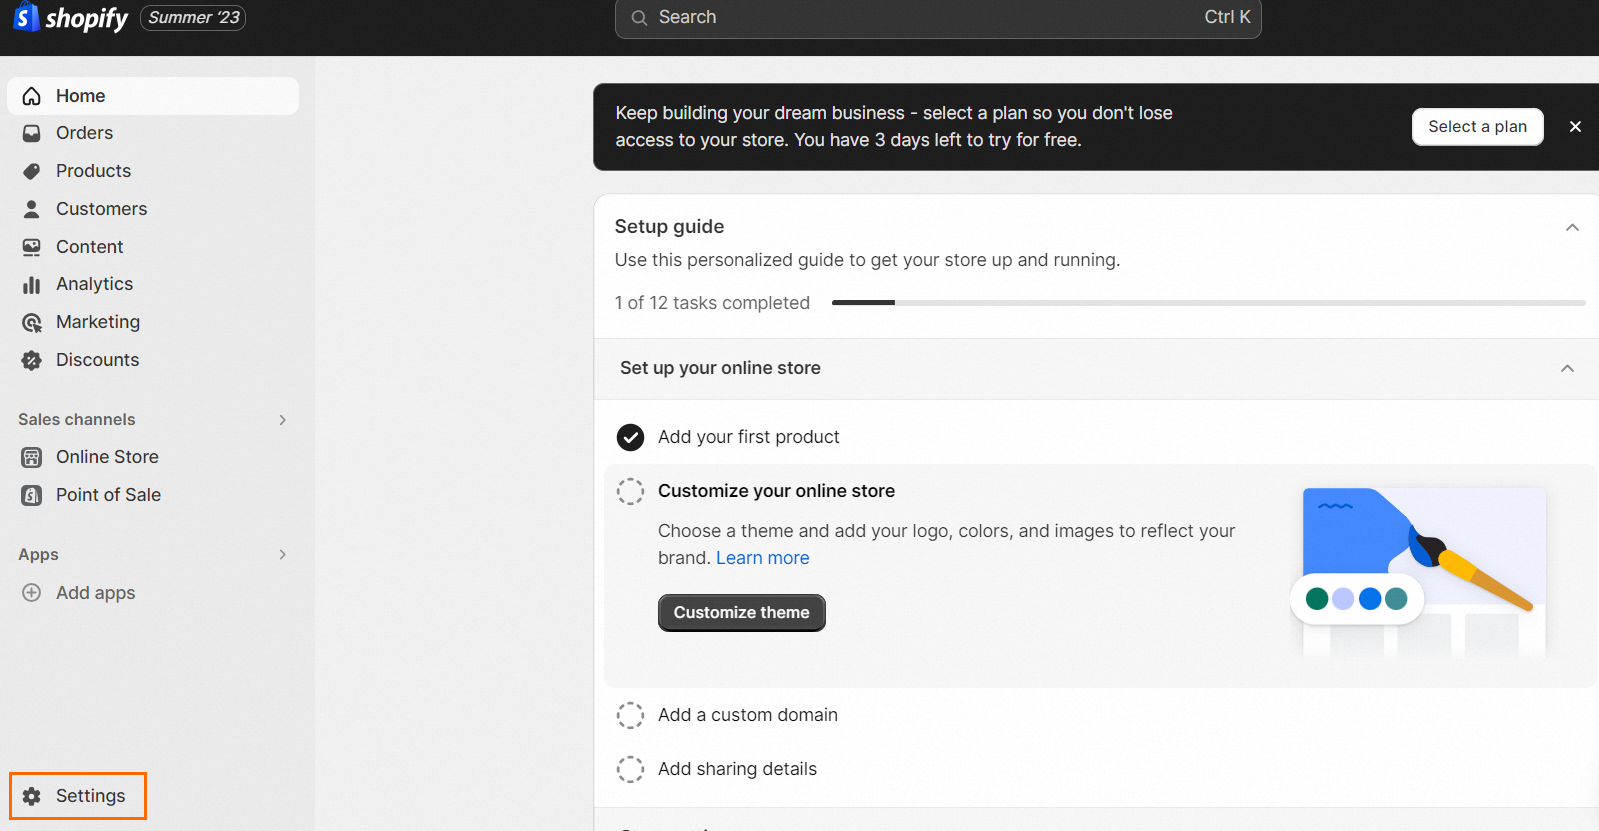
Log on to the Shopify console. In the lower-left corner of the store homepage, click Settings.
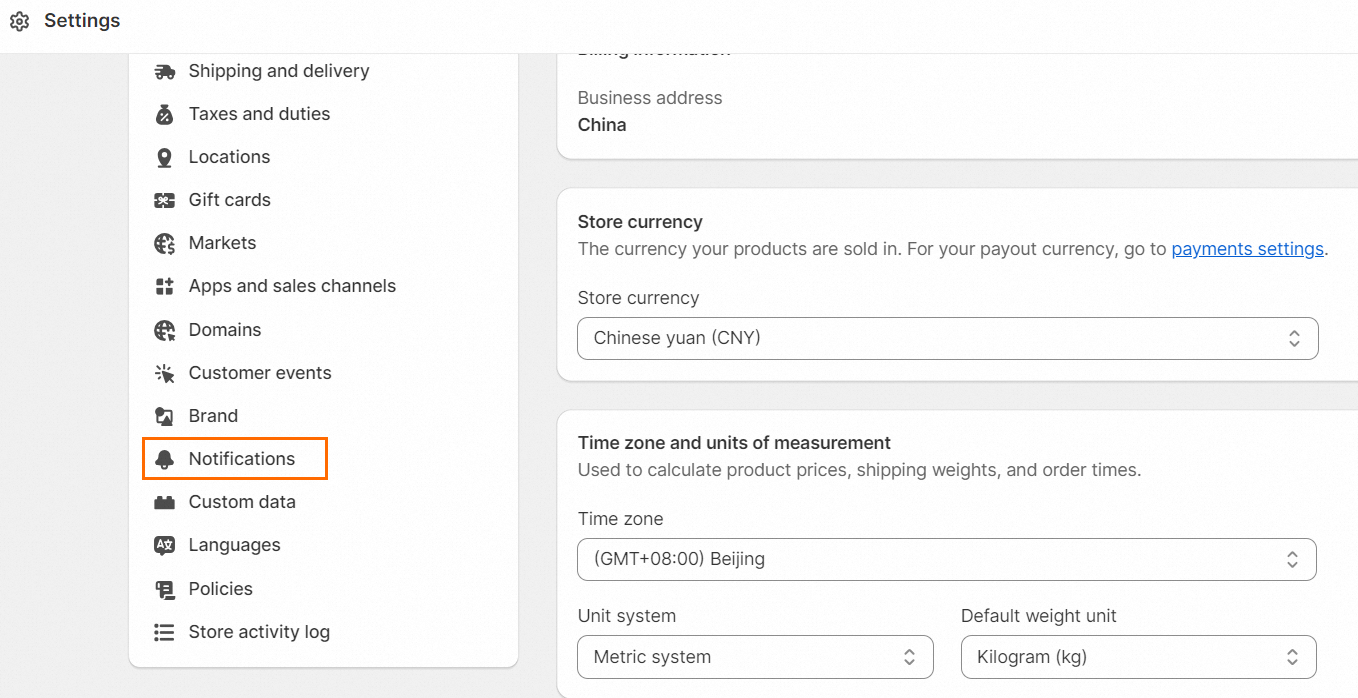
In the left-side navigation pane, click Notifications.
On the Notifications page, find the Webhooks section and click Create webhook.

In the Add webhook dialog box, follow the on-screen instructions to configure the parameters and click Save.
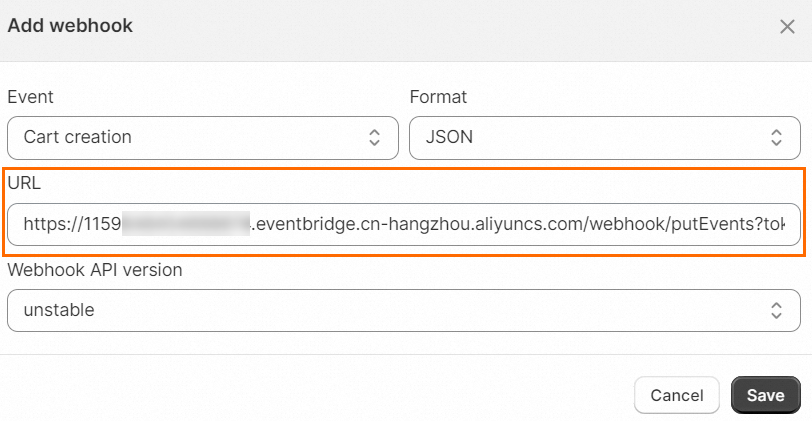
Event: Select a type of event from the drop-down list as the trigger condition. In this example, Product creation is selected for the Event parameter. This indicates that when a product is created, an event is generated and pushed to EventBridge.
URL: Enter the Internet request URL that is generated in Step 1: Create an event source for Shopify in EventBridge.
Step 3: Trigger an event
Go back to the store homepage in the Shopify console and perform the operation that is specified as the trigger condition in Step 2: Configure notification settings in Shopify. For example, after you create a product, an event is triggered.
Verify the result
- Log on to the EventBridge console.
- In the top navigation bar, select the region.
- In the left-side navigation pane, click Event Buses.
In the left-side navigation pane, click Event Tracking to view and verify the obtained event information.