Deploying distributed systems evenly across multiple zones is one of the core strategies for achieving a high-availability architecture. When the workload increases, the multi-zone balanced scheduling policy automatically scales out instances in multiple zones to meet the scheduling requirements of the cluster.
Prerequisites
At least one vSwitch is created in each zone where you want to scale out instances. For more information, see Create and manage vSwitches. After the vSwitch is created, you can select the corresponding vSwitch when you create and manage node pools.
Feature description
The node auto scaling component can determine whether a service can be deployed on a scaling group through pre-scheduling, and send the scale-out request to the specified scaling group to generate instances. However, there is an issue with the current mechanism of configuring multiple zone vSwitches in a single scaling group. When application pods in multiple zones cannot be scheduled due to insufficient cluster resources, Container Service for Kubernetes (ACK) triggers the scaling group to scale out, but due to the lack of a mechanism to transmit the association information between zones and instances, the scaling group cannot identify the specific zone that needs to be scaled out. This may result in instances being concentrated in a single zone rather than being evenly distributed across multiple zones, which cannot meet the business requirements for simultaneous scaling across zones.

To resolve this issue, ACK introduces the ack-autoscaling-placeholder component. The component fixes this issue by using resource redundancy. The component transforms multi-zone elastic scaling into directed scaling of concurrent node pools. For more information, see Use ack-autoscaling-placeholder to scale pods within seconds. The principle is as follows.
Create a node pool in each zone and add a label to the node pool. The label specifies the zone in which the node pool is deployed.
Configure the nodeSelector to schedule pods based on zone labels. This way, ack-autoscaling-placehodler can schedule a placeholder pod to each zone. The default placeholder pods have a PriorityClass with a lower weight, which is lower than that of application pods.
This allows pending application pods to replace placeholder pods. After the pending application pods replace the placeholder pods that are scheduled by using the nodeSelector, the placeholder pods become pending. The node scheduling policy that is used by the node auto scaling component is changed from antiAffinity to nodeSelector. In this way, the node requests from the scaling out section can be processed.
The following figure shows how to achieve simultaneous scaling in two zones based on the existing architecture.

ack-autoscaling-placeholder is the bridge between the application pods and the node auto scaling component and can be used to create a placeholder pod in each zone. The scheduling priority of placeholder pods is lower than the priority of actual business applications.
When application pods are in the Pending state, they quickly preempt placeholder pods and are deployed on existing nodes in each zone. Meanwhile, the preempted placeholder pods enter the Pending state.
The placeholder pods are scheduled by using the nodeSelector. The node auto scaling component can be concurrently scaled out to the corresponding zones.
Step 1: Create a node pool for each zone and configure a custom node label
Log on to the ACK console. In the left-side navigation pane, click Clusters.
On the Clusters page, find the cluster to manage and click its name. In the left-side navigation pane, choose .
Click Create Node Pool and complete the node pool configuration as prompted.
This example describes how to create a node pool named auto-zone-I with auto scaling enabled in Zone I. The following section describes only the key parameters. For more information, see Create and manage a node pool.
Parameter
Description
Node Pool Name
auto-zone-I
Scaling Mode
Select Auto to enable auto scaling.
vSwitch
Select a vSwitch in Zone I.
Node Labels
Set the Key of the node label to
available_zoneand the Value toi.In the node pool list, when the status of the auto-zone-I node pool is Active, the node pool is created successfully.
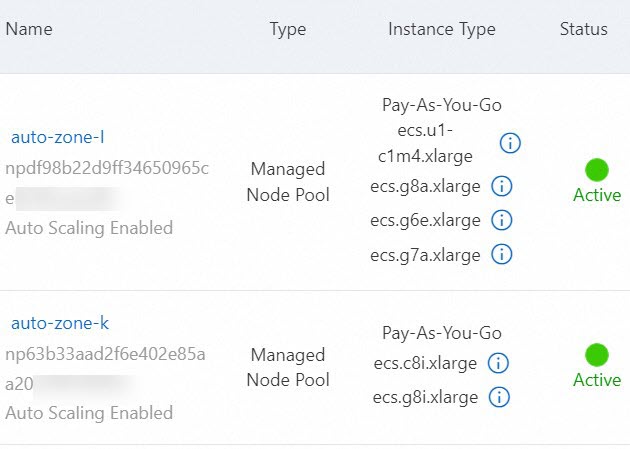
Repeat the preceding steps to create a node pool with auto scaling enabled for each zone that requires auto scaling.
Step 2: Deploy placeholder and placeholder Deployments
In the left-side navigation pane of the ACK console, choose .
Find and click ack-autoscaling-placeholder. On the ack-autoscaling-placeholder page, click Deploy.
Select a cluster from the Cluster drop-down list and a namespace from the Namespace drop-down list, and then click Next. Select a chart version from the Chart Version drop-down list, configure the parameters, and then click OK.
After the creation is successful, choose in the left-side navigation pane, and you can find that the application is in the Deployed state.
In the left-side navigation pane of the details page, choose .
On the Helm page, click Update in the Actions column of ack-autoscaling-placeholder-default.
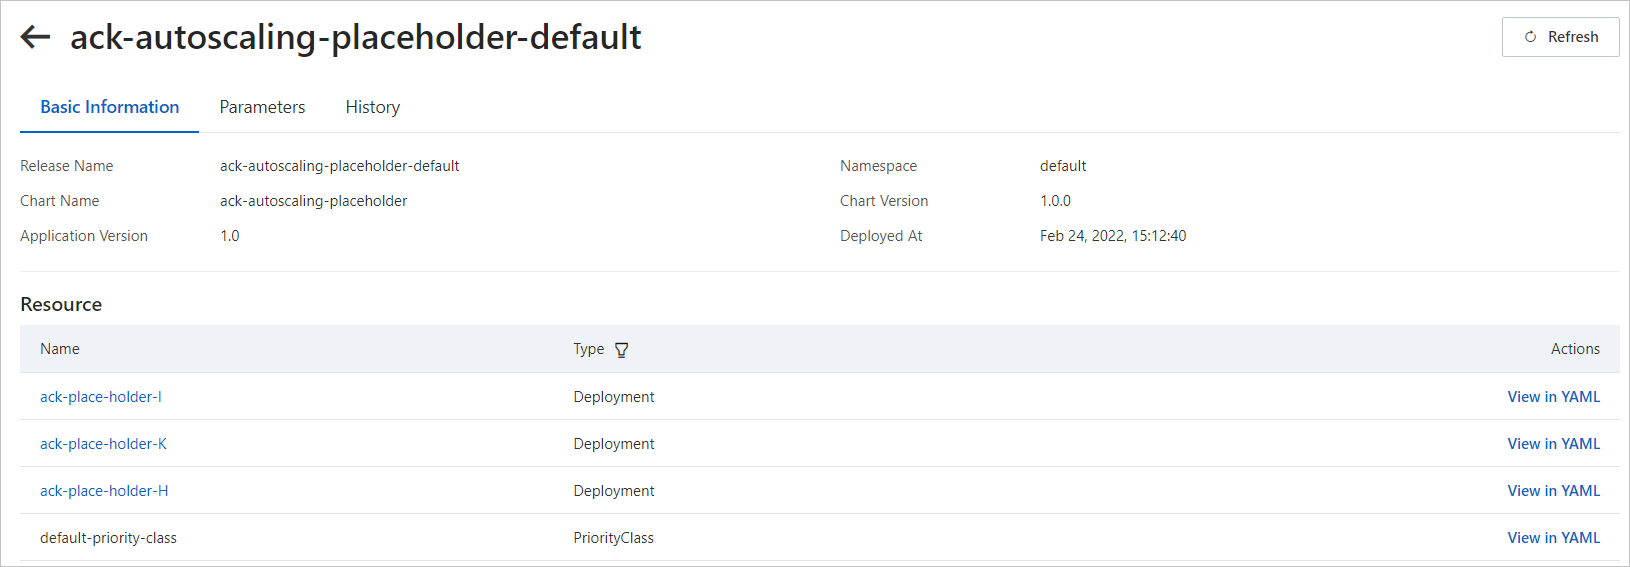
In the Update Release panel, update the YAML file based on the following example, and then click OK. Deploy a placeholder for each zone and define a placeholder Deployment for each zone.
This example shows how to create placeholder Deployments in Zones I, K, and H.
deployments:
- affinity: {}
  annotations: {}
  containers:
  - image: registry-vpc.cn-beijing.aliyuncs.com/acs/pause:3.1
    imagePullPolicy: IfNotPresent
    name: placeholder
    resources:
      requests:
        cpu: 3500m     # The CPU request of the placeholder Deployment.
        memory: 6      # The memory request of the placeholder Deployment.
  imagePullSecrets: {}
  labels: {}
  name: ack-place-holder-I             # The name of the placeholder Deployment.
  nodeSelector: {"avaliable_zone":i}   # The zone label. The label must be the same as the label that you specified in Step 1 when you created the node pool.
  replicaCount: 10                     # The number of pods that are created in each scale-out activity.
  tolerations: []
- affinity: {}
  annotations: {}
  containers:
  - image: registry-vpc.cn-beijing.aliyuncs.com/acs/pause:3.1
    imagePullPolicy: IfNotPresent
    name: placeholder
    resources:
      requests:
        cpu: 3500m    # The CPU request of the placeholder Deployment.
        memory: 6     # The memory request of the placeholder Deployment.
  imagePullSecrets: {}
  labels: {}
  name: ack-place-holder-K            # The name of the placeholder Deployment.
  nodeSelector: {"avaliable_zone":k}  # The zone label. The label must be the same as the label that you specified in Step 1 when you created the node pool.
  replicaCount: 10                    # The number of pods that are created in each scale-out activity.
  tolerations: []
- affinity: {}
  annotations: {}
  containers:
  - image: registry-vpc.cn-beijing.aliyuncs.com/acs/pause:3.1
    imagePullPolicy: IfNotPresent
    name: placeholder
    resources:
      requests:
        cpu: 3500m   # The CPU request of the placeholder Deployment.
        memory: 6    # The memory request of the placeholder Deployment.
  imagePullSecrets: {}
  labels: {}
  name: ack-place-holder-H           # The name of the placeholder Deployment.
  nodeSelector: {"avaliable_zone":h} # The zone label. The label must be the same as the label that you specified in Step 1 when you created the node pool.
  replicaCount: 10                   # The number of pods that are created in each scale-out activity.
  tolerations: []
fullnameOverride: ""
nameOverride: ""
podSecurityContext: {}
priorityClassDefault:
  enabled: true
  name: default-priority-class
  value: -1
After the update is successful, placeholder Deployments are created for each zone.
Step 3: Create a PriorityClass for a workload
Create a file named priorityClass.yaml and copy the following content to the file:
apiVersion: scheduling.k8s.io/v1
kind: PriorityClass
metadata:
  name: high-priority
value: 1000000              # Specify the priority value. The value must be higher than the default priority value of the workload that you create in Step 2.
globalDefault: false
description: "This priority class should be used for XYZ service pods only."
If you do not need to configure a separate PriorityClass for a pod, you can configure a global PriorityClass as the default configuration. After the configuration takes effect, pods without a specified PriorityClass will automatically adopt this priority value, and the preemption capability will automatically take effect.
apiVersion: scheduling.k8s.io/v1
kind: PriorityClass
metadata:
  name: global-high-priority
value: 1                              # Specify the priority value. The value must be higher than the default priority value of the workload that you create in Step 2.
globalDefault: true
description: "This priority class should be used for XYZ service pods only."
Create a PriorityClass for a workload.
kubectl apply -f priorityClass.yamlExpected output:
priorityclass.scheduling.k8s.io/high-priority created
Step 4: Create a workload
In this example, Zone I is used.
Create a file named workload.yaml and copy the following content to the file:
apiVersion: apps/v1
kind: Deployment
metadata:
  name: placeholder-test
  labels:
    app: nginx
spec:
  replicas: 1
  selector:
    matchLabels:
      app: nginx
  template:
    metadata:
      labels:
        app: nginx
    spec:
      nodeSelector:                        # Specify rules that are used to select nodes.
        avaliable_zone: "i"
      priorityClassName: high-priority     # The name of the PriorityClass configured in Step 3. This is optional if global configuration is enabled.
      containers:
      - name: nginx
        image: nginx:1.7.9
        ports:
        - containerPort: 80
        resources:
          requests:
            cpu: 3                         # Specify the resource request of the workload.
            memory: 5
Deploy a workload.
kubectl apply -f workload.yamlExpected output:
deployment.apps/placeholder-test createdAfter the deployment, on the page, you can see that the PriorityClass of the workload is higher than the PriorityClass of the placeholder pod, the placeholder pod runs on the scaled-out node. The placeholder pod triggers concurrent scaling of the node auto scaling component to prepare for the next workload scaling.

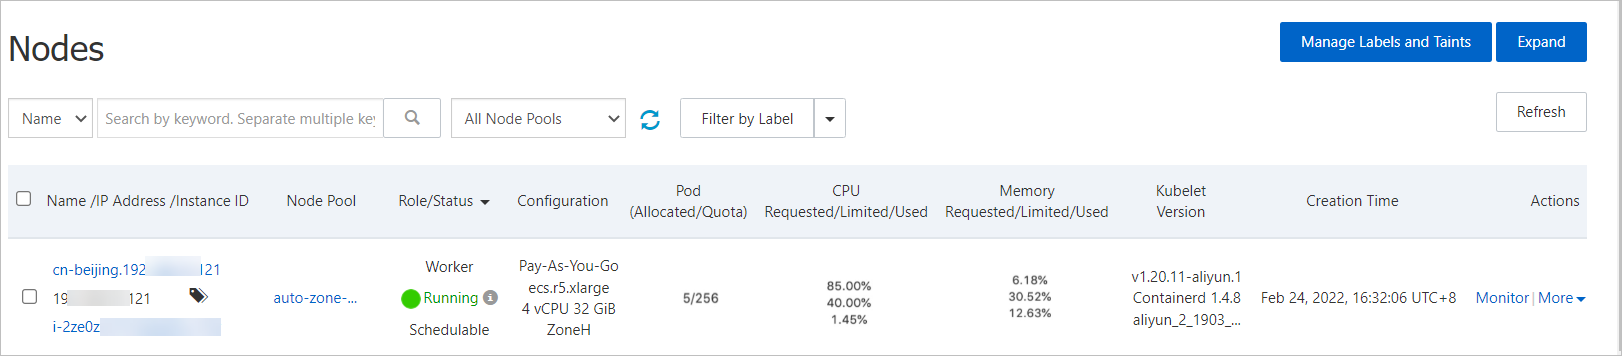
Choose . On the Nodes page, you can find that the workload pod runs on the node that hosts the placeholder pod.