This topic describes how to create a private service in Compute Nest using a custom image for an Elastic Compute Service (ECS) deployment.
Procedure
Step 2: Create a Compute Nest deployment
Go to the Service Deployments page of the Compute Nest console. Enter the deployment information as prompted.
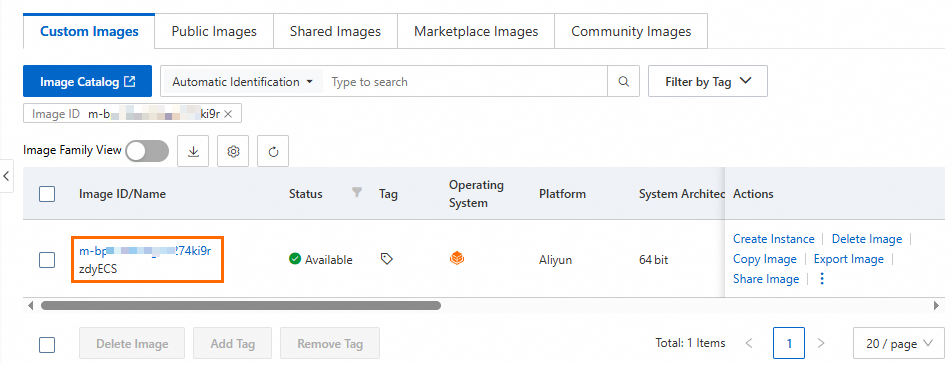
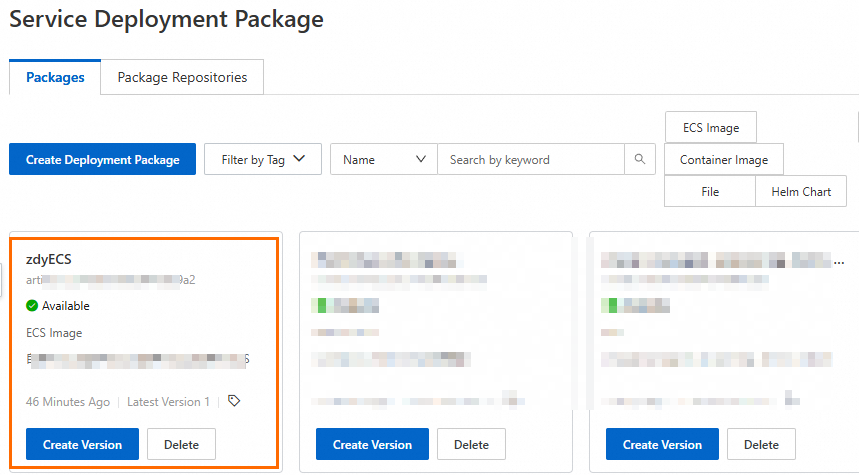
In the Deployment Package Content section, select ECS Image, select Custom Image, and then select the service image that you created.
Specify the distribution regions. This topic uses All Regions as an example.
Click Publish Deployment to create the deployment.
For more information, see ECS image deployments.
Step 3: Create a private service using the ECS deployment
Go to the Create Service page in the Compute Nest console.
Select Build Custom Service For Service Type, select Private Service. Then, click Next: Configure Settings
In the Basic Information section, upload a service icon, and enter the service name, service description, and version description.
In the Service Deployment section, configure the service deployment.
For Template Type, select ROS Template.
For Deployment Region, select All Regions.
For Template Content, select YAML and enter the service template. You can use the following sample template.
Sample template
ROSTemplateFormatVersion: '2015-09-01'
Conditions:
  CreateVpcConditions:
    Fn::Equals:
      - NewVPC
      - Ref: VpcOption
Parameters:
  Model:
    Type: String
    Label:
      en: Model
    AssociationPropertyMetadata:
      ValueLabelMapping:
        DeepSeek-R1_32b:
          zh-cn: DeepSeek-R1:32b
          en: DeepSeek-R1:32b
    AllowedValues:
      - DeepSeek-R1_32b
    Default: DeepSeek-R1_32b
  VpcOption:
    Type: String
    AllowedValues:
      - NewVPC
      - ExistingVPC
    AssociationPropertyMetadata:
      ValueLabelMapping:
        NewVPC:
          en: New VPC
        ExistingVPC:
          en: Existing VPC
    Label:
      en: Select Existing or New VPC
    Required: true
    Default: NewVPC
  VpcCidrBlock:
    Type: String
    Label:
      en: VPC CIDR IPv4 Block
    Description:
      en: 'The ip address range of the VPC in the CidrBlock form; <br>You can use the following ip address ranges and their subnets: <br><font color=''green''>[10.0.0.0/8]</font><br><font color=''green''>[172.16.0.0/12]</font><br><font color=''green''>[192.168.0.0/16]</font>'
    Default: 192.168.0.0/16
    Required:
      Fn::Equals:
        - NewVPC
        - ${VpcOption}
    AssociationProperty: ALIYUN::VPC::VPC::CidrBlock
    AssociationPropertyMetadata:
      Visible:
        Condition:
          Fn::Equals:
            - NewVPC
            - ${VpcOption}
  VSwitchCidrBlock:
    Type: String
    Label:
      en: VSwitch CIDR Block
    Description:
      en: Must belong to the subnet segment of VPC.
    Default: 192.168.1.0/24
    Required:
      Fn::Equals:
        - NewVPC
        - ${VpcOption}
    AssociationProperty: ALIYUN::VPC::VSwitch::CidrBlock
    AssociationPropertyMetadata:
      VpcCidrBlock: VpcCidrBlock
      Visible:
        Condition:
          Fn::Equals:
            - NewVPC
            - ${VpcOption}
  PayType:
    Type: String
    Label:
      en: ECS Instance Charge Type
    Default: PostPaid
    AllowedValues:
      - PostPaid
      - PrePaid
    AssociationProperty: ChargeType
    AssociationPropertyMetadata:
      LocaleKey: InstanceChargeType
  PayPeriodUnit:
    Type: String
    Label:
      en: Pay Period Unit
    Default: Month
    AllowedValues:
      - Month
      - Year
    AssociationProperty: PayPeriodUnit
    AssociationPropertyMetadata:
      Visible:
        Condition:
          Fn::Not:
            Fn::Equals:
              - ${PayType}
              - PostPaid
  PayPeriod:
    Type: Number
    Label:
      en: Period
      zh-cn: 购买资源时长
    Default: 1
    AllowedValues:
      - 1
      - 2
      - 3
      - 4
      - 5
      - 6
      - 7
      - 8
      - 9
    AssociationProperty: PayPeriod
    AssociationPropertyMetadata:
      Visible:
        Condition:
          Fn::Not:
            Fn::Equals:
              - ${PayType}
              - PostPaid
  EcsInstanceType:
    Type: String
    Label:
      en: Instance Type
    AssociationProperty: ALIYUN::ECS::Instance::InstanceType
    AssociationPropertyMetadata:
      InstanceChargeType: ${PayType}
      AllowedValues:
        - ecs.g9i.48xlarge
    Default: ecs.g9i.48xlarge
  InstancePassword:
    NoEcho: true
    Type: String
    Description:
      en: Server login password, Length 8-30, must contain three(Capital letters, lowercase letters, numbers, ()`~!@#$%^&*_-+=|{}[]:;'<>,.?/ Special symbol in)
    AllowedPattern: '^[a-zA-Z0-9-\(\)\`\~\!\@\#\$\%\^\&\*\_\-\+\=\|\{\}\[\]\:\;\<\>\,\.\?\/]*$'
    Label:
      en: Instance Password
      zh-cn: 实例密码
    ConstraintDescription:
      en: Length 8-30, must contain three(Capital letters, lowercase letters, numbers, ()`~!@#$%^&*_-+=|{}[]:;'<>,.?/ Special symbol in)
    MinLength: 8
    MaxLength: 30
    AssociationProperty: ALIYUN::ECS::Instance::Password
  ZoneId:
    Type: String
    Label:
      en: Zone ID
      zh-cn: 可用区ID
    AssociationProperty: ALIYUN::ECS::Instance::ZoneId
    AssociationPropertyMetadata:
      DefaultValueStrategy: random
      InstanceChargeType: ${PayType}
      SystemDiskCategory: cloud_essd
      InstanceType: ${EcsInstanceType}
  VpcId:
    Type: String
    Label:
      en: VPC ID
    AssociationProperty: 'ALIYUN::ECS::VPC::VPCId'
    Required:
      Fn::Equals:
        - ExistingVPC
        - ${VpcOption}
    Default: ''
    AssociationPropertyMetadata:
      AutoSelectFirst: true
      Visible:
        Condition:
          Fn::Equals:
            - ExistingVPC
            - ${VpcOption}
  VSwitchId:
    Type: String
    Label:
      en: VSwitch ID
    Default: ''
    AssociationProperty: ALIYUN::ECS::VSwitch::VSwitchId
    Required:
      Fn::Equals:
        - ExistingVPC
        - ${VpcOption}
    AssociationPropertyMetadata:
      AutoSelectFirst: true
      VpcId: ${VpcId}
      ZoneId: ${ZoneId}
      Visible:
        Condition:
          Fn::Equals:
            - ExistingVPC
            - ${VpcOption}
Resources:
  # 新建vpc
  EcsVpc:
    Type: ALIYUN::ECS::VPC
    Condition: CreateVpcConditions
    Properties:
      VpcName:
        Ref: ALIYUN::StackName
      CidrBlock:
        Ref: VpcCidrBlock
  # 新建vswitch
  EcsVSwitch:
    Condition: CreateVpcConditions
    Type: ALIYUN::ECS::VSwitch
    Properties:
      VSwitchName:
        Ref: ALIYUN::StackName
      VpcId:
        Ref: EcsVpc
      ZoneId:
        Ref: ZoneId
      CidrBlock:
        Ref: VSwitchCidrBlock
  SecurityGroup:
    Type: ALIYUN::ECS::SecurityGroup
    Properties:
      SecurityGroupName:
        Ref: ALIYUN::StackName
      VpcId:
        Fn::If:
          - CreateVpcConditions
          - Ref: EcsVpc
          - Ref: VpcId
      SecurityGroupIngress:
        - PortRange: 8000/8000
          Priority: 1
          SourceCidrIp: 0.0.0.0/0
          IpProtocol: tcp
          NicType: internet
        - PortRange: 11434/11434
          Priority: 1
          SourceCidrIp: 0.0.0.0/0
          IpProtocol: tcp
          NicType: internet
  EcsInstanceGroup:
    Type: ALIYUN::ECS::InstanceGroup
    Properties:
      # 付费类型
      InstanceChargeType:
        Ref: PayType
      PeriodUnit:
        Ref: PayPeriodUnit
      Period:
        Ref: PayPeriod
      VpcId:
        Fn::If:
          - CreateVpcConditions
          - Ref: EcsVpc
          - Ref: VpcId
      VSwitchId:
        'Fn::If':
          - CreateVpcConditions
          - Ref: EcsVSwitch
          - Ref: VSwitchId
      ZoneId:
        Ref: ZoneId
      SecurityGroupId:
        Ref: SecurityGroup
      Password:
        Ref: InstancePassword
      InstanceType:
        Ref: EcsInstanceType
      SystemDiskCategory: cloud_essd
      SystemDiskSize: 1024
      MaxAmount: 1
      # 镜像
      ImageId: centos_7
      InternetMaxBandwidthOut: 5
      IoOptimized: optimized
  RunInstallCommand:
    Type: ALIYUN::ECS::RunCommand
    Properties:
      InstanceIds:
        Fn::GetAtt:
          - EcsInstanceGroup
          - InstanceIds
      Type: RunShellScript
      Sync: true
      Timeout: 3600
      CommandContent: |-
        bash /root/run.sh

Metadata:
  ALIYUN::ROS::Interface:
    TemplateTags:
      - 'acs:integrate:ComputeNest:ModelScope'
    # 分组信息
    ParameterGroups:
      - Parameters:
          - Model
        Label:
          default:
            en: Choose Model
      - Parameters:
          - PayType
          - PayPeriodUnit
          - PayPeriod
        Label:
          default:
            en: PayType Configuration
      - Parameters:
          - EcsInstanceType
          - InstancePassword
        Label:
          default:
            en: Instance
      - Parameters:
          - ZoneId
          - VpcOption
          - VpcId
          - VSwitchId
          - VpcCidrBlock
          - VSwitchCidrBlock
        Label:
          default:
            en: Choose existing Infrastructure Configuration
Modify the parameters in the sample template as needed:
Instance types for service instances: Modify the constraints of the InstanceType parameter.
Ports for the service in the security group: Modify the ports in the SecurityGroup resource.
Service startup command: Replace the command in the RunInstallCommand property.
Service output: Adjust the IP address and port in the Outputs property.
In the Deployment Association section, click Select Deployment.
In the dialog box that appears, select the deployment that you created and click OK.
(Optional) To group the resources in the template, click Create Application Group.
In the Service O&M (Optional) section, configure the O&M features for the service.
Select the permissions that users must grant. To enable the managed O&M feature, the selected permissions must include either All Permissions or Alerting Permissions.
In the Monitoring section, locate Resource Monitoring. Then, in the Configure CloudMonitor Alert Template for All Resources section, select a configured alert template.
Click Create Service.
What to do next
Test the service.
After the service is created, test it to ensure that it works as expected. For more information, see Test a service.
Publish the service.
After the service passes the test, submit it for review. After the service is approved, you can publish it. For more information, see Publish a service.
Upload the service documentation.
Upload the service documentation to the Compute Nest GitHub documentation repository. For specific steps, see Service documentation publishing process.