NAS files can be restored to a server or virtual machine from its own backups or from those of other clients in the same backup vault.
Prerequisite
You have backed up your NAS files.
Procedure
Log on to the Cloud Backup console.
In the left Navigation Pane, choose .
In the top navigation bar, select a region.
Click the Restore Jobs tab.
Click Create Restore Job.
In the Create Restore Job panel, complete the following steps.
Select a Source Instance.
Select the backup vault and client where the backup files are stored, and then click Next.
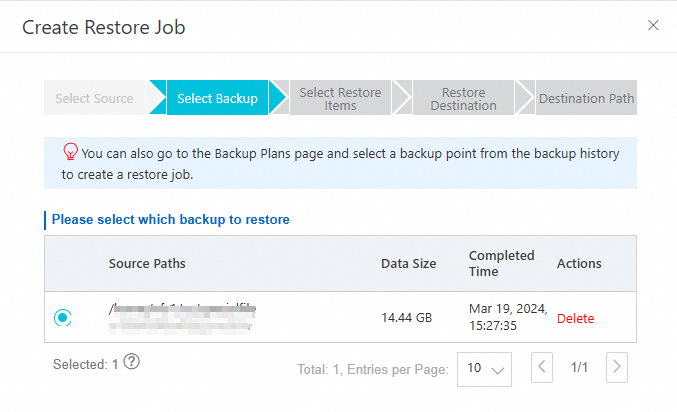
Select a recovery point.
Select the recovery point to restore, and then click Next.
Configure the restore items, and then click Next.
The restore items include the following parameters:
Parameter
Description
Restore Items
The files or folders to restore.
Include All Files: Restores all files from the source client.
Include Files: Select the files or folders to restore.
You can also click Enter Paths to define the files to restore. In the text box that appears, enter the file paths. Cloud Backup restores the files that match these paths from the selected source Client.
Enter one path per line. Each path must start with the last folder of the source backup path. For example, if the backup path is folder/test/data, to restore
file.txtandabc.pngfrom the `data` folder, enter the paths in the following format:/data/file.txt /data/abc.pngExclude Files: Select the files or folders to exclude from the restore. Cloud Backup restores all other items.
You can also click Enter Paths to define the files to restore. In the text box that appears, enter the file paths. Cloud Backup restores the files that match these paths from the selected source Client.
Enter one path per line. Each path must start with the last folder of the source backup path. For example, if the backup path is folder/test/data, to restore
file.txtandabc.pngfrom the `data` folder, enter the paths in the following format:/data/file.txt /data/abc.png
Configure the restore destination, and then click Next.
Parameter
Description
Destination Type
Select the type of the destination client.
Client Name
Select the destination client.
Configure the restore path, and then click Start to Restore.
Parameter
Description
Restore Path Type
Specify Path: Restores files to a specified path.
Origin Path: Restores files to their original paths.
Destination Path
The destination path for the restored files. This field is available only if Restore Path Type is set to Specify Path.
File Conflict Policy
Skip This File
Overwrite The File (default)
Compare update times (accurate to the second) and retain the latest version.
Virus Detection During Restoration
ImportantEnabling this feature incurs charges based on the number of scanned files.
If you enable this feature, Cloud Backup scans all files for viruses before restoring them. For more details, see the description in the Console.
After you create the restore job, monitor its progress in the Status column on the Restore Jobs tab.