Manual deployment
20
https://www.aliyun.com/solution/tech-solution/build-rag-qa-assistant-based-on-ragflow
Overview
1
Traditional retrieval-augmented generation (RAG) applications often struggle with parsing unstructured data, such as DOC and PDF files. This can lead to content loss, errors, and inaccurate answers. RAGFlow uses innovative deep document understanding technology to accurately parse complex unstructured data. This process effectively integrates private knowledge for large language models (LLMs) to use, which improves the accuracy of the answers.
Benefits
Complex document understanding: RAGFlow uses visual processing technology and specialized parsers to quickly and accurately identify document layouts, such as titles, paragraphs, and line breaks. It also parses and extracts content from complex tables, including rows, columns, headers, and merged cells. For more information, see examples of papers and complex table parsing.
Rich text segmentation methods: RAGFlow provides several preset text segmentation methods, such as General, Q&A, Resume, Manual, Paper, Table, Book, Laws, Presentation, One, Knowledge Graph, and Tag. This flexibility lets you choose the best method for your scenario to ensure that key information is fully retained.
Reduced hallucination: You can review parsing results, such as the number of text segments and recognition details. If you find an error, you can manually intervene by clicking a segment to locate its original position for verification.
Broad format compatibility: RAGFlow supports more than 10 mainstream file formats, such as DOCX, EXCEL, PPT, IMAGE, PDF, TXT, MD, JSON, EML, and HTML. For unstructured data, RAGFlow automatically extracts and structures key information. For structured data, it can deeply mine the semantic relationships within.
Visual workflow design: The visual interface lets you break down complex tasks into a sequence of steps. Combined with multi-channel recall and fusion reranking technologies, you can implement more complex Q&A logic.
Open API: RAGFlow provides an OpenAI-compatible API. This allows applications built on RAGFlow to be quickly integrated into existing business systems.
This solution lets you deploy RAGFlow on Alibaba Cloud with a single click. It solves common problems with local deployment, such as long deployment times, complex procedures, and poor reliability. It also offers superior capacity, extensibility, performance, and cost-effectiveness.
Solution approach
One-click deployment of RAGFlow v0.23.0-slim (2 minutes)
Use RAGFlow to quickly build a private-domain LLM Q&A application (7 minutes)
Test the Q&A application's performance (1 minute)
(Optional) Integrate the Q&A application into third-party webpages (10 minutes)
Deploy RAGFlow
2
You can create an Elastic Compute Service (ECS) instance pre-installed with RAGFlow v0.23.0-slim from the Alibaba Cloud Compute Nest console with a single click. This saves you from performing complex command-line operations.
Go to the Compute Nest RAGFlow service creation page and follow the instructions to create a service instance.
You can use the default values for the configuration items not mentioned in the list below.
Select Template: Select Basic Edition.
Region: Select Singapore.
This topic uses the Singapore region as an example.
Billing Method: Select Pay-per-use.
Resource Billing Method: Select Pay-as-you-go.
Instance Type: Search for and select
ecs.u1-c1m4.xlarge.RAGFlow requires at least 4 vCPUs and 16 GiB of memory to run.
Zone Configuration: Select an existing VPC or create a new one. In the Selected Zone section, use an existing vSwitch or create a new one. If you create a new vSwitch, we recommend that you select a zone with a larger number.
vSwitches that failed to be created are not displayed in the vSwitch Instance ID list for the specified zone.
Model Studio API key: Select your Alibaba Cloud Model Studio API key (sk-******). For more information, see Obtain an Alibaba Cloud Model Studio API key.
After you complete the configuration, click Next: Confirm Order. The system displays the estimated resource costs. Review the costs and click Create Now.
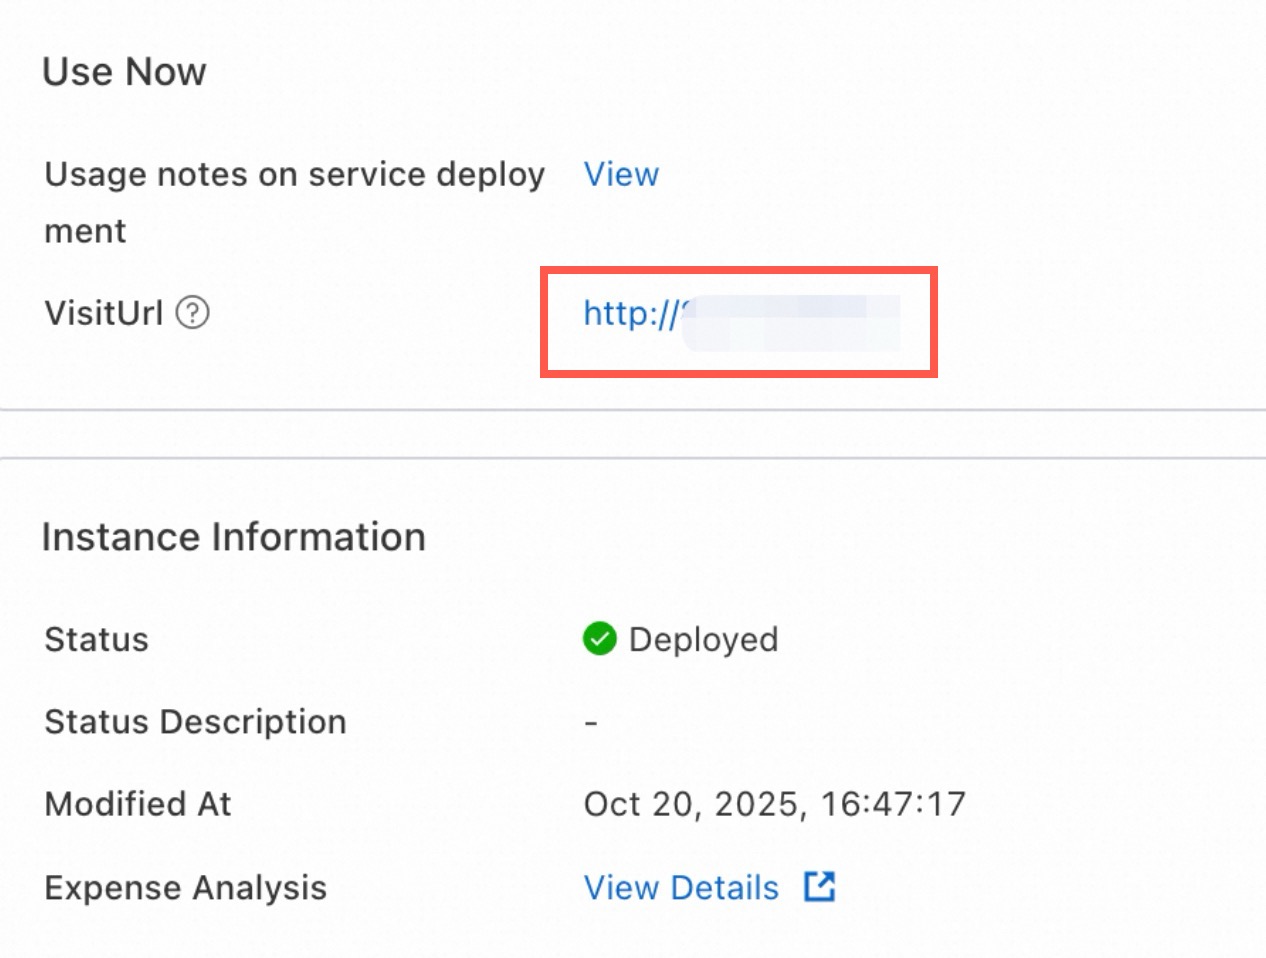
The system creates the service instance and deploys RAGFlow based on your configuration. The deployment progress is updated in real time.
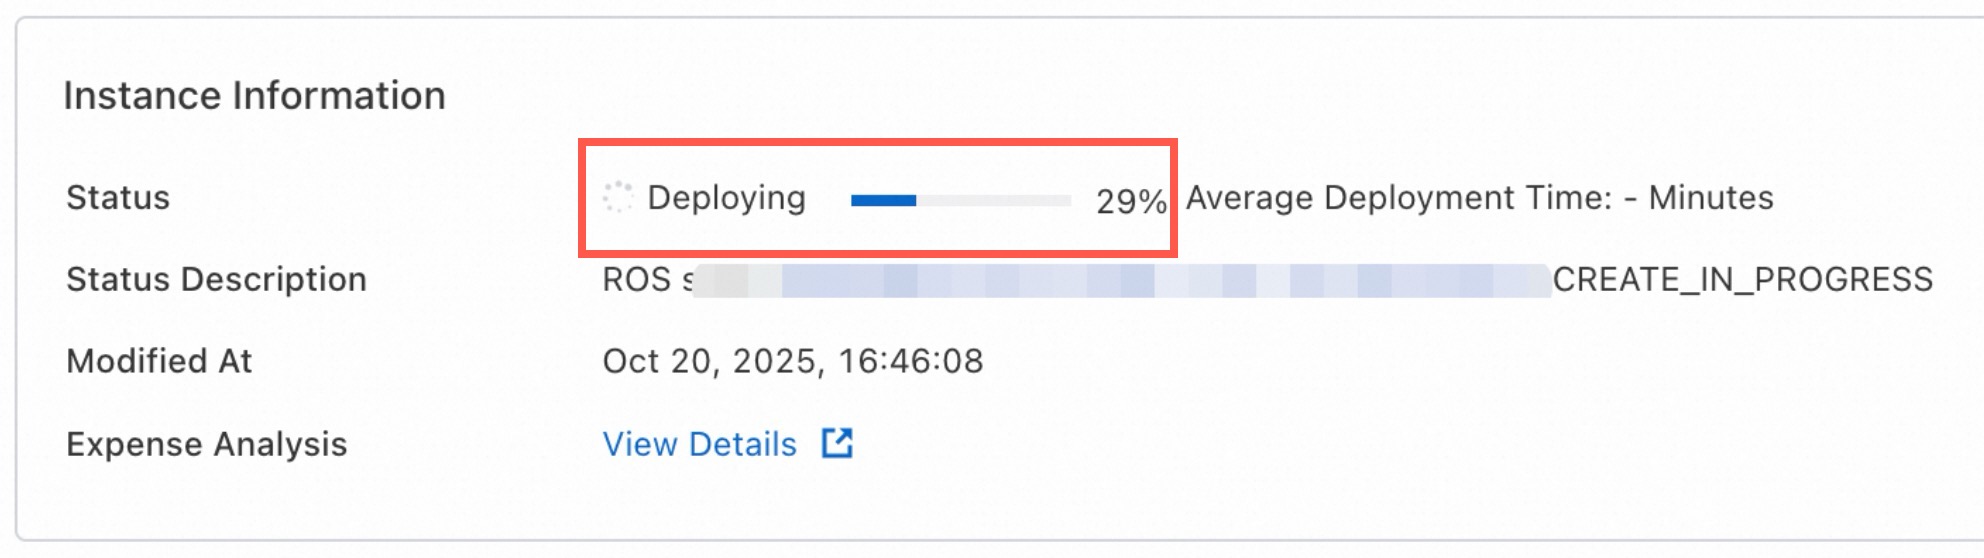
After the instance status changes to Deployed, the system generates a public access link named VisitUrl. Click the link to log on to RAGFlow.
Build a Q&A application
7
Next, you can use RAGFlow and private knowledge documents to build a large model Q&A application that can answer questions in a private domain, with no code required.
1. Log on to RAGFlow
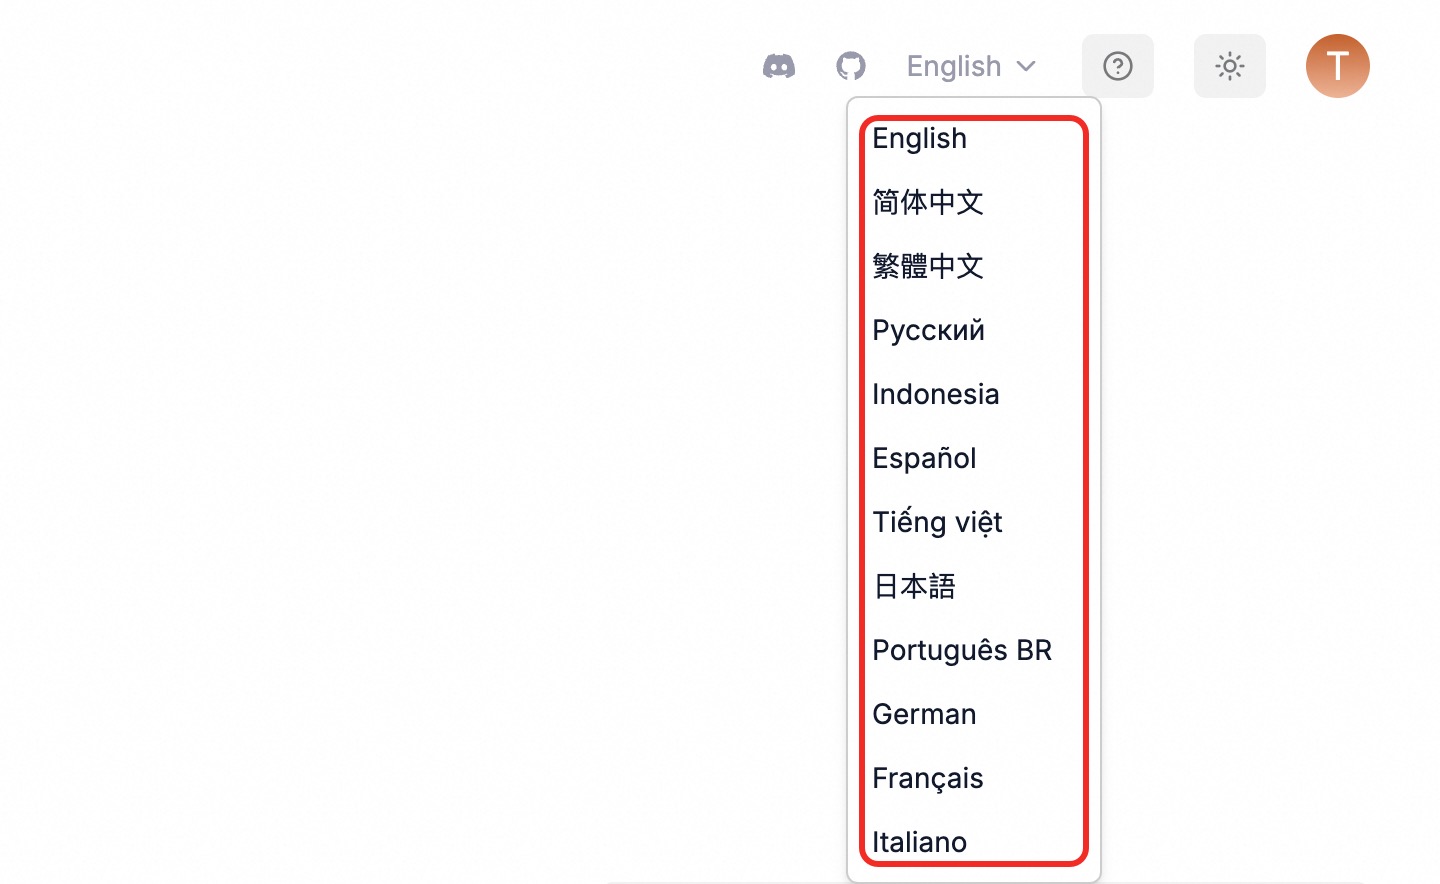
Access the generated link to register and log on. After you enter RAGFlow, you can click the icon in the upper-right corner to switch the language.
2. Configure the model
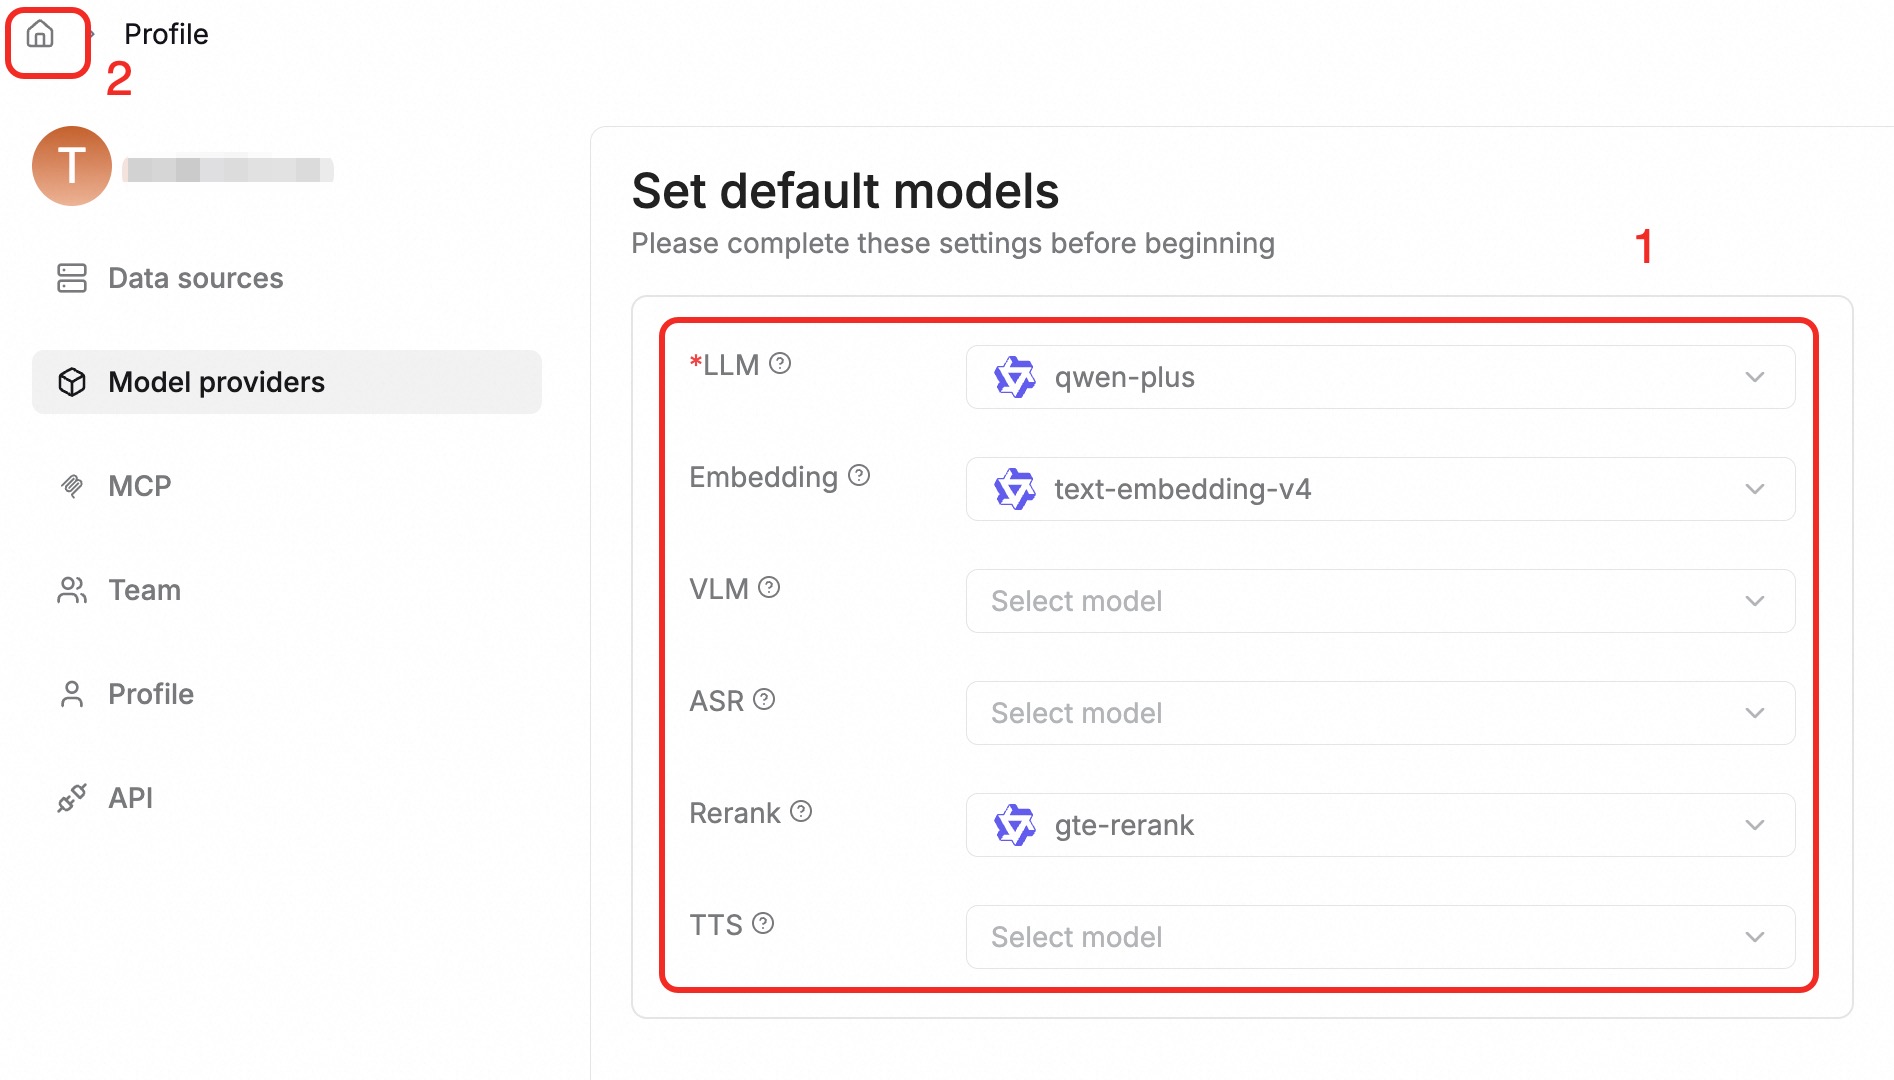
Click the profile picture icon in the upper-right corner of the page and select Model Provider from the menu on the left. The system selects Tongyi-Qianwen by default.
On this page, click the
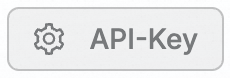 button. In the dialog box that appears, enter your previously obtained Alibaba Cloud Model Studio API key (sk-******) in the API-Key field. Then, click Save.
Then, in the Set Default Models area at the top of the page, set LLM to qwen-plus, Embedding to text-embedding-v4, and the Rerank model to gte-rerank. Click the
 icon in the upper-left corner to save your changes and return. For more information, see Model free quotas and billing prices.Note
Select a model based on the task type: For simple jobs, such as classification and summarization, you can prioritize using a more cost-effective lightweight model, such as
qwen-turbo, instead of always using a powerful but more expensive model, such asqwen-plus.Monitoring and alerting: You can query token consumption through model monitoring and configure usage alerts to receive timely notifications when usage is abnormal.
3. Create a knowledge base
In the top navigation bar, click Knowledge Base. In the upper-right corner, click Create Knowledge Base.
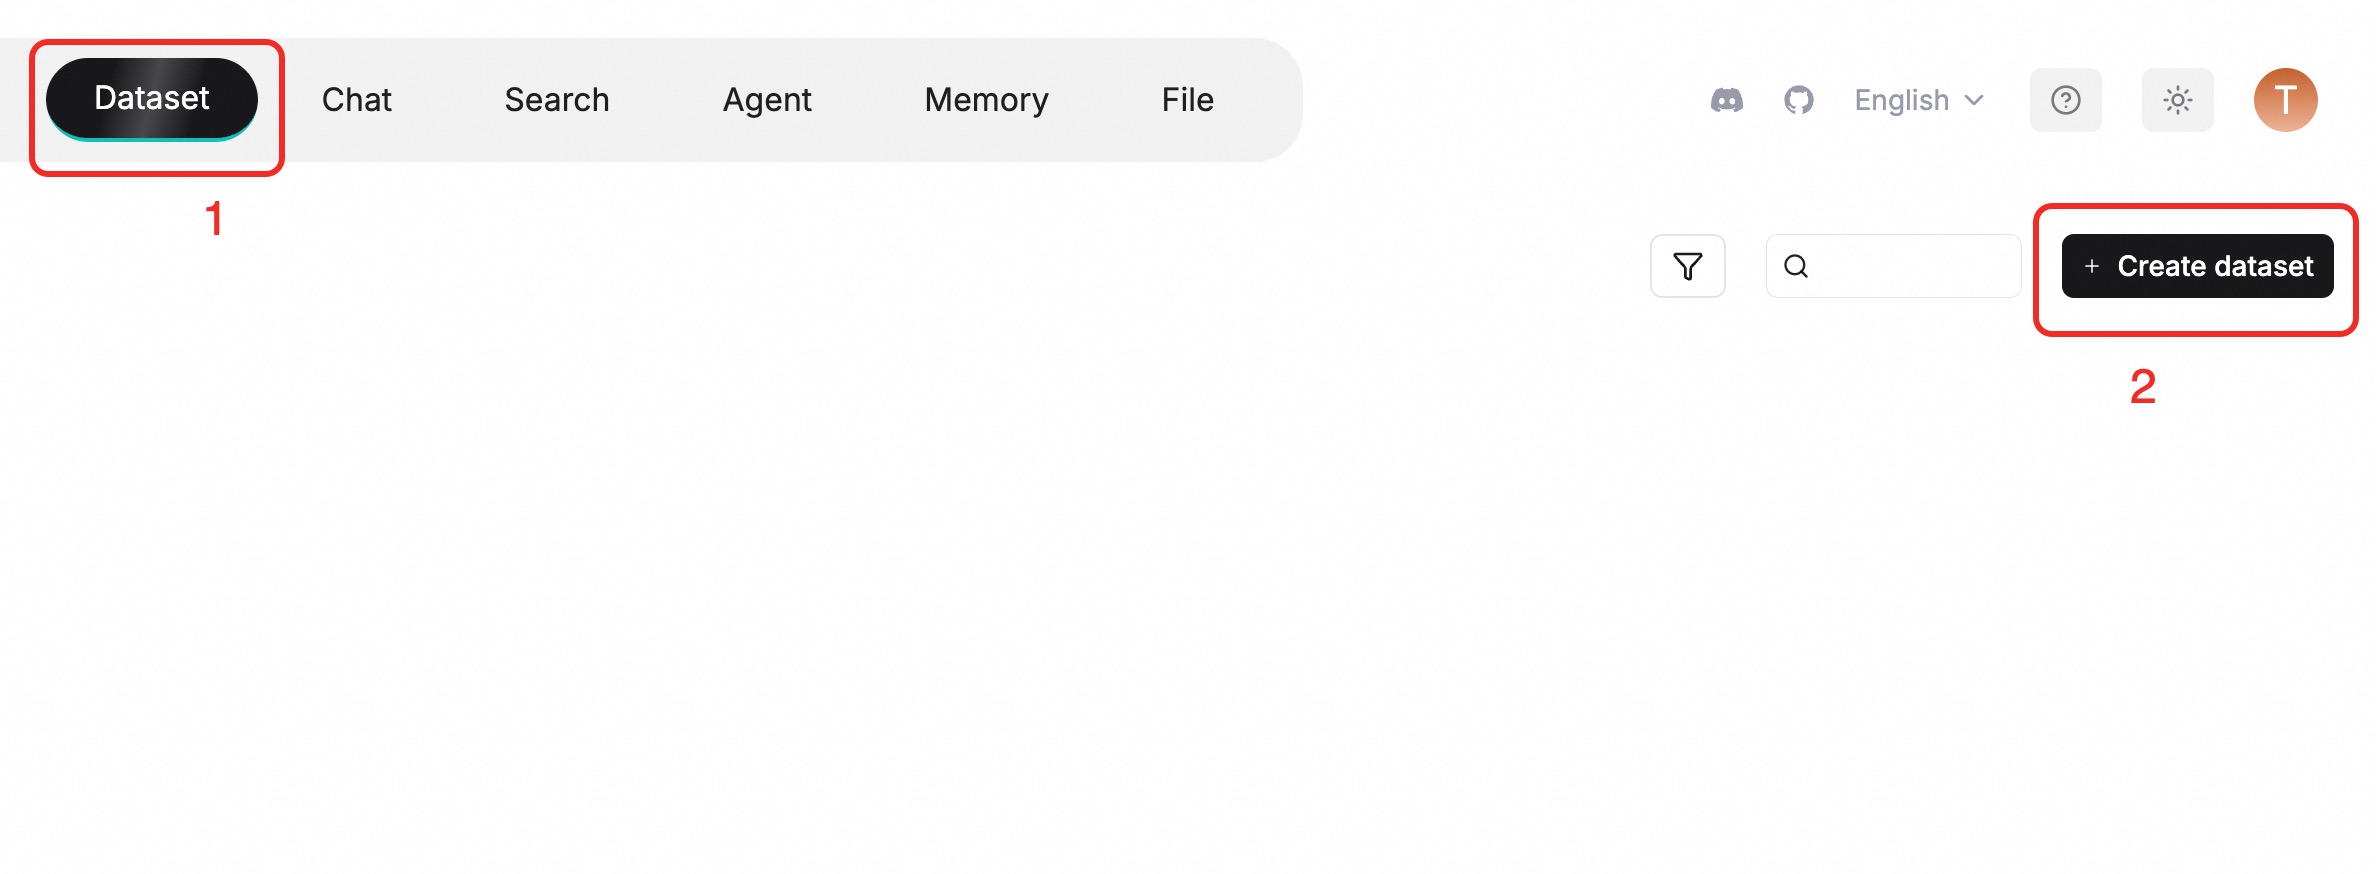
Enter a Name for the knowledge base. Select Built-in for the parsing method and select a method from the Built-in list based on your application scenario and document type. If you are unsure, we recommend keeping the default setting General. After you confirm the settings, click Save.
Import files (knowledge) into the knowledge base by clicking .
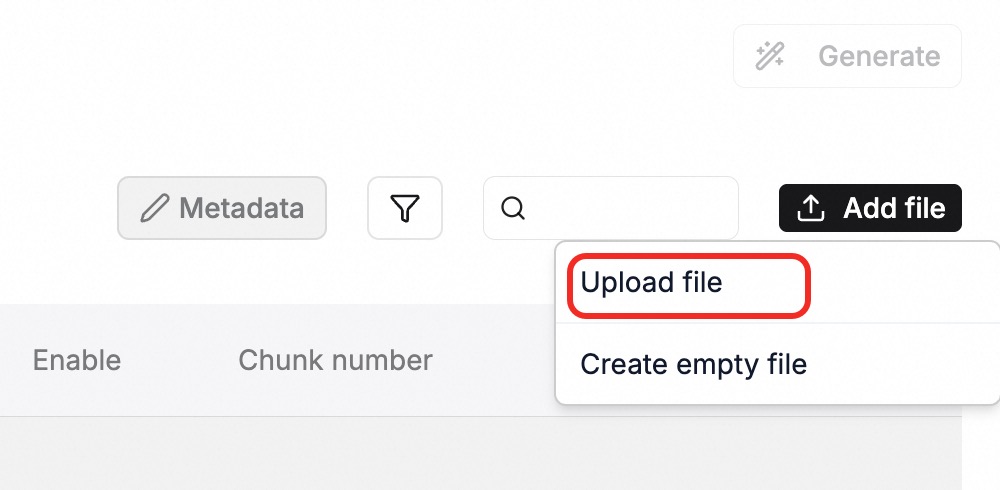
In the dialog box that appears, select Parse on creation, choose the files to upload, and then click OK.
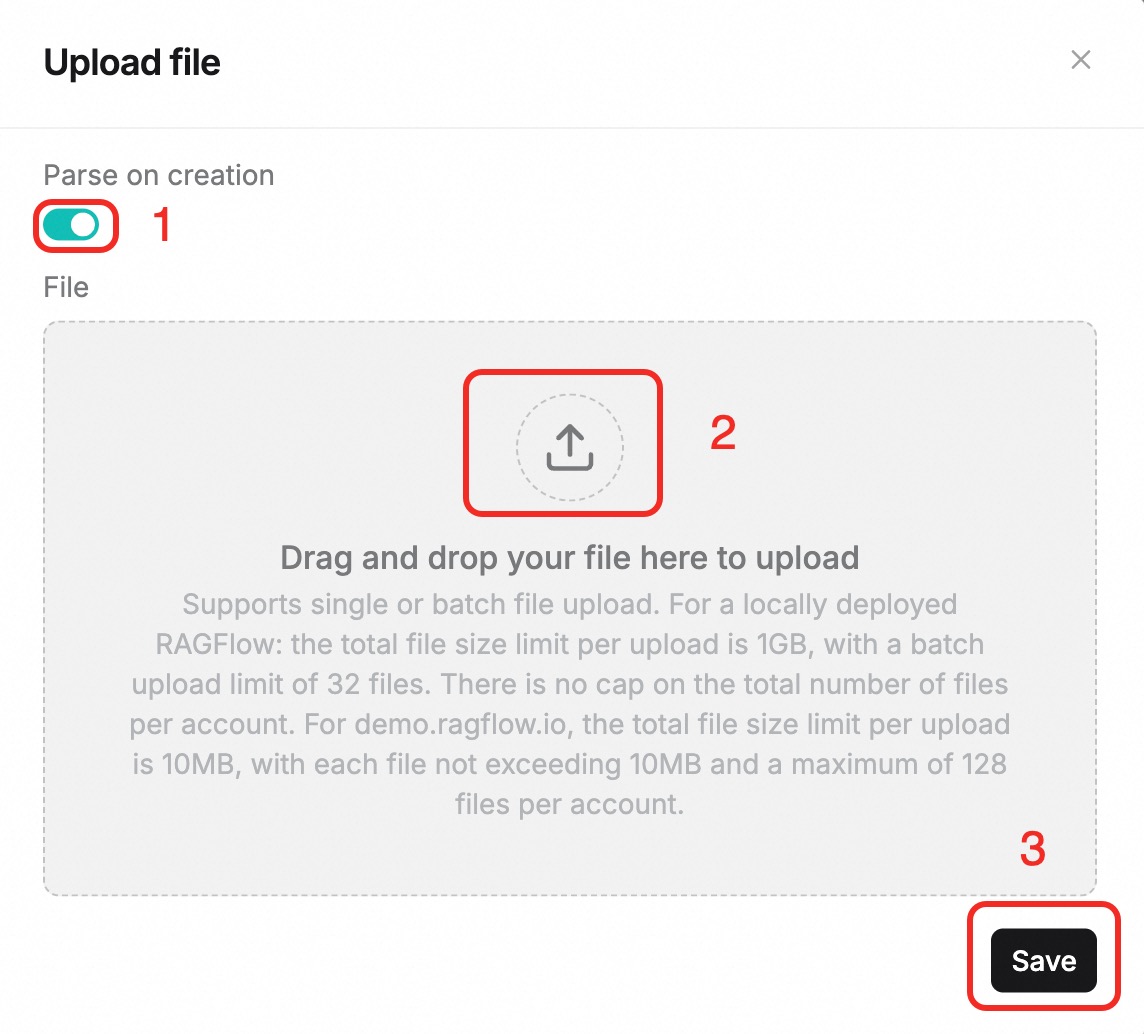
The knowledge base then begins to parse your files. The parsing time varies based on the size and number of files. Please wait for the process to complete.
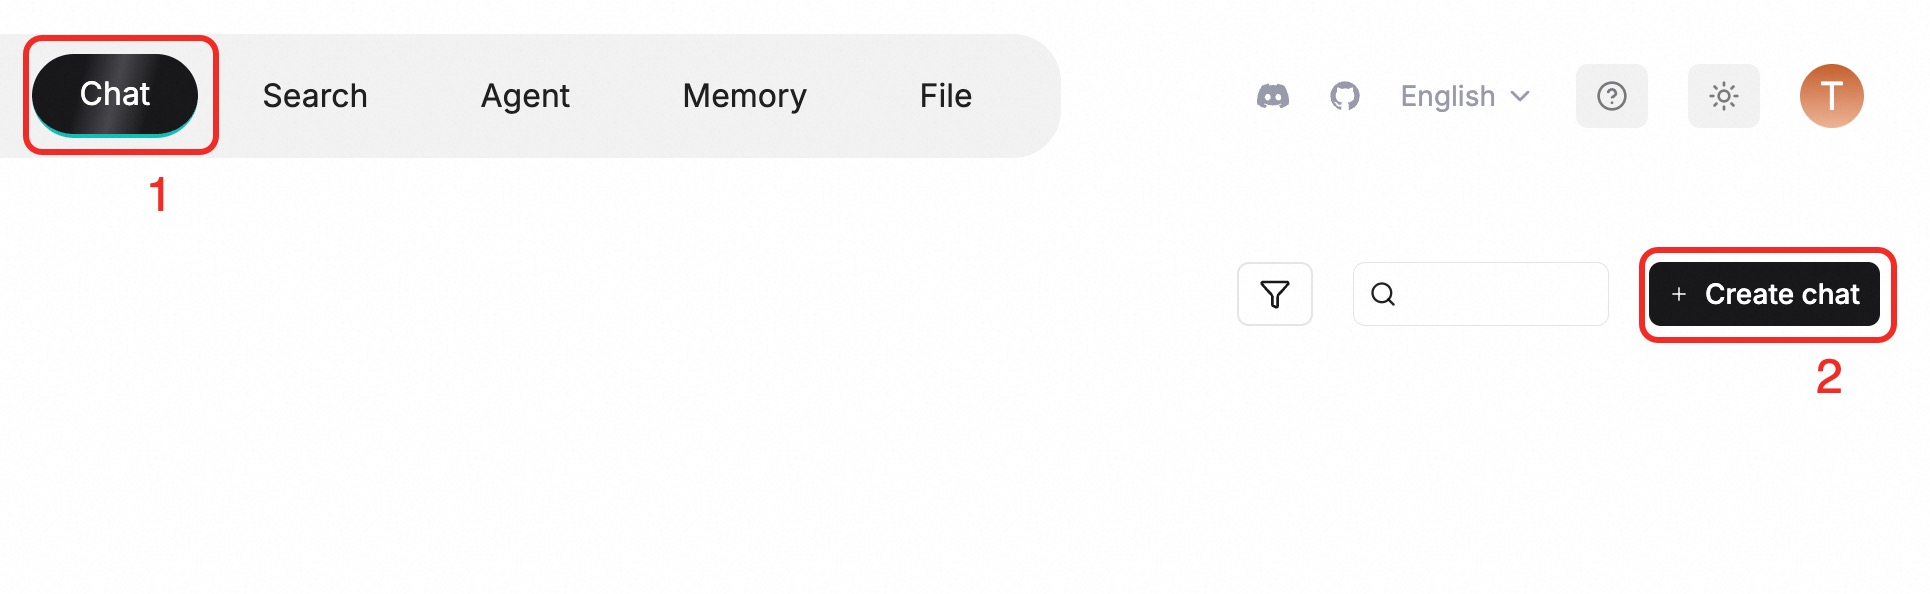
4. Create a Q&A application and add a knowledge base to it
In the top navigation bar, click Chat. On the right side, click Create Chat and enter a Name for the chat assistant. After you confirm the name, click Save.
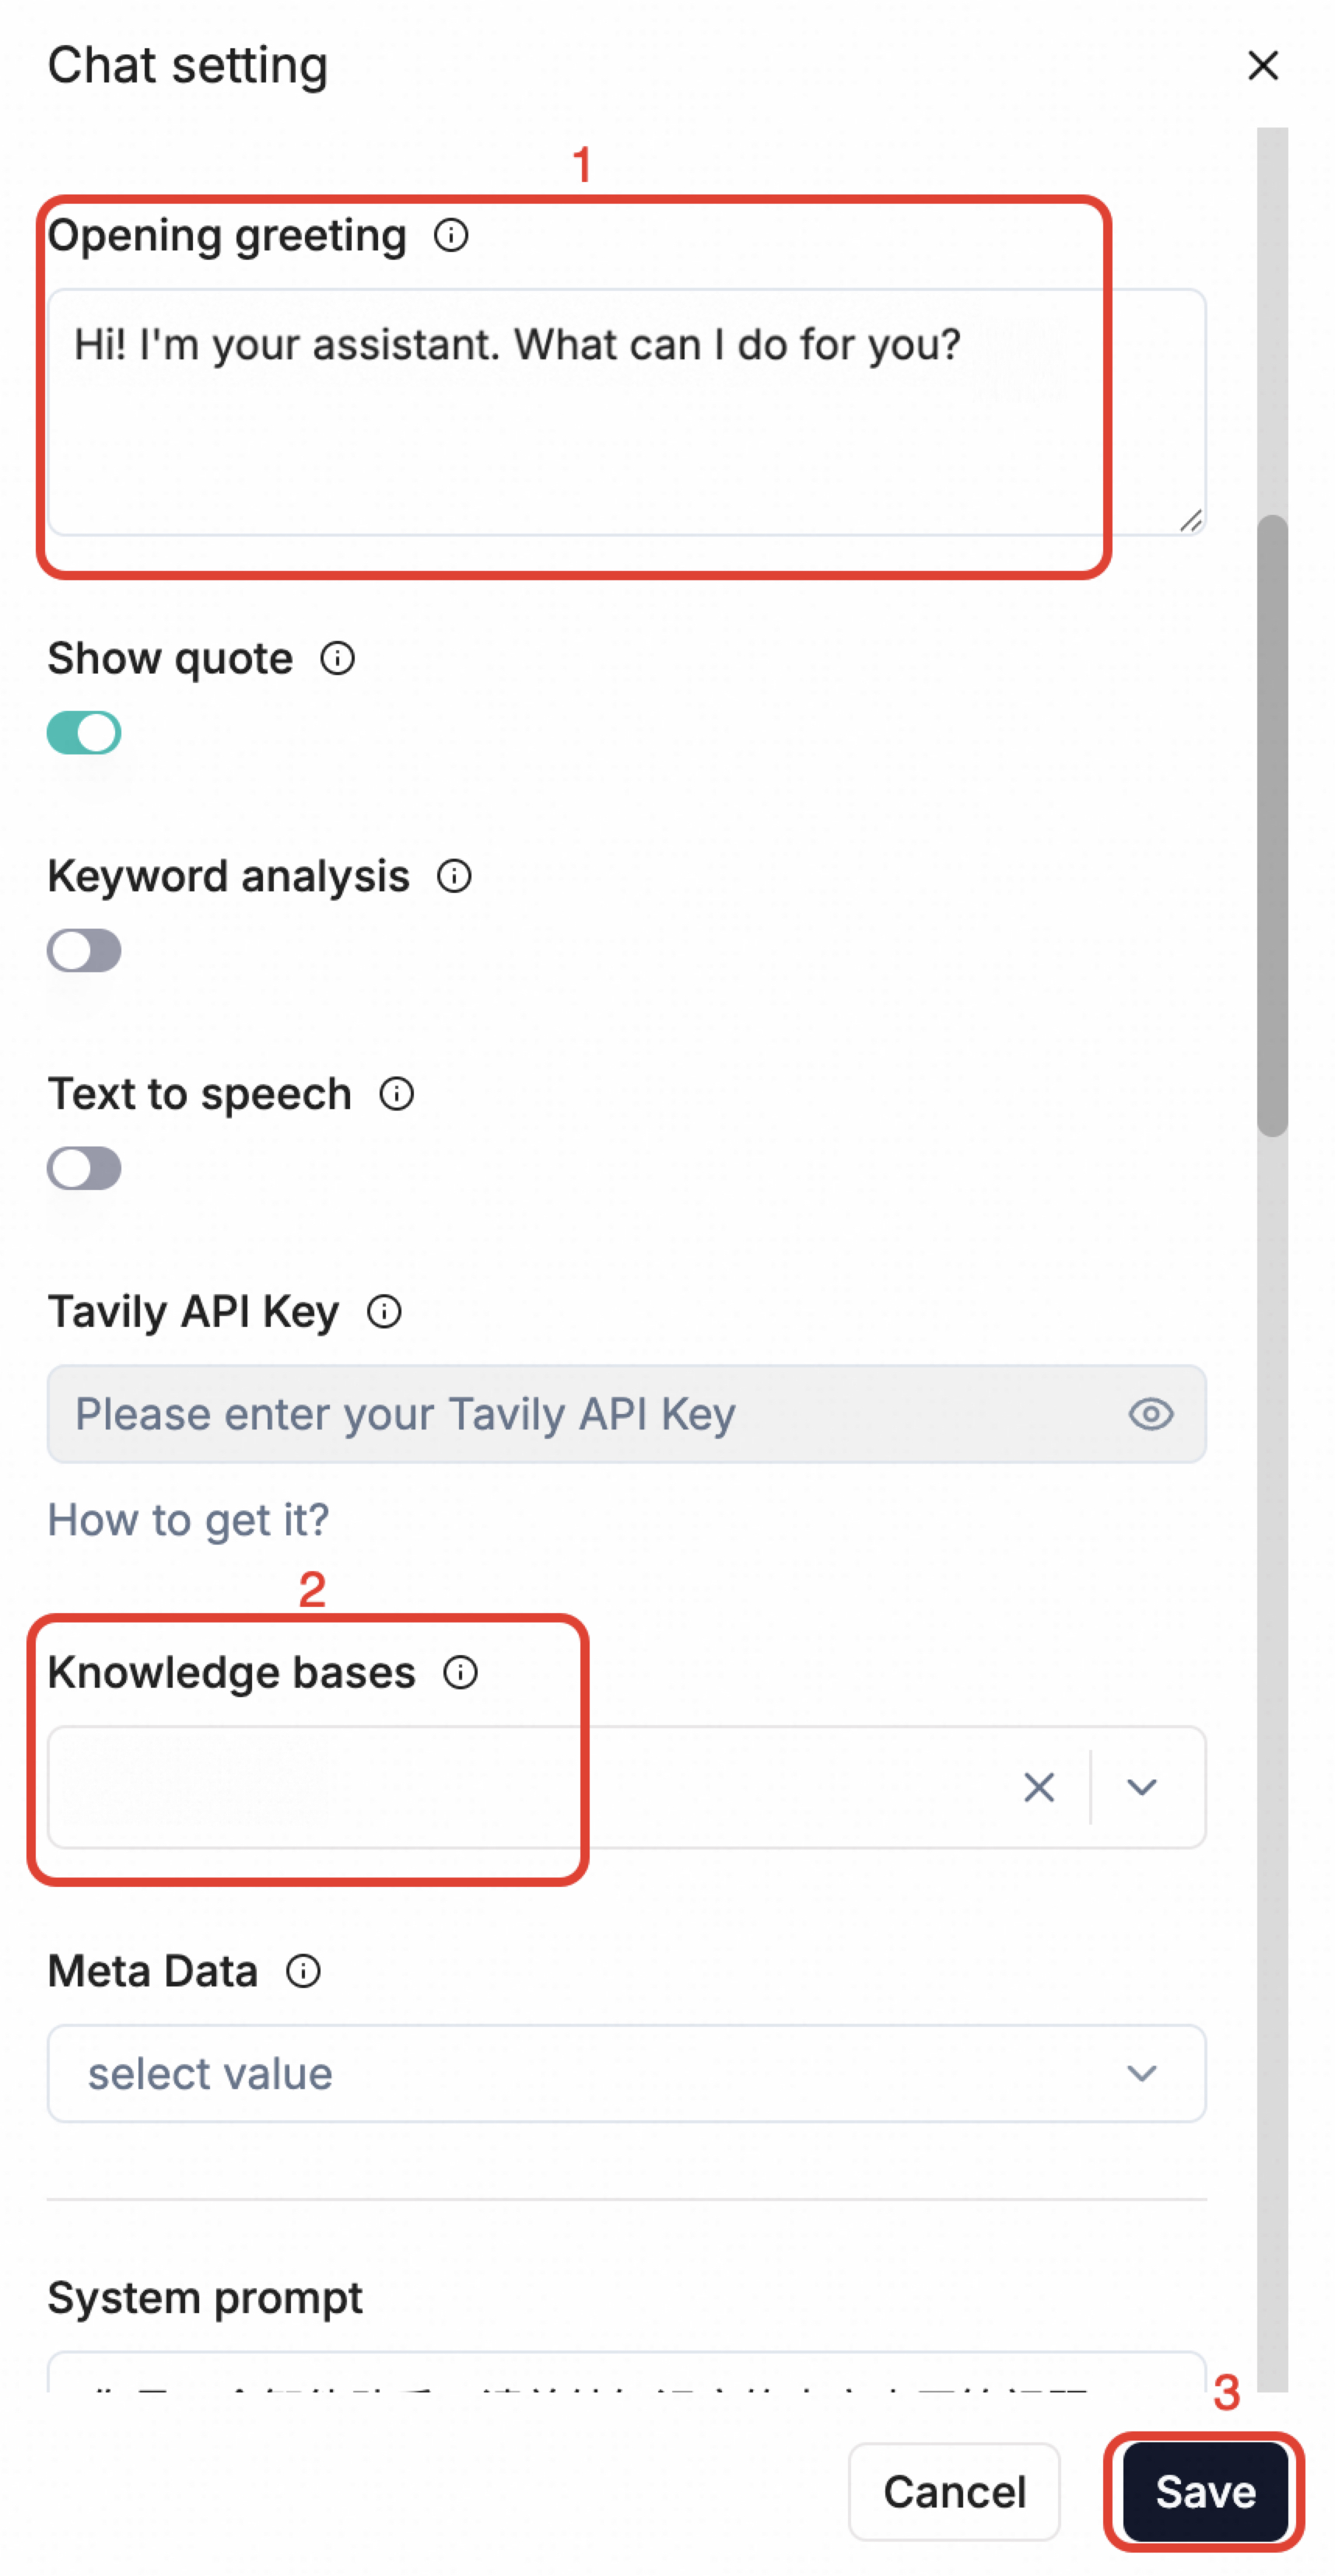
On this page, click the chat assistant that you just created. In the sidebar on the right, set an opening greeting based on your application scenario and select the knowledge base that you just created. After you complete the settings, click Save. You can now start chatting with the assistant.
Q&A test
1
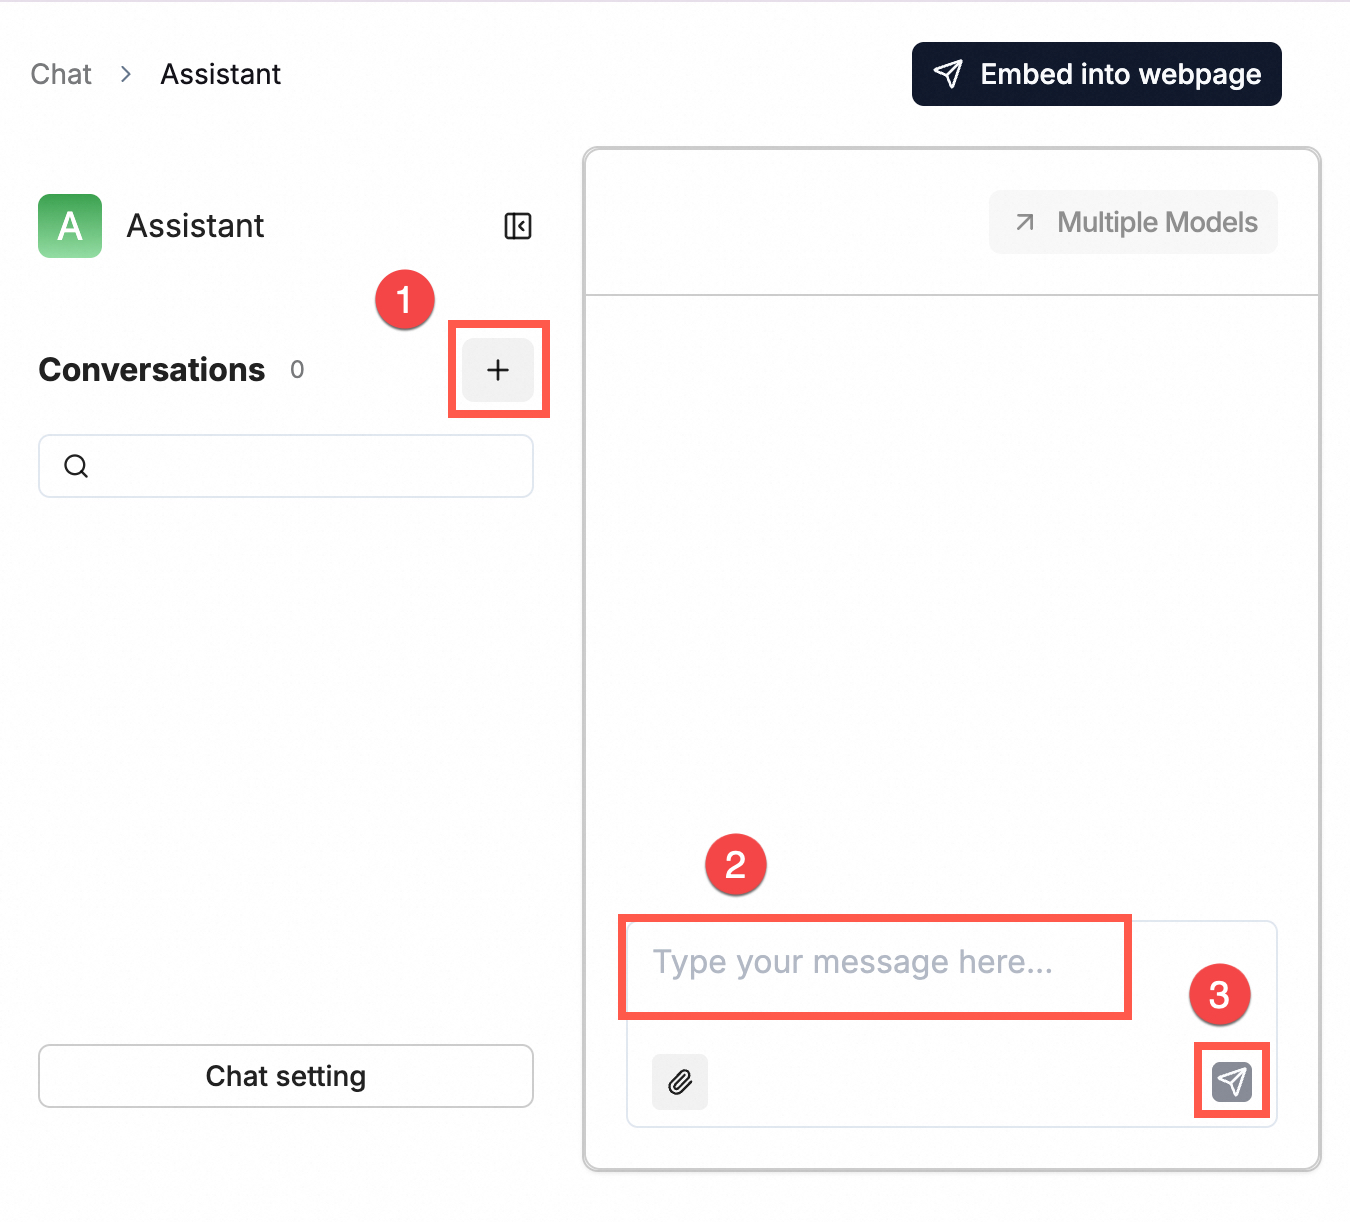
In the top navigation bar, click Chat. Select the chat assistant that you just created and click the ![]() button in the Session area to start a conversation with the Qwen-Plus large model. After the knowledge base is imported, the large model can accurately answer questions about the private domain.
button in the Session area to start a conversation with the Qwen-Plus large model. After the knowledge base is imported, the large model can accurately answer questions about the private domain.
Call the Q&A application externally
10
The assistant you created can be integrated into your existing systems through an API.
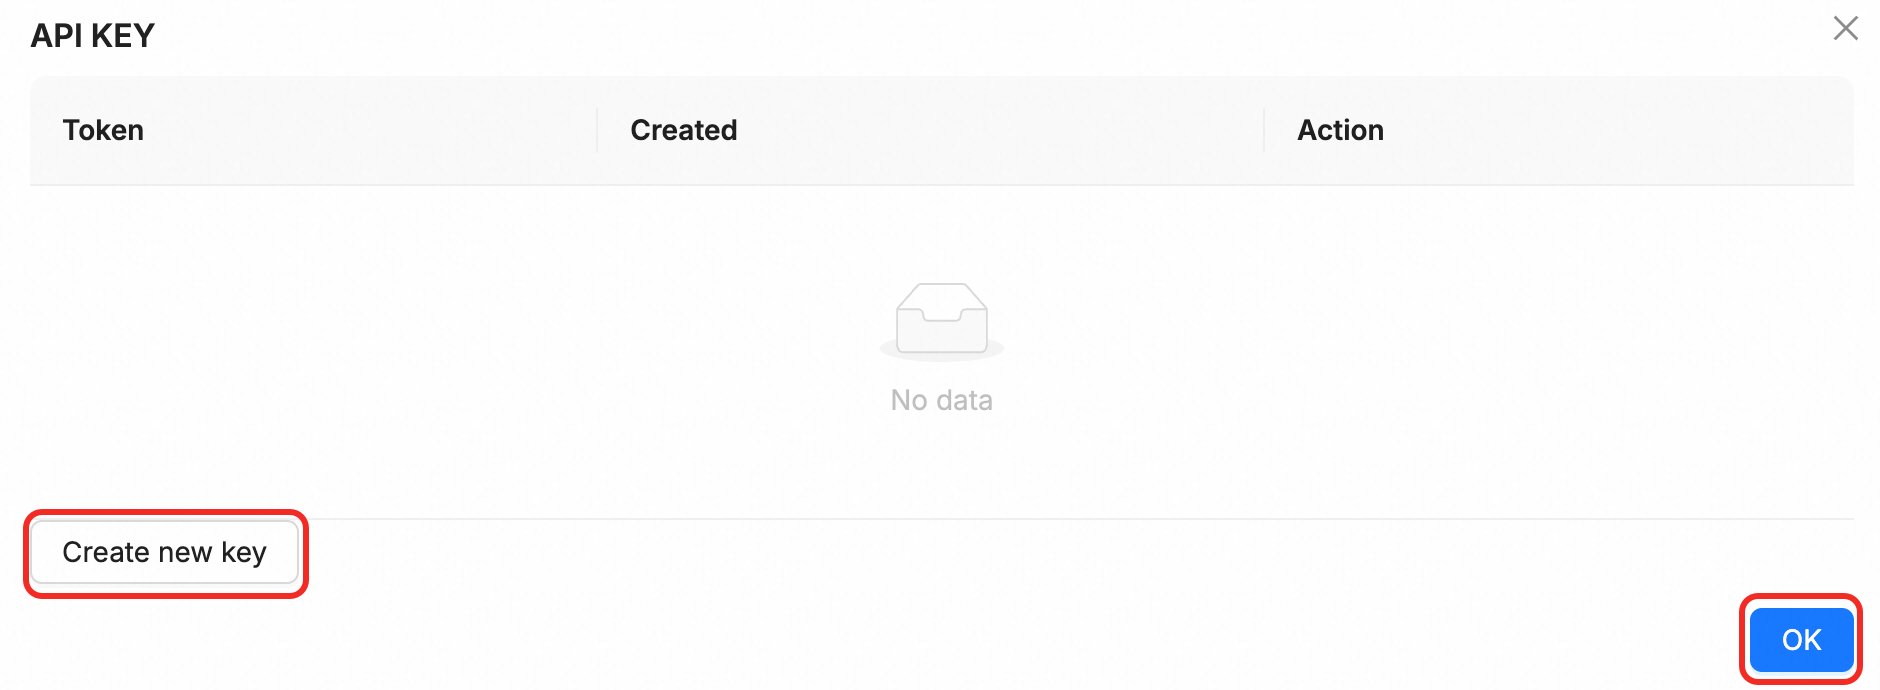
To call the assistant externally, you need to obtain a RAGFlow API key. Click your profile picture in the upper-right corner, select API from the menu on the left, and then click API KEY at the top of the page.
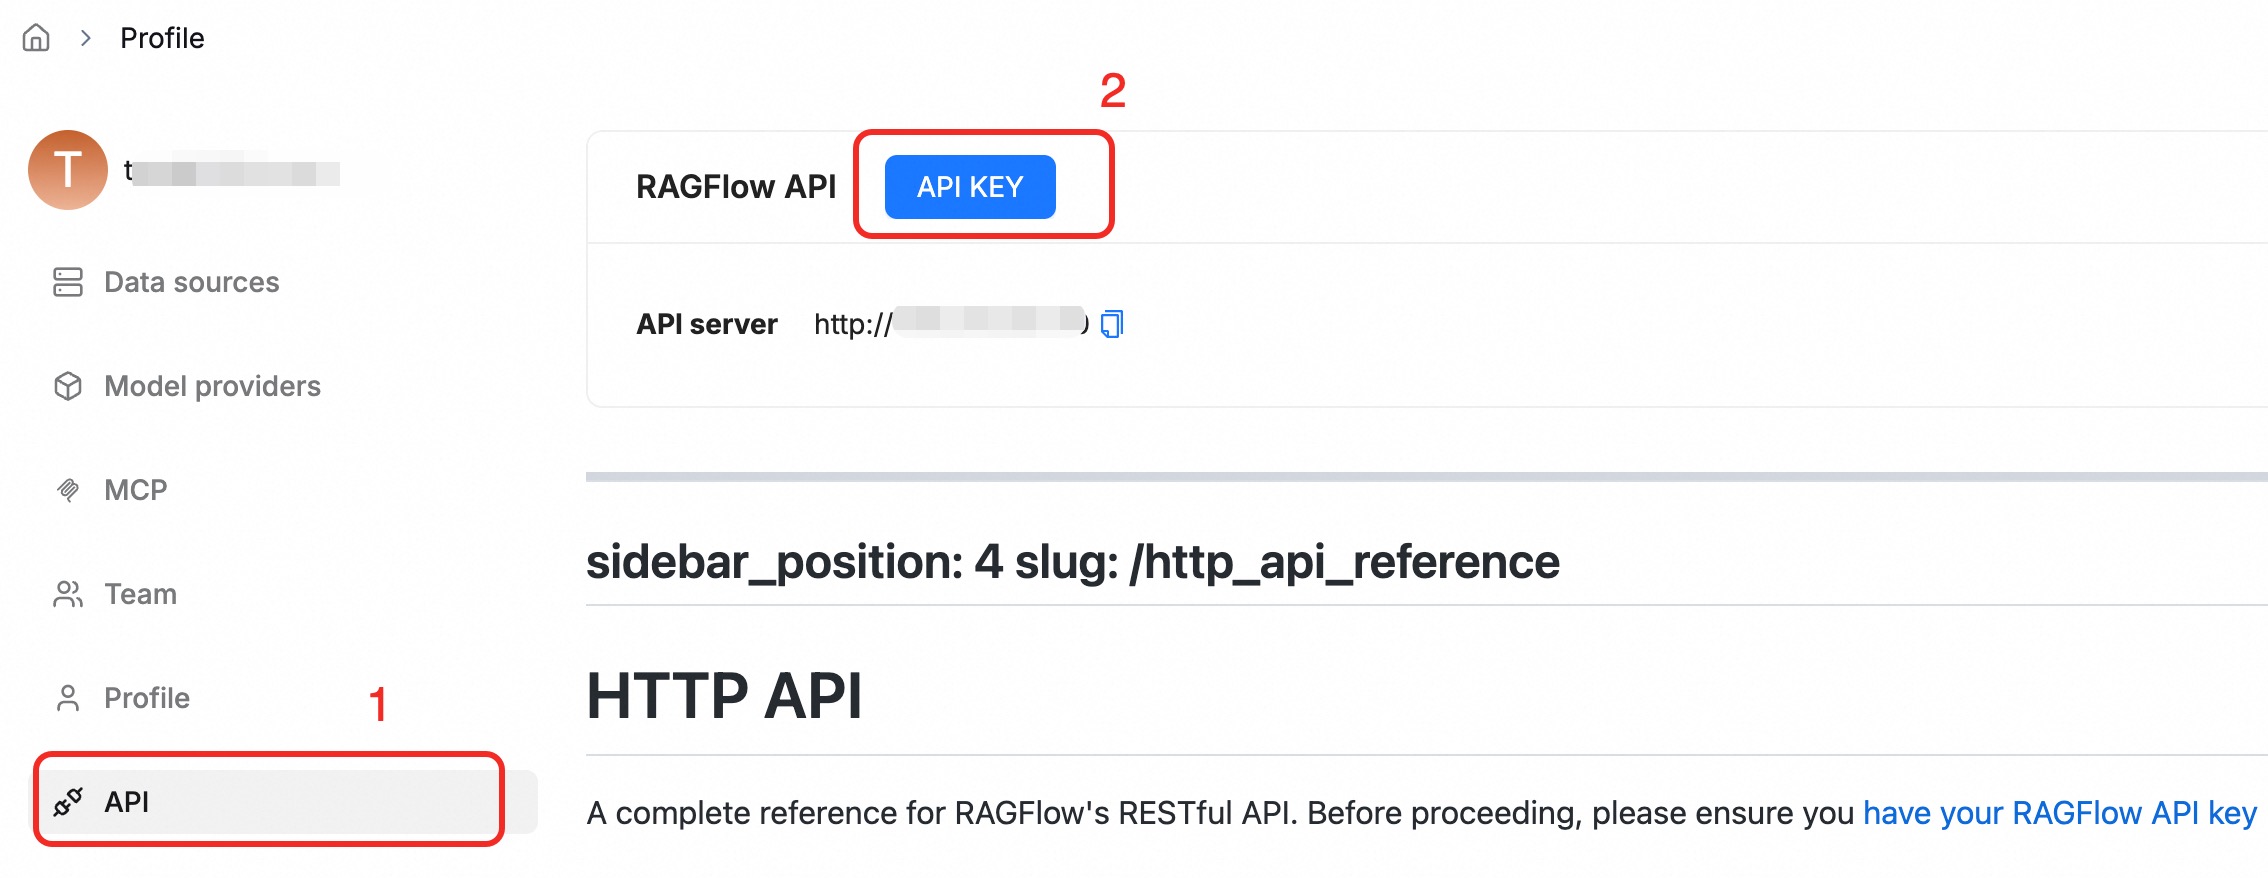
In the dialog box that appears, click Create new key to create a RAGFlow API key.
Save your RAGFlow API key and do not share it. This key is used for authentication when you call RAGFlow API operations.
Integrate the RAGFlow Q&A application into other webpages or applications.
Call using the OpenAI Python SDK
Click Chat at the top, select the chat assistant you just created, and then copy the
VisitUrlanddialogIdfrom the browser's address bar. The format is http://VisitUrl/next-chat/dialogId?conversationId=xxx.
Install Python and the OpenAI Python SDK. For more information, see Install the SDK.
Run the following code.
Replace the placeholder
your-ragflow-api-keyin the following code with your RAGFlow API key (ragflow-****).Replace the placeholders
your-visit-urlandyour-dialog-idin the base_url with your VisitUrl and dialogId.# Example code is for reference only. Do not use it directly in a production environment. from openai import OpenAI model = "model" # Storing the API KEY directly in the code can lead to exposure and leaks. In a production environment, we recommend using environment variables to configure and read the API KEY. client = OpenAI(api_key="your-ragflow-api-key", base_url=f"http://your-visit-url/api/v1/chats_openai/your-dialog-id") completion = client.chat.completions.create( model=model, messages=[ {"role": "system", "content": "You are a helpful assistant."}, {"role": "user", "content": "Enter the question you want the knowledge base to answer here."}, ], stream=False ) stream = False if stream: for chunk in completion: print(chunk) else: print(completion.choices[0].message.content)
Integrate using an iframe
You can embed the assistant into a third-party webpage using an iframe.
Click your profile picture in the upper-right corner, select API from the menu on the left, and then click API KEY at the top of the page.
In the dialog box that appears, click Create new key to create a RAGFlow API key.
Save your RAGFlow API key and do not share it. This key is used for authentication when you call the RAGFlow API operation using an iframe.
In the top navigation bar, click Chat. Select the newly created chat assistant. In the upper-right corner, click Embed into webpage to display the iframe window.
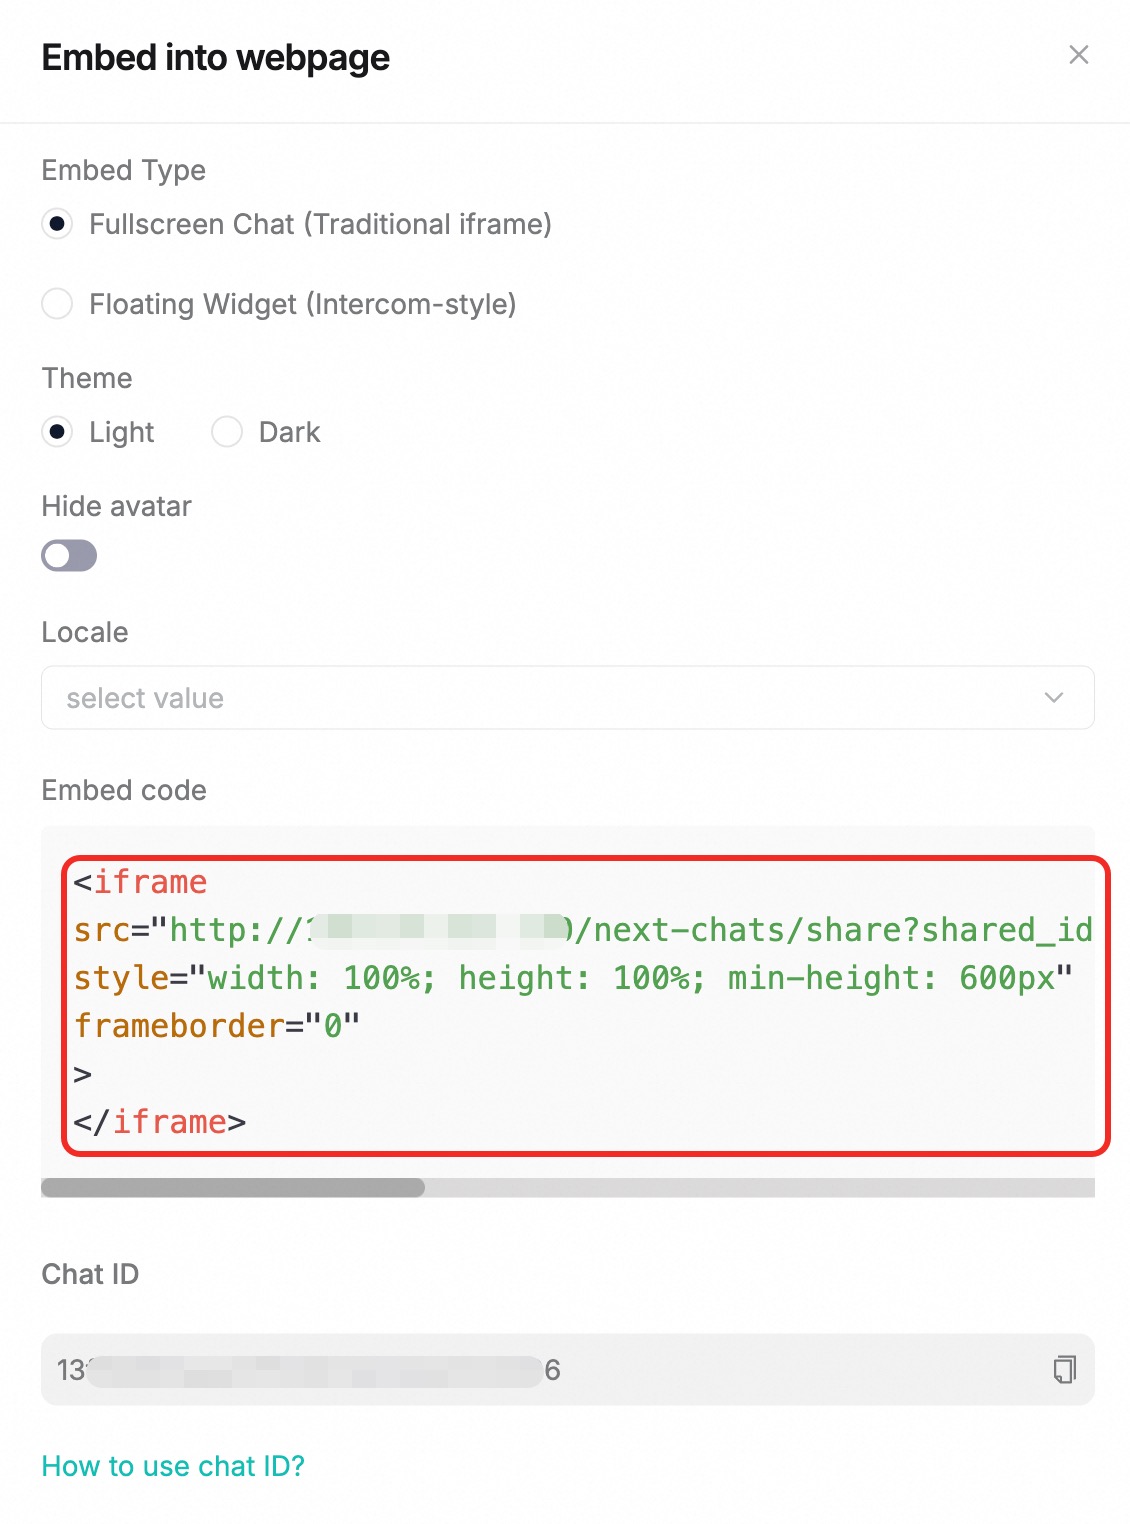
Copy the entire iframe tag and insert it into the specified location on your webpage.
Continuous improvement
Handle complex production environments
Deploy the container cluster version of RAGFlow: This solution describes how to deploy the Basic Edition of RAGFlow, which is suitable for development and testing environments. For complex production environments that may experience burst traffic, single points of failure, and troubleshooting difficulties, we recommend that you deploy the container cluster version of RAGFlow. This version supports automatic scaling, helps prevent data loss from single points of failure, and provides observability.
Security hardening: By default, this solution opens all ports to the public network (0.0.0.0/0), which poses a security risk. For production environments, we recommend creating security group rules to open only the necessary ports (port 80 by default) and restrict access to specified IP addresses.
Clean up resources
1
If you do not use this for a production environment, we recommend that you clean up the resources after your test to avoid incurring further charges.
Before you start cleaning up, carefully check all the created resources to make sure you do not accidentally delete anything in your production environment.
Clean up Compute Nest resources: Log on to the Compute Nest console. In the navigation pane on the left, select Service Instances. Find the target instance, click Delete in the Actions column, and follow the on-screen instructions to release the instance.
Clean up the WeCom application (if any): Go to the WeCom Application List. Find the application that you created and click its name to go to the application page. At the bottom of the page, click Delete Application. In the dialog box that appears, click Delete.
Clean up the DingTalk application (if any): Go to the DingTalk Application List. Find the application that you created, click its name to go to the details page, and then click Credentials and Basic Information in the navigation pane on the left. In the Deactivation and Deletion section at the bottom of the page, click Deactivate. In the dialog box that appears, click Delete. Then, click Delete Application next to it and follow the instructions to complete the deletion.